It’s cold and flu season and that means one of two things. It’s either time to stock up on cough drops OR it’s time to make your own at home! It seems like I never have cough drops on hand when I need them, so when a cold hit our family this winter, I decided to try to my hand at making homemade cough drops. After several tries, we got a handle on the cooking process, and they turned out great. Now we always have an option for those times when a cold comes on suddenly.
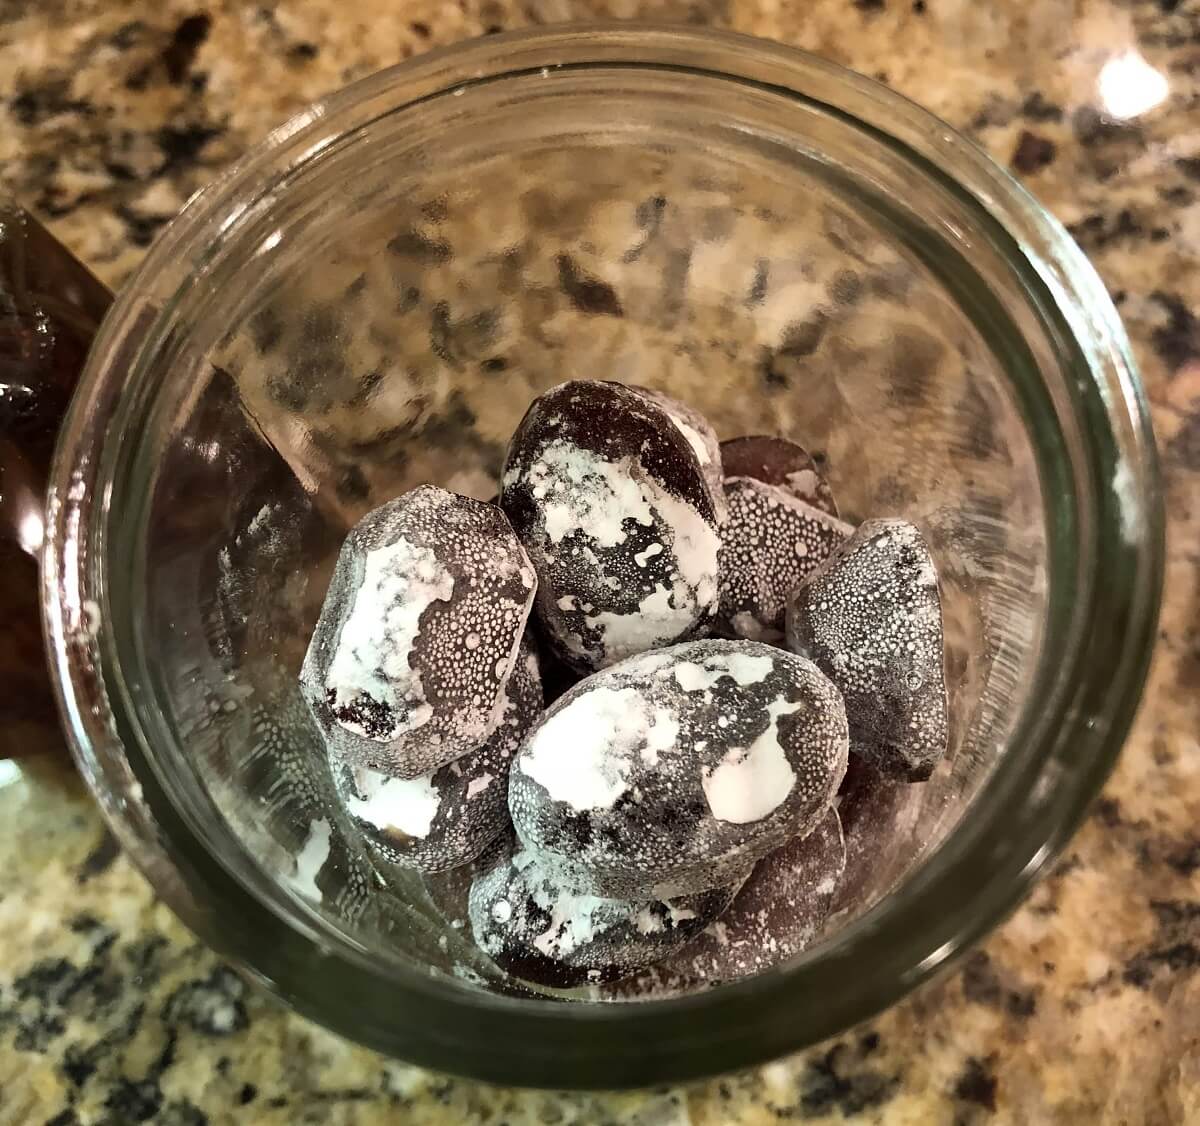
This recipe combines natural ingredients such as honey and ginger. Both of which have soothing and natural numbing properties, which is great for sore or scratchy throats.
The cherry flavor comes from the juice of canned cherries, but you can really substitute any flavoring that you would like. This recipe is quick and easy and utilizes ingredients that you probably have in your pantry right now, which makes it a great alternative to store-bought brands.
Benefits Of Making Your Own Cough Drops
The main benefit of making cough drops at home is that you know exactly what ingredients are being used, and it can save you some money in the long run. Here are some more benefits worth noting:
-
- You can alter instructions and ingredients to meet your liking.
- They are quick to make for sudden cold symptoms.
- They are versatile. You can change up the ingredients for different uses whether it is for cough drops, hard candy, or lollipops.
- Making your own cough drops is self-sufficient.
- They can be made with common pantry ingredients that you probably have on hand.
Homemade Cough Drops Recipe
Time Required
-
- Prep: 5 minutes
- Cooking: 25 minutes
- Cool: 2 hours
- Total Time: 2.4 hours
- Yield: About 20 cough drops
Ingredients
-
- ½ c. white sugar
- 3 tbsp. honey
- 2 tbsp. cherry juice from canned cherries
- 2 tbsp. water
- 1 tbsp. lemon juice
- powdered sugar for sprinkling
- 1 tsp. grated ginger
Tools Needed
-
- candy thermometer*
- medium saucepan
- silicone mat or molds
- airtight container or wax paper
*You do not need to use an expensive candy thermometer, however, you do want to check your thermometer’s accuracy before using it. Do this by placing the thermometer in a pot of boiling water for 5 minutes. It should read at 212°F or 100°C. If it does not, make a note of how far it is from this baseline and take the difference into account when using it.
Directions
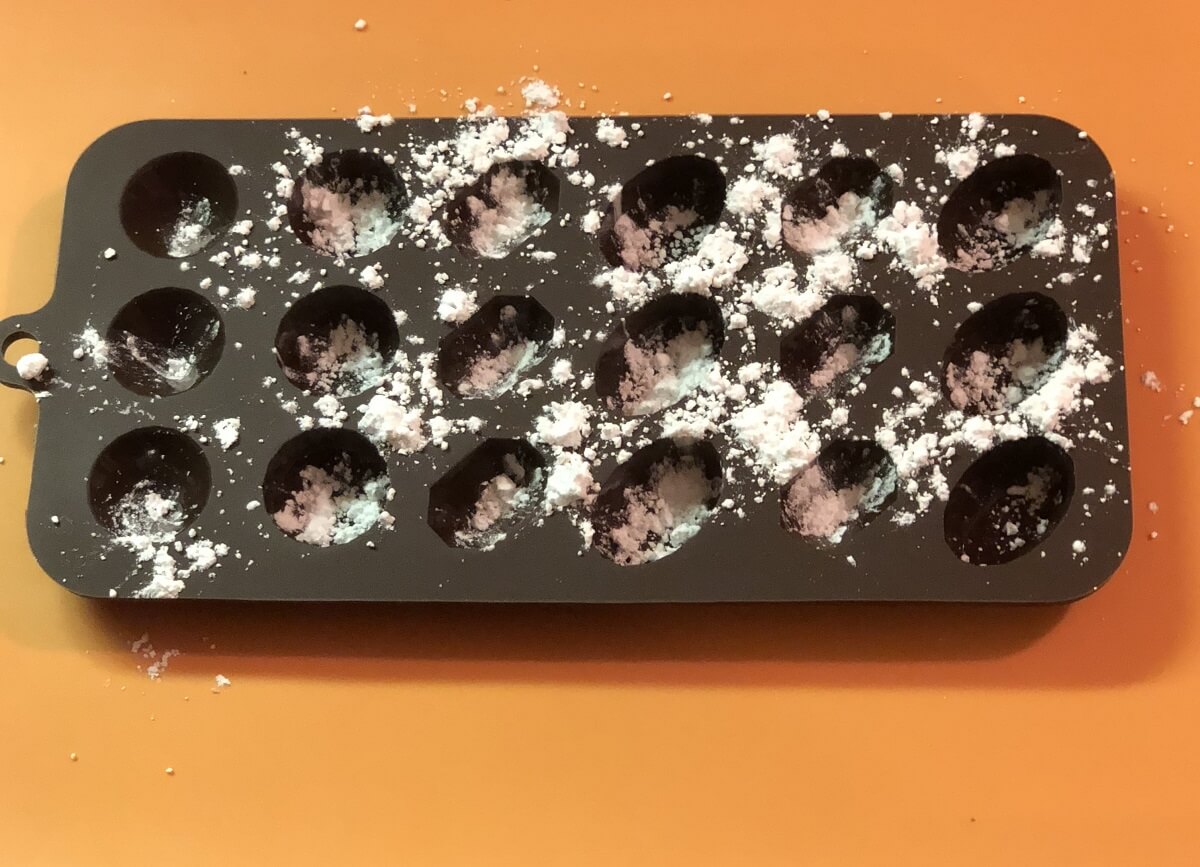
1. Sprinkle your baking mat or silicone mold with powdered sugar.
Prepare silicone molds or a silicone baking mat by sprinkling them with powdered sugar. This will prevent the mixture from sticking and will provide a nice coating so the cough drops do not stick together. You can choose to use silicone molds, spoon small amounts of the liquid into dropped circles on a mat, or pour the liquid onto one sheet.
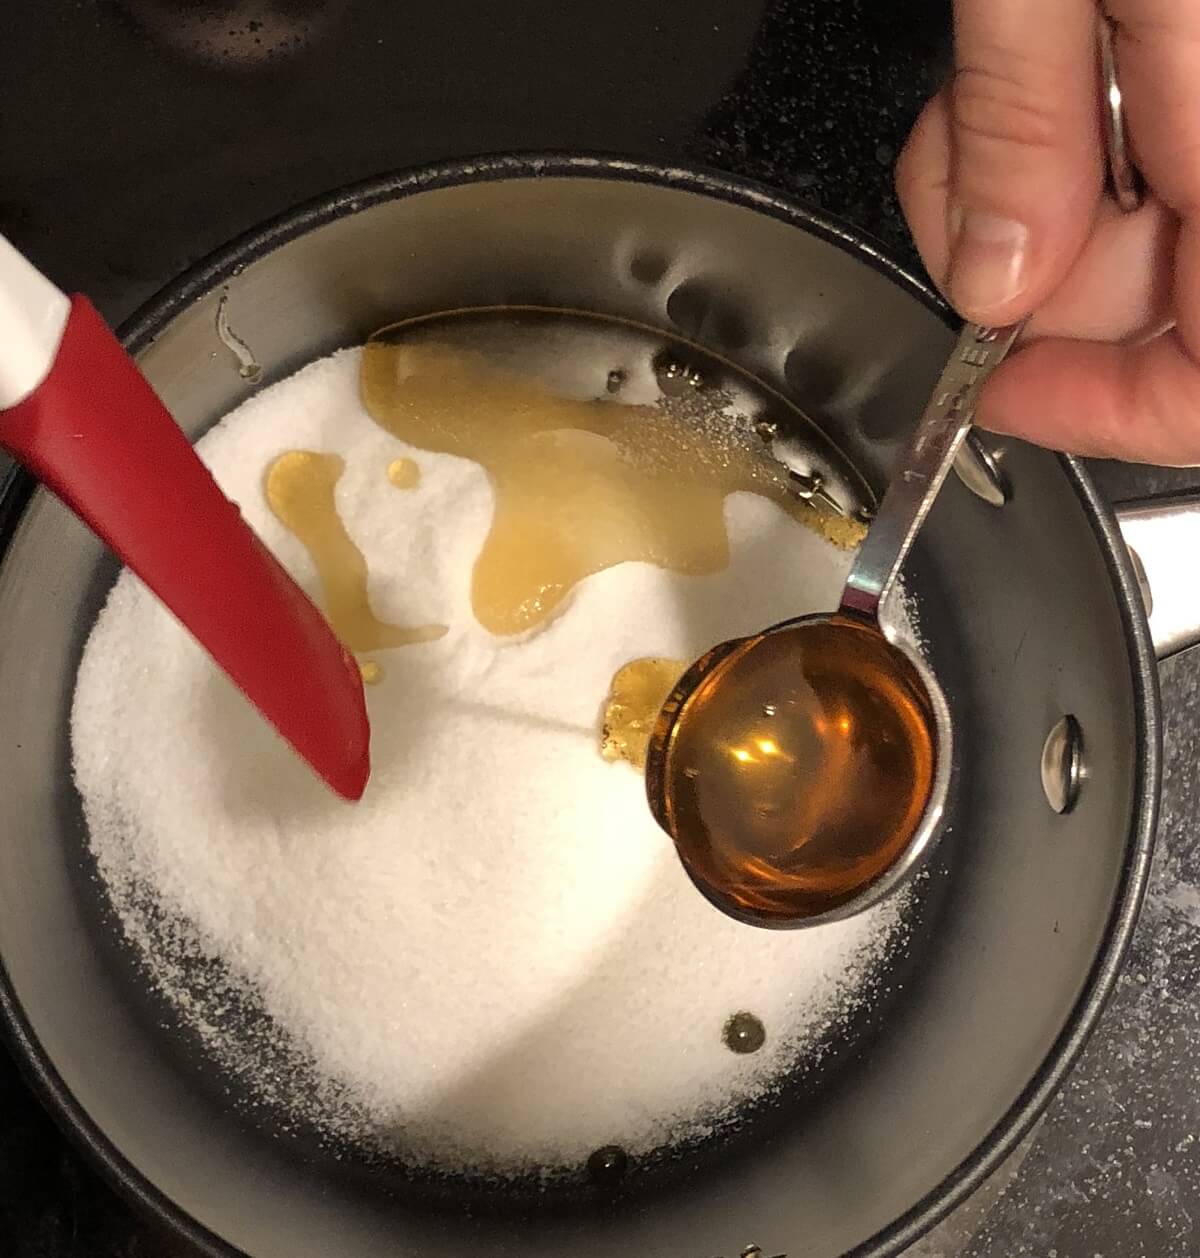
2. Combine your ingredients in a medium saucepan.
Combine white sugar, honey, cherry juice, water, lemon juice, and ginger into a medium sized saucepan. Using a spoon or spatula, make sure you scrape down the sides so that everything dissolves together.
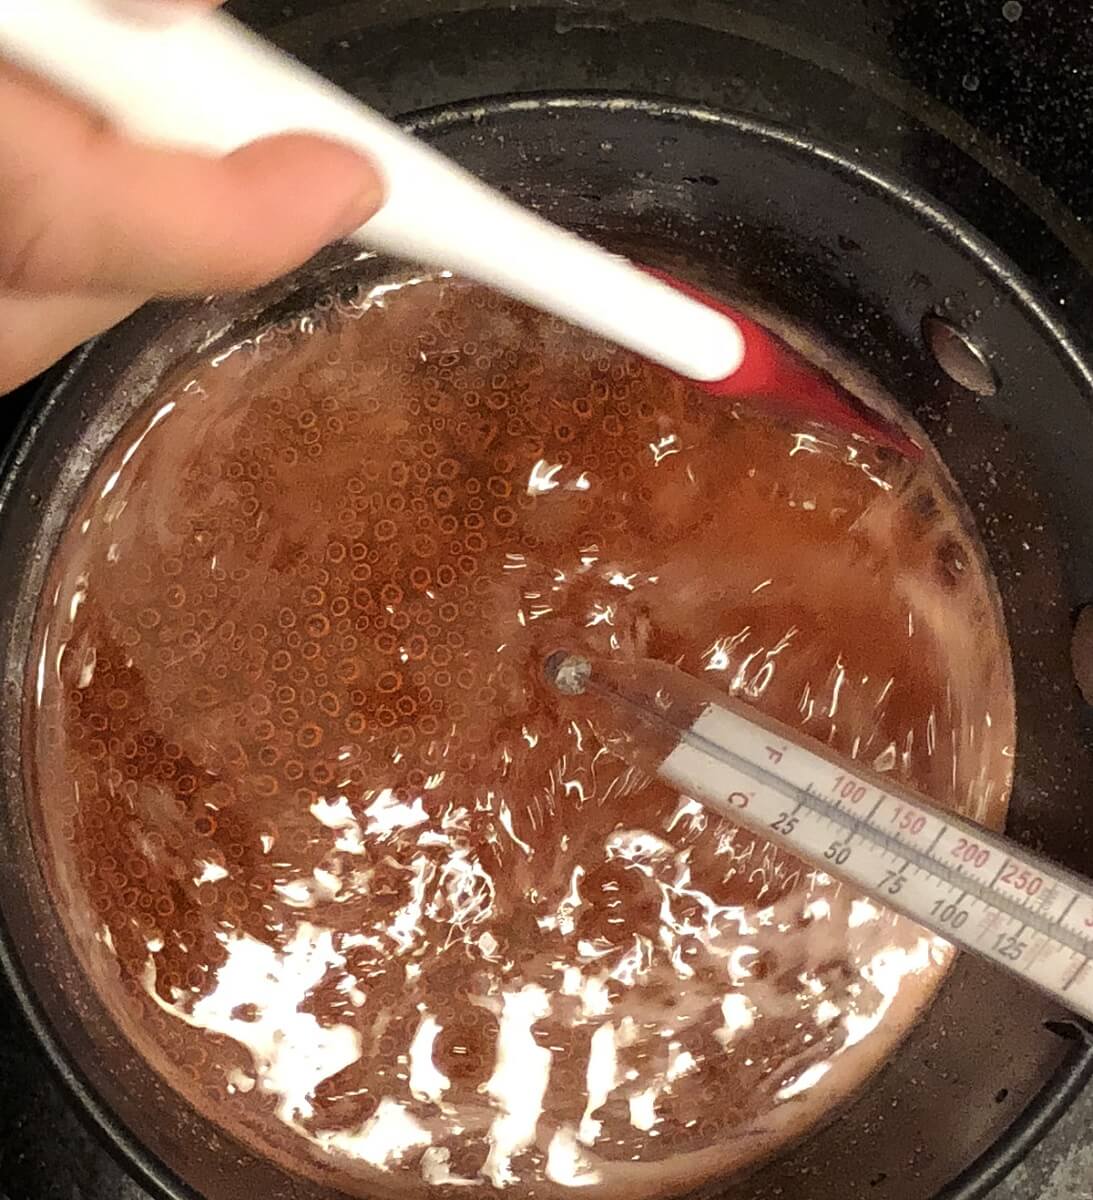
3. Cover and bring to a boil for about 3 minutes, stirring occasionally.
Heat your ingredients on medium-high heat and bring to a boil. Stir to make sure all ingredients are combined. Then attach a candy thermometer to the saucepan and let it come to a boil for about 3 minutes.
4. Uncover and hold at a boil until the temperature reaches 305°F or 150°C.
Once it starts boiling, stop stirring and do not walk away from the stove. This process is quick! Stirring the mixture will cause the sugar to crystallize which will cause your final product to have a grainy texture and not a smooth, glass-like finish.
This is when you need to add the honey or corn syrup to the mixture. These ingredients are made of glucose and can help repair the crystallization of sugar. We recommend honey for this recipe because its natural soothing properties are great for cough drops. Hold at a boil until the thermometer reaches “Hard Crack Temp” which is 305°F or 150°C.
5. Test your candy consistency.
Once the mixture has reached 300° F, the liquid will be bubbly and foamy. Carefully spoon out a very small amount of the liquid and drop it into a glass of ice water. If the candy is hard and not chewy, you can take it off of the heat. If it’s chewy, continue boiling it but do not raise the temperature.
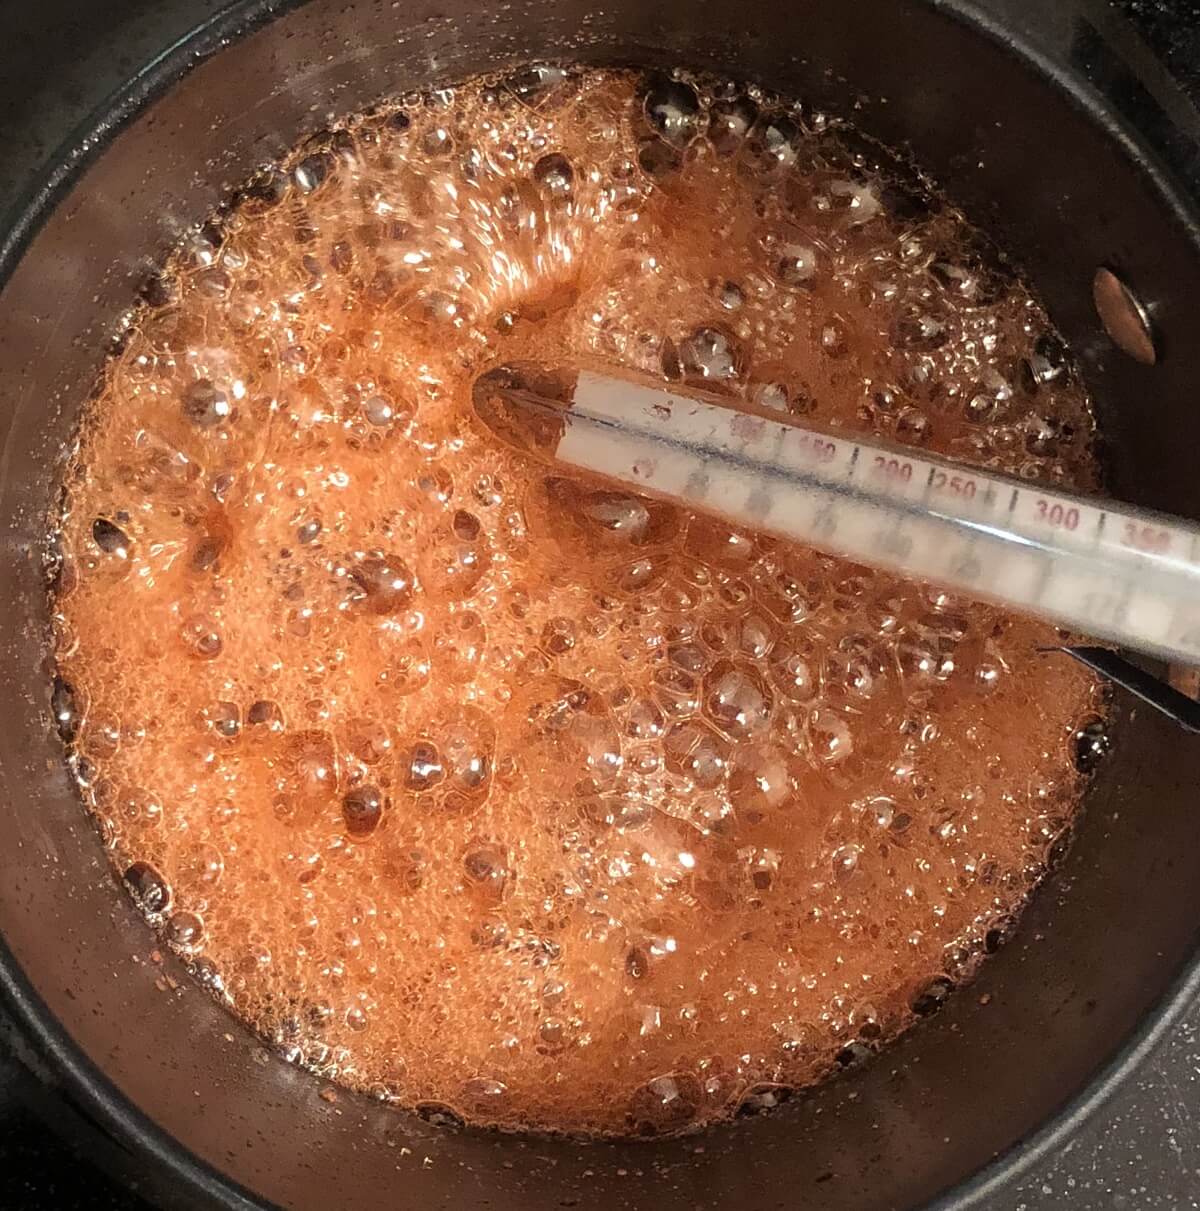
6. Pour the mixture into the molds.
Once you achieve the desired consistency, take the saucepan off of the heat and let it stop boiling. If you have chosen to use silicone molds, you can pour the liquid carefully into the mold shapes.
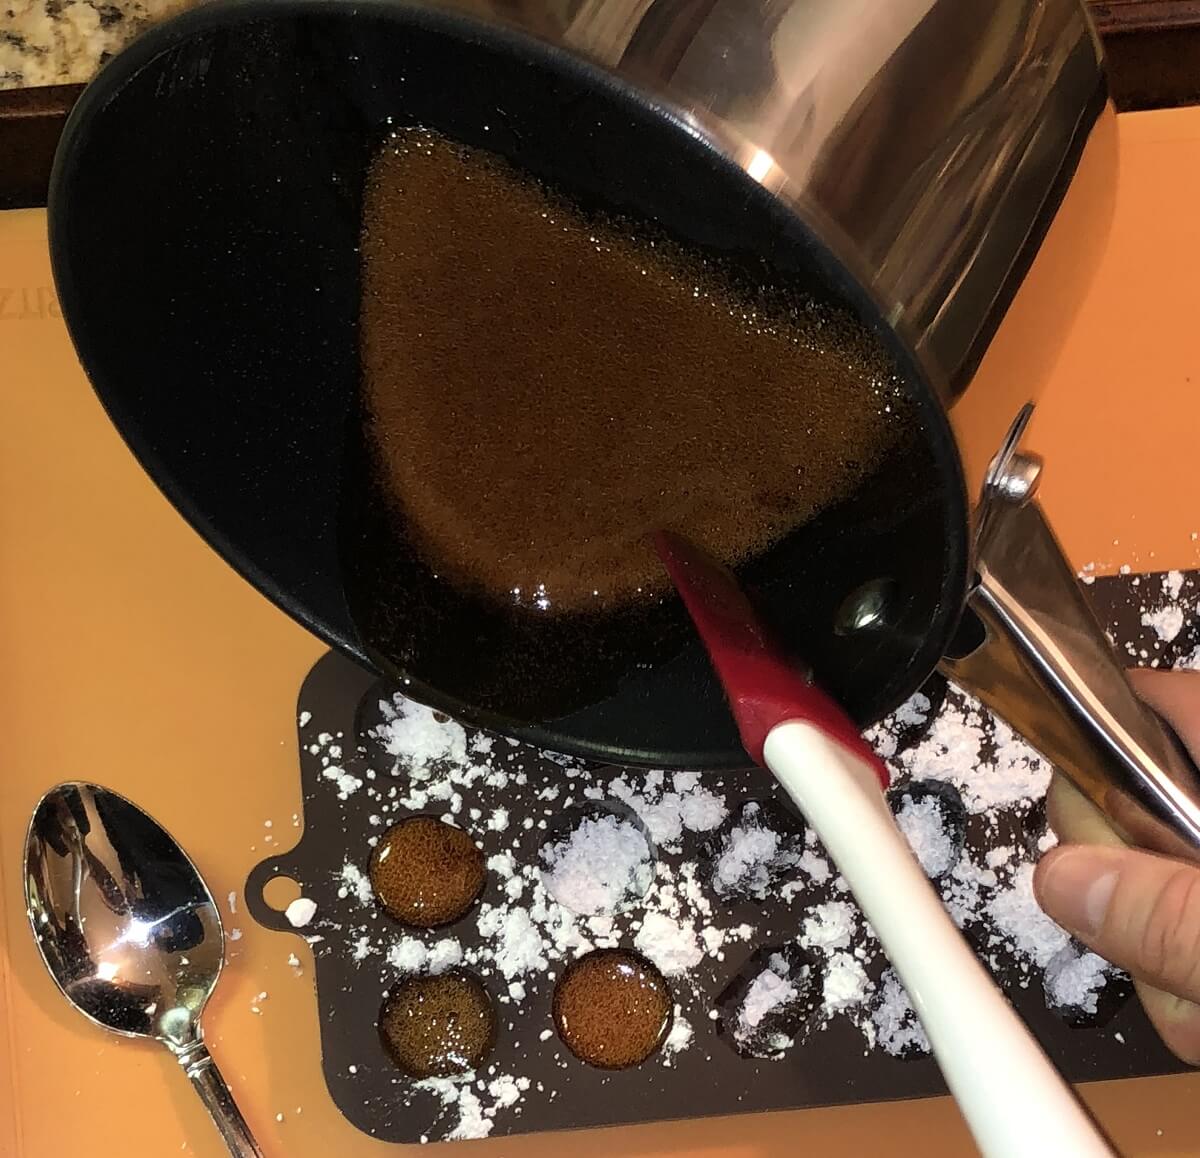
7. Let your mixture cool.
Wait for drops to cool and harden. You want to give them at least a good hour to set completely.
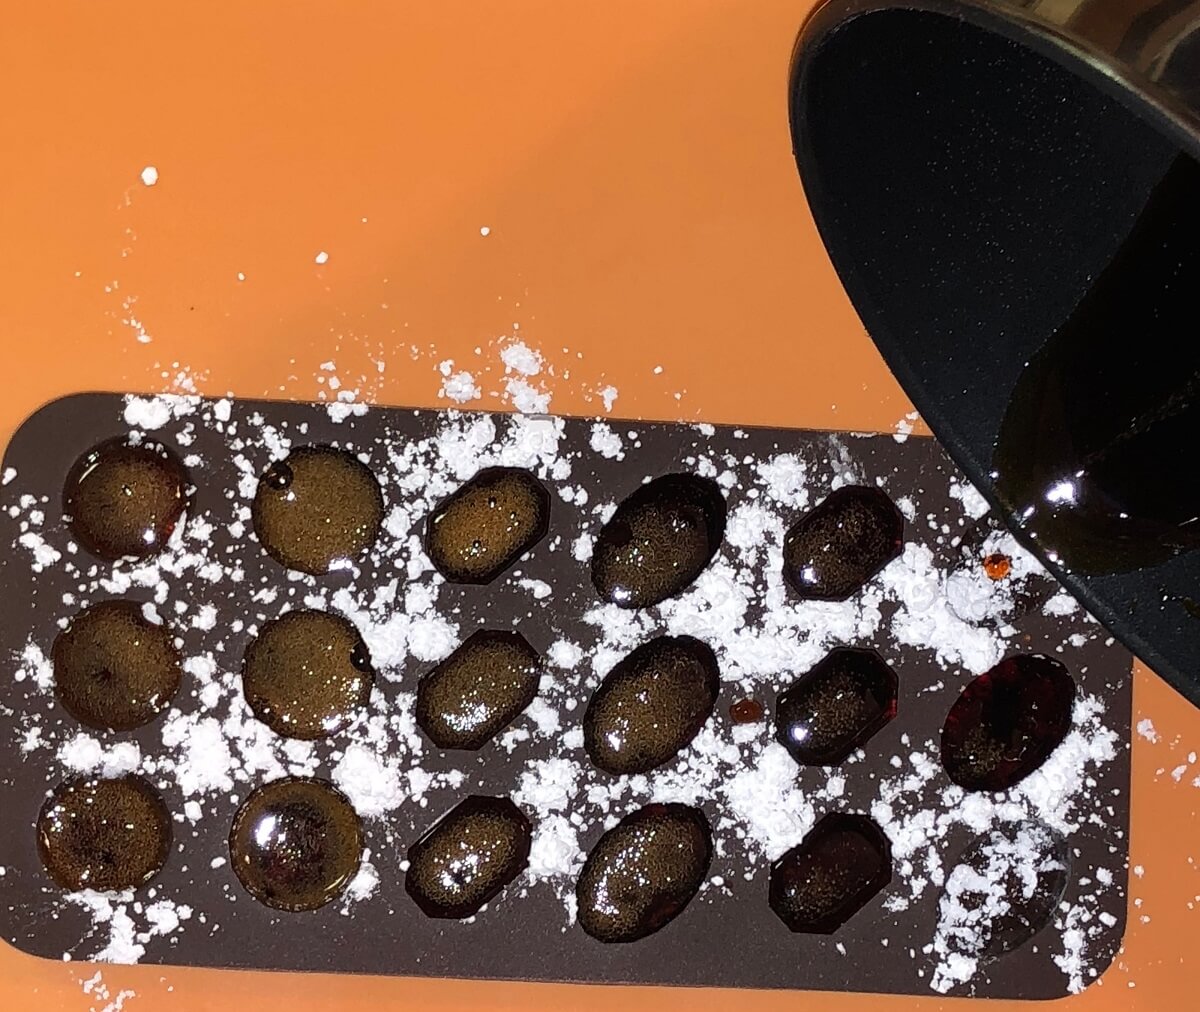
8. Sprinkle tops with powdered sugar.
Once cooled, sprinkle the top with powdered sugar. To remove them, you can either pop them out of the silicone molds or mat, or crack the sheet of hardened candy into bite-size pieces.
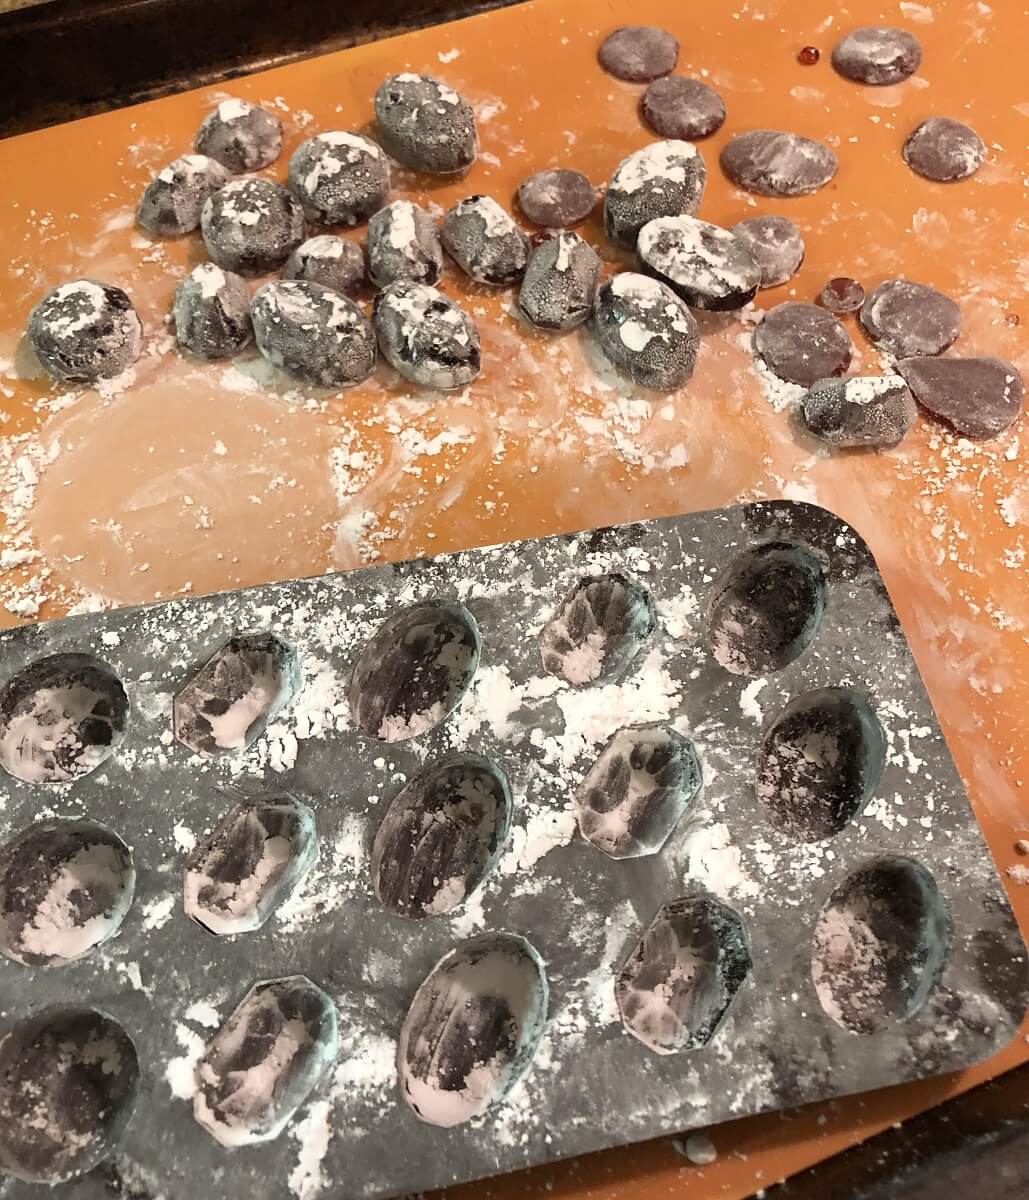
9. Wrap in wax paper and store.
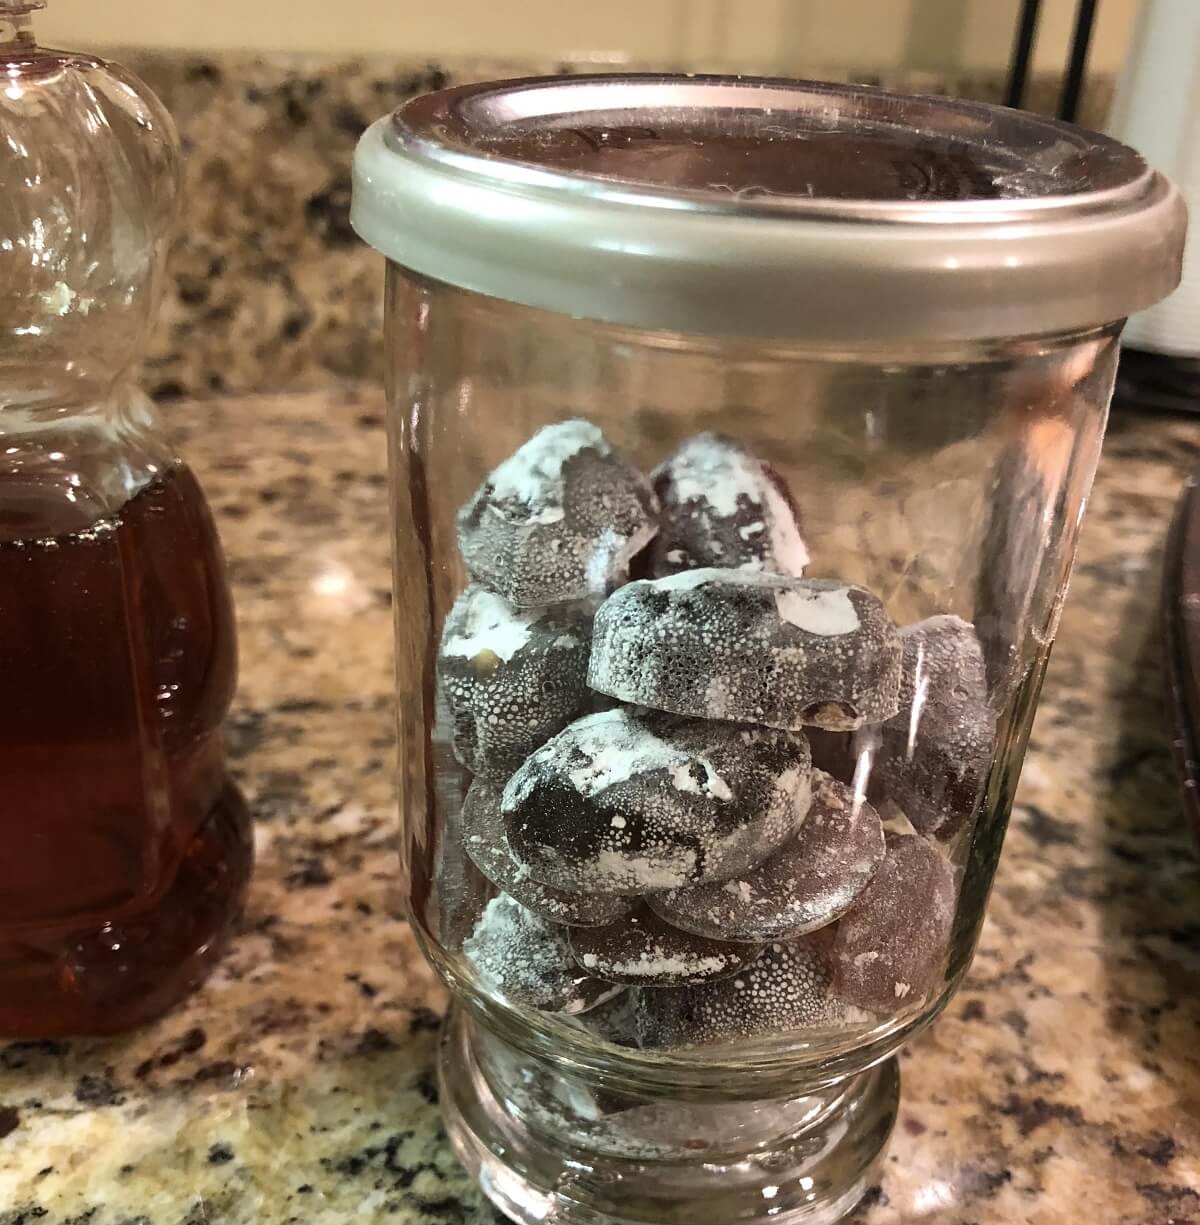
Wrap in wax paper or keep in a sealed container for storage. The cough drops can be stored in a dry cool place for several weeks or months. A simple glass mason jar works for me as they don’t usually last long enough for me to worry about them going bad.
Tips To Keep In Mind
We tried several recipes and variations that used honey as the primary or only source of sugar. There were several reasons we decided to cut back the honey and use some white sugar instead:
-
- It is really hard to get honey to a hard crack stage without it becoming chewy.
- The taste of cooked honey can get a little overwhelming and can overtake the flavor. It is not a bad taste but it is a strong one.
- Using white sugar helps keep the regular honey flavor you would expect.
The molds I have are in the shape of jewels and are so pretty when you have a nice translucent color. You just want to make sure that you are using an appropriate size for cough drops and they do not come out too big.
Since you are essentially making hard candies with this recipe, once you get the technique down the possibilities are endless. Add some essential oils or some herbs from your garden such as lavender, mint, or thyme. You can also use the same technique to make hard candies with lemon, cinnamon, or fruit flavors. Enjoy!


















Hello and thank you for this recipe!
I intend to make my first batch exactly as suggested. However, for future variations, I hope to add flavor extracts. (My husband only likes cherry cough drops and the kids and I are over them.) Extract is typically stirred in after a mixture is removed from the heat to prevent evaporation. In this recipe, should I add it with the honey instead to prevent crystallization?