In this post, guest author Jay Eisenberg details how he and his wife built their earthbag house for $6,164, completed on Oahu recently in 2017.
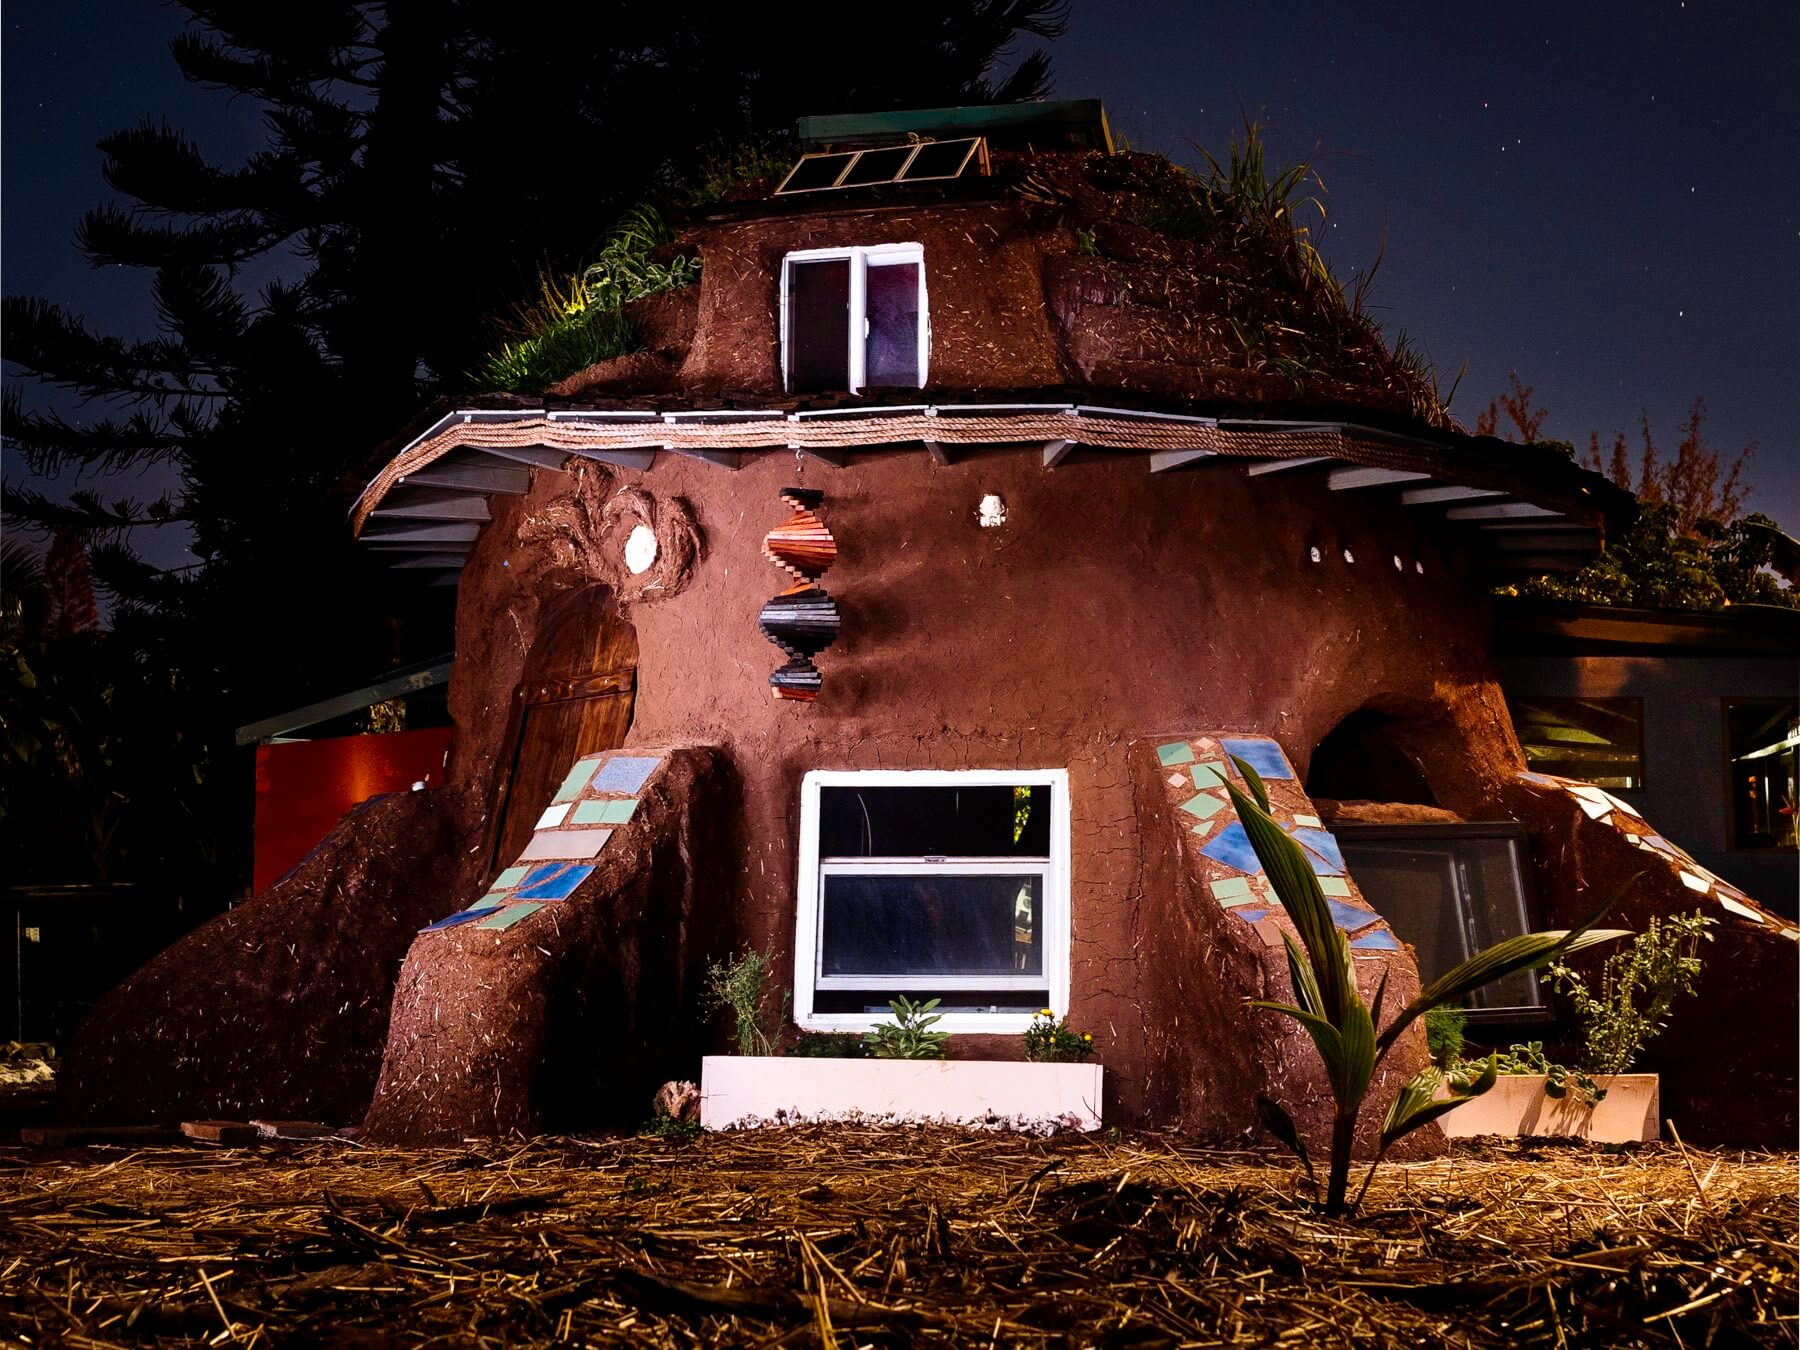
For years I had dreamed of building my own home and not being enslaved with a mortgage. While living in New Zealand I was connected with Shaye Boddington of DIY House Building. She suggested I read The Hand-Sculpted House: A Philosophical and Practical Guide to Building a Cob Cottage.
I moved to Florida where I met my wife Carissa Merceri. We attended a 5-day “Learn to Build with Cob Workshop” in Kentucky put on by Disputanta Cob. On our honeymoon in San Juan del Sur, Nicaragua we met with Austin Drill of Casa de Tierra. He suggested we read Earthbag Building: The Tools, Tricks and Techniques.
We then moved to Hawai’i where the journey really started to take off.
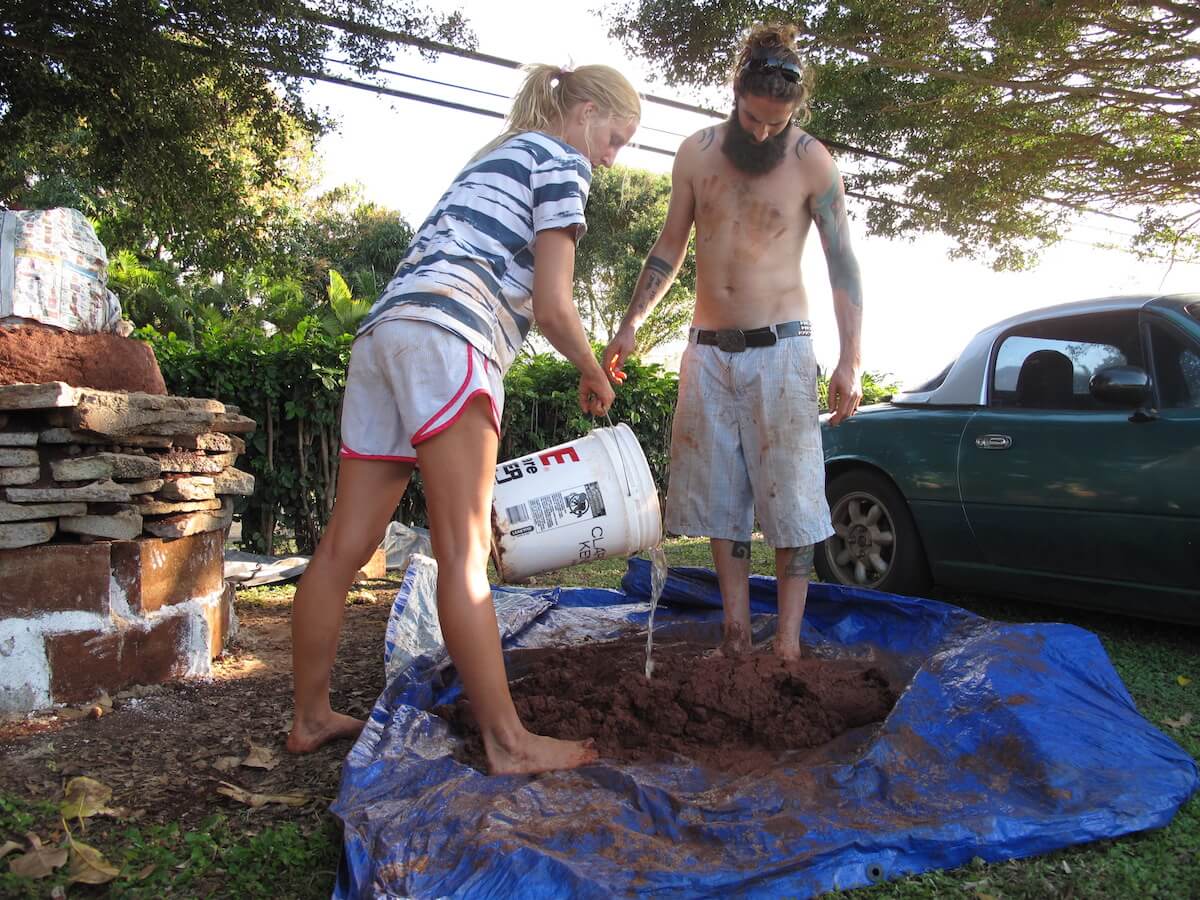
After arriving, we decided to build a cob pizza oven to test out the local building materials.
Here we are mixing up a batch of cob.
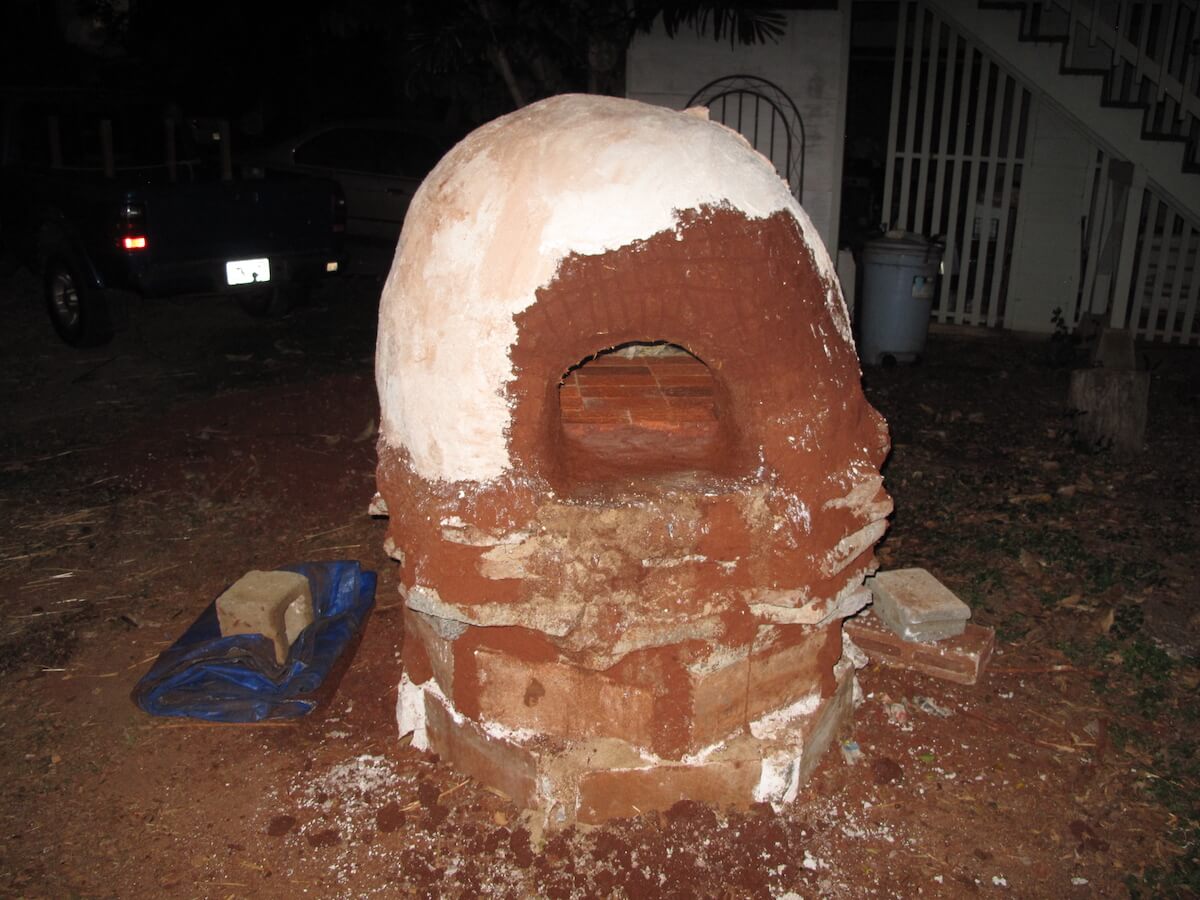
The pizza oven partially coated with lime plaster for weatherproofing.
Through building the pizza oven we learned that our ideal mixture was 75% sand to 25% red dirt. We chose to build with Earthbags rather than cob because of the high cost of straw on the island. The next step was to find landowners willing to let us build the first earthbag dome on the island of Oahu.
That actually didn’t prove to be too challenging.
It was then to the drawing boards for the actual design. We decided to go with a 12’ interior diameter floor plan which gave us just over 113 sq. ft. plus the loft with an attached open-air bathroom and kitchen. We designed the layout once we had sourced used windows that would provide us with all the natural light we needed. We built the entire home for less than $7,000.
Here is time-lapse video of the project.
Read on to see how we did it.
Preparing The Site
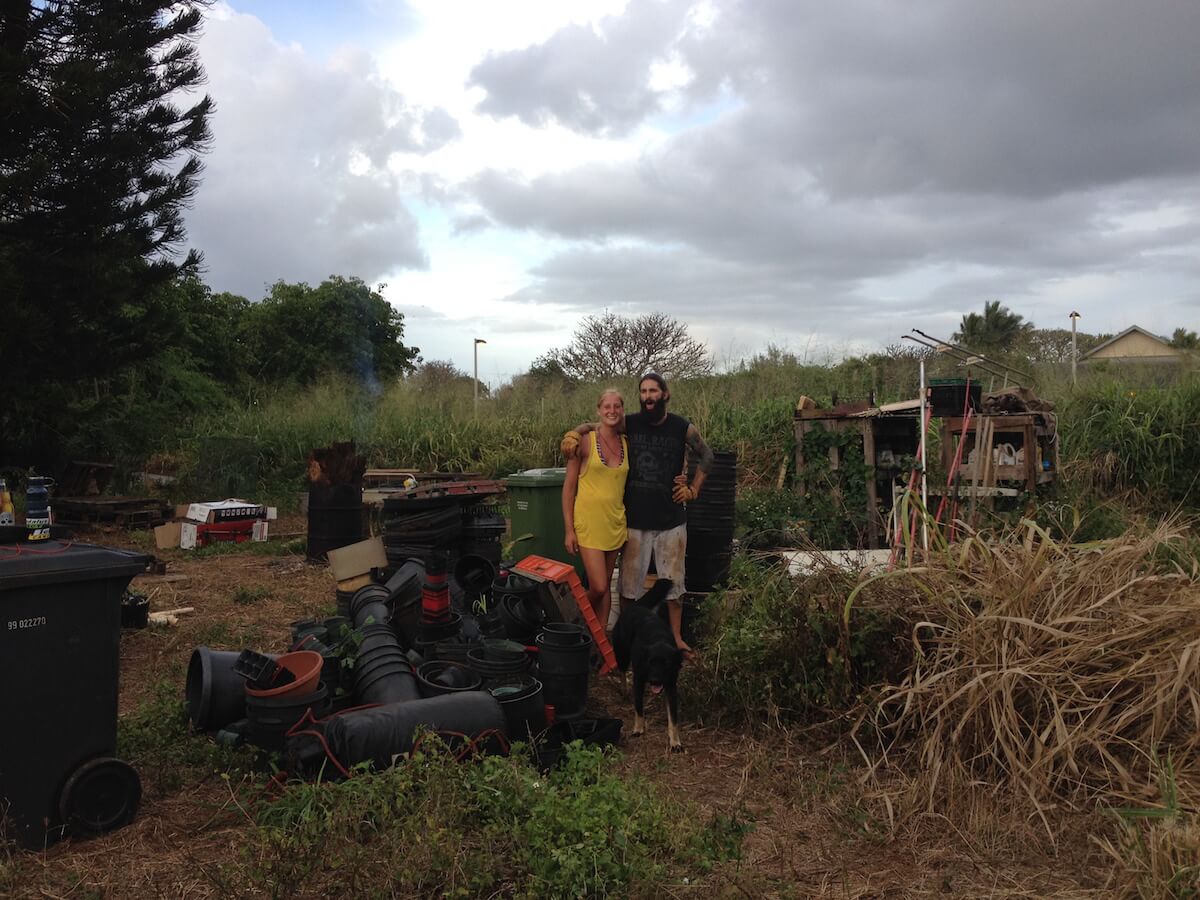
First, we had to clear the debris where the home would be built.
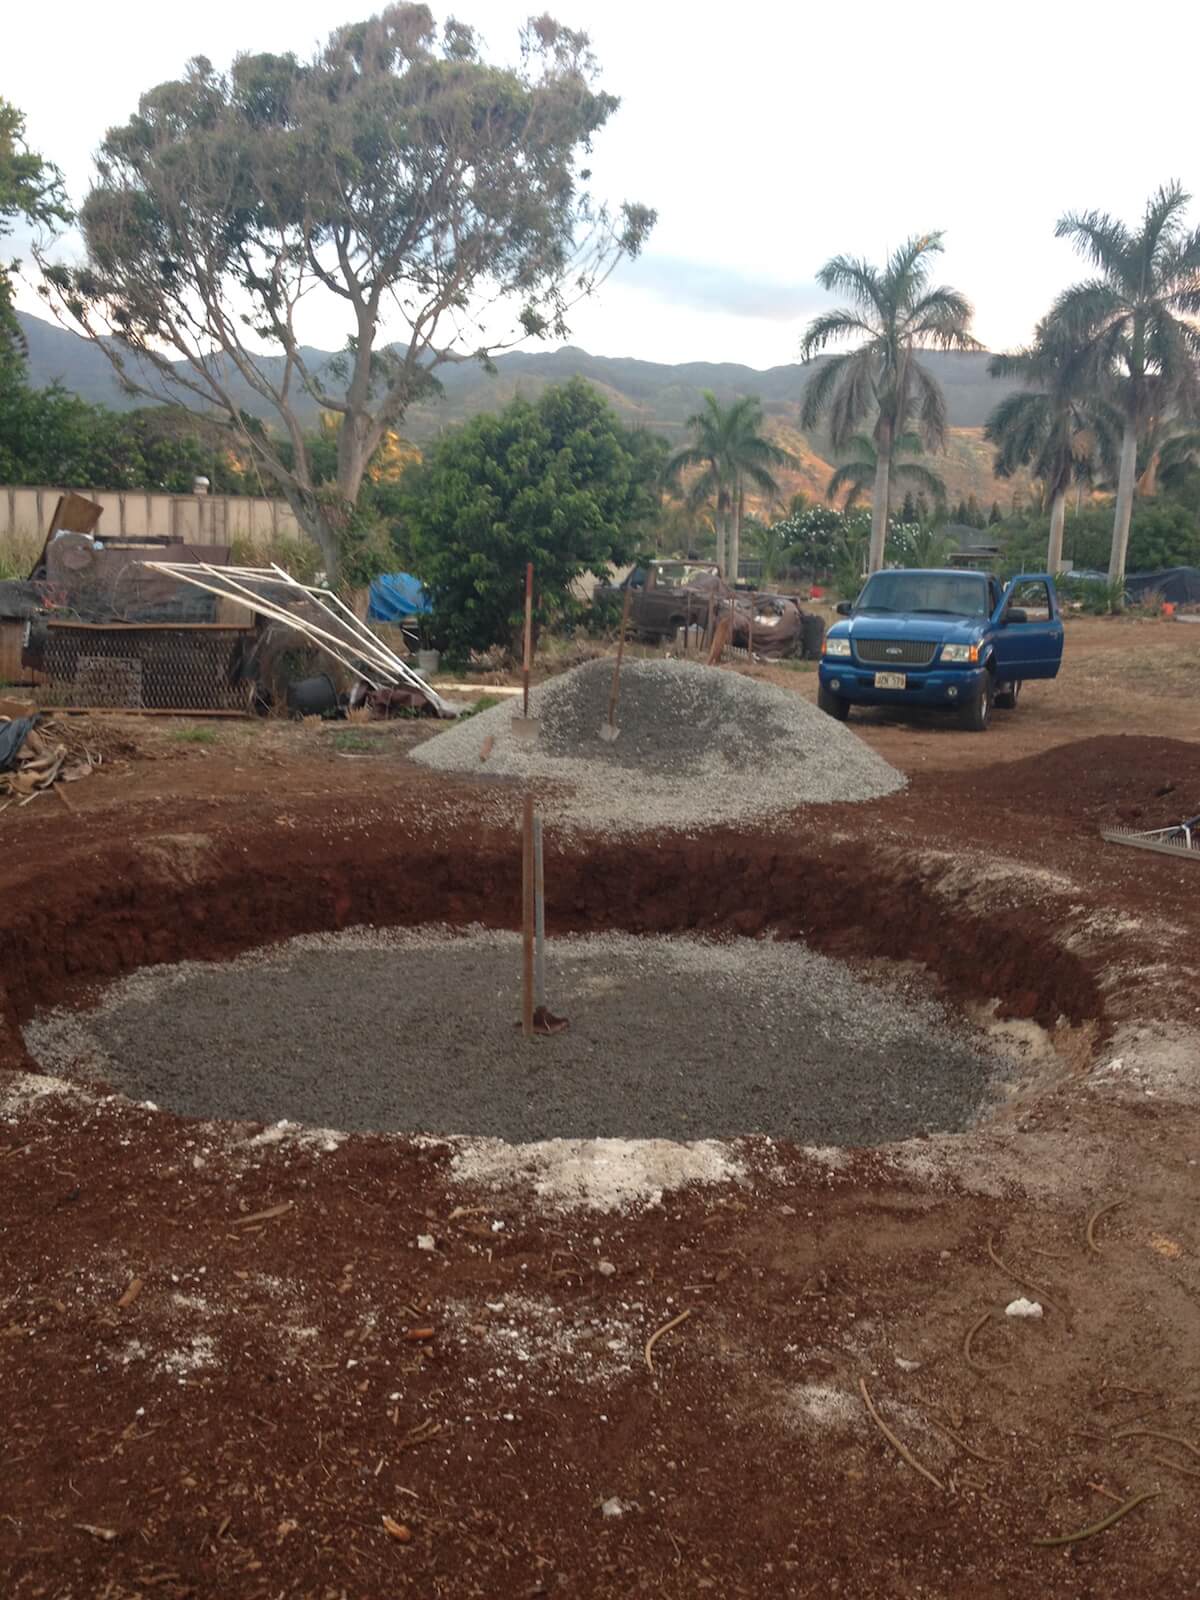
We decided to sink the house two feet into the ground. This was so we could use dirt from the site rather than having to source as much offsite. We poured a layer of gravel in the bottom of the hole for drainage.
Building The Structure
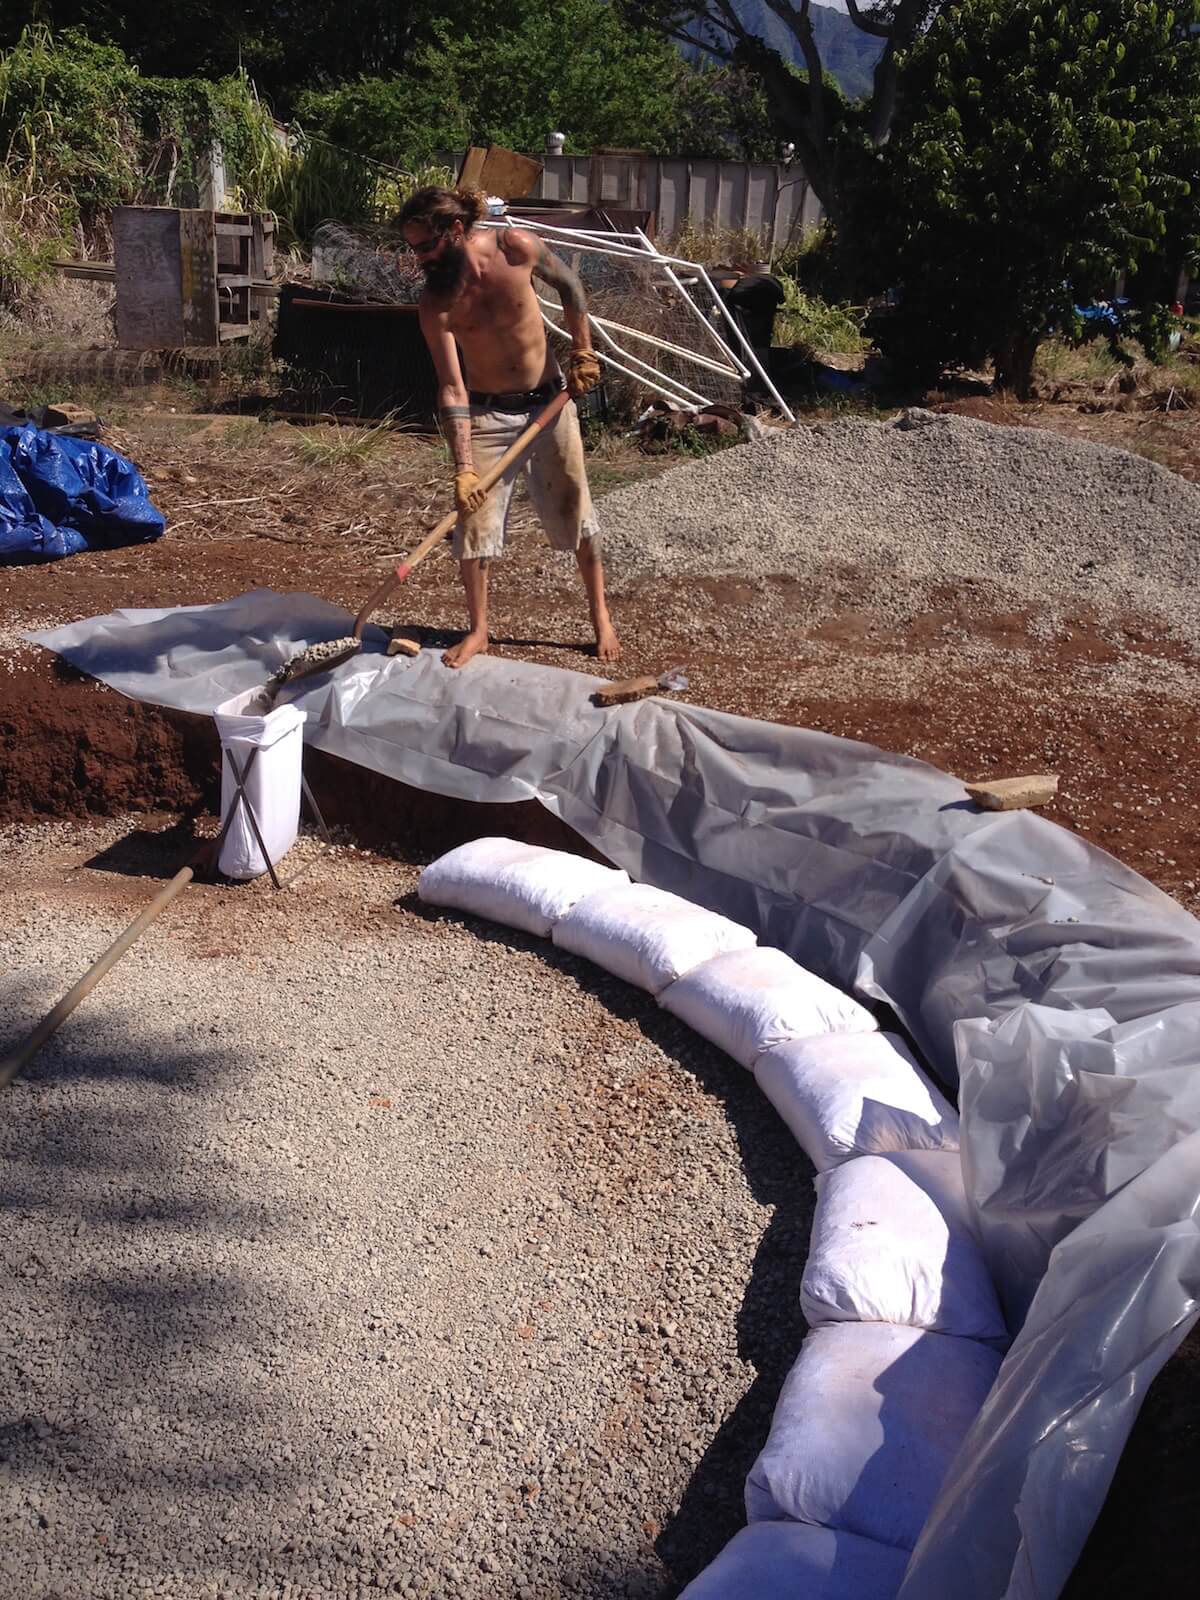
We put a vapor barrier in place. We then laid the first row of bags. They are filled with gravel and then tamped.
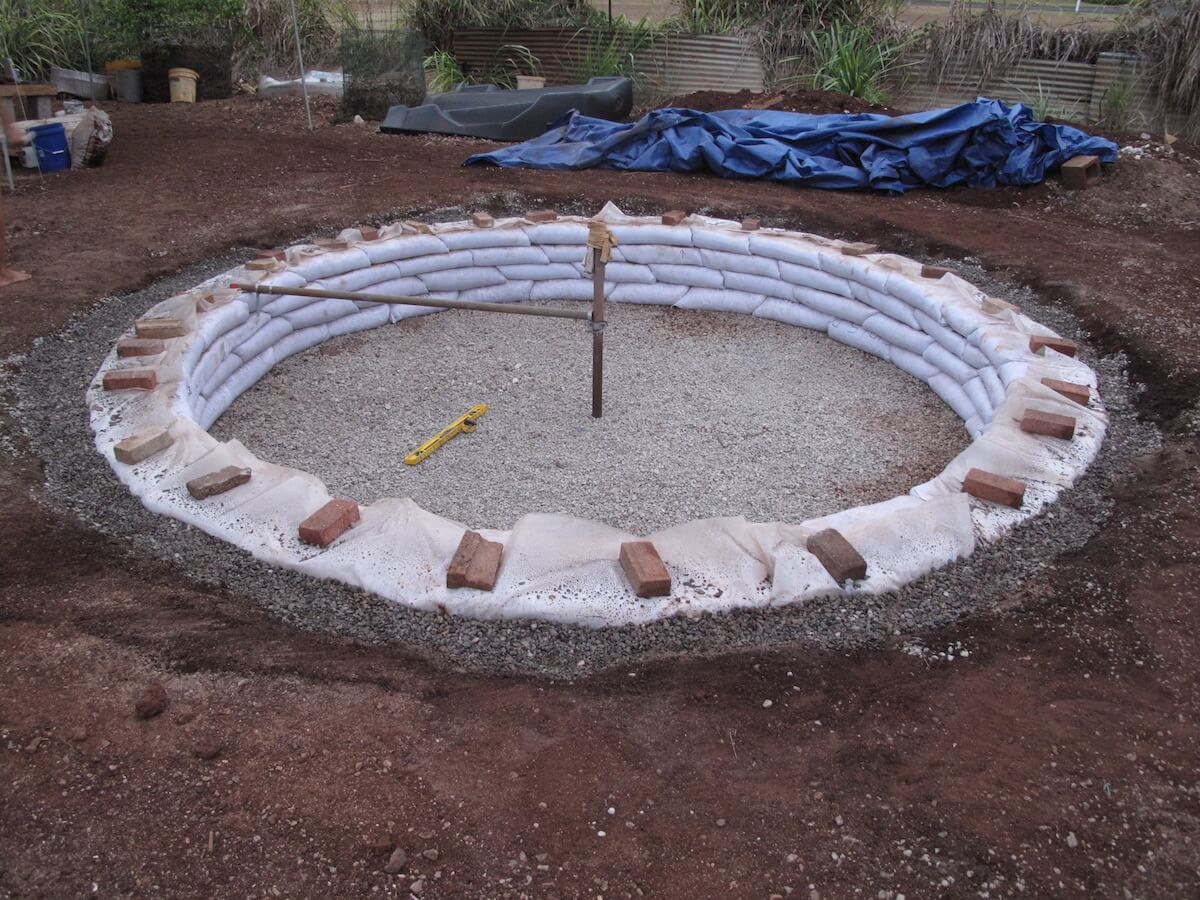
Subsequent layers were filled with the moistened mixture of sand\clay and then tamped. In between each row lays two strands of 4 point barbed wire which acts as Velcro and tensile strength for the rows.
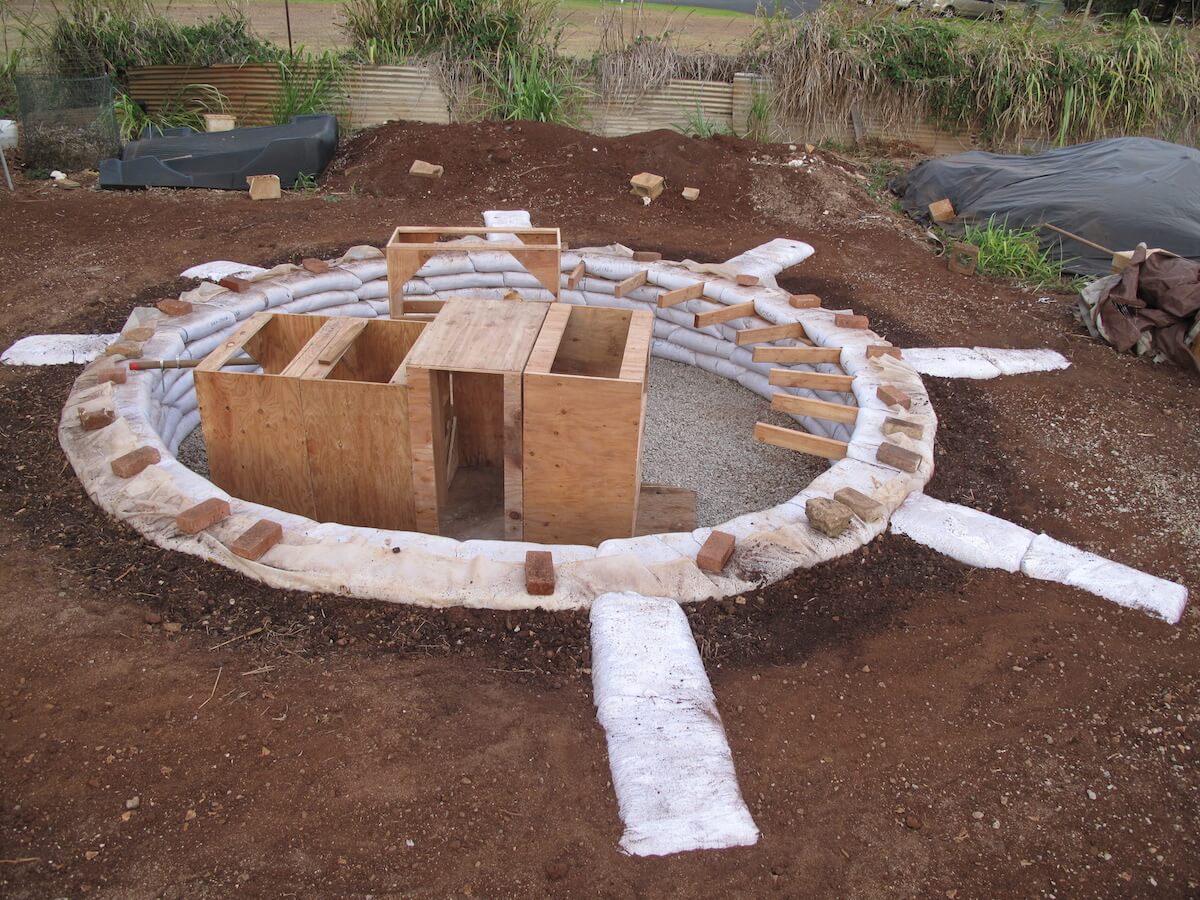
Here you can see 2×4’s sticking out of the wall. These are supports for the bench that went along the window. We built window and door forms from wood salvaged from a 7\11 construction site.
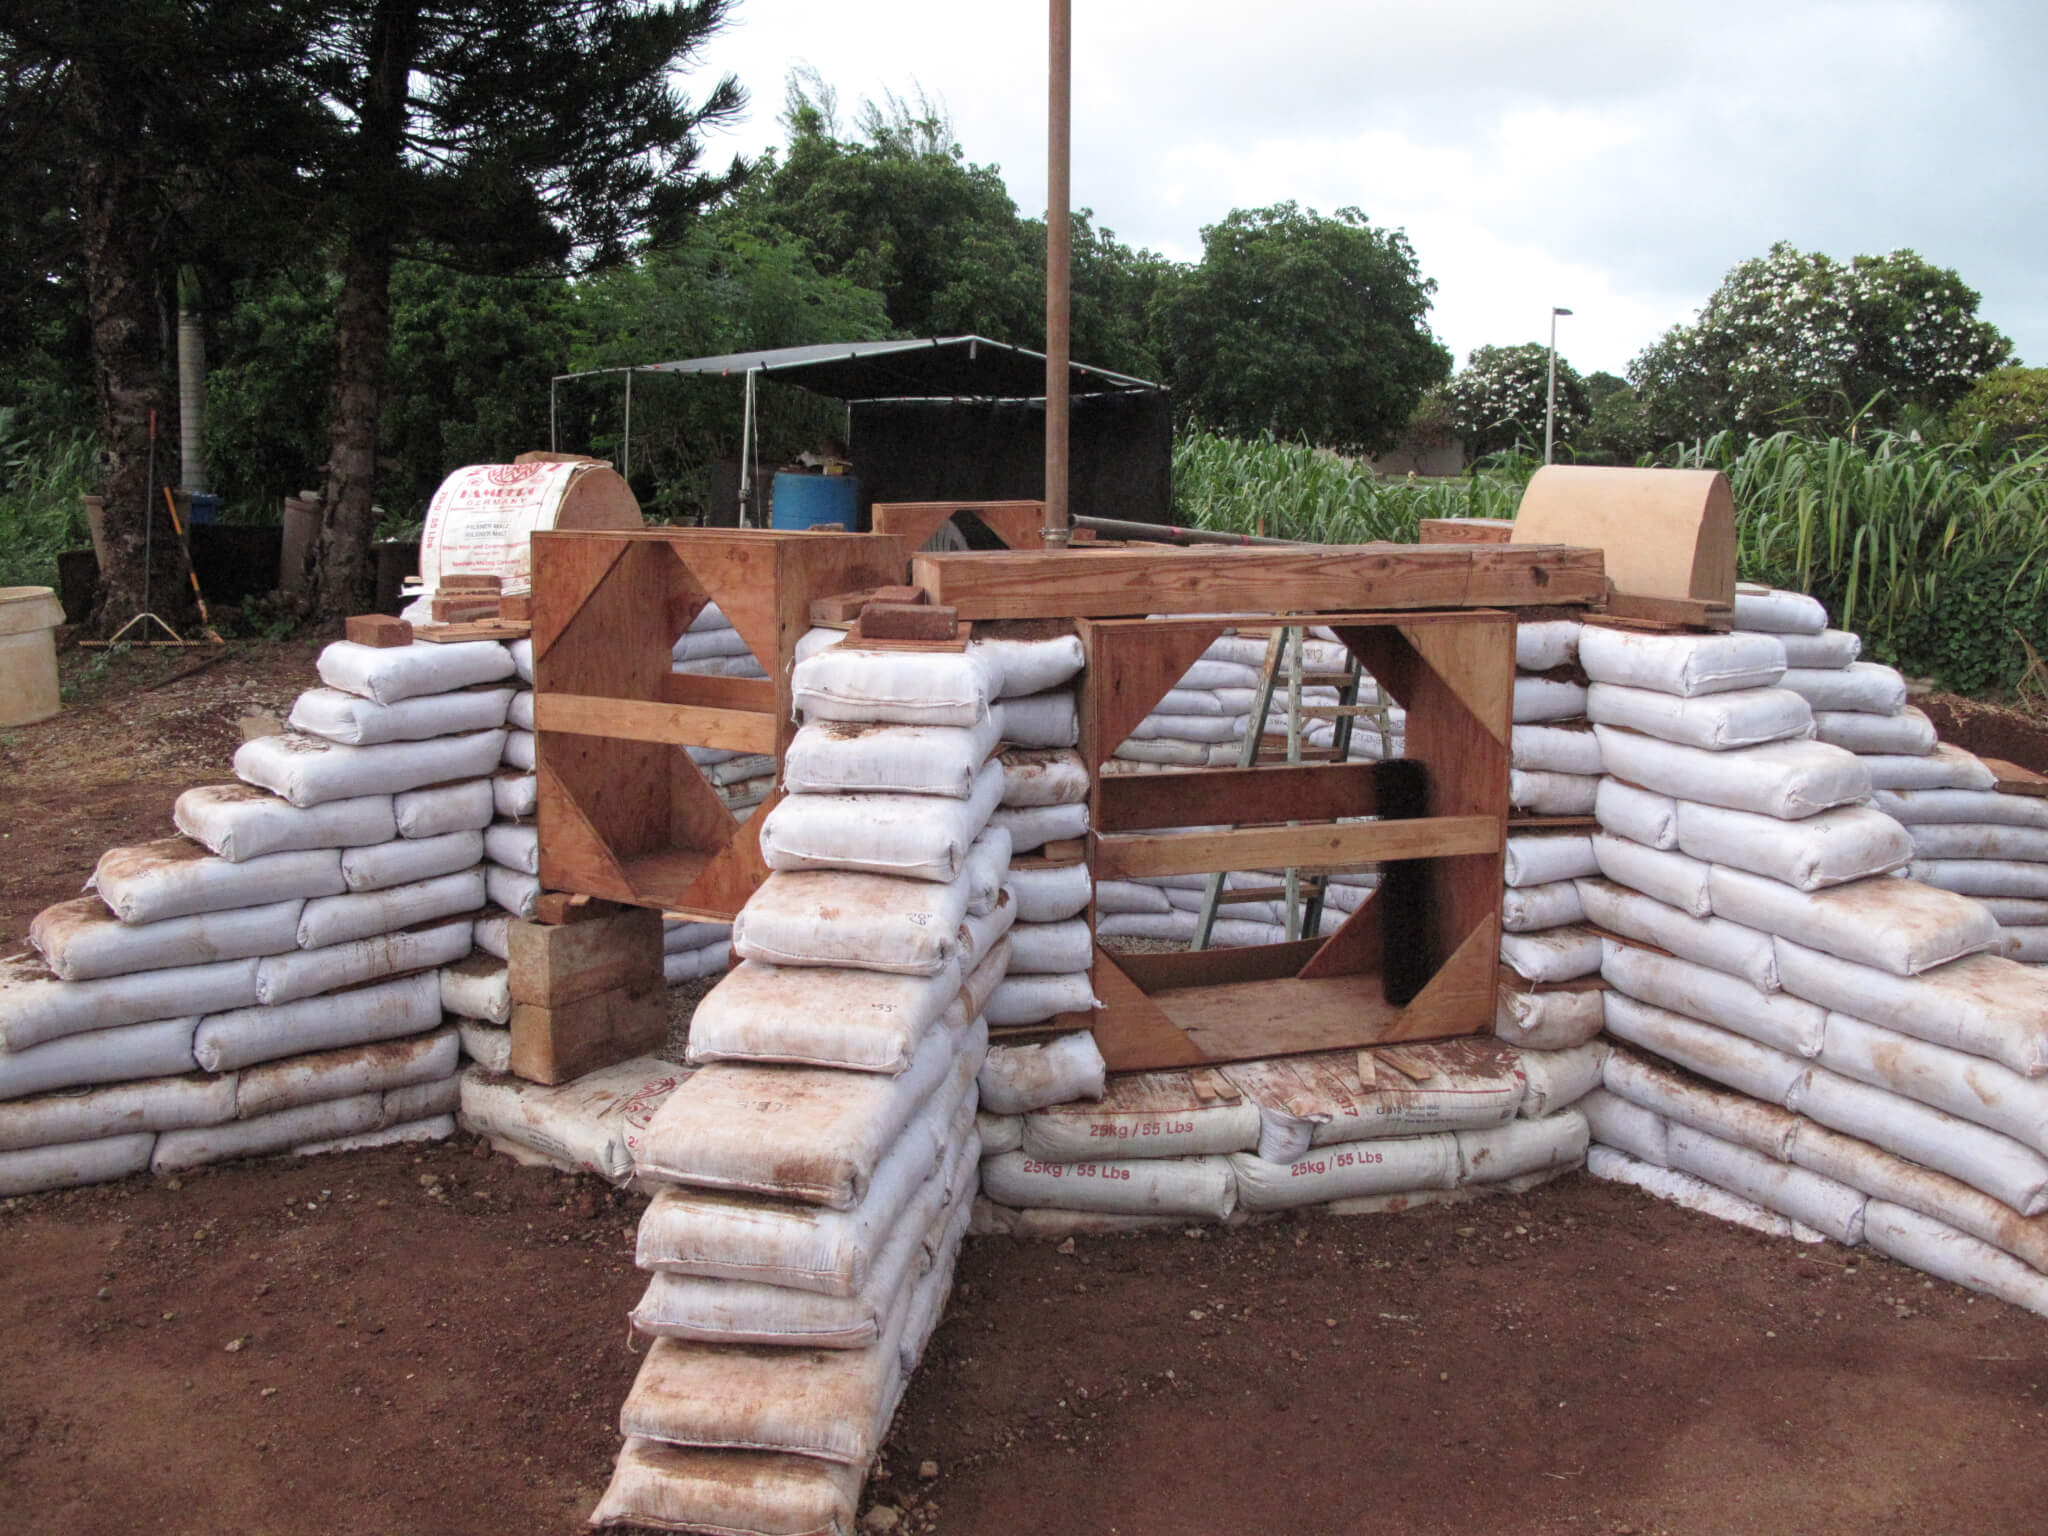
Here you can see window and door forms in place. The compass is used to maintain levelness of each row as well as making sure step-ins are correct. The buttresses create mass in between the windows and doors. Lintels support the bags above the window. The wood for the lintels came from a Reused building material warehouse.
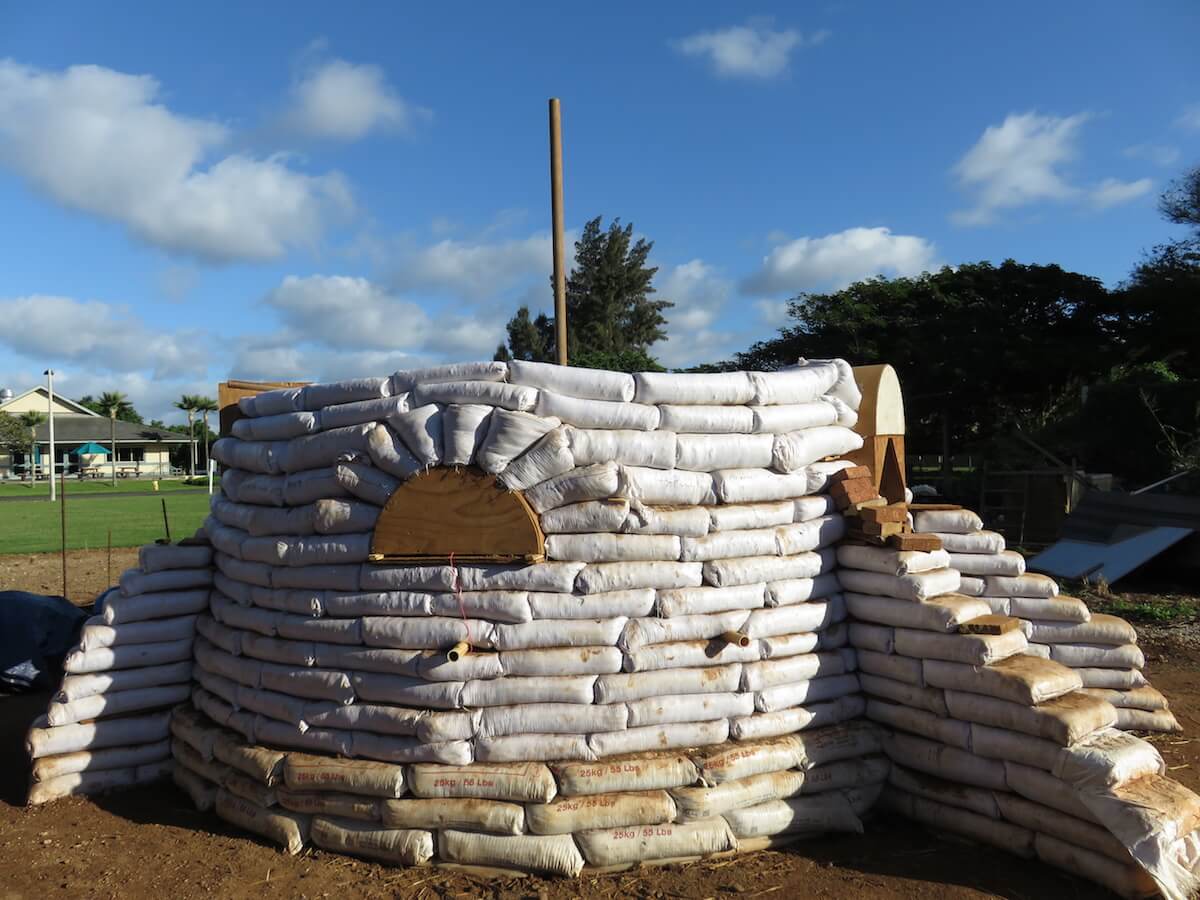
We used fan bags to create the support for the archways.
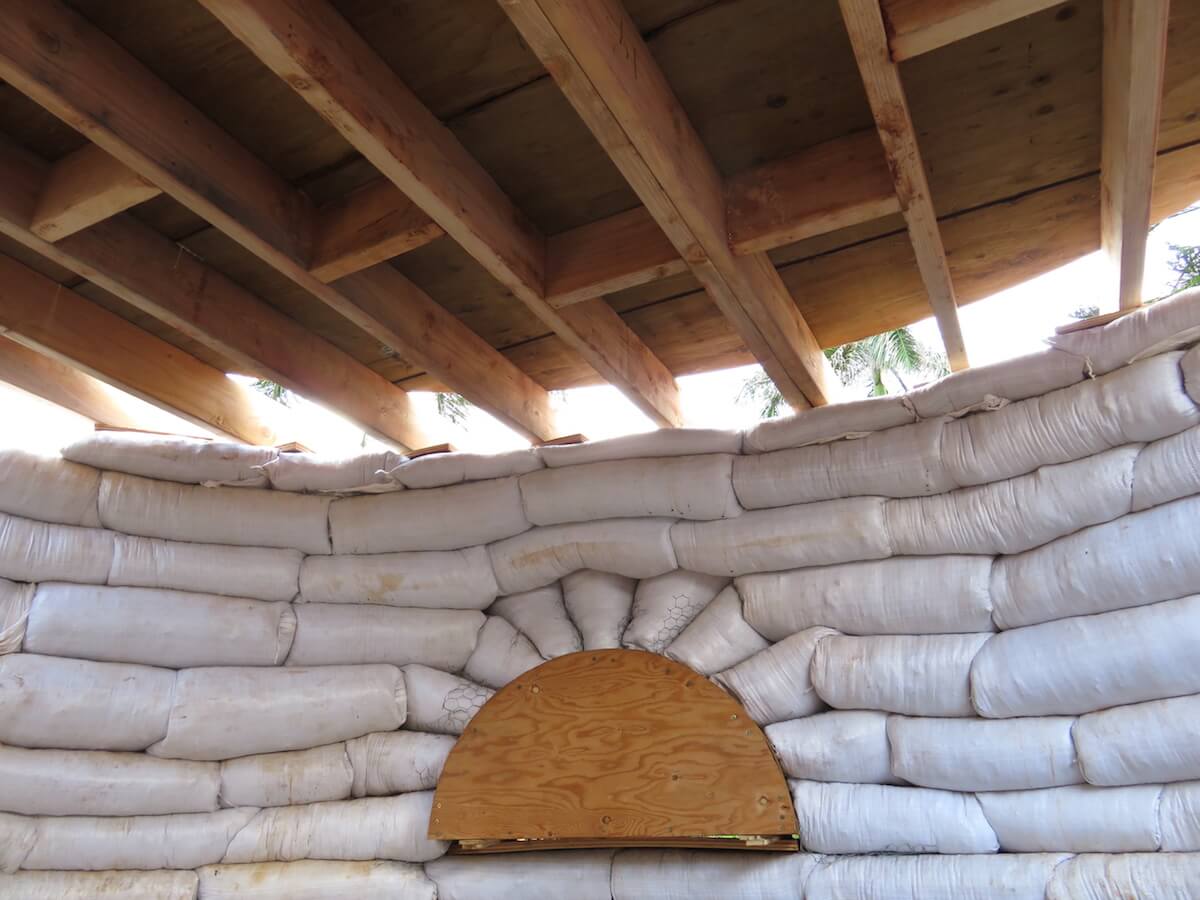
We then installed the loft.
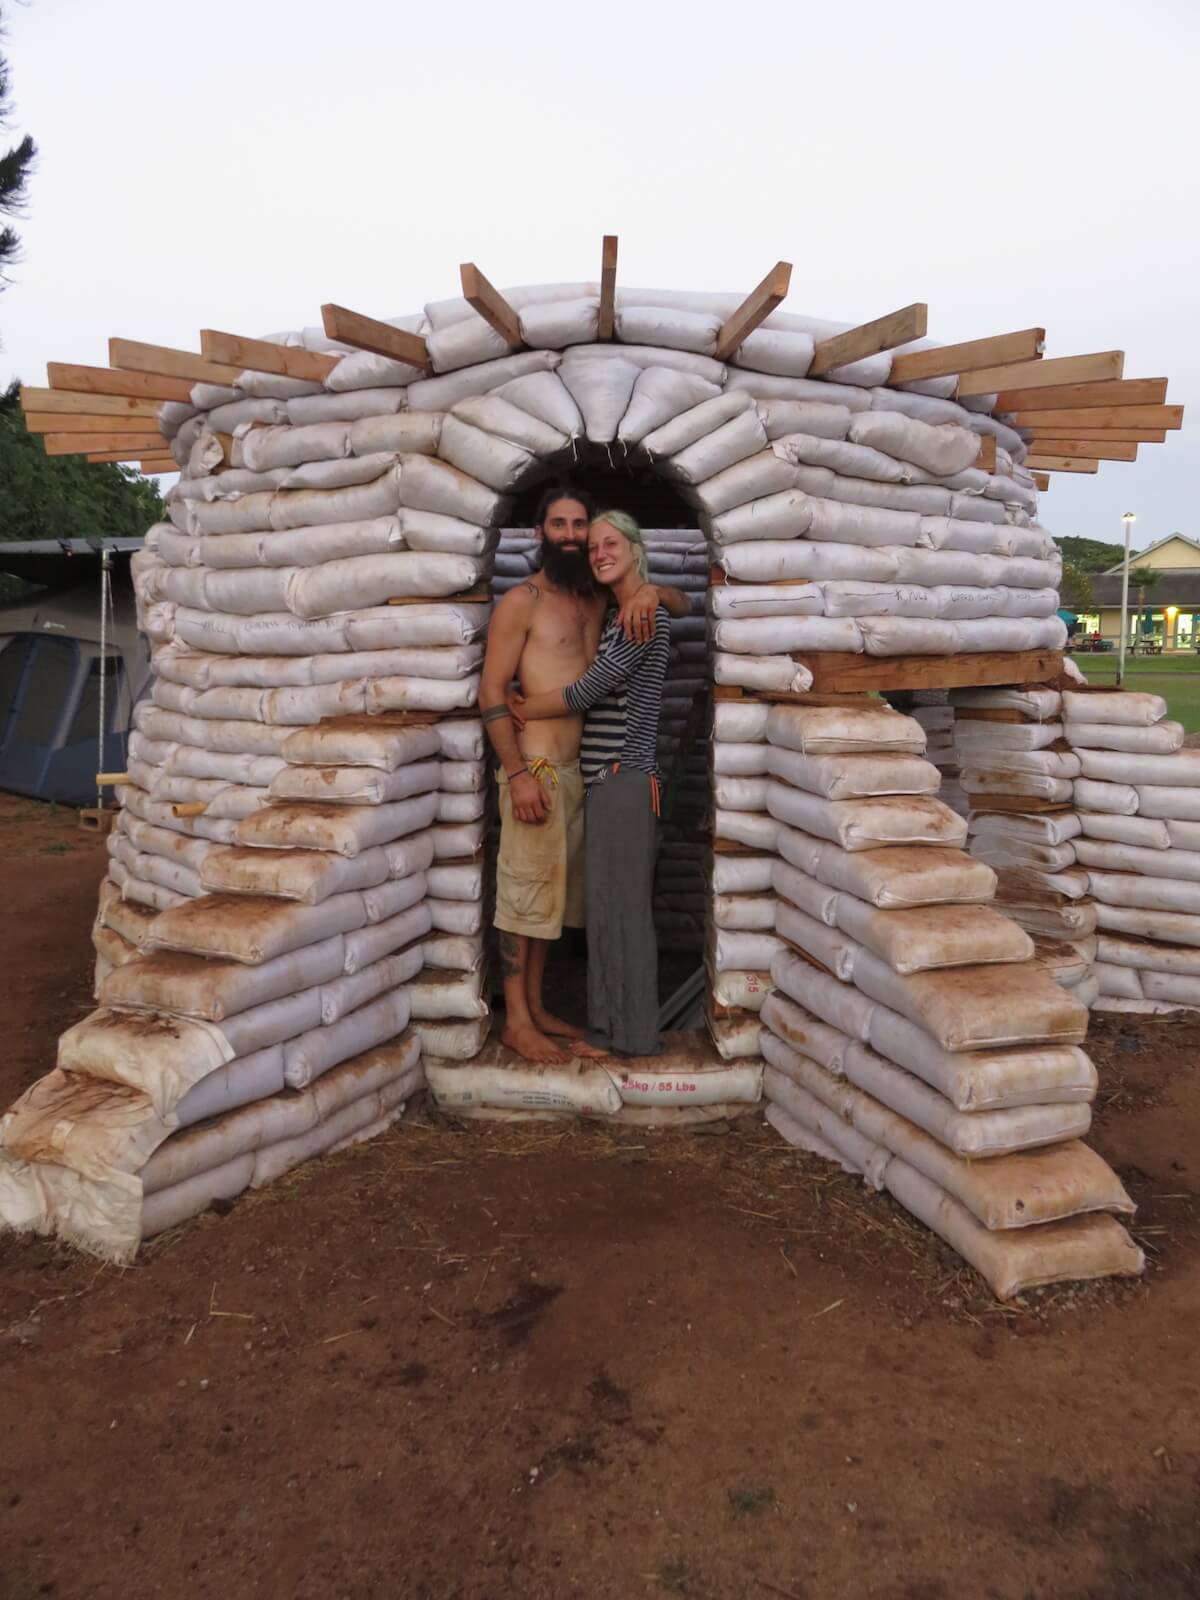
We removed the forms, then installed supports for the eaves.
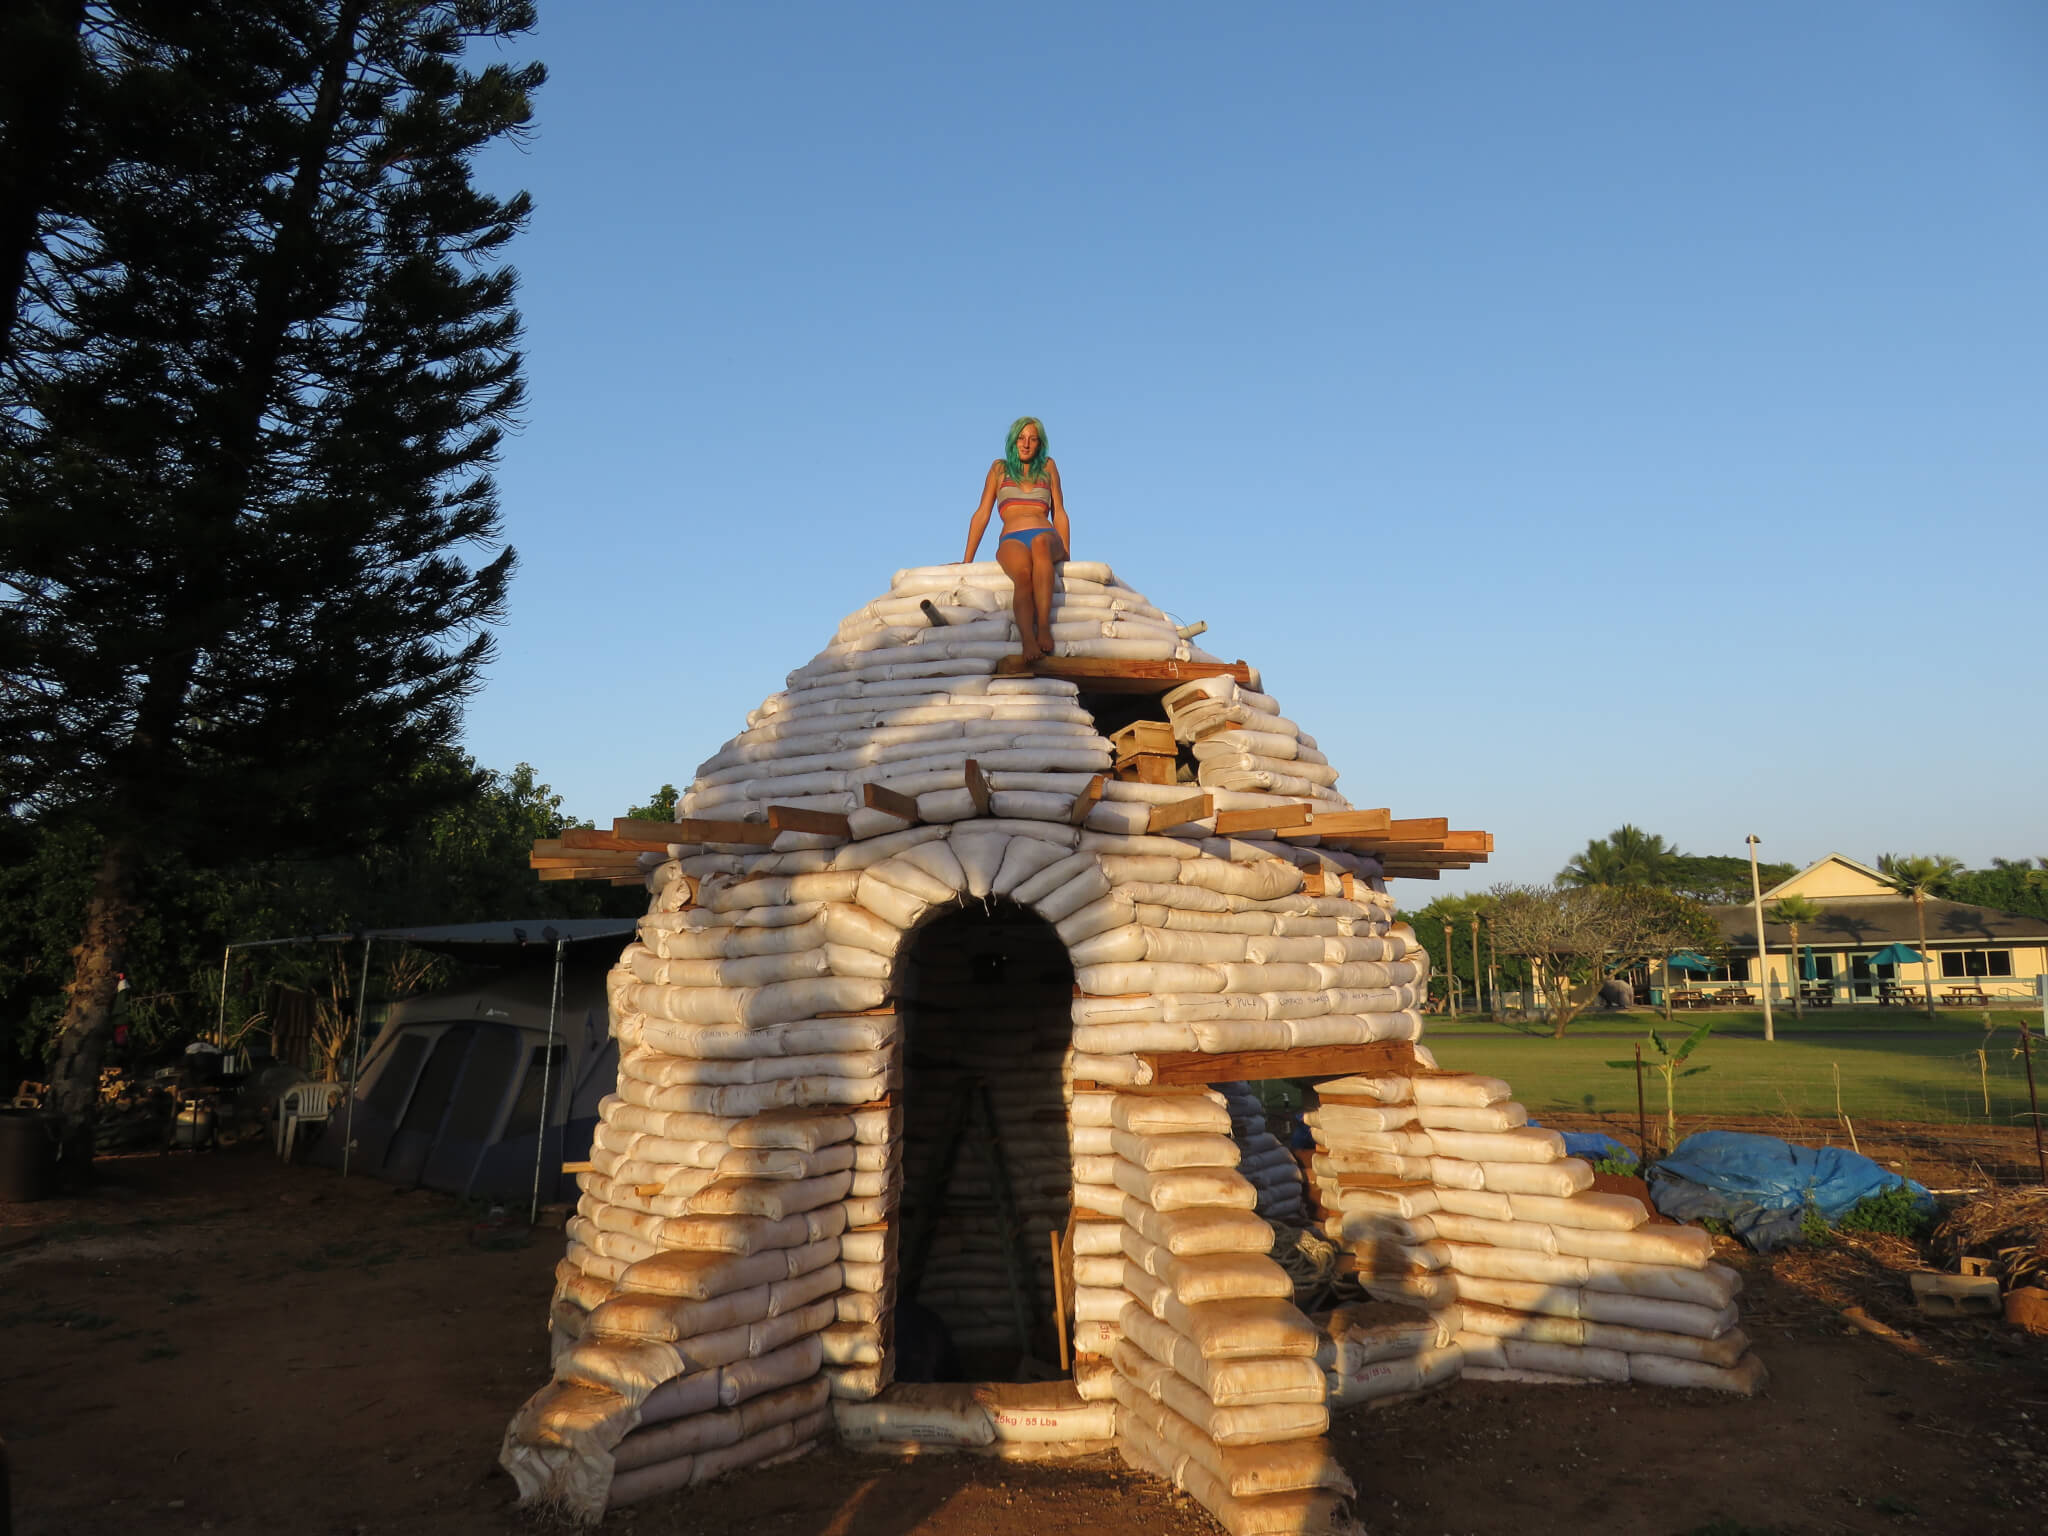
After 354 man-hours the structure was complete. It was time to plaster.
Plaster And Exterior Finishing
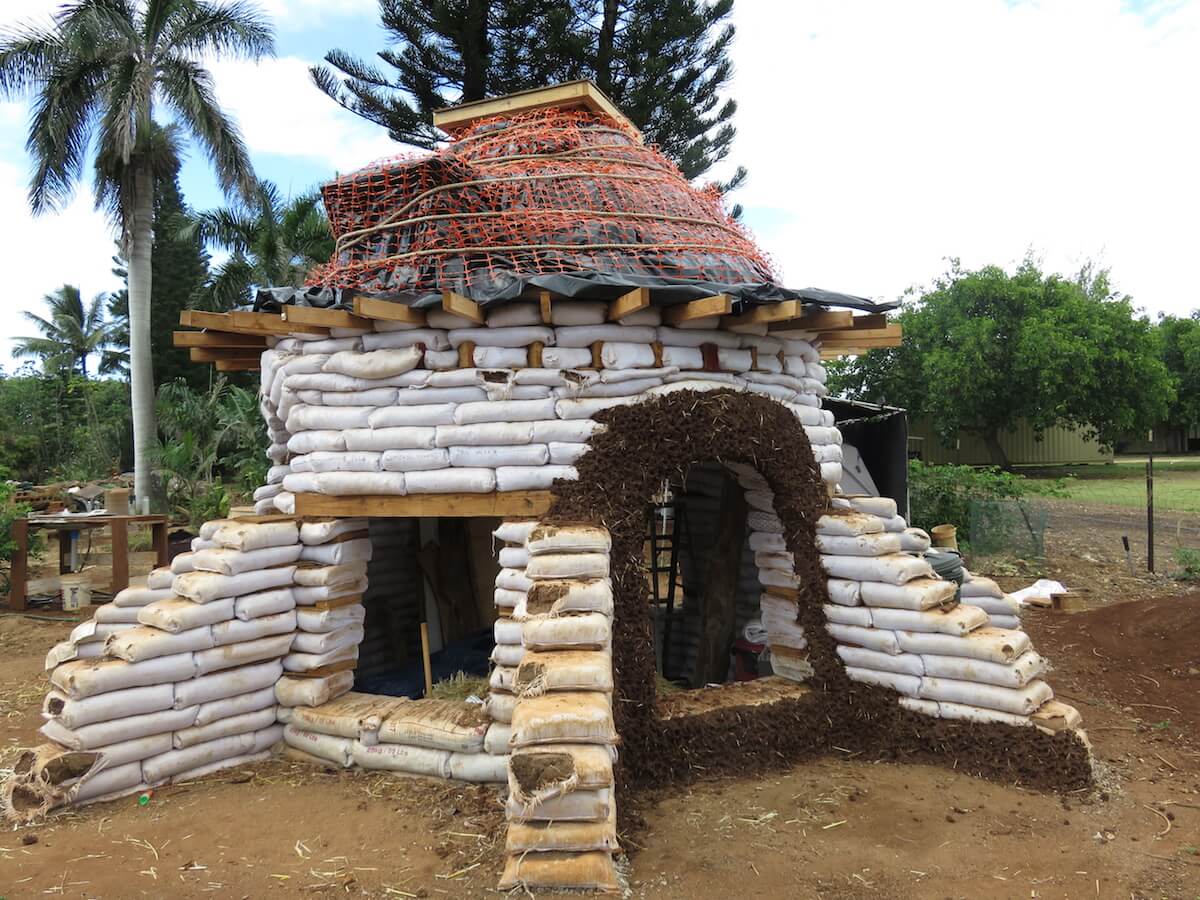
We installed a sunroof made from a used coffee table top, as well as the loft windows. We installed a waterproofing membrane for good measure. We put construction fencing on the roof to act as extra tensile strength for the cob.
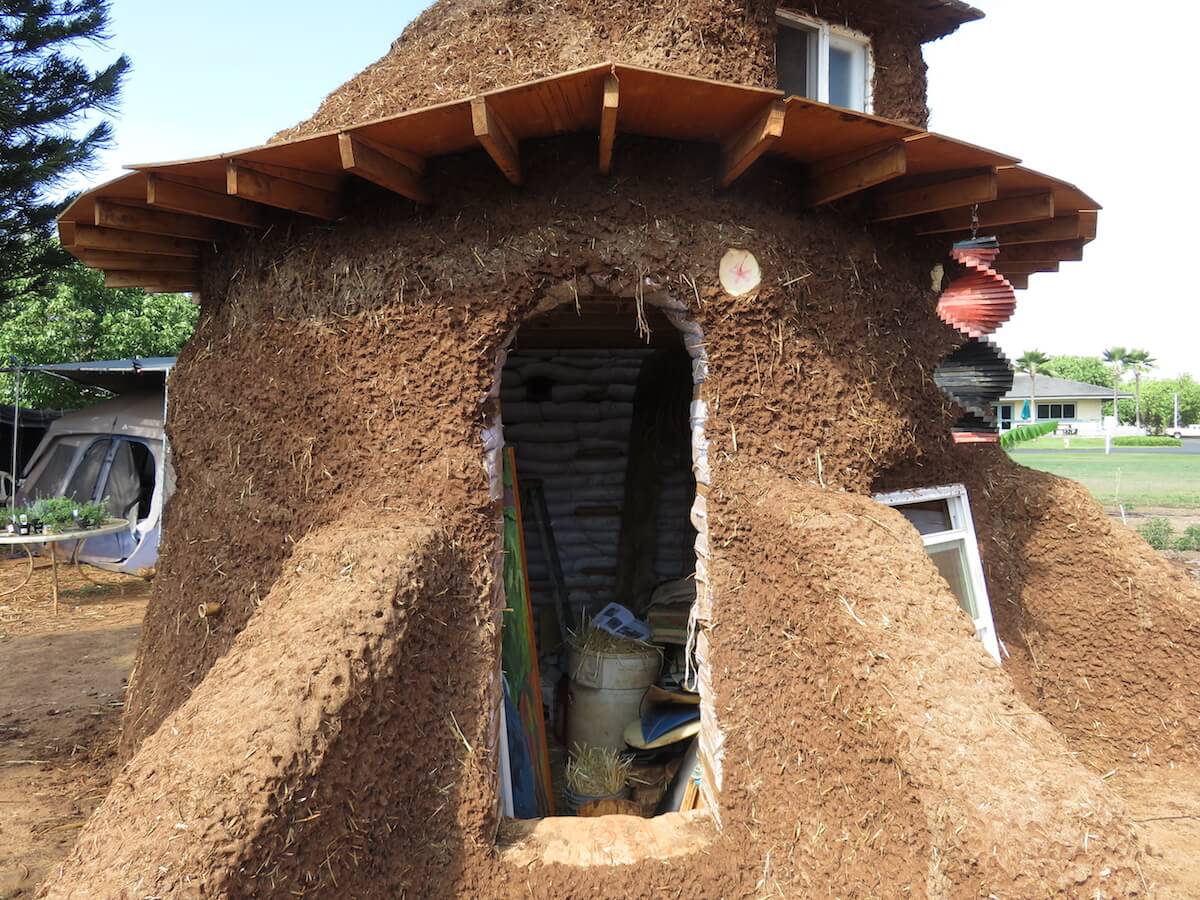
Here you see the first layer of plaster is complete, and the windows and eaves are installed.
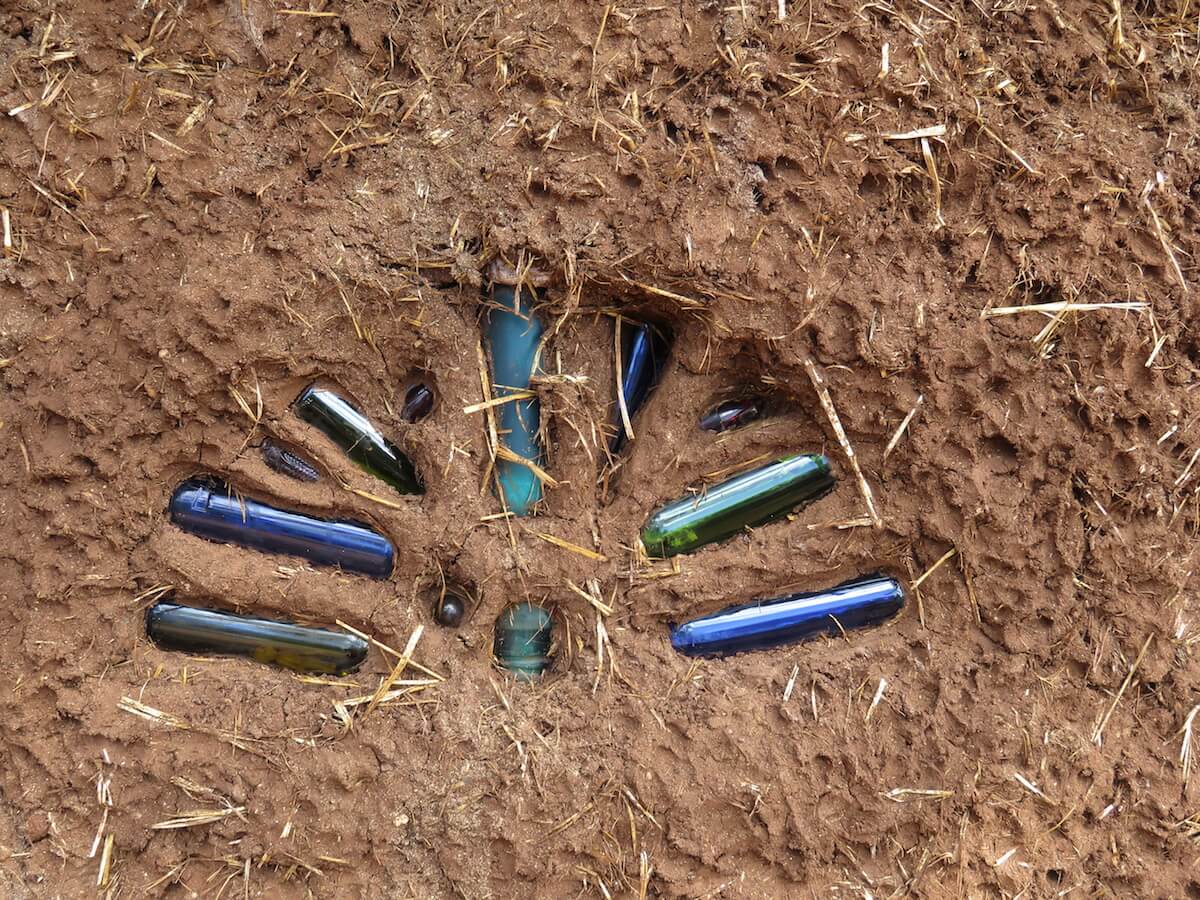
The bottle window allows passive lighting.
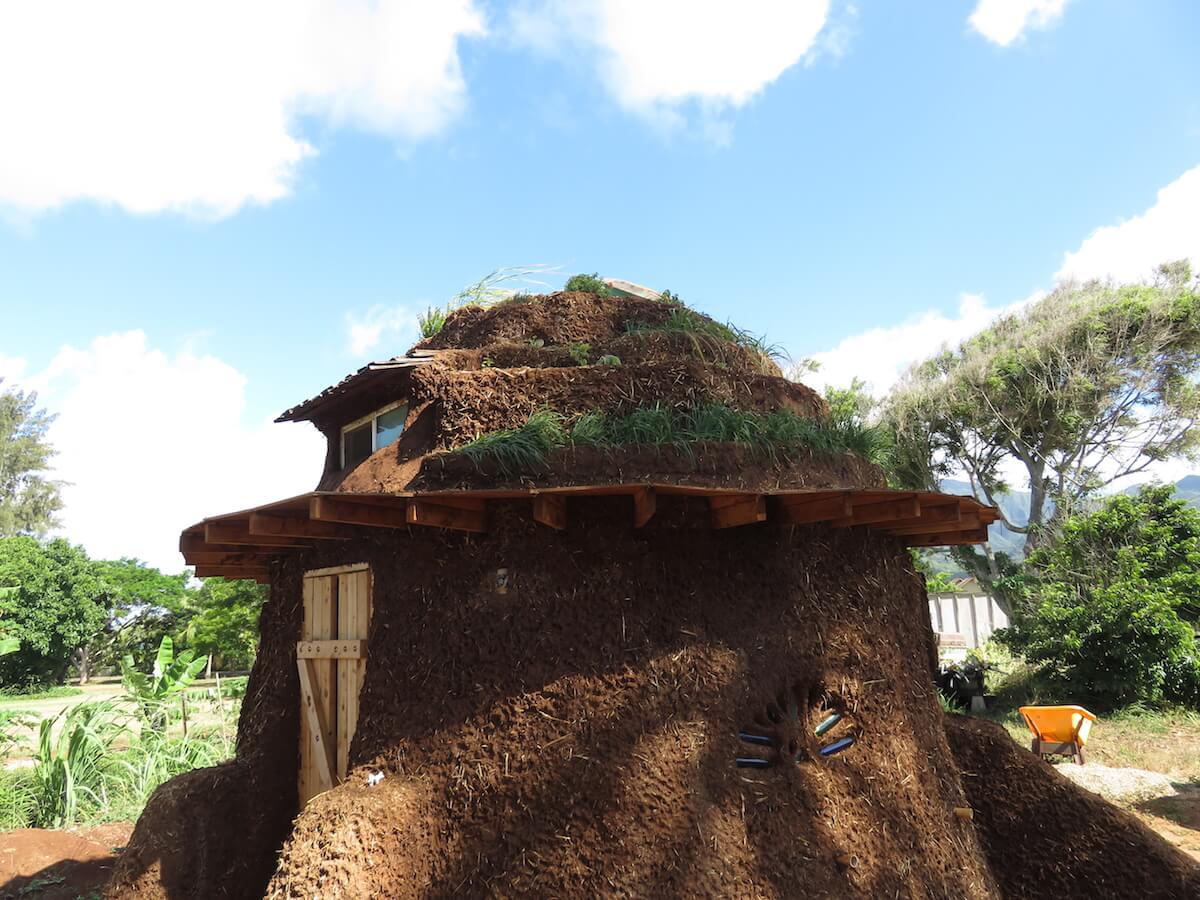
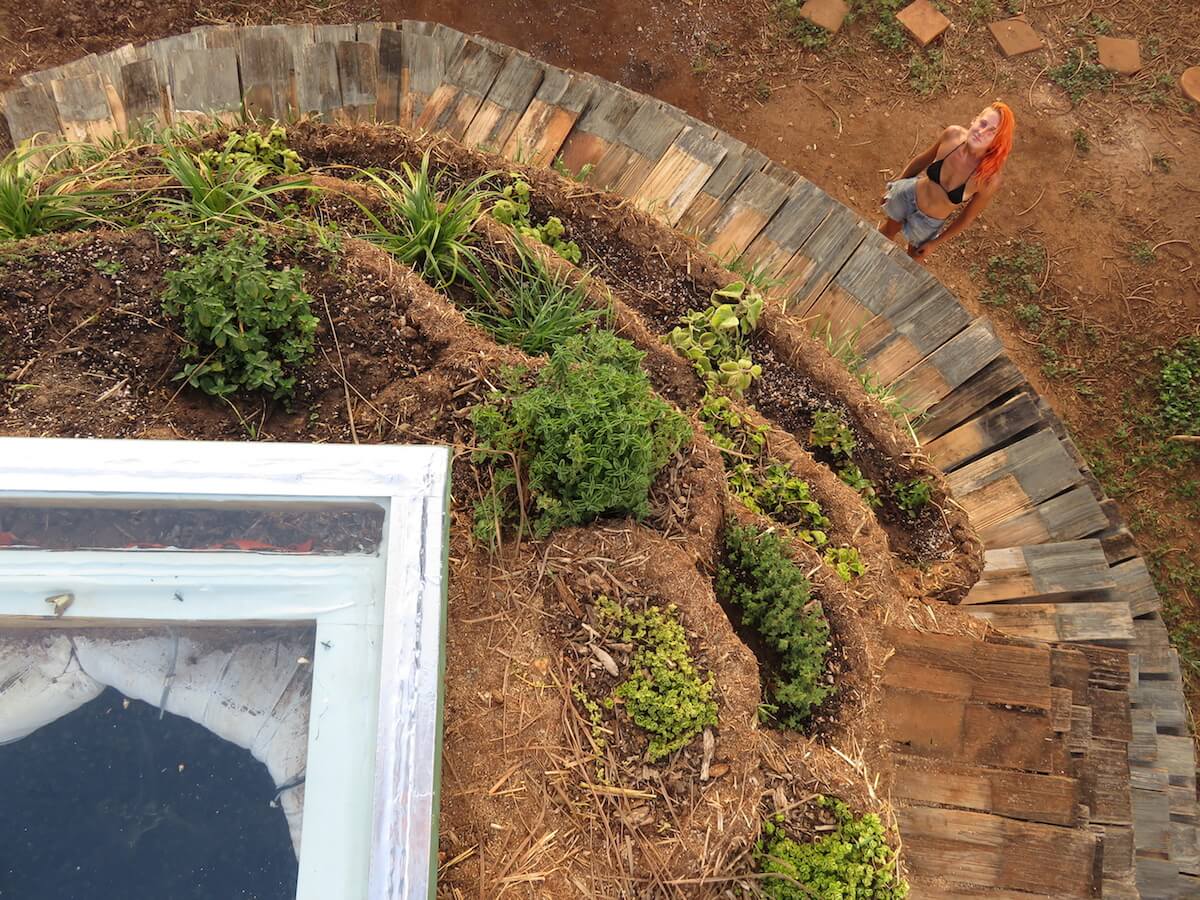
We added terraces to the roofs, filled them with soil, and planted native plants on them.
We got the cedar shingles free from a house that was deconstructed.
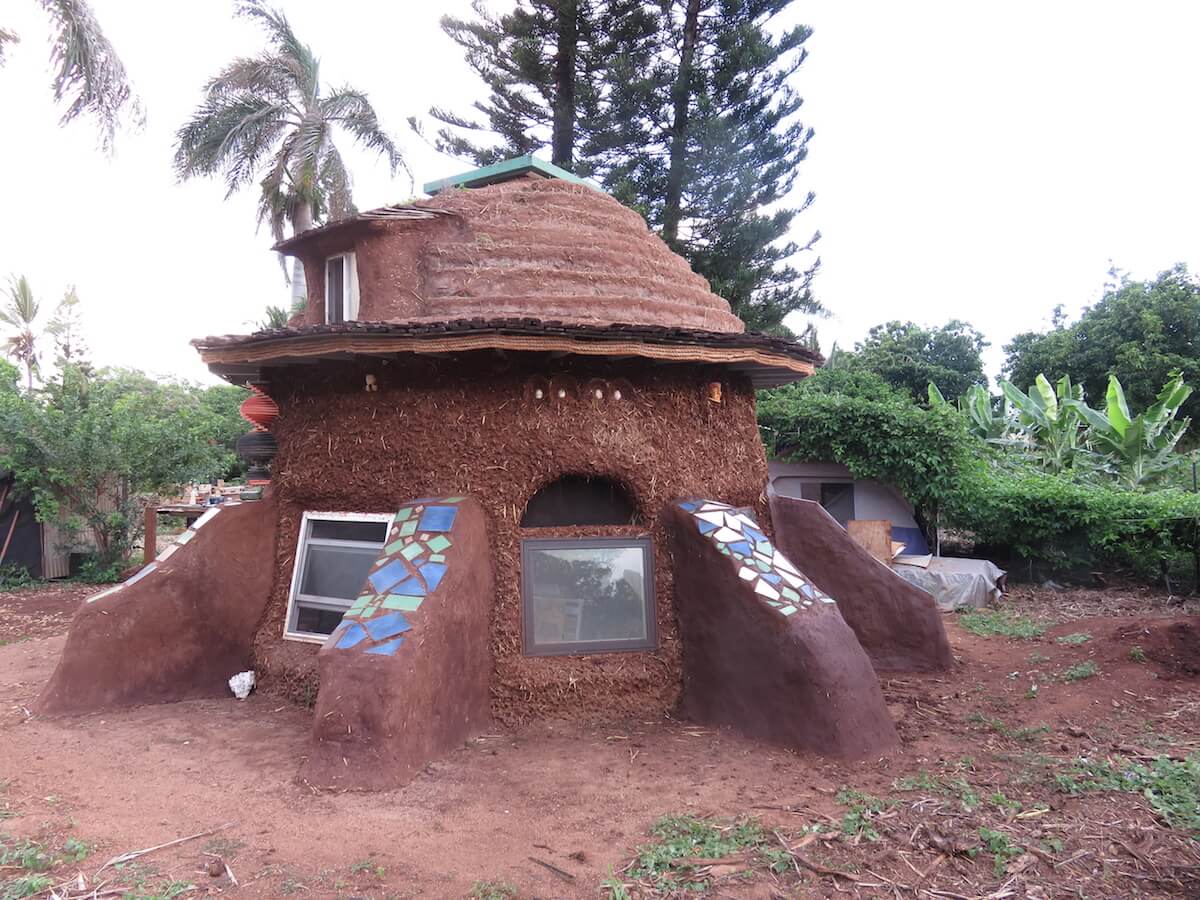
We put the final coat of plaster on the buttresses, and installed used tiles to protect the vertical surfaces from rain.
Interior Finishing
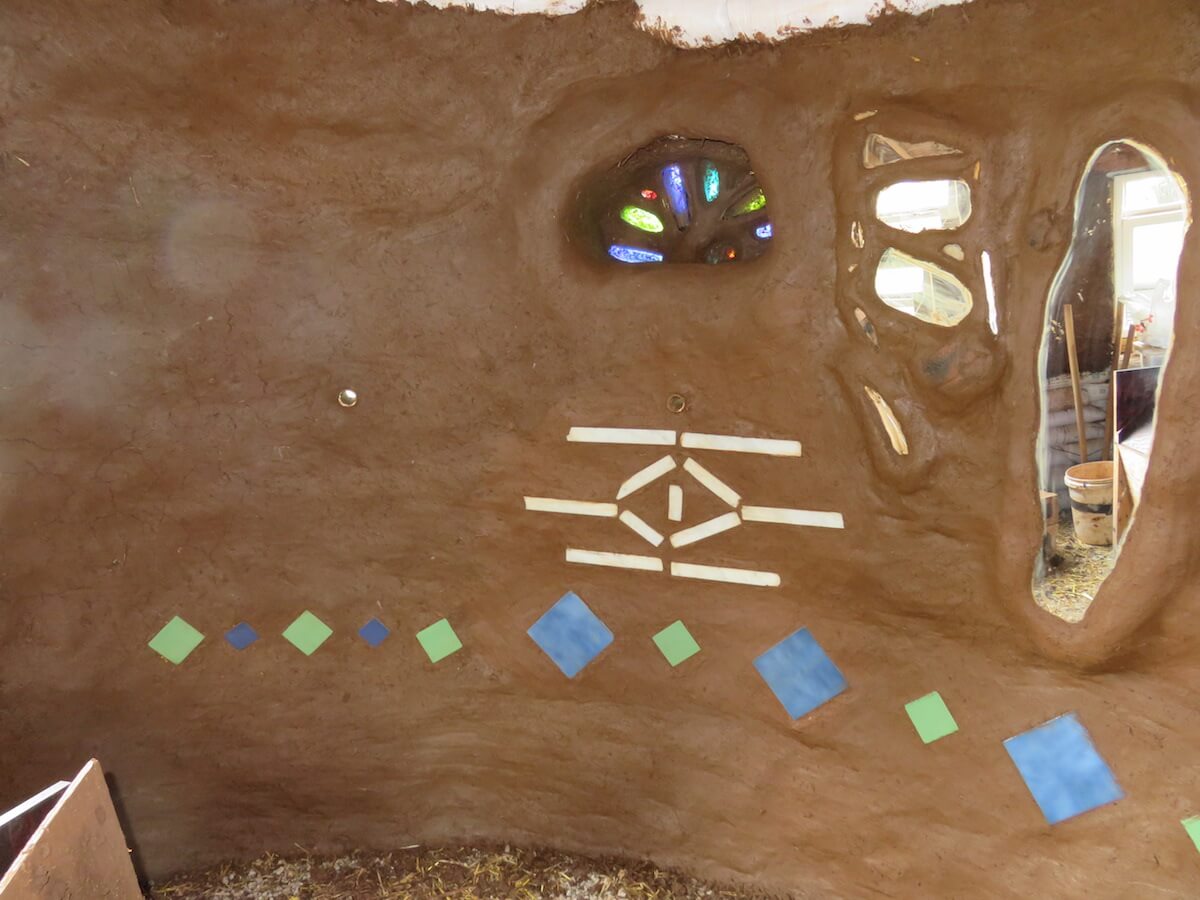
We then plastered the interior. We added tiles and sculptural cob with mirrors, too.
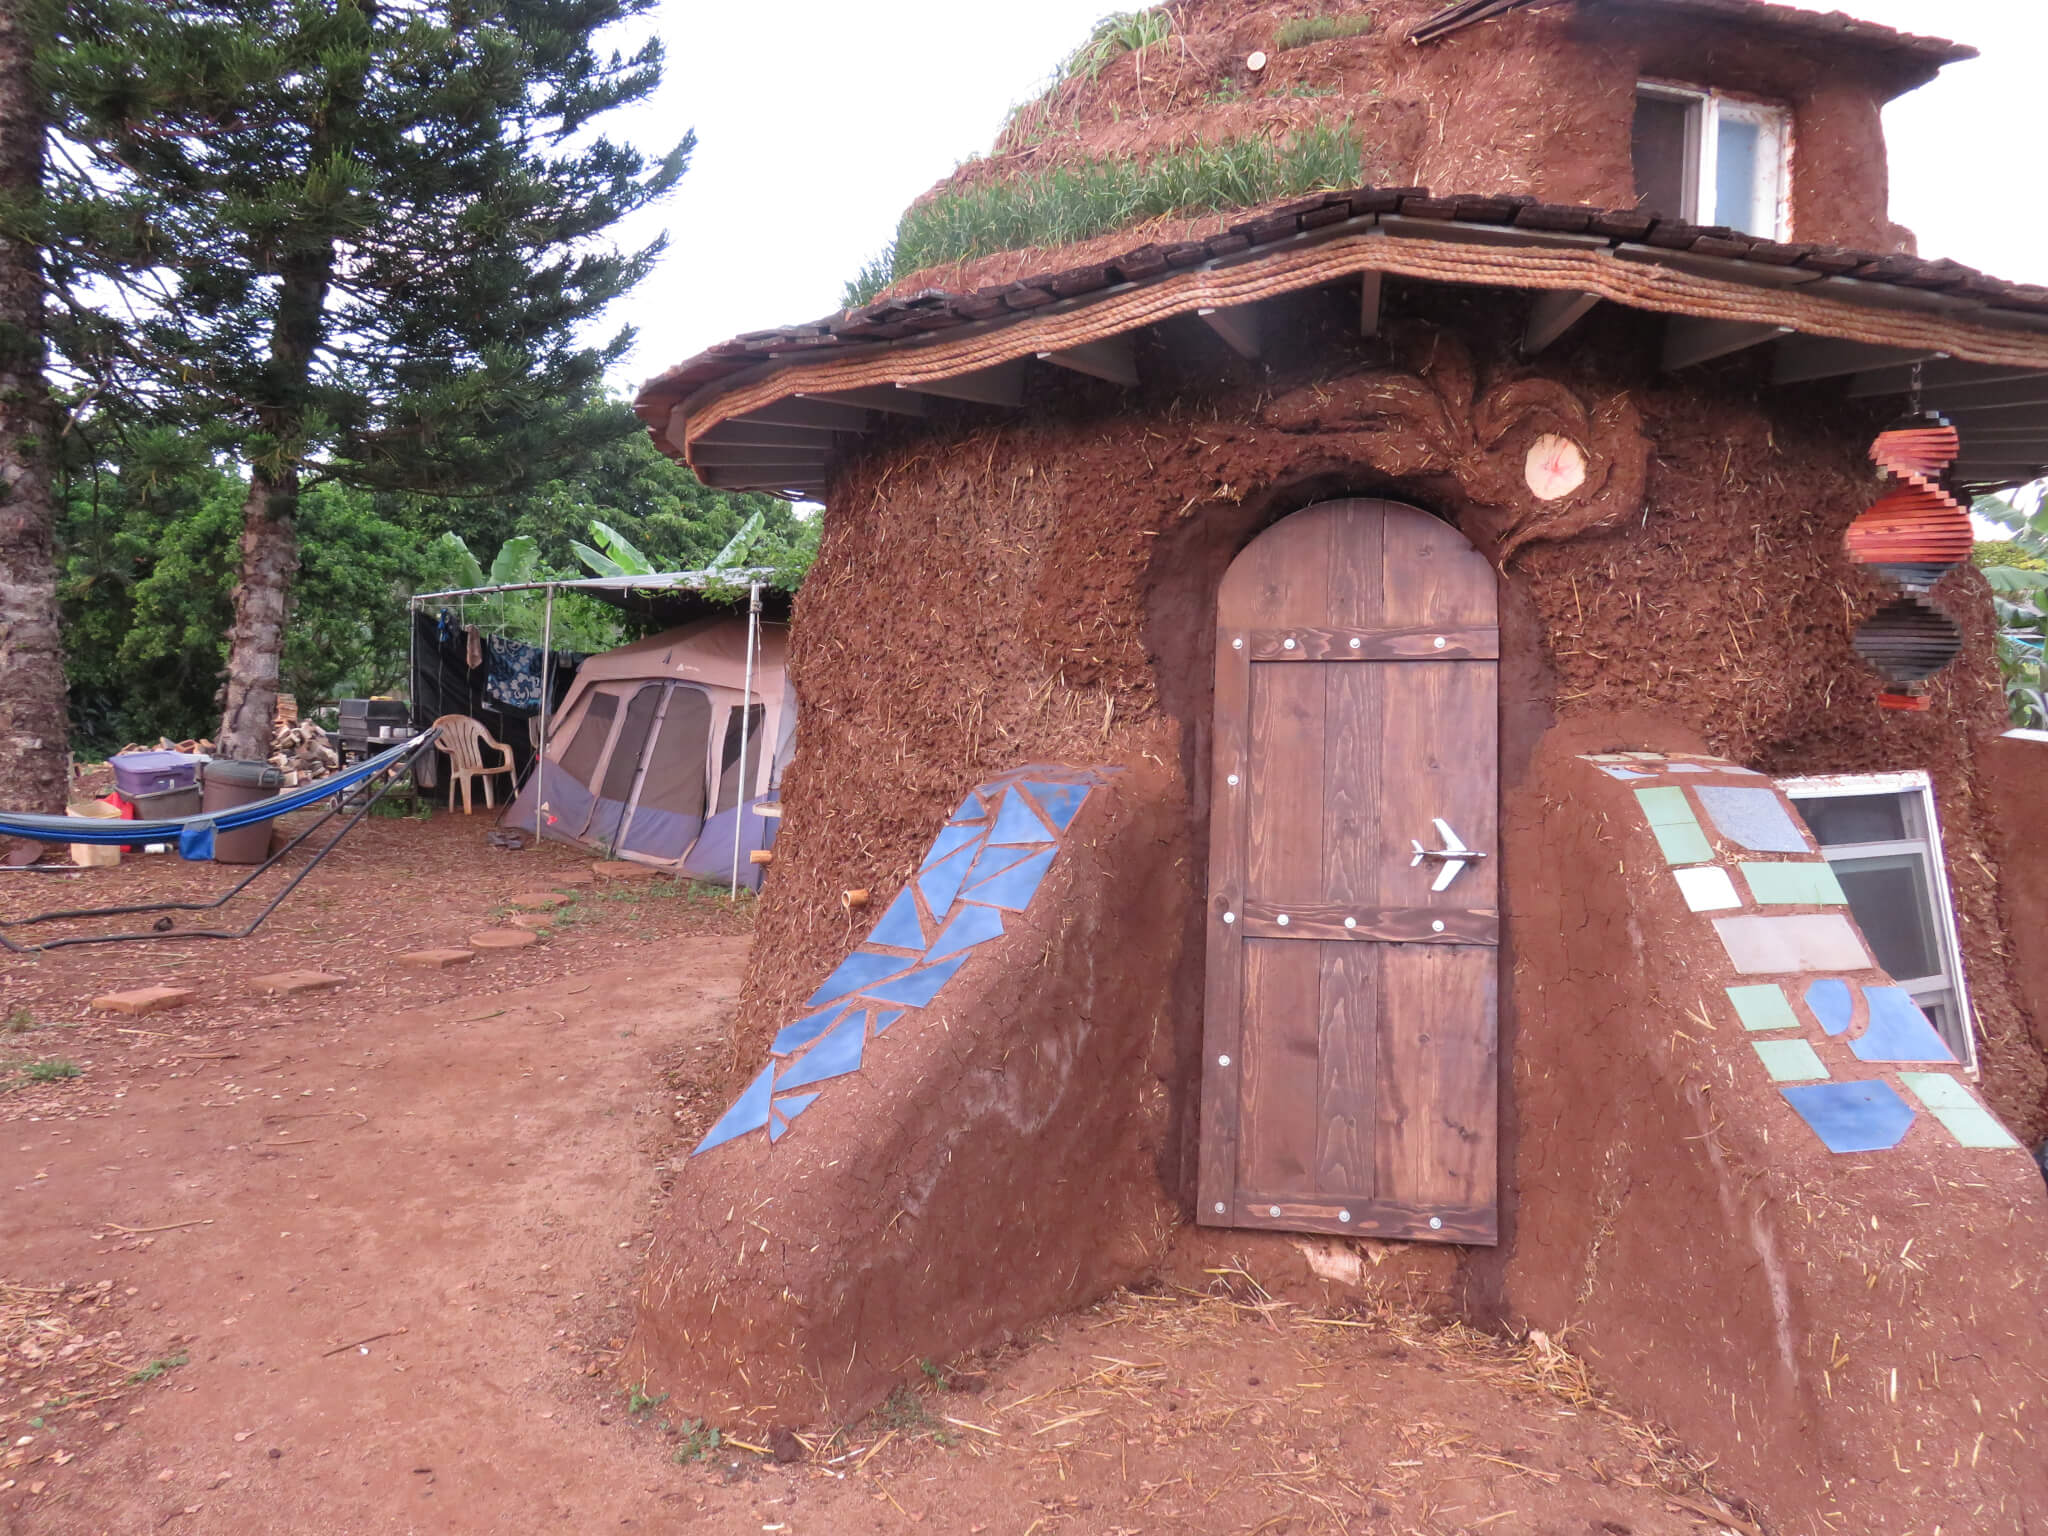
Our custom front door—constructed, stained, and installed.
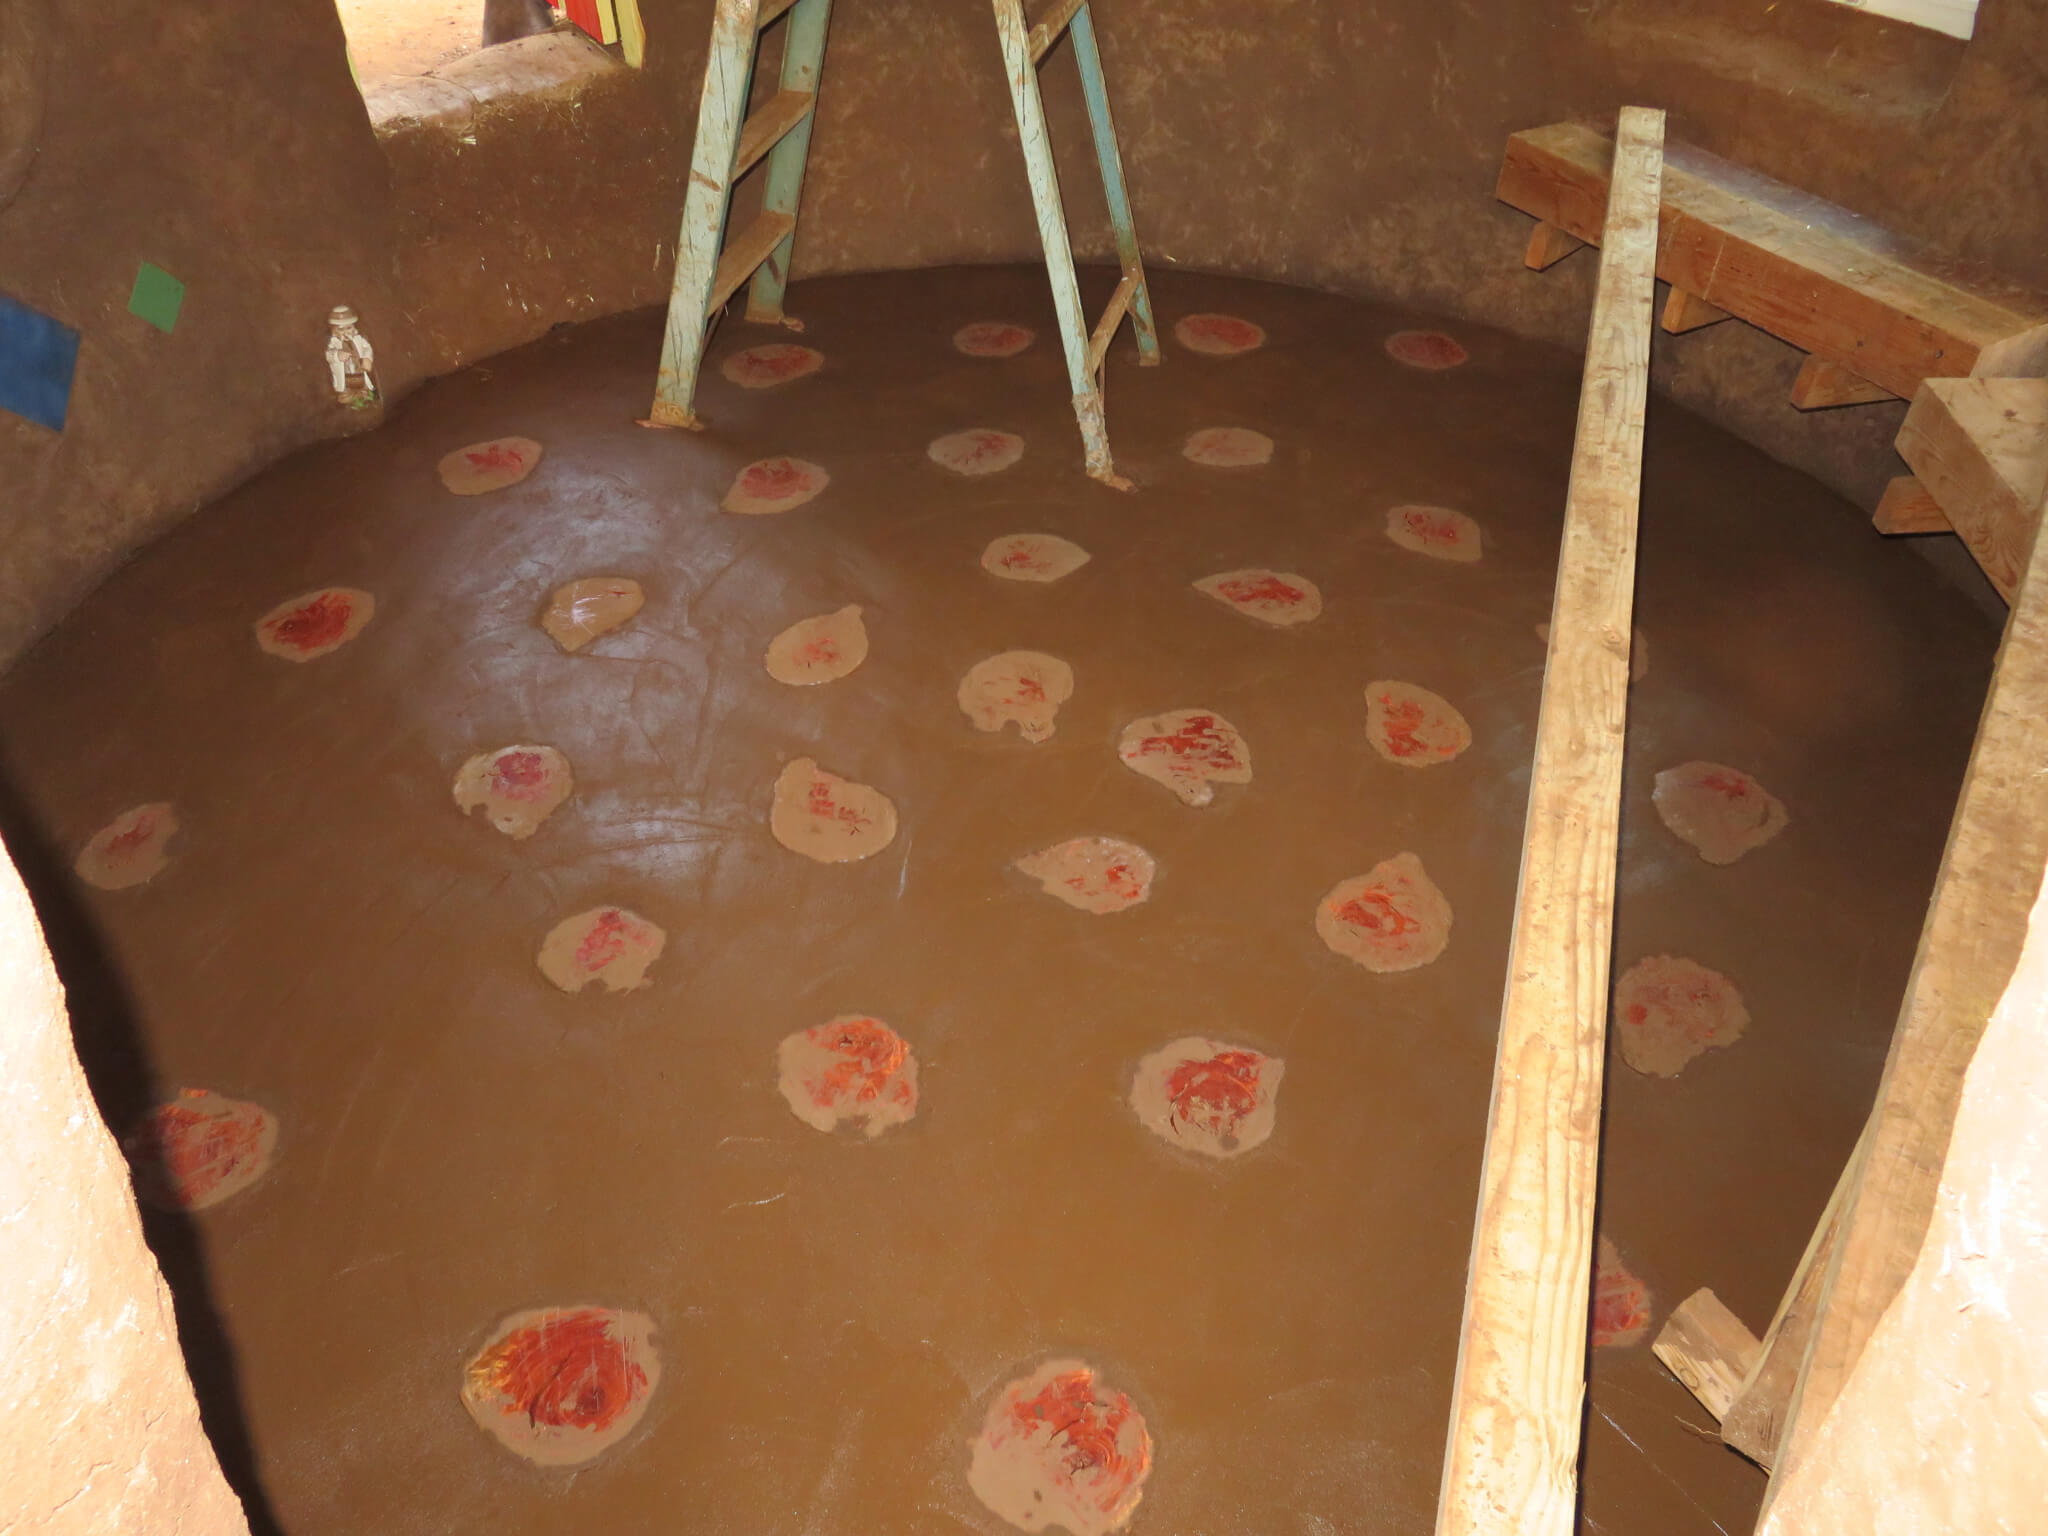
The floor is poured adobe with inlayed red eucalyptus, which came from a tree knocked over in a storm.
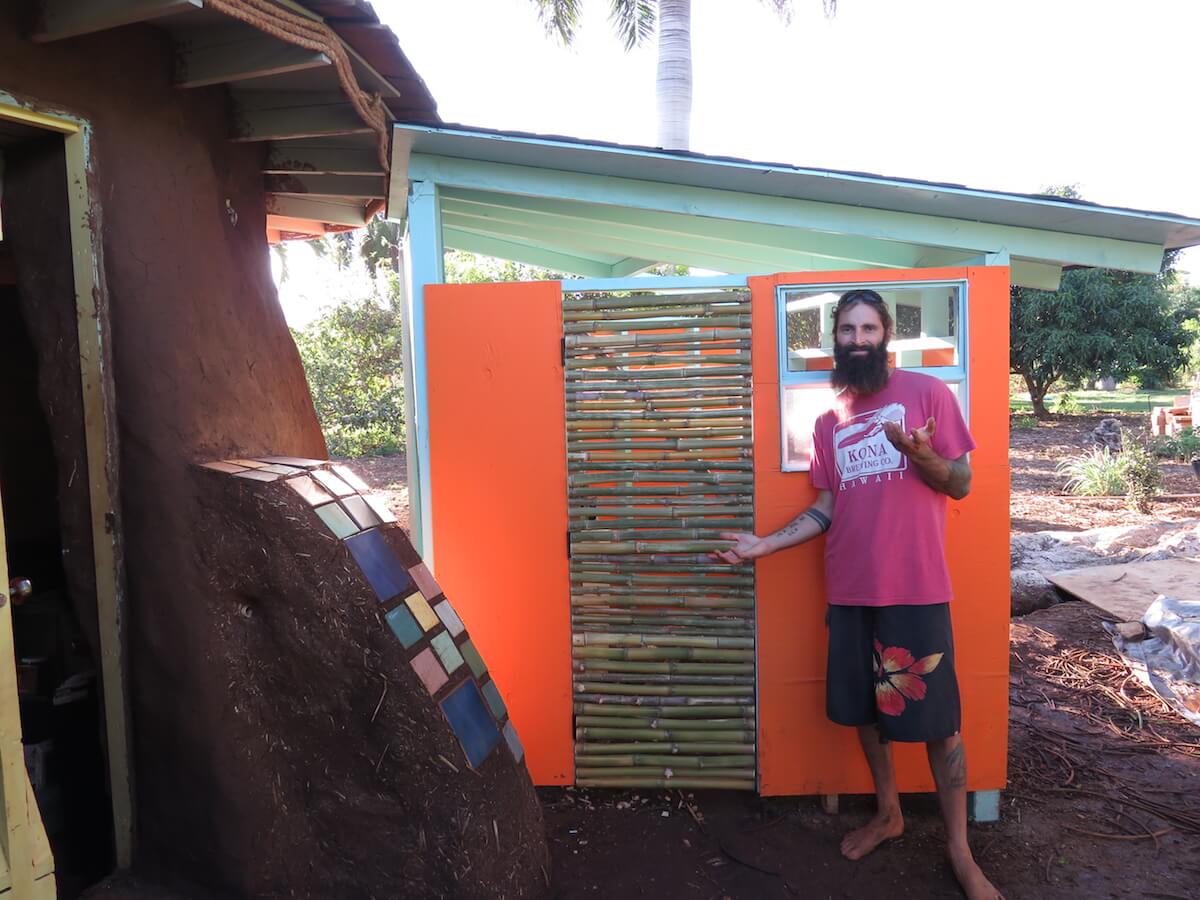
We framed and painted the open-air bathroom. The bamboo for the door was harvested from a neighbor’s property
We then built the kitchen. Almost all of the paint was discounted mis-pours from the hardware store.
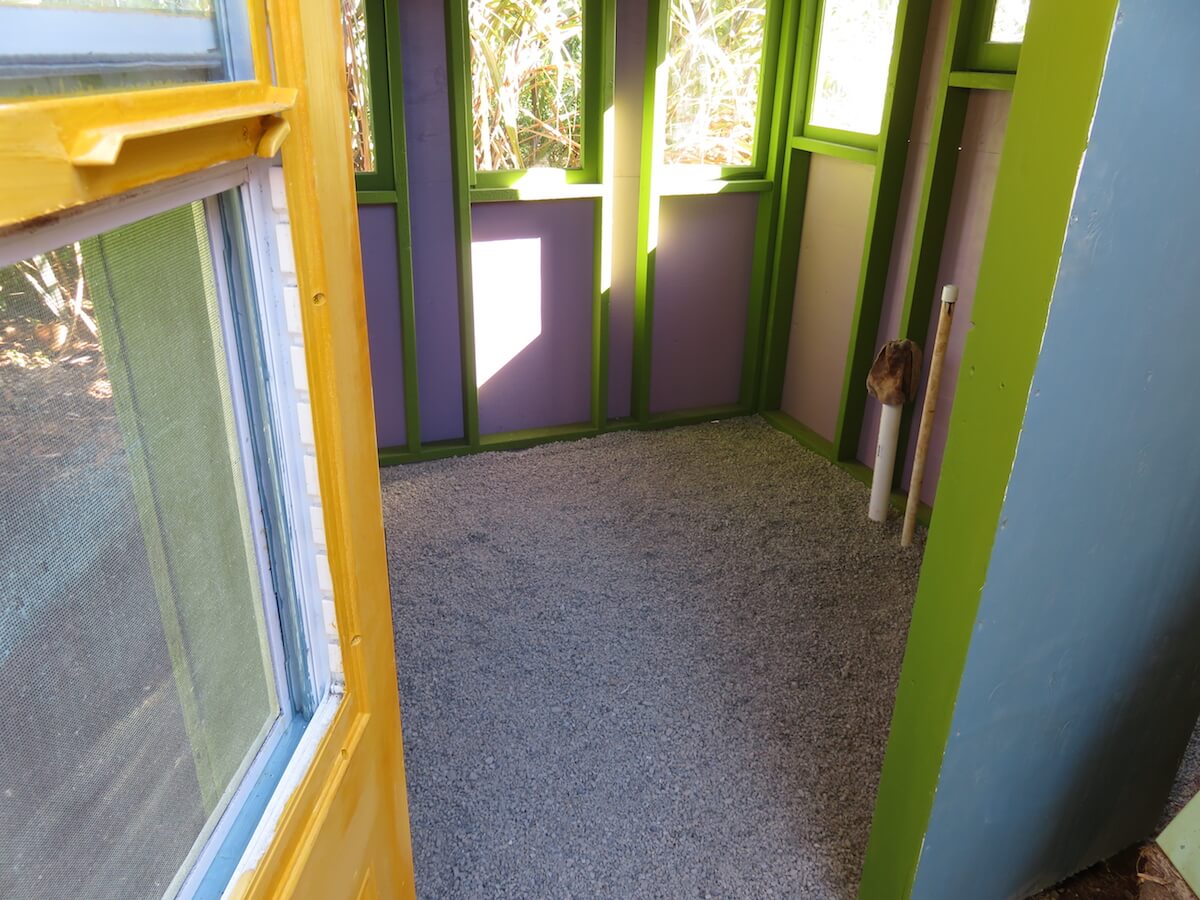
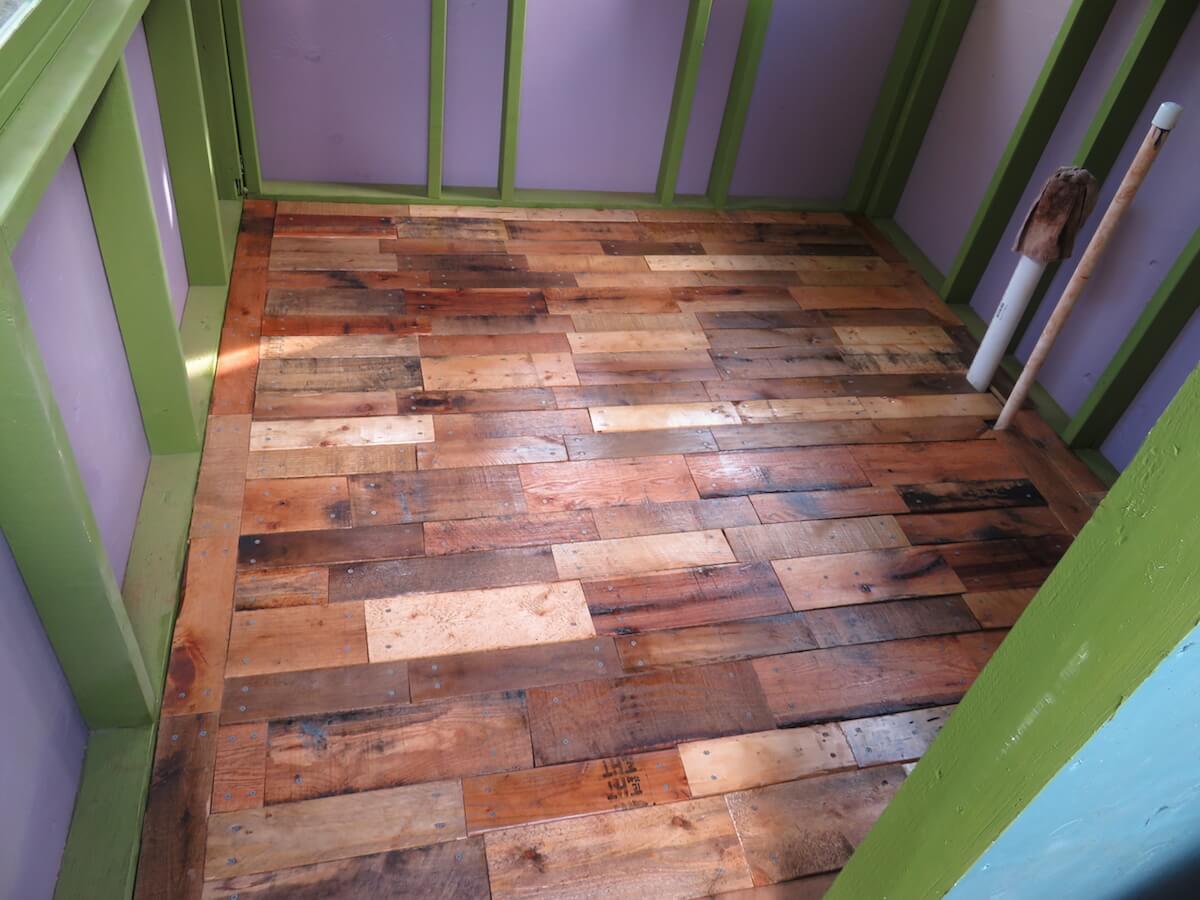
We made the floating floor by cutting up used pallets and screwing them to plywood. Then we clear-coated it.
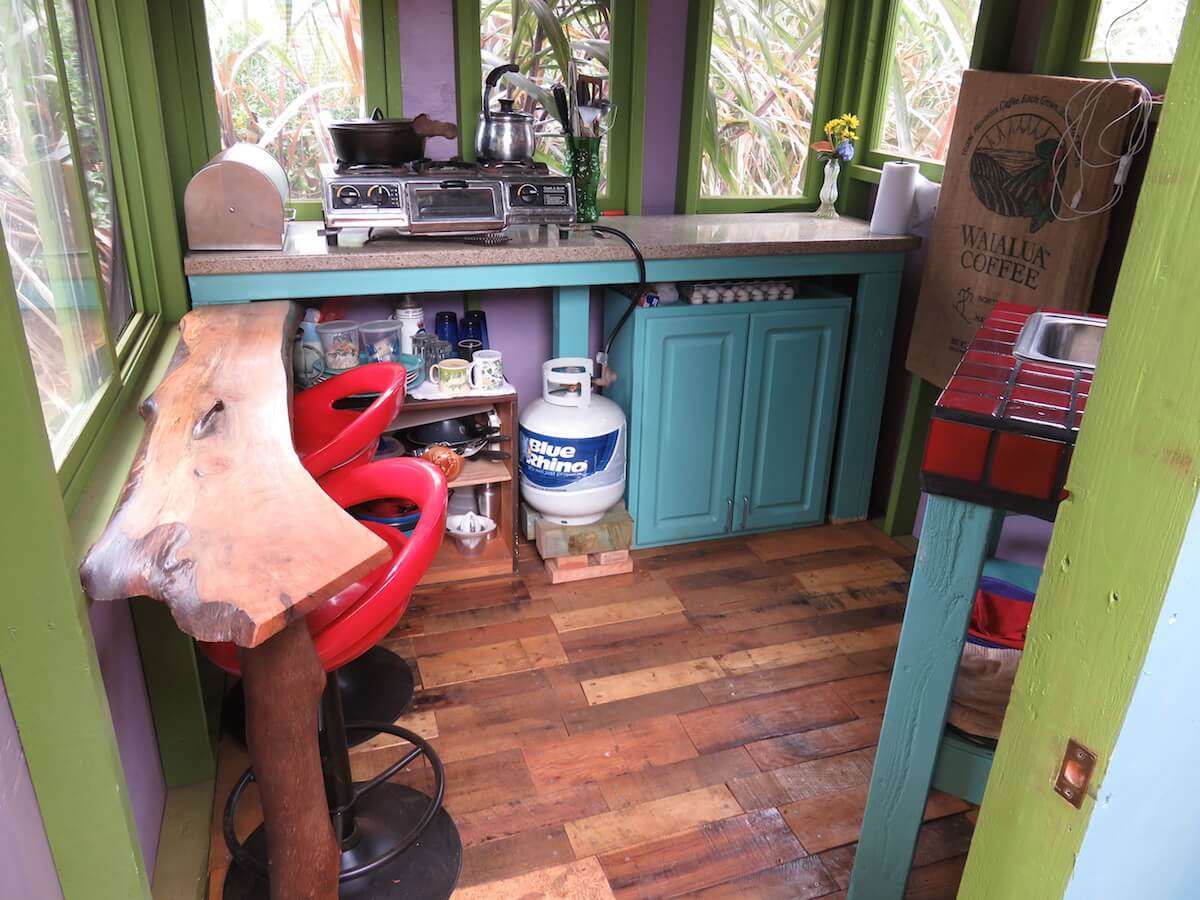
The granite counter top was free, we just had to cut it to the correct dimensions. The bar top is iron wood that was given to us.
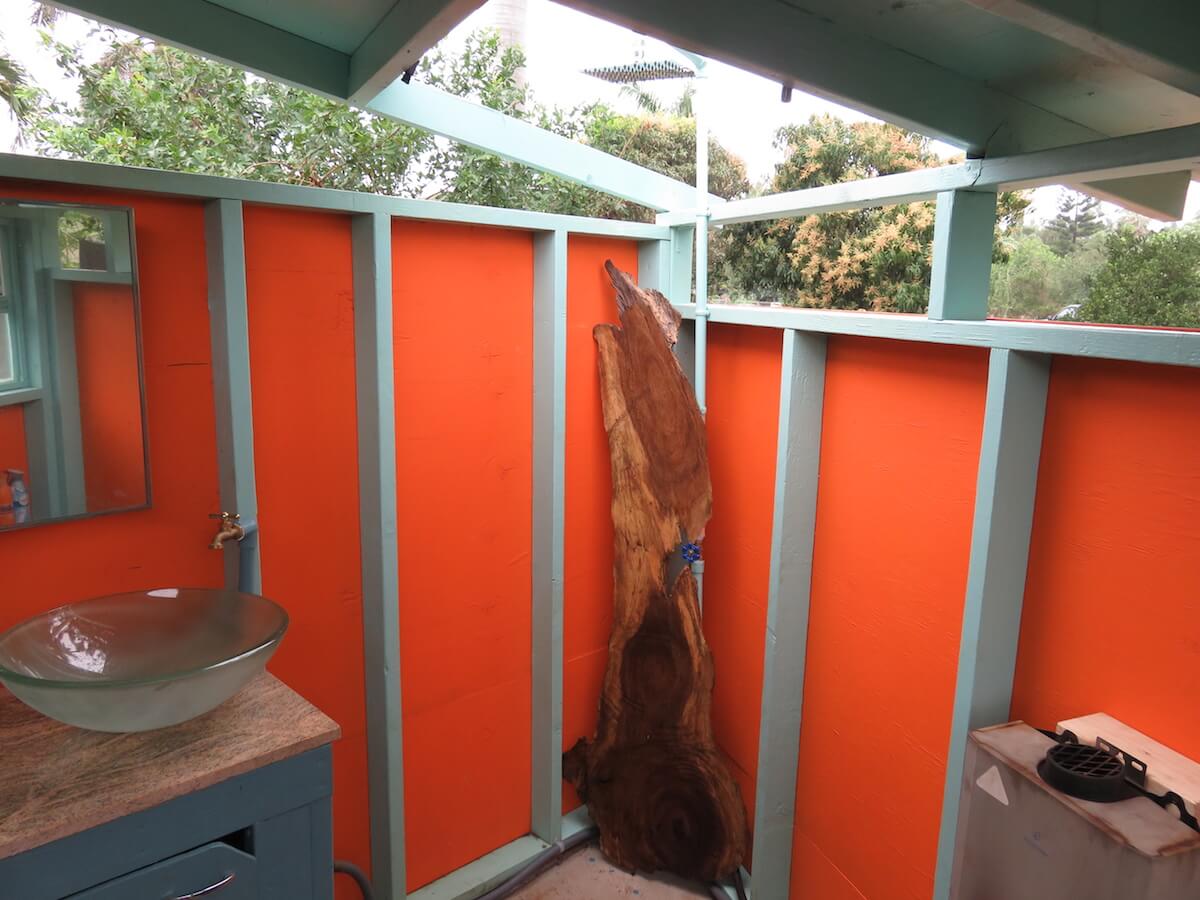
The hot water is supplied by an on-demand propane system.
The Finished Earthbag House—And Final Cost
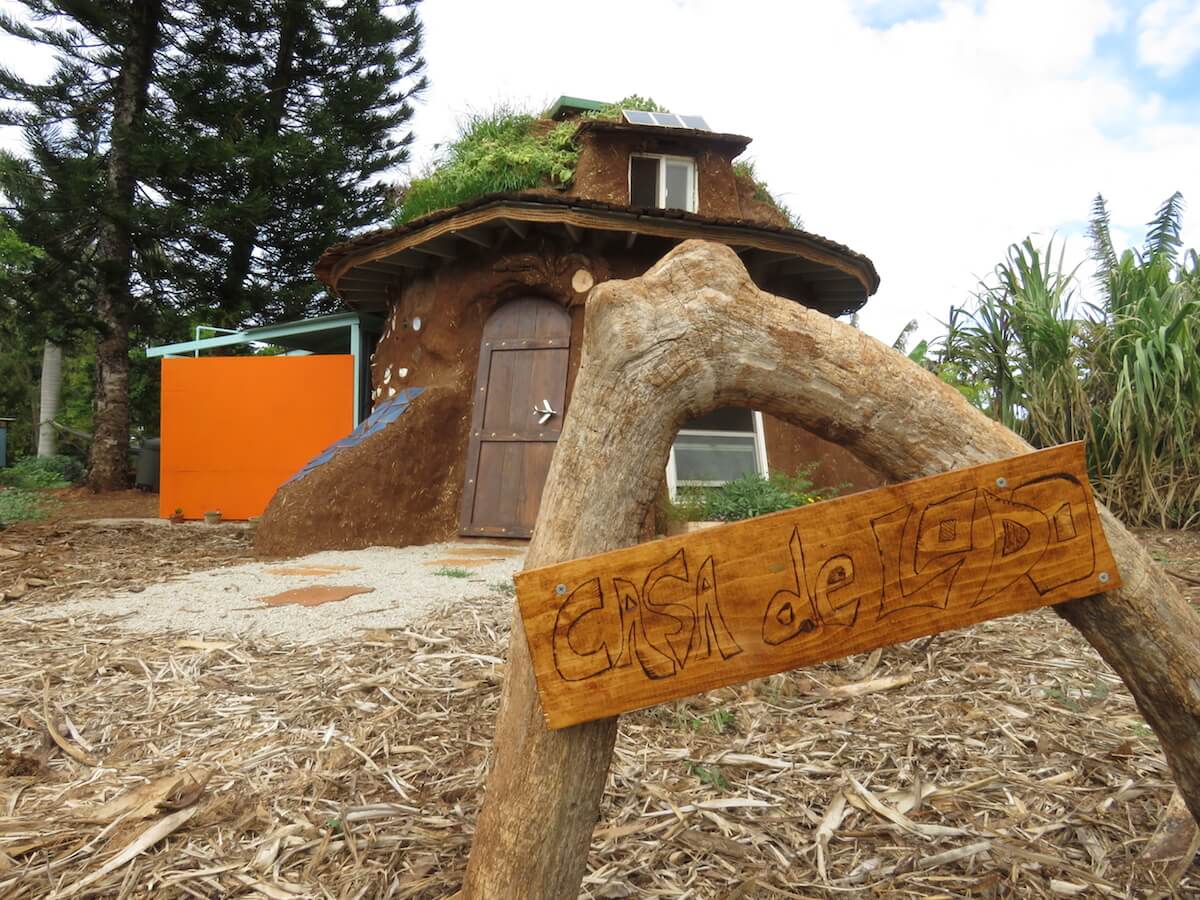
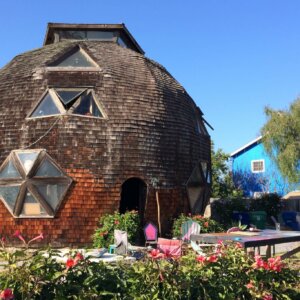
We named the house Casa de Lodo which is Spanish for “Mud House”.
The goal of this project was to create a home using recycled & sustainable materials and to be as self-sufficient as possible. Light is provided by a solar panel that charges a battery. The house is built with approximately 50 tons of dirt. It cost $6,164 and took 1,333 man hours to build.
Amongst all the materials that went into this build, the most important ingredients were love, blood, sweat, and tears.
Earthbag House Cost Breakdown
- Lumber: $1,682
- Screw, nails, hardware, adhesive, misc.: $863
- Dirt: $710
- Paint, stain, clear coat, brushes, rollers, & roofing material/plants: $611
- Tools & cement mixer: $550
- Bags: $365
- Hot water heater & plumbing: $341
- Gravel: $325
- Tarps & vapor barriers: $192
- Barbed wire: $172
- Windows & doors: $245
- Straw: $108
Total Cost: $6,164
We created something out of this world and from the earth, and we hope we’ve inspired you to do the same!
























looove it!!! wot an inspiration,, thanku for sharing,,,, has been my goal to build naturally, using recycled materials ( since i was a kid back in the 70s) and one day i trust my dream will manifest,,,,hmmm, change that, positive thinking,,,Will manifest,,,not a dream!!!
Amazing,creative,inspiring,a goal that was reached!!!!!!!
So happy for your success and your wonderful home built with and inspired by love. You are fortunate young people indeed. I’ve been researching cob, earth bag, adobe, tiny houses for so many years, at least 15. Not sure my body will hold up anymore to the abuse so I may not achieve my dream, but sure is inspiring to see you achieve yours! Peace.
Sandy,
I am almost 60 years young. I and my grandchildren are getting ready to help me realize my dream. If I can do it, so can you. 🙂
Don’t give up on your dreams.
I was just helping a lady with her earthbag studio. We were both working digging a foundation .
She is 84 , I am 59.
Age is a state of mind, if you think you can do it, you probably csn
You’re great!!! Lovely house made of sandbags,thankyou very much,í learned a lot and im going to make first an oven and after a housie ⛩??
Hello! I love your home and I want to rebuild one similar. I was wondering if you built in a rainy climate, and if so, how is it holding up? I am hoping to build in a place with a rainy, hurricane season. Is there any way you can consult at all about the process? Would love to talk further, let me know! Amazing house !
Looks not to bad but you could have made it bigger and make a nice living room with open kitchen and tunnels driving to so many bedrooms build the same way around the main building each with bedroom and ensuite could have work. And the day you have more money cover our mud wall with chicken wire and cover with concrete, this will make a for ever home or bungalow lol…
I just saw all theses comments. We do have a rainy season here and the dome is holding up well. With a good hat and boots the body stays dry. Meaning foundation and roof. Also you would apply a final coat of lime plaster which dries like concrete and is more weather resistant than earthen plaster. Cob houses are built all over the UK and it’s always rainy there. Some are hundreds of years old.
Is there anything you’d do differently now if you built the structure over again?
Build a reciprocal wooden roof. Would have gone up quicker.
Jay, did you use the 14×26 in bags or 18×30? I am building something very similar. Much inspiration
Just saw this. 18×30 were used