Worm boxes are excellent additions to the garden. Vermiculture (the process of using worms to decompose organic food waste) is a method of composting that’s been used for centuries. This is a guide on how to build a worm composter.
This is the final product. I didn’t want to paint my worm composter, so I took extra precautions to prevent warping. I also used Marine Grad Plywood, a higher grade of plywood made with water-resistant glue. If you plan to paint your worm composter, a less heavy-duty design could suffice.
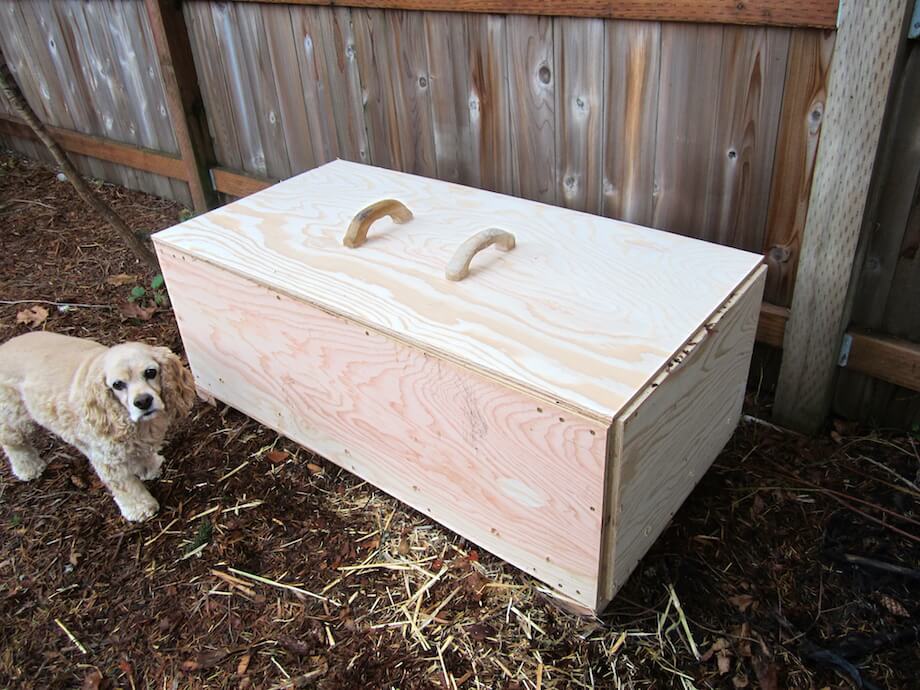
If you don’t want to go the plywood route, you could use cedar boards to line the frame. Cedar boards won’t warp and they will last years in the elements due to the oils in the wood fibers.
Worm Bin Tools & Materials
- A 4’x8’ piece of plywood
- About 30’ of 2×4 or any material good for framing of the box
- A way to cut the plywood (circular saw, skillsaw, table saw)
- Screw driver (preferably an impact driver as well)
- Screws
- Measuring tape
- A combination Square
- A ¼ inch driving spade

First up, you want to start with some plans. These simple plans are effective in that they use an entire 4’x8’ piece of plywood to create a 4’x2’x16’’ worm box. Let’s get started with cutting.
Cutting Wood For A Worm Bin
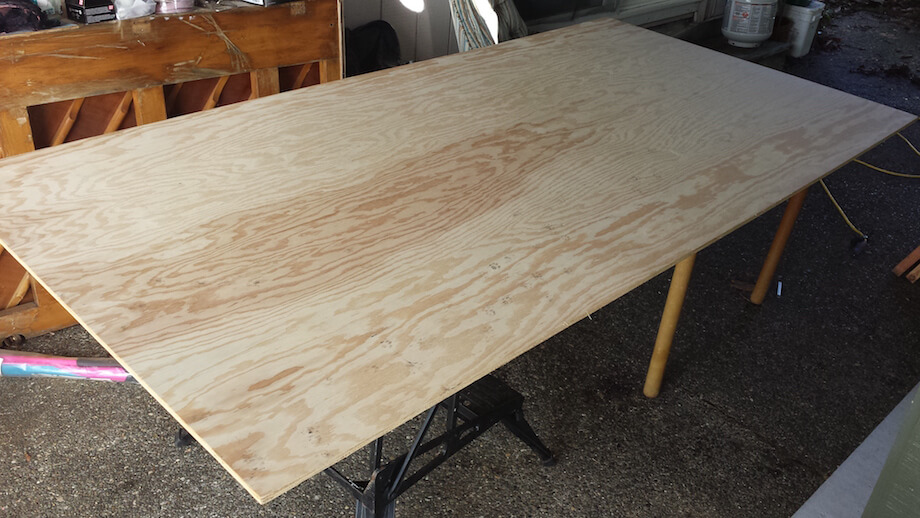
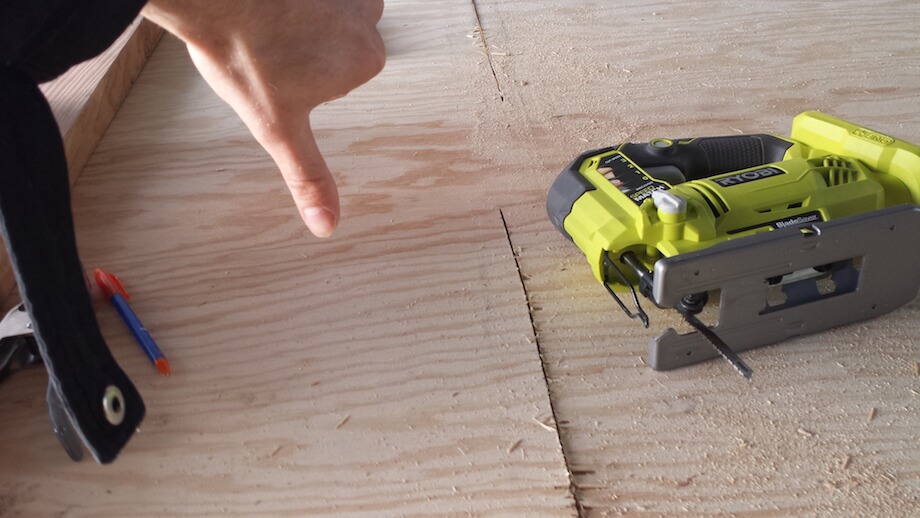
Cutting tips: you don’t want to use a jigsaw. It’s too long of a cut and the blade will bend, leaving you with a lopsided cut that won’t end in a square box.
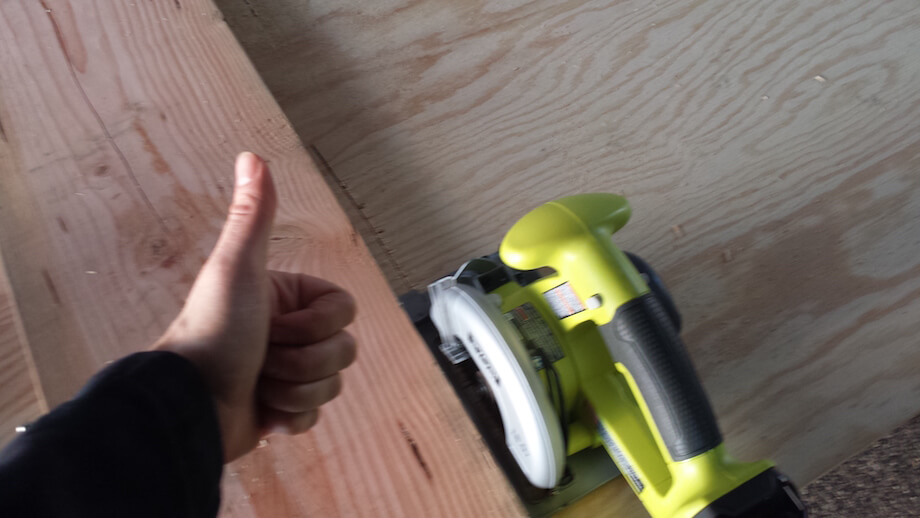
A circular saw or table saw is much better at getting long straight cuts accurately.
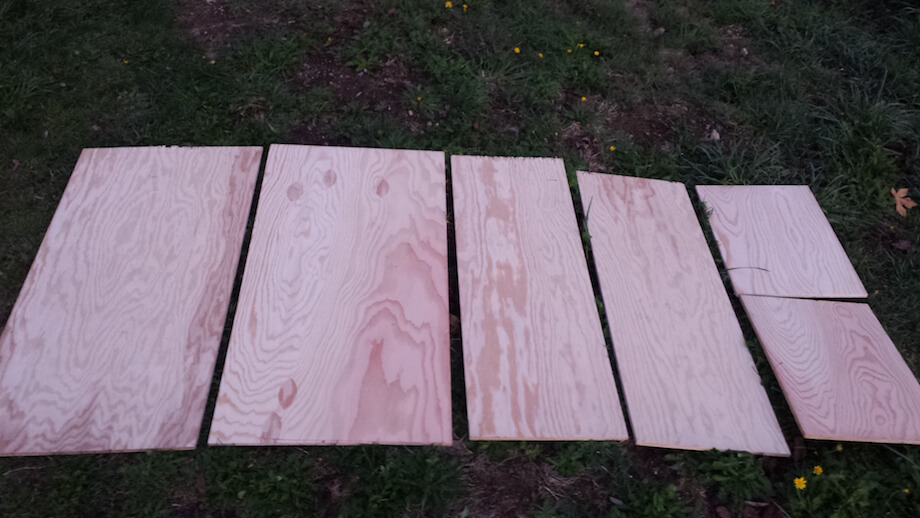
You want to end up with cuts of wood that look like this. If you mess up and make out-of-square cuts, you can either roll with having a not perfectly square box, or you can shave down the edges until they are square again. This results in a slightly smaller box.
Framing And Assembling A Worm Bin
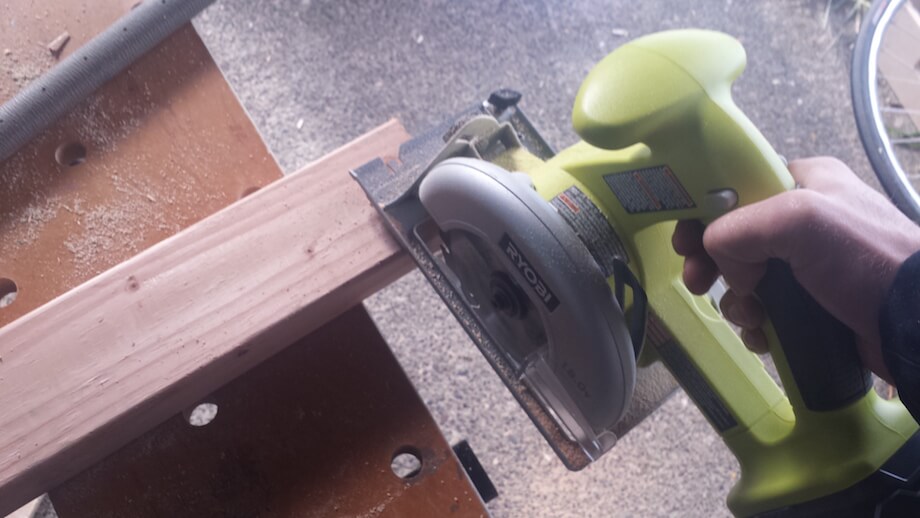
Now that you have your plywood cuts, you want to use a circular saw or table saw to cut your framing material.
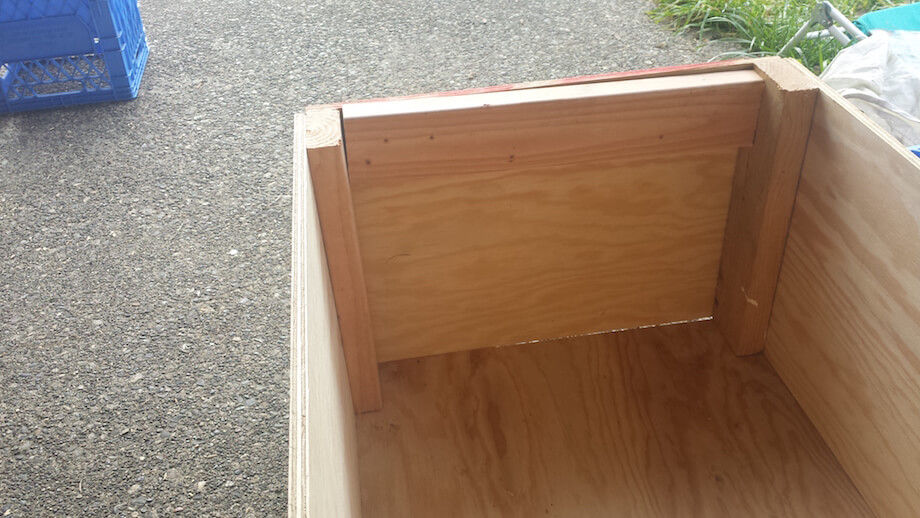
The framing is meant to add strength and structure to the box, holding the plywood cuts together in their final form. Drill into the plywood, into the framing. 1 screw on each corner should do that job, but 2 never hurt if you have the screws.
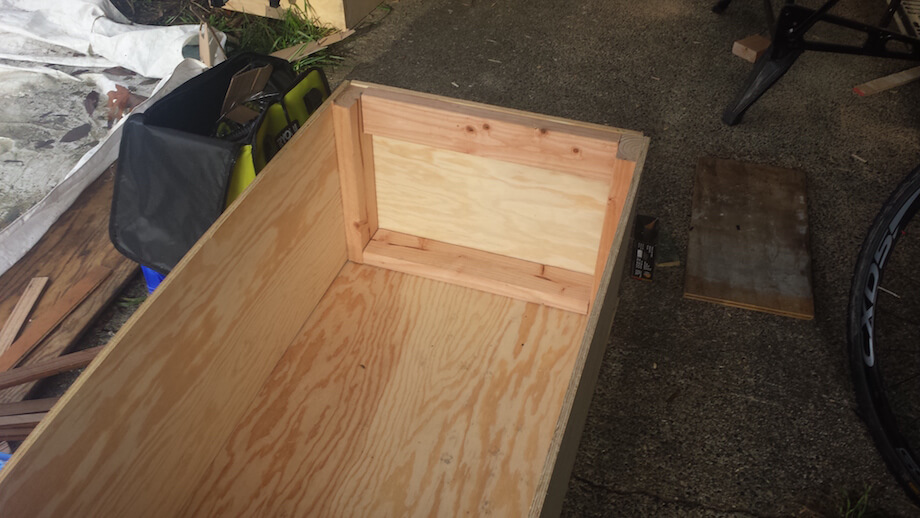
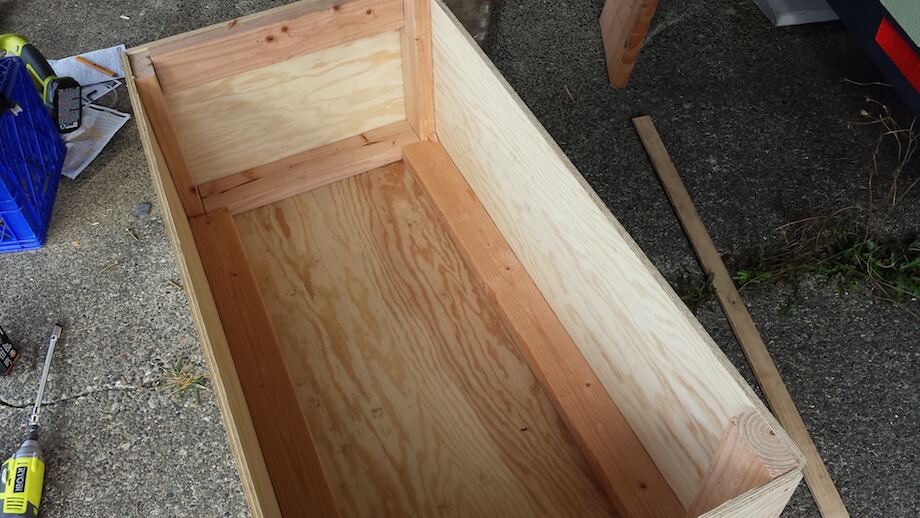
You will want an additional strip going across the length of the top as well. This will prevent bowing and warping as the worm box settles into its final position. It also helps as it gives the lid something more to rest on. It’s all about reducing the box’s ability to bend out of shape.
Drilling Holes For Drainage
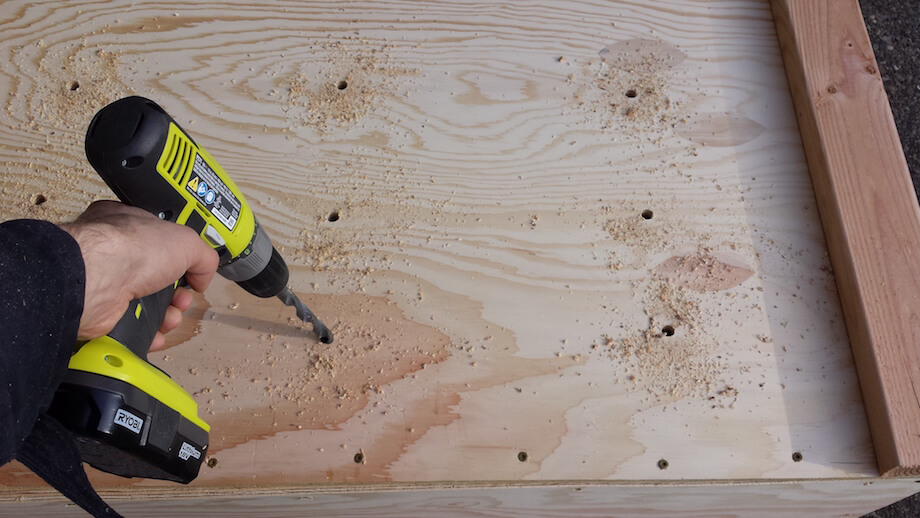
Use your 1/4 inch driving spade to cut drainage holes on the bottom and sides.
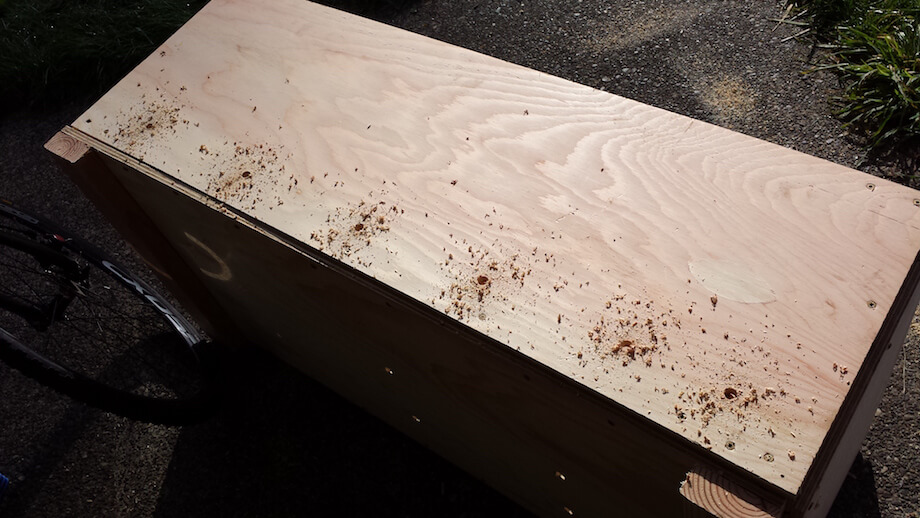
As you can see, the bottom has some 2×4 legs to keep it from touching the ground; this improves drainage and airflow, which helps reduce rot.
Adding Handles For The Lid
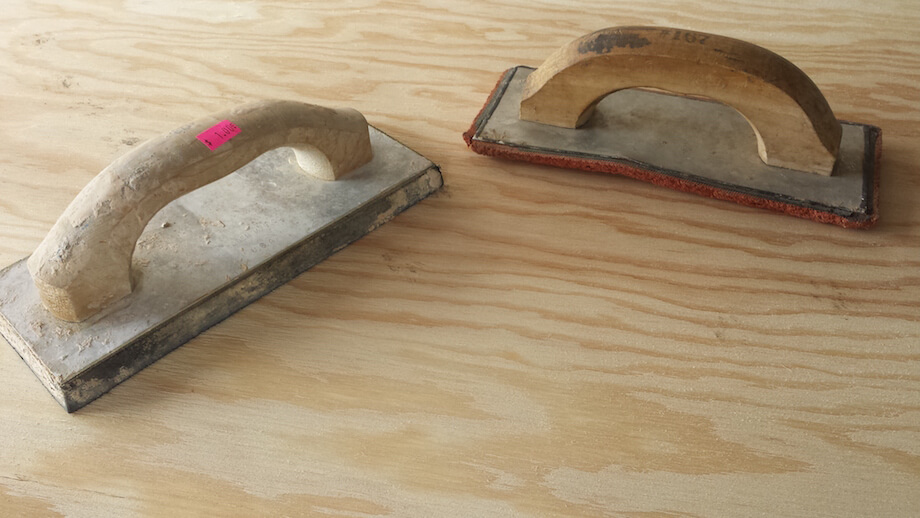
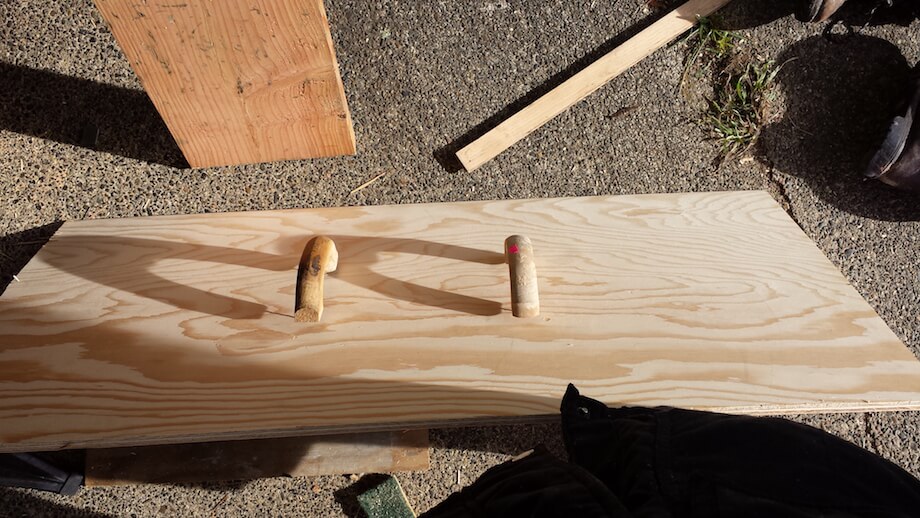
You will want some handles for the lid of your box. Anything will do here and you can get creative. For this box, I took some handles off of a couple of sanding blocks.
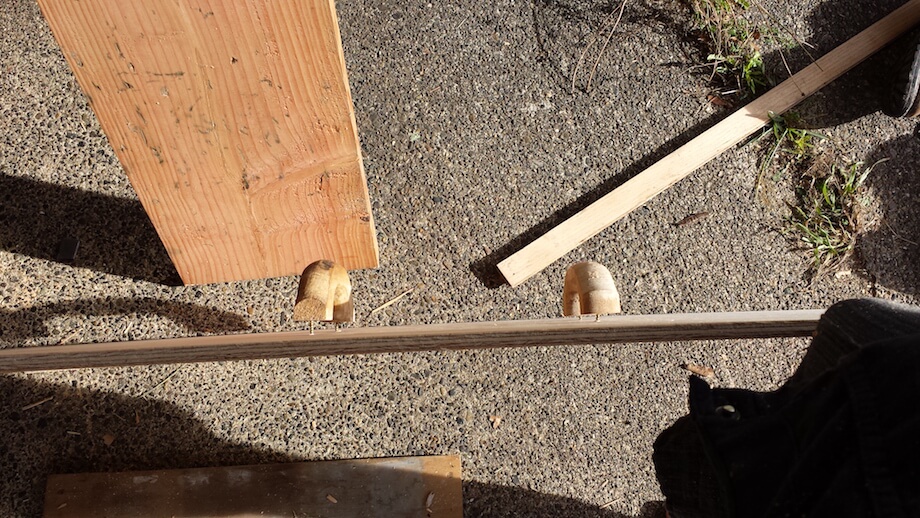
If you want to hide the screws from sight, screw them in from beneath. Just make sure you get the alignment right!
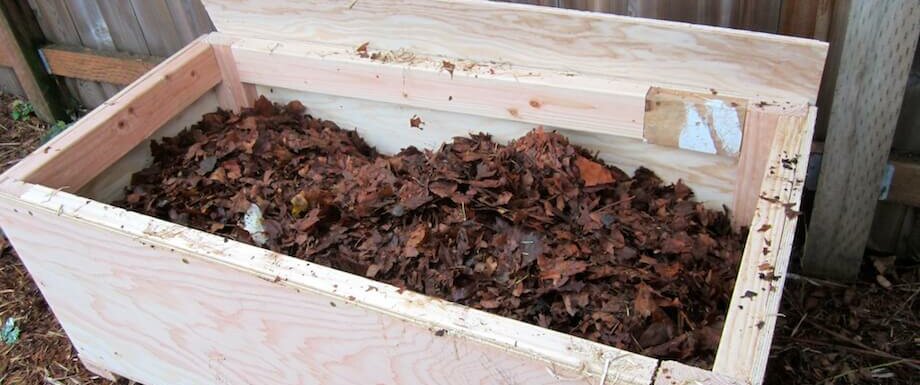
By now you should have a fully functional worm box of your very own. All that is left is filling it up.
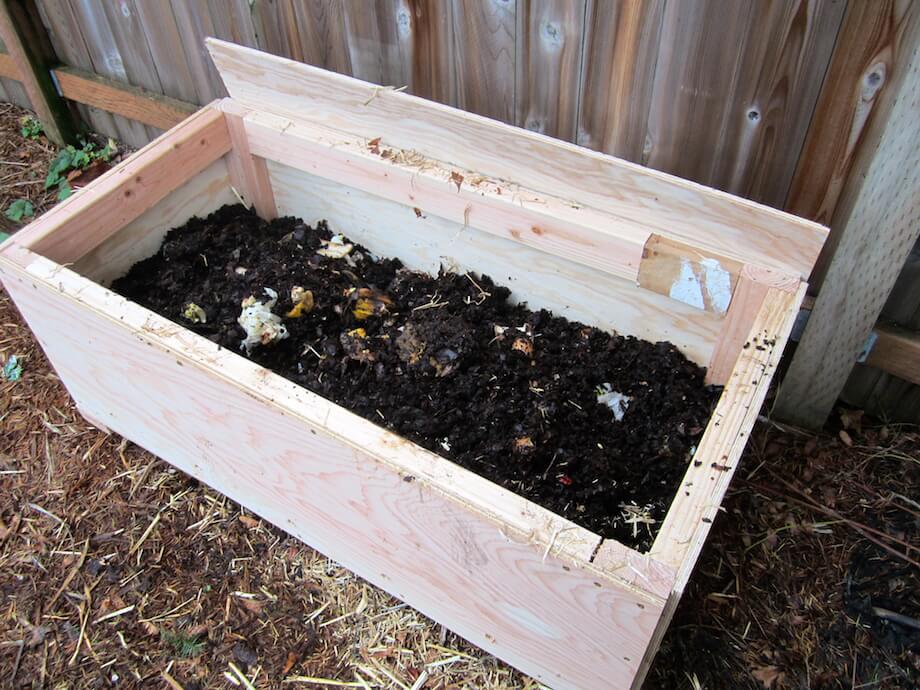
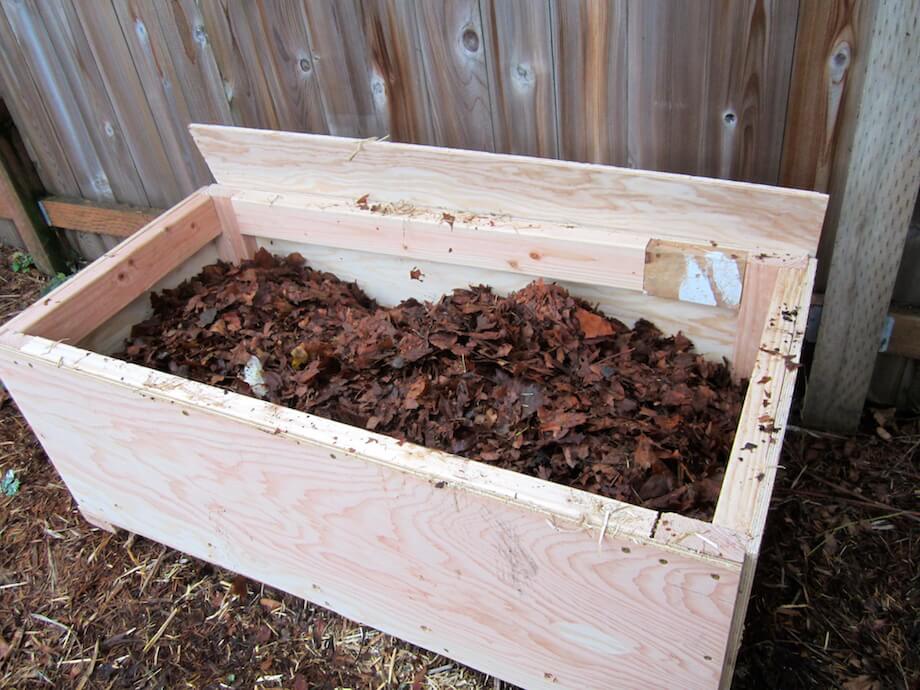
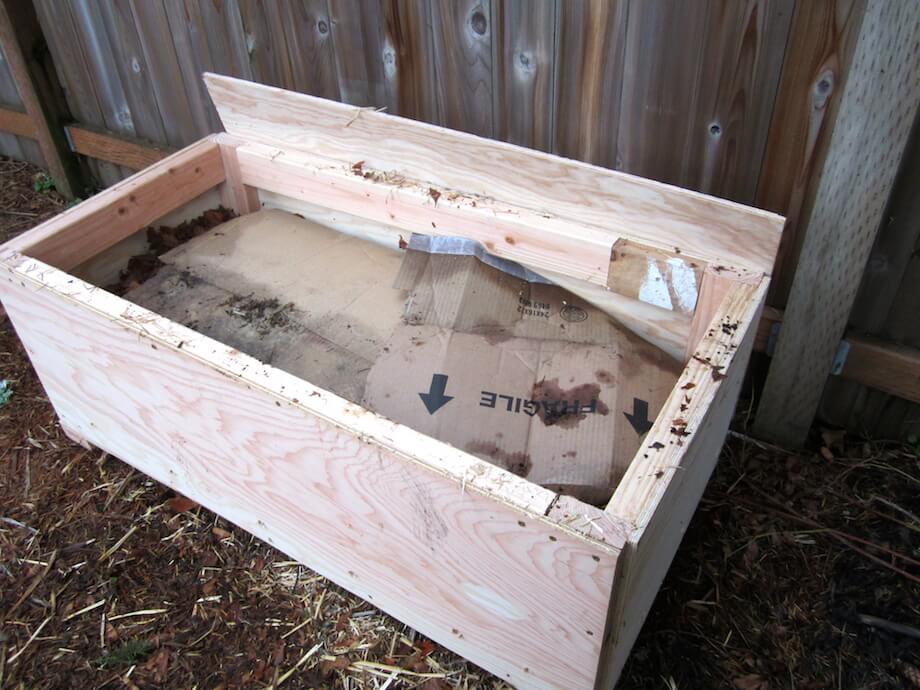

You can make a worm composter box out of any material. I used wood because it’s what I know best. If you know how to weld, sheet metal might be a good option. If you have worked with plexiglass, you can use that to form the walls. Because of all the natural fermentation and other activity going on, your worm bin isn’t going to last generations anyway, so get going with the materials you can find and like to work with.






















Leave a Reply