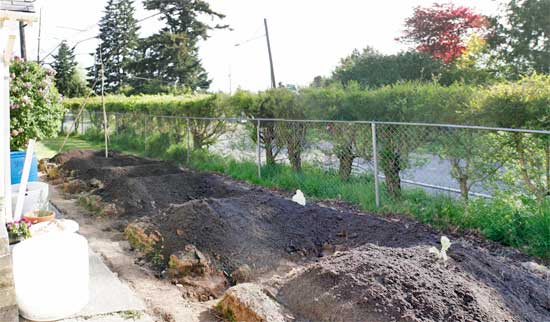
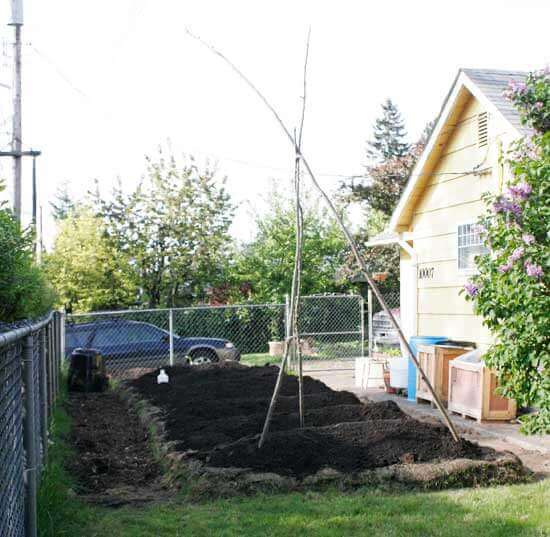
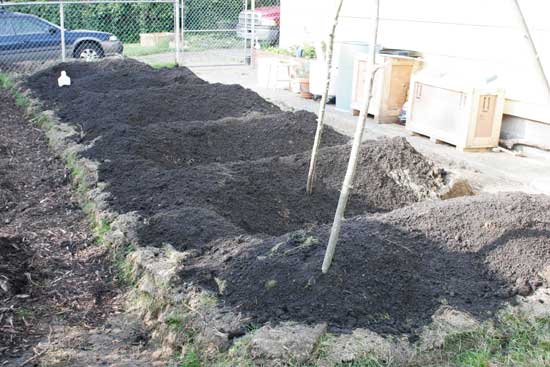
Pictured Above: Here are our finished raised beds before planting. All together there are 7 beds, all roughly 5′ x 9′, totalling about 450 sq feet.
It’s May, and I need to overhaul a large section of the yard to make way for this year’s vegetables. I have big plans in store for replacing the existing fence around our home. Because of that, it was important to me that this year’s garden would allow me to work around it to start working on the fence. Eventually, the homestead will be bordered with wonderful raised beds with rock walls. In the meantime, this is what we did.
How to Get Rid of the Sod
My plan was to dig up the entire East side of our yard; it’s the sunniest large area and was the best section to place most of our gardening. However, to do this I had to somehow get rid of over 400 square feet of grass.
Many permaculturalists advocate sheet-mulching, which basically involves covering all the grass up with a weed barrier that will eventually break down, such as cardboard, newspaper, or burlap. There are a lot of glues and other chemicals used in the manufacturing of cardboard and newspaper that I personally did not want in my garden.
Burlap sacks would have been great, but they cost money around here and take awhile to break down, so I’m skeptical that plant roots would have an easy time breaking through.
Enter the sod cutter:
Removing the Grass
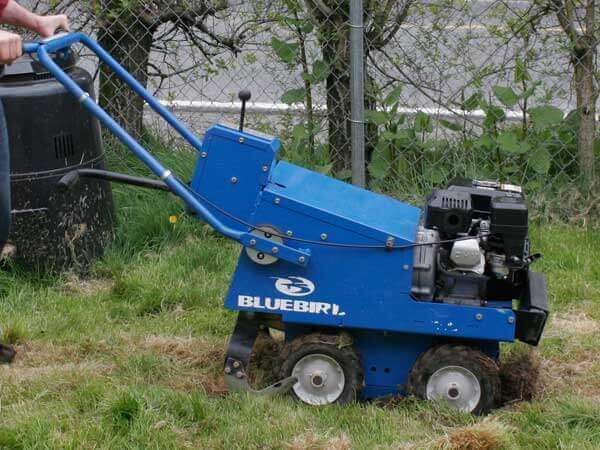
A sod cutter is essentially the larger cheese slicer you’ve ever seen. You walk behind it just like a lawnmower, but instead of clipping the grass, it slides a blade under the sod. When it’s done, you get those neat 12 or 18-inch wide strips of sod that are typically rolled out onto new lawns.
Normally I would have just used a flat shovel and spent the whole day to do this – a sod cutter definitely isn’t a mandatory tool to create a raised bed with sod walls. However, my friend Michael called me early last week to let me know he was renting a sod cutter for another project, and that I could borrow it once he was done since there was a 4 hour minimum. The cost to rent a sod cutter was $55 for a 4 hour period and $85 for a 24 hour period (rented during May 2011). I paid him the extra $30 overage fee since we kept it longer than 4 hours, and so it essentially cost $30 and saved me at least 3 or more hours of shovel work. I probably wouldn’t rent one of these again unless I was removing 500 sq feet or more of sod. Anything less is doable in an afternoon by a couple people.
Cutting the Bed & Building the Walls
Cutting up a total of about 450 square feet took less than 1 hour with the sod cutter.
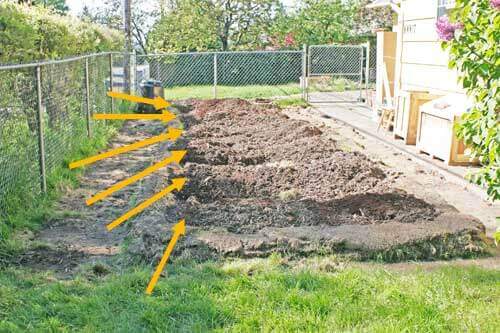
The next step was to use the cut strips of sod to build the walls for our raised beds. Here’s a rough outline of how the grass was used:
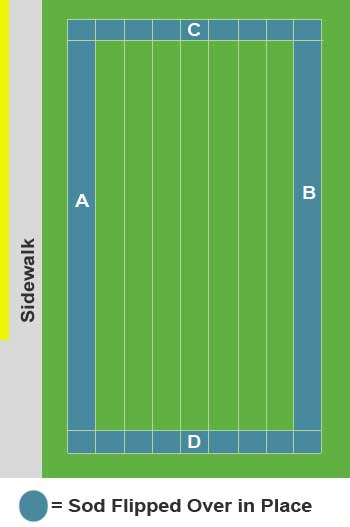
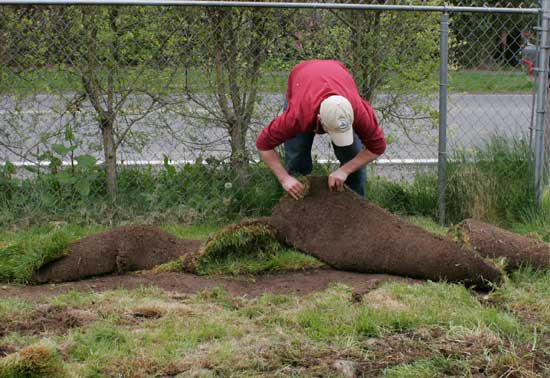
Building the walls actually took longer than cutting the sod did. There were 2 of us moving the sod strips into place and it probably took 45 minutes. Cutting the sod took maybe 30 minutes after we got the machine running.
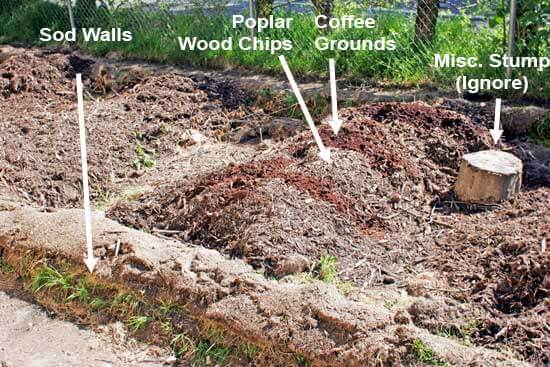
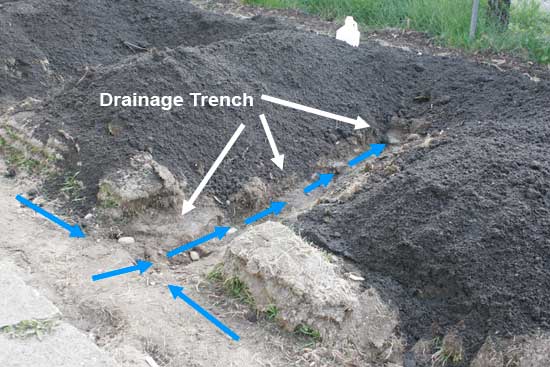
After the sod walls were built up, here’s what they looked like:
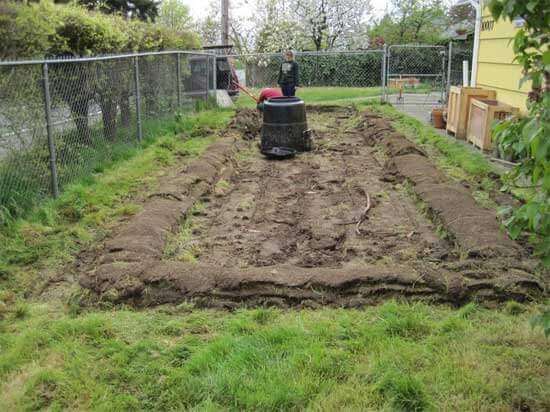
Filling the Beds with Compost, Wood Chips, and Soil
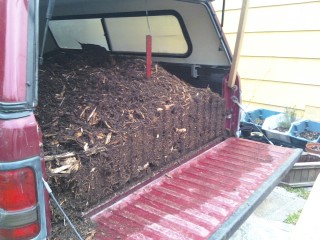
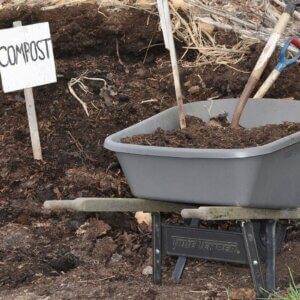
The next step is the start filling up the bed with compost & soil. I prefer to use what’s on location as much as possible, so I layered a ton of grass clippings, then sticks and twigs and branches from our yard to fill up the bottom layer. From there, I dumped about 6 yards of poplar wood chips in the beds about 16 inches high. On top of that I dumped about 6 inches of soil.
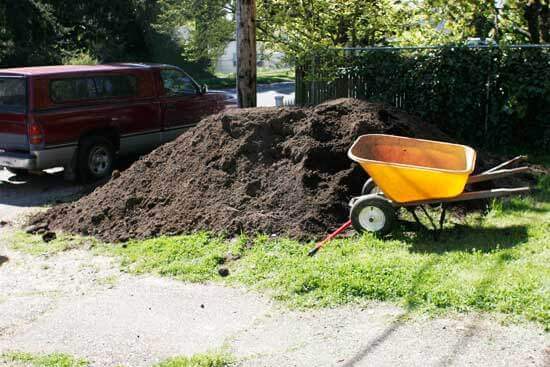
I did end up having 10 cubic yards of “veggie mix” soil delivered. It would be nice to build all of our soil from onsite and improve it up over the years, but this is one area where I need a quick infusion of nutrients. It will likely be the last time I need garden soil brought in, so it’s a worthwhile expense to me. The total cost of the soil was $367 including tax. A small price to pay for awesome veggies, I suppose.
Hugelkultur
At this point, I’m sure a few people will point out that all of those wood chips have huge carbon levels and will lock up all the nitrogen in the soil. These beds are a form of hugelkultur (proper hugelkultur would use more stumps than wood chips, but they have a similar effect). The first couple years there is a chance that nitrogen will get sucked up by the wood chips.
Compost, grass clippings, and a few other nitrogen sources on top of my heavy feeding crops should help to mitigate this. Eventually, the wood will have soaked up so much nitrogen that it begins releasing that nitrogen. So there’s a long-term payoff that I think can be reduced in the early years.
In the meantime, that wood soaks up huge amounts of water, which is in turn soaked up by my veggies. That’s important here in Seattle, where we have very dry summers. This first summer, I’ll still have to water regularly, since the wood chips haven’t had enough rain to soak up. In year 2 I will theoretically need to water far less than a traditional raised bed without all of the rotting wood inside.
Add Some Finishing Touches
Finish With a Living Mulch
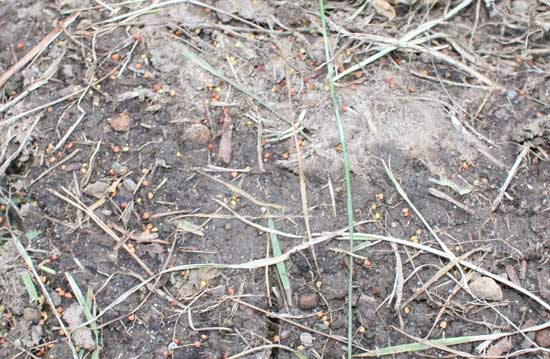
Raised beds can be notorious for drying out quickly, because the water tends to obey gravity. As a result, it is super important to have some sort of mulch to help the beds retain whatever moisture they have. I have decided to use a “living mulch”, which is just a mulch made out of a cover crop of some sort. In this case, we will seed the walls of the raised beds with New Zealand White Clover. This will act as a living mulch by preventing weeds from forming on the wall and retaining moisture, but it will also attract bees and fix nitrogen into the soil, not too mention look good. For more information see my post about clover as a living mulch.
Total Cost
My grass clippings, branches, sod and wood chips were free. I spent $8 on a pound of clover seed and used about 60% of it. I spent $30 on the sod cutter. This could have been free with a shovel and a couple friends. I spent $34 per yard on the veggie mix soil. I probably used 2 or 3 yards for the garden beds, so let’s say $90 on soil. This also could have been free if I had just used soil on hand. While my total cost was $130, it’s important to note that $120 was spent on shortcuts. The primary cost of building these beds is a little sweat and finding the materials. So these raised beds can work for any budget. Also, had I not raised them so high, I would have needed less material, which would have made the beds much closer to free.
So, that’s how we built our raised beds. They are still an experiment in progress, so be sure to follow along with us for the growing season to see how they turn out and too see what we would have done differently.


















Bob Koch
About 13 years ago I decided I never again wanted to mow the lawn. Instead, Japanese Maples & Rhodies. To get rid of the lawn I thought of Roundup or plastic sheets, then hit on the idea of suffocation by mulch. First I looked in the yellow pages at tree services. Nearly all the time they say “call for free wood chips”. They have to pay big money to haul them and dispose of them. If you call and ask, they’ll be so much more than happy to deliver them free of charge, free period. A driveway full. A 6-10 inch covering of wood chips was all that was needed to take out the grass. Never heard from it again. No additional plastic, cardboard, burlap, nothing. Free. Done. You also relieve someone of a financial burden.
Hi Bob, just came across this comment, good points. We had access to the sod cutter for free this year which is why I opted to use it for the garden bed, but for the rest of the yard we have begun the process of sheet mulching. At this point we have all the cardboard we need, we’re just waiting on a wood chip delivery. The cardboard is being used in areas of the garden where we’re not growing vegetables.
Thanks, Kane, for the detailed visual history… I’m looking forward to see the results next year, especially how much watering you have to do in our dry Seattle summers.
I’m going to be burying wood of various sizes/species in the spring… ‘hugeliing’… for water conservation. Plus putting the fireplace charcoal, liquid gold-anointed, for more water retention. Should be interesting smile emoticon
Plus snagged wood chips from the orange ‘Asplund’ trucks that I sporadically find in the vicinity… usually glad to dump at your address, when you accost them wink emoticon Now, I just have to wheelbarrow them up the driveway…. invigorating!
I like letting the beans go for the sky, as they will be once-harvested when dry, and the poles can be brought down.
Hi Nancy, hugelkultur works best after a full rainy season for the beds to soak up the water, so ours will likely do better next year in that regards, unless we keep getting no rain this winter. If you have the wood already, try soaking it in kiddie pools or barrels or whatever before you bury it.
Careful about too much fireplace charcoal, it can throw off the PH of your soil if you have too much – depends on how much wood you burn.
I wish the pole beans had worked out, but all of the ones I planted didn’t do much sadly. I saved the poles to try again next year.
Thanks for stopping by!
Great site – thank you for creating it!
Just wondering why you didn’t split the cost for the sod cutter with your friend?
Ha, good question. The rental expense was covered by his work. =)