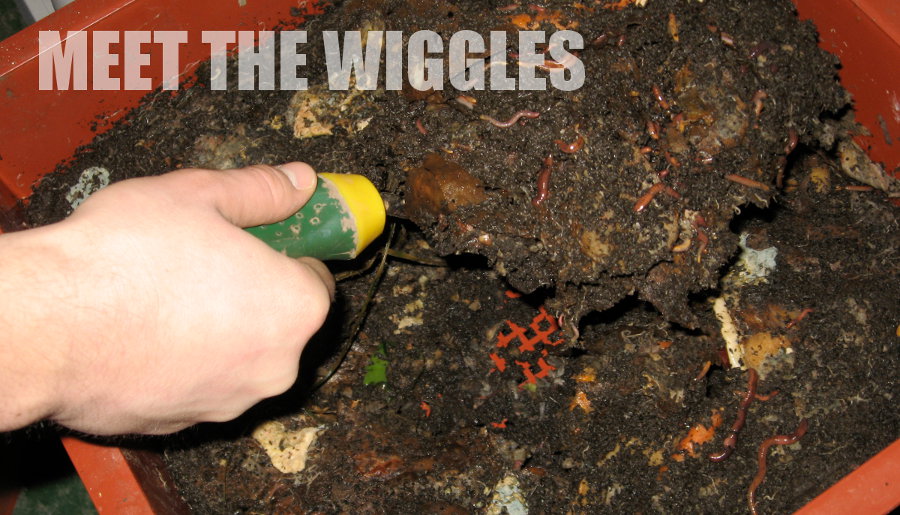
Living off the grid – whether by choice or by chance – is all about efficiency. You need to learn to make the most of your land, your water, and even your food waste. That’s where worm composting comes in. Worm composting makes use of mealworms and earthworms to create a valuable soil additive called vermicompost. This “worm tea” is made up of the worm’s waste as your compost exits the worms’ “tail”, called a “worm casting”. The worm tea that worm compositing generates is a very effective fertilizer, and is perfect for greenhouses and potted plants.
Before we get too far with this: don’t drink the worm tea.
That said, let’s go over a basic list of the materials you’ll need to make your own, DIY worm composting solution:
- 4x 5 gal. “Homer” bucket
- 1x 5 gal. “Homer” lid
- 1x water valveYou’ll also need some tools, like a drill, screwdrivers, glue, etc. Those aren’t included in the materials bill, obviously, since they’re things you probably have – or should have! – if you’re a serious DIY enthusiast/survival enthusiast/crafter/etc.
Worm Composting
Worm Composting | Step 1
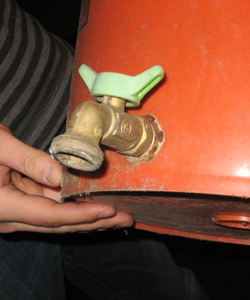
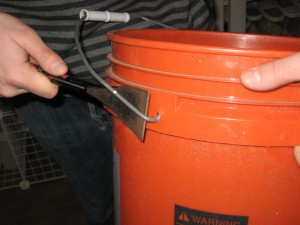
Install the faucet/water valve into the bottom of one of the buckets. This is where the worm tea will come out, so you want it fairly low to make the job of extracting the tea easier.
Worm Composting | Step 2
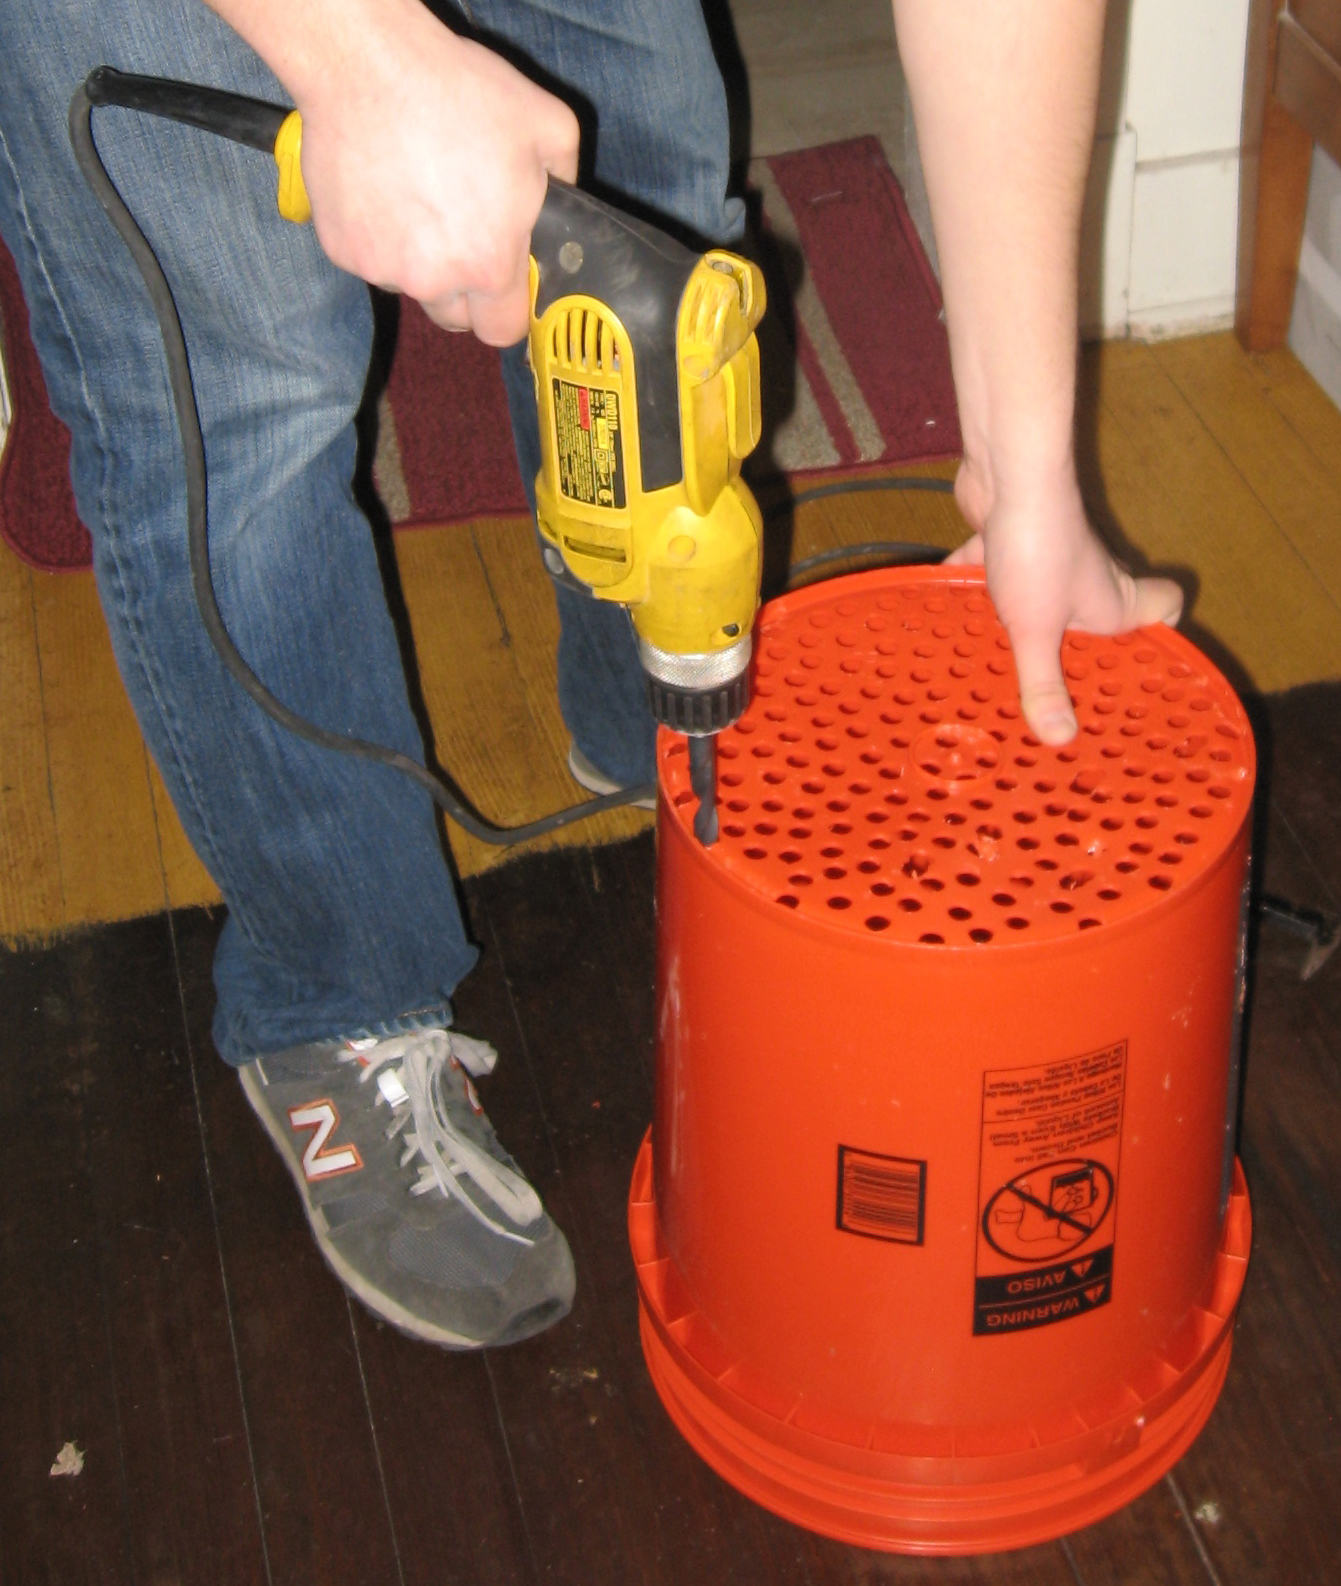
Remove the handles, then drill a number of holes into the bottom of the 3x buckets that do NOT have a water valve. Once the worm composting is actually happening, the tea will drop down from layer to layer through these holes, so they should be relatively small. Smaller holes are better for the tea, but take longer to make and are a bit more high maintenance, since they can clog.
Worm Composting | Step 3
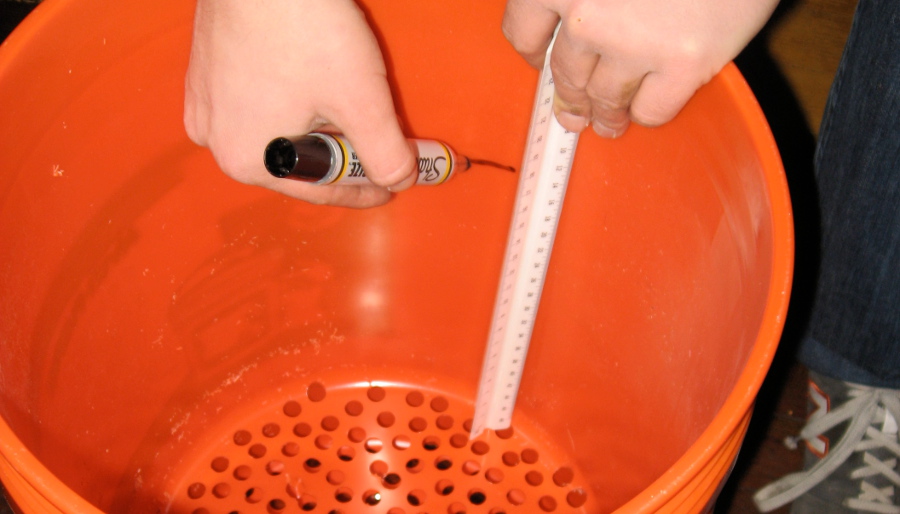
Draw a line 8″ from the bottom of the 3 buckets you drilled into. That’s the fill line, and approximates the same 1:3 proportions of the “minimum cavities” left in pre-manufactured worm composting kits.
Worm Composting | Step 4
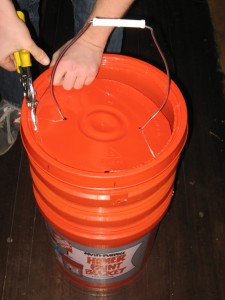
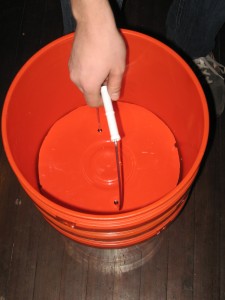
To make the lid for your DIY worm composting rig, drill two holes into the “Homer” lid about an inch “in” on either side of the lid. The diameter of these should be just large enough to fit the crimped ends of one of the bucket handles you pried of in step 3. Next, drill (or cut) two more holes on the outer edge of the “Homer” lid. You should now have a lid the slides down most of the way into the bucket, covering the food while still allowing some air flow.
Worm Composting | Step 5
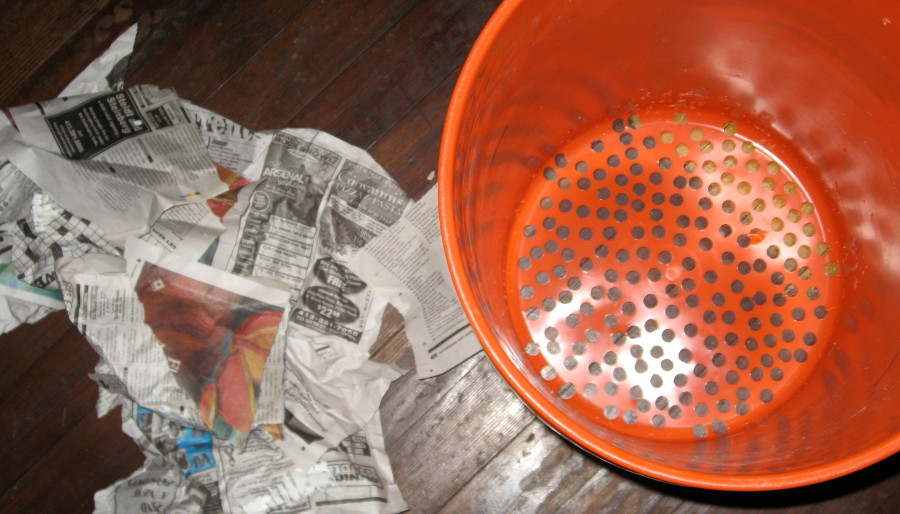
Cover the bucket’s holes with enough crumpled newsprint to cover every hole, then spray the paper with water. You should get a “coffee-filter” effect from this one-time process, which is meant to keep the worms from falling down into the bottom “tea bucket” while the colony is establishing itself.
Worm Composting | Step 6
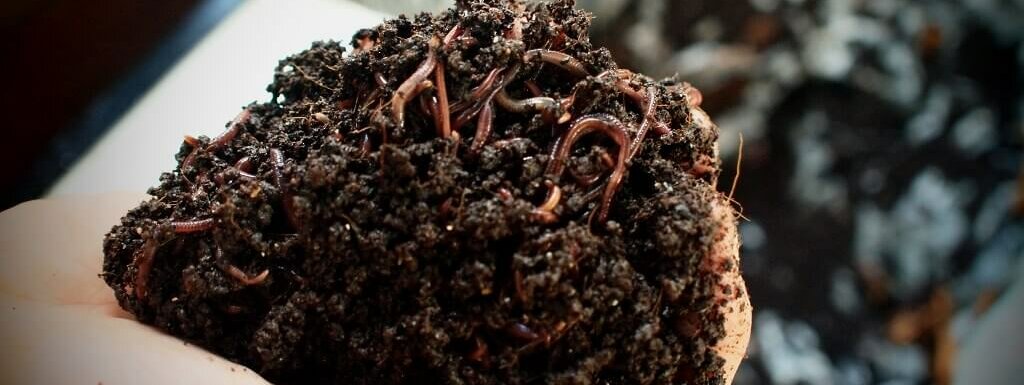
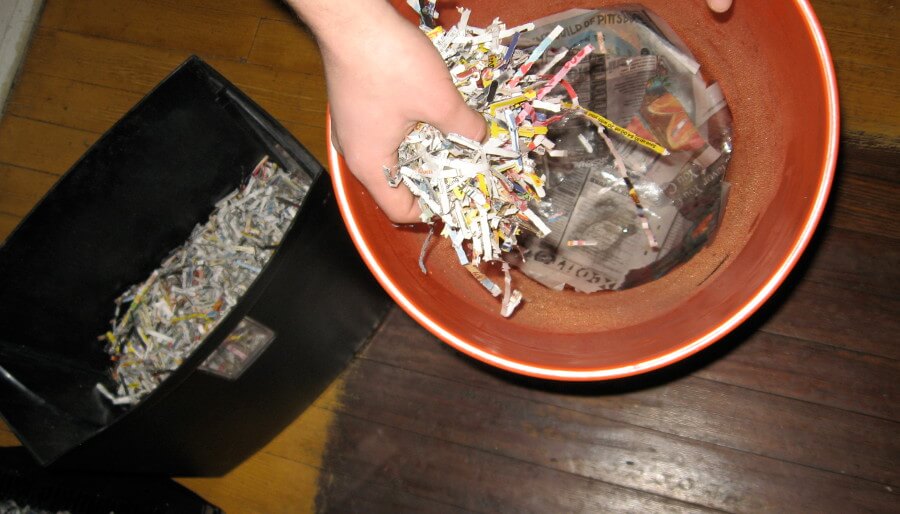
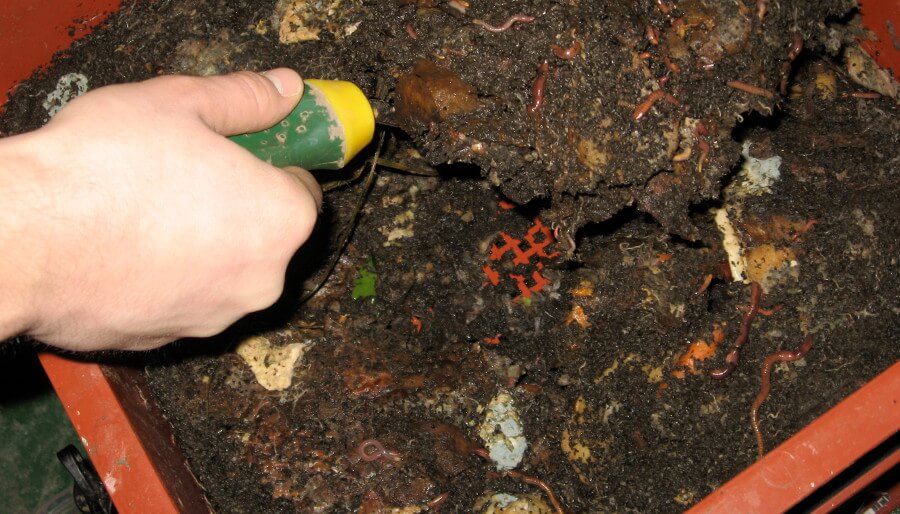
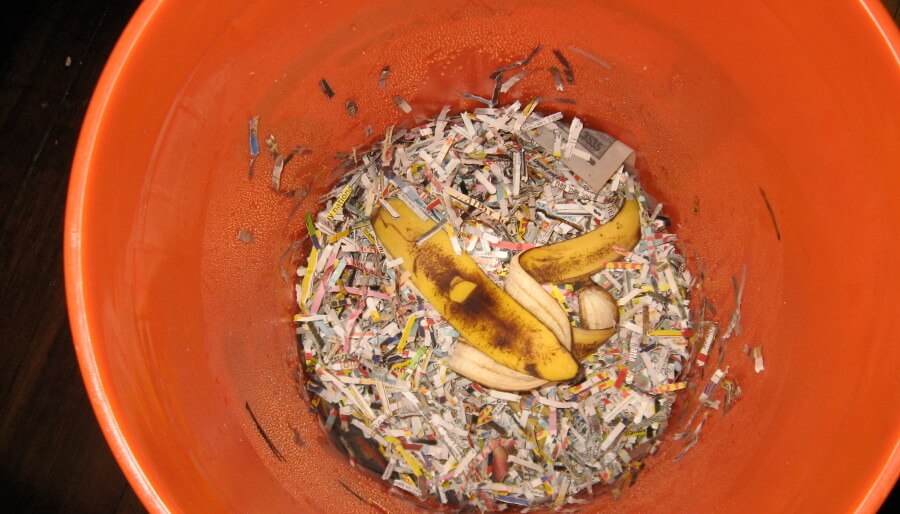
Fill the bucket with a small layer of torn or shredded paper as bedding, then add a layer of topsoil and (of course!) worms. The paper helps to aerate the soil and keeping the worm bin aerobic (as opposed to anaerobic, which not only smells bad but is bad for the worms). Next, add another layer of paper strips and start adding food scraps like banana peels, apple cores, etc. to the bucket. Cornell University’s post on the subject says you should use “only raw fruit and vegetable scraps. Stay away from meats, oils, and dairy products, which are more complex materials than fruits and vegetables.” In addition, they recommend not using citrus fruits, which could attract fruit flies. Place another layer of shredded newsprint in between layers of food waste.
With enough worms and shredded paper your DIY worm composting kit should smell more rich and earthy, not rotten and gross. That’s especially good if, like many urban homesteaders, you have to live close to your garden on hot days.
Notes
I would love to give proper credit to the photographer in this post, but they’re listed as “Guest” on a three-year-old post. That said, there a number of more detailed, high-resolution images where I found them, and you should definitely check them out if my instructions are too vague. If you want to skip the DIY worm composting angle and pick up a ready-made worm composting kit, the Worm Factory kits are all-inclusive, and can usually be found for about $100 and up.
Related Post: Compost vs Landfill: Does it Really Make a Difference?
Sources And Photos
Cornell University, Pittsburgh Permaculture, the Worm Factory.




















We have a bigger version of this system in our basement; it’s our only pet, and rather than name each worm, collectively we call it Phyllis. I can attest that the worm tea is some of the best fertilizer out there–it has near-magical powers of resurrection, especially when it comes to African violets. On the other hand, the constant presence of over a thousand writhing worms in a black bucket in the basement . . . some day a therapist is going to have a field day with that one.
Love your sense of humor Sam. Why Phyllis?
I’ve never seen such a comprehensive post as this that actually explains everything in clear plain English! Thank you!
I understand the tea comes out but what about the actual compost? Are there 3 layers because I take out a bucket with compost? The lid is only on the top layer? I really want to try a new compost idea, just trying to understand.
Thanks