When you start gardening, you start the process of raising your own food from the soil and cooking meals you grew with your own hands. It’s an amazing feeling, but as you begin to read gardening manuals and cookbooks to expand your skill set, you’ll come across phrases that make the hairs on the back of my neck stand on end.
“Sow thickly, then thin to a 3-inch space between plants.”
“Remove thinnings.”
“Trim greens and use only root section.”
“Cut away green section and discard.”
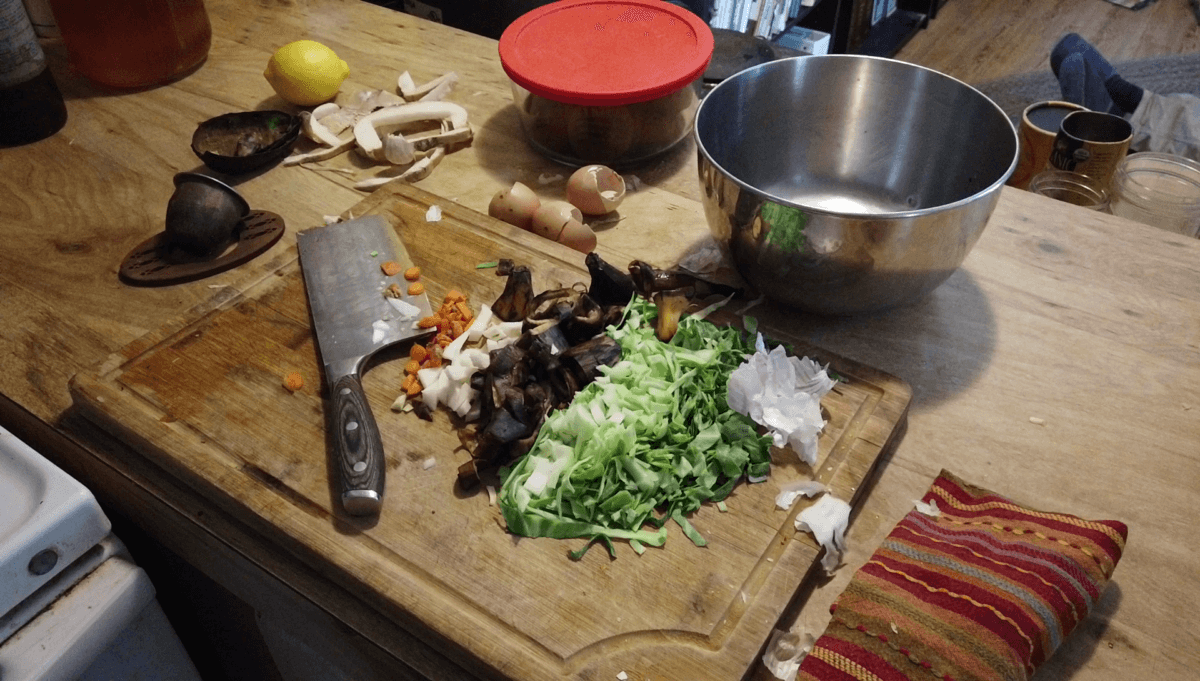
The horror! The waste! Oh, the humanity! Okay, maybe that’s laying it on a little thick, but for a homesteader or gardener seeking self-sufficiency, any waste that is common in gardening and food prep needs to be reconsidered and revamped. The truth is, those discarded and cast-off bits of food are often loaded with good eats and only thrown away because of tradition — not because they’re bad to consume. Likewise, the thinnings that we pull to make way for well-shaped carrots or beets aren’t waste if you don’t want them to be.
If you’re looking to purge hidden waste habits, it’s time to take a good look at how we handle garden thinnings and so-called food scraps. They’re far more than trash, that’s for sure. I’d like to offer alternative uses to consider for these materials.
6 Ways You Can Use Thinnings and Scraps
1. Eat Thinnings and Trimmings
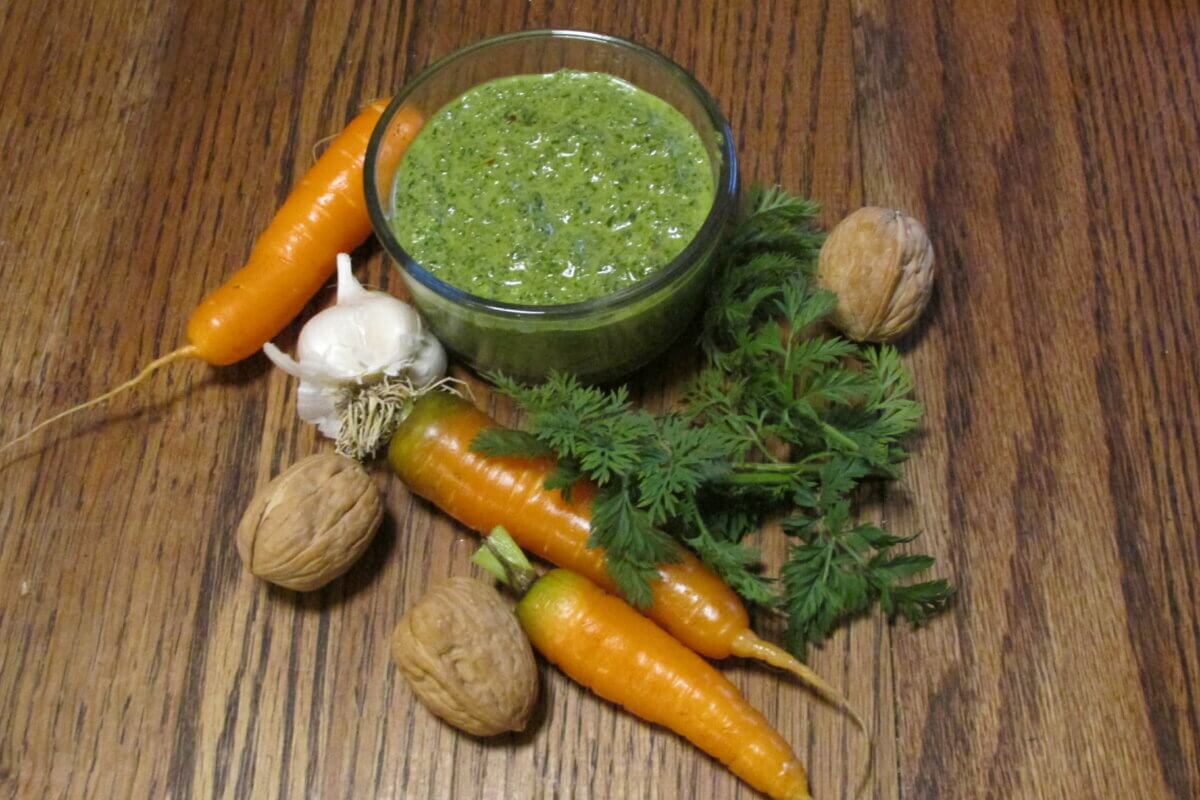
This is the most obvious of choices, but a worthy one to mention. Thinnings are absolute delicacies. From pint-sized carrots, to tender baby beets and buttery bitty lettuce leaves, thinnings are just as good as normal-sized garden produce. Sometimes, even better.
The greens of most plants are as edible as the roots, and packed with the excellent nutrition you’d expect. The greens of beets, turnips, carrots, kohlrabi, rutabaga, and brussels sprouts are all edible.
I like to make a thinned, carrot-top pesto with the feathery leaves of the carrots that I pull early. Follow your favorite pesto recipe and substitute the carrot leaves or basil. The resulting spread is excellent on bruschetta, delightful spread on roast chicken, and of course, a wonderfully tasty inclusion atop pasta.
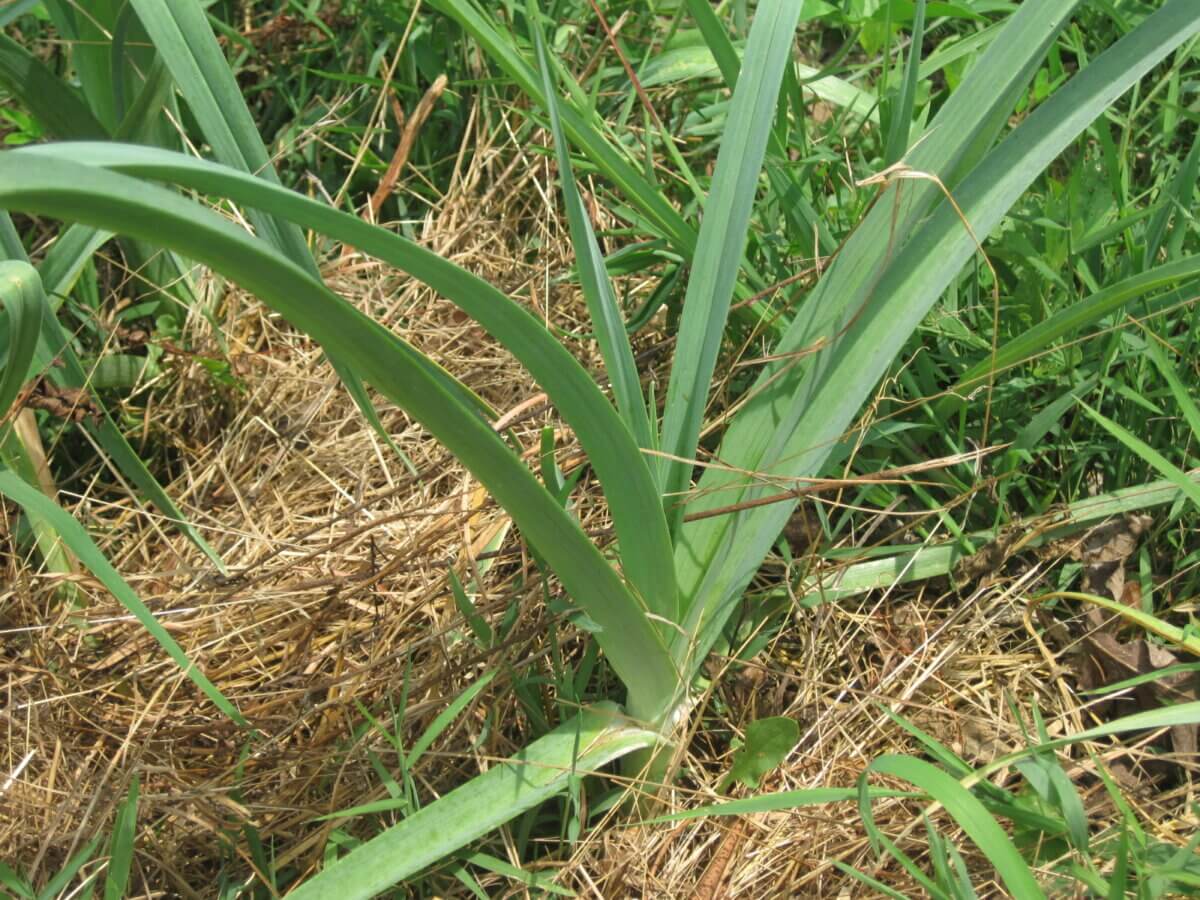
The tops of alliums are also delicious. Garlic, onion, and scallion greens taste much like their potent bulbs. And despite what recipes may say, the green tops of leeks are worthy of much more than the discard pile.
The exception may be the greens of parsnips, as their edibility is debatable. I’ve both researched it and tasted them myself, and the inconclusive results were a mixed bag of edibility decrees from disparate sources, and a not-that-tasty eating experience in the kitchen. The chickens help me out with them instead which conveniently leads me to …
2. Use Them as Chicken Snacks
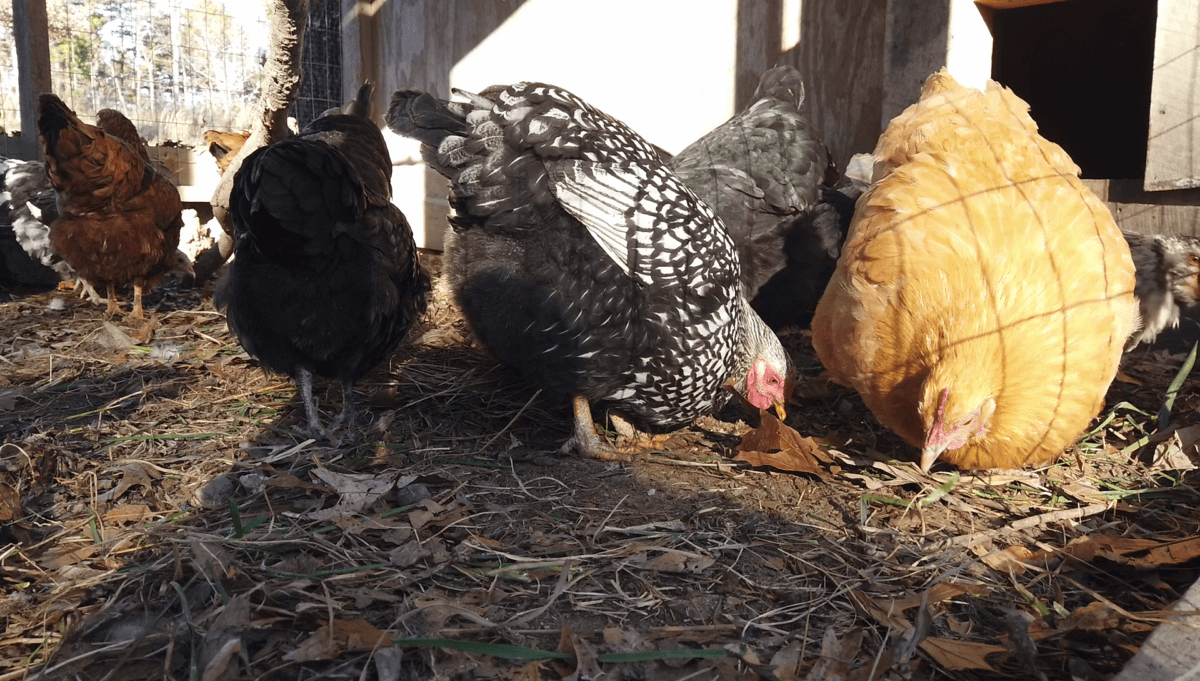
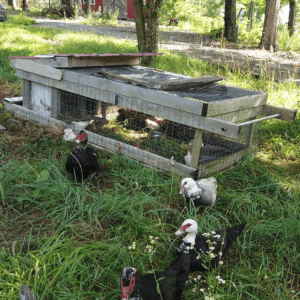
Even if you don’t feel like helping yourself to garden scraps, trimmings, and tops, the chickens aren’t picky. Send any cast-off bits to the birds and enjoy the sight of your hens tilling them into compost and digesting them for eggs. Though chickens can’t eat everything, they can eat almost anything that comes from a garden including pest-ridden produce that is unfit for humans. Just don’t give them anything moldy, and they should be happy.
3. Make Caffeine-Free “Coffee”
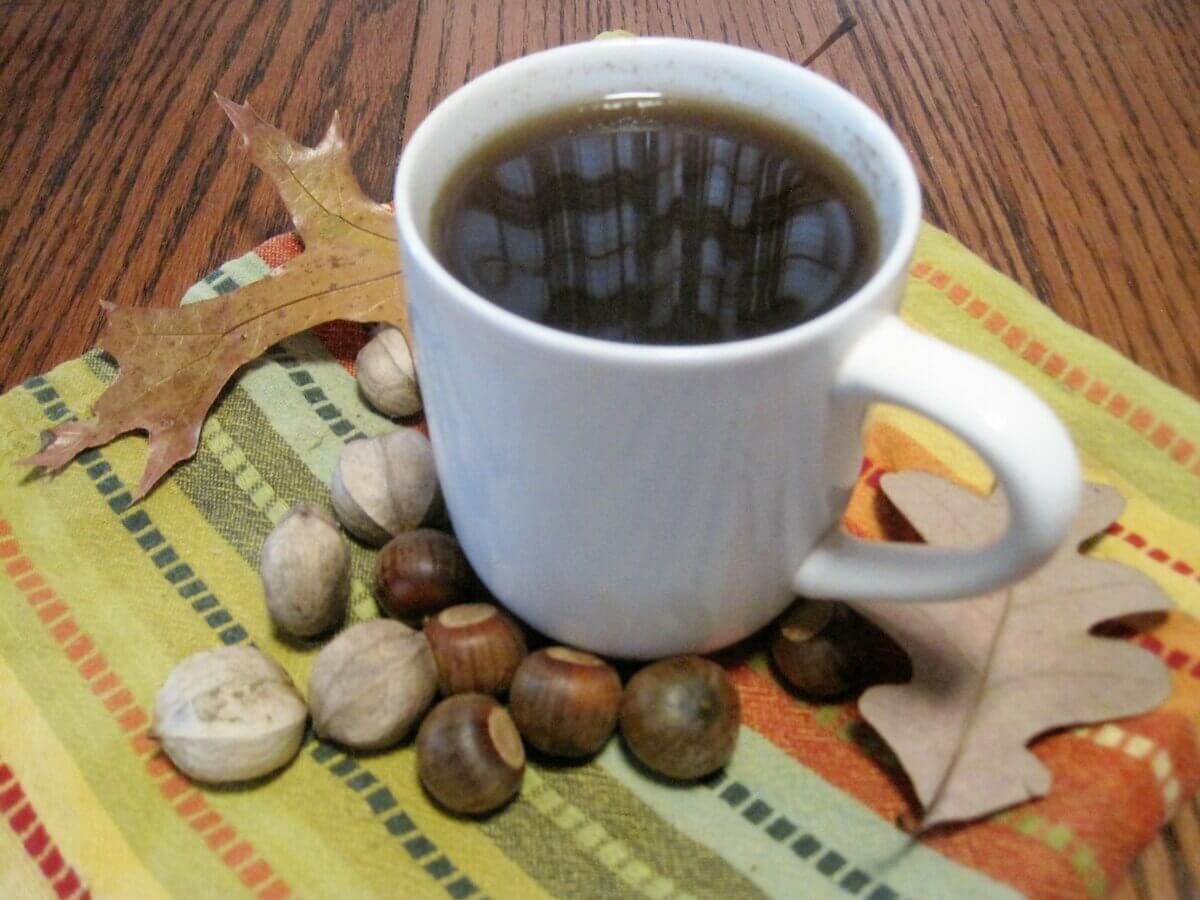
When I bring in a handful of parsnips from the late fall garden, I am not just bringing in a delicious side dish for dinner … I’m bringing in the after-dinner drink as well.
One of parsnip’s greatest secrets is it’s a caffeine-free coffee replacement. Simply keep all your trimmings — any peels, thin root bits, or trimmed, greens-free tops — and cut them into uniform bits. Roast on an unoiled baking sheet at 350 degrees Fahrenheit until they are uniformly browned, but not burnt. You’ll know they’re done when their fragrance fills the kitchen.
Then, simply give the roasted roots a blitz in your coffee grinder and they’re ready to go. These “grounds” work perfectly in a French press, or simply simmered for five minutes in a sauce pan of fresh water (I don’t have an electric coffee maker, so I can’t comment on how well they work in that). Strain the resulting, dark-brown liquid into your cup, sip, and savor.
As you’ll see, the resulting brew is aromatic, smooth, and slightly spicy. I’ve experimented with a lot of coffee substitutes in my day (it’s a bit of a hobby), and I think this one may be my favorite. Though it doesn’t taste exactly like your typical cup of java, it reminds me of coffee brewed with cardamom, cloves, and cinnamon. Absolutely delicious with a sploosh of good whole milk, and since there’s no caffeine involved, you can enjoy it day or night.
I’ve tried making this “coffee” from leftover garden carrot bits as well. Though there was an undeniable carroty-ness to the brew, it was surprisingly enjoyable.
4. Make Homemade Playdough Colorant
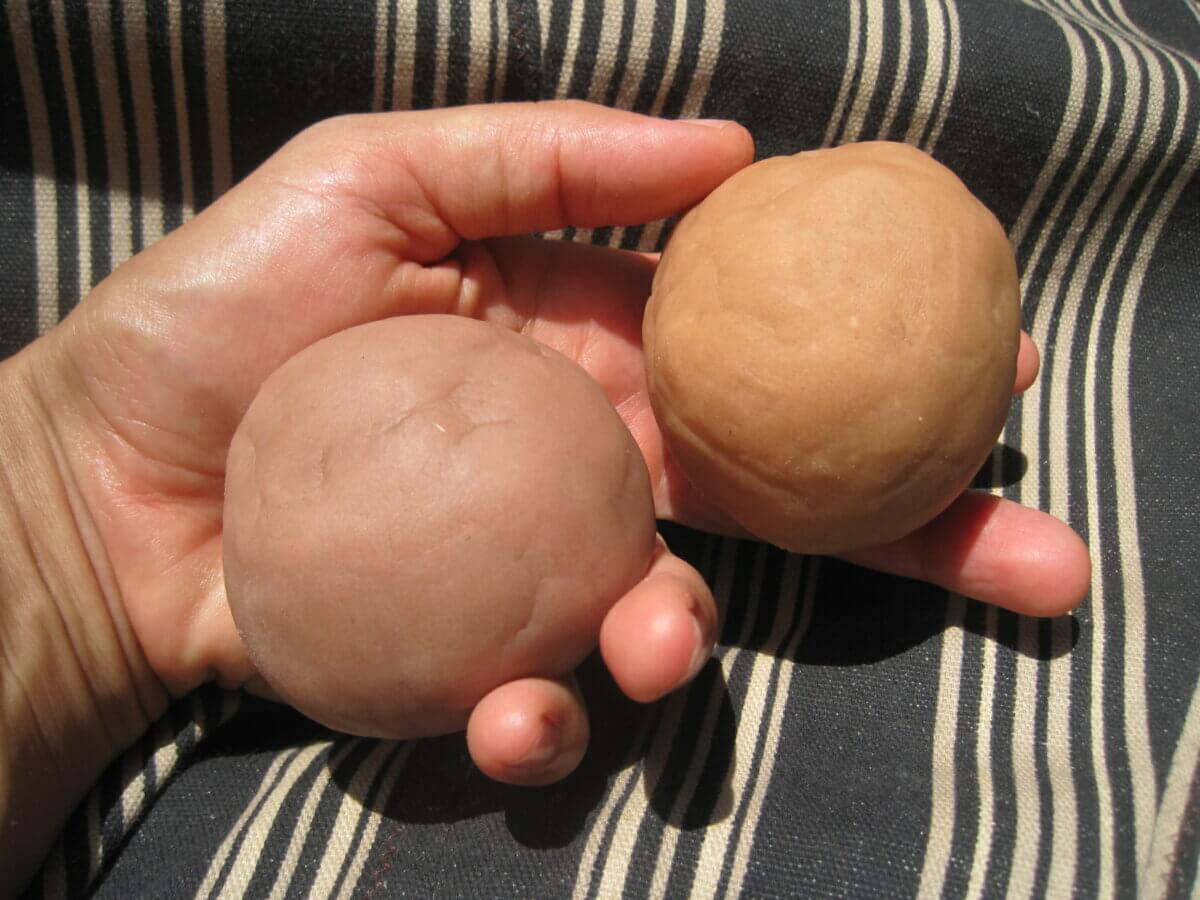
When trimming garden-grown beets for cooking, there’s inevitably some rooty bits, peels, or nubbly top shavings left over after processing. While these are usually destined for the compost pile or chicken bucket, take a look at how they’re staining your cutting board (and hands, countertop, and apron and … how did it get on the ceiling!). That wine-red color is good for playing with clay, if you have an artistic side.
I’ve boiled the trimmings of beets in a bit of water until they produced a nearly black liquor, then used that natural dye to color homemade playdough. If you follow this recipe for homemade playdough at our sister site, Crafting a Green World, simply use the beet-water in place of the water listed in the ingredients, and you’ll end up with a lovely rose-pink color.
If you’re interested in more natural colorings for a whole range of colors, use onion skins for yellow, fresh grass clippings for a muted green, and autumn oak leaves for brown. These colors will never be as bright as the artificial ones in the stores, but most kids find the process of finding color in their backyard is fascinating enough to compensate.
5. Replant Them
Just because the thinnings you’ve removed weren’t planted in the optimal spot doesn’t mean they can’t grow. I hate wasting seed, so I typically transplant my thinnings with care in a bed beside the original one, or in any gaps left by a well-placed sprout that didn’t make it. If they’re transferred on a cloudy, still day, and watered afterward, transplants can be surprisingly resilient. They may slump for a few days, but keep them well watered and they’ll perk up in no time. If the sun unexpectedly comes out, however, you may need to put a temporary shade over the them to keep them from being too stressed.
Transplanted carrots do have a tendency to fork, but many other garden vegetables can grow as well as those not thinned.
You can also regrow some trimmed tops to give you micro greens, right on your windowsill. Check out good candidates for that fun process here.
6. Use Them as Worm Food
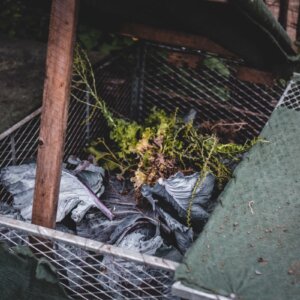
Of course, you can compost thinnings, but if you really want them to break down at record speed, team up with some creepy crawlies and let them do the work for you. Worms delight in eating any and all vegetable scraps you offer, leaving behind rich castings in gratitude. Vermicomposting can be done under a sink or in a basement, making it a super urban-friendly way to produce rich soil without a neighbor complaining about a compost pile.
If you don’t have to worry about a nearby neighbor, vermicomposting can offer other benefits to the homesteader. When your worm population is healthy and growing and you have room to expand, you may be able to set up a small side-hustle selling live bait. Alternatively, you can always use the excess worm population as a free source of protein-rich snacks for your (spoiled) chickens.
Get Creative
Now, those who share my passion for waste-free gardening and cooking, already know that these six suggestions aren’t the end. If you’re culinarily minded, you should check out Linda Ly’s The No-Waste Vegetable Cookbook with tons of scrap-sourced recipes. And if you have any anti-garbage tricks from your own neck of the woods, drop them off in the comments below.

















Leave a Reply