Winter’s almost over. Have you started your plants yet?
This gardener can proudly say yes! In the late winter months, serious gardeners begin asking one another this question.
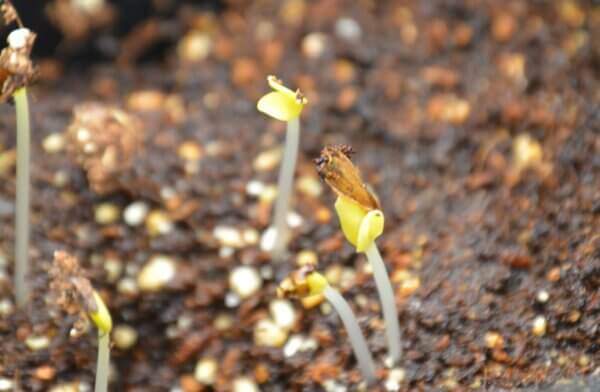
As the daughter of a serious gardener, I learned at a young age that if you want to grow your own peppers and tomatoes here in Minnesota, then you must start them inside your house 6-8 weeks before you transplant them outside.
We have such a short growing season here in central Minnesota that these warm weather loving plants need all the help they can get. That means starting them indoors the beginning of March – which happens to be our snowiest month!
Many people are too intimidated to start their plants indoors, but they shouldn’t be—it’s actually quite easy to do.
What You’ll Need To Get Started
Simply pick up some organic potting soil, seeds, and small trays or containers to start your plants. You’ll also need a south facing window or a grow light (we use the grow light).
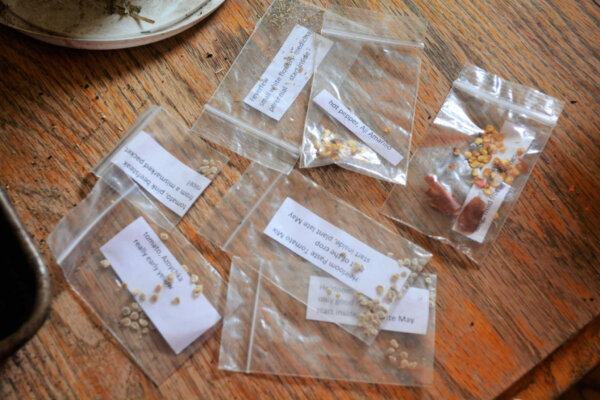
If you have kids, I encourage you to get them involved with the process of starting the plants. If you have extended family interested in gardening, invite them to get involved as well.
How To Plant Your Seeds
My sister in law and niece came over to help us start our plants. The kids enjoyed filling the starter containers with soil. Be sure to have a broom nearby. This part can get a little messy!
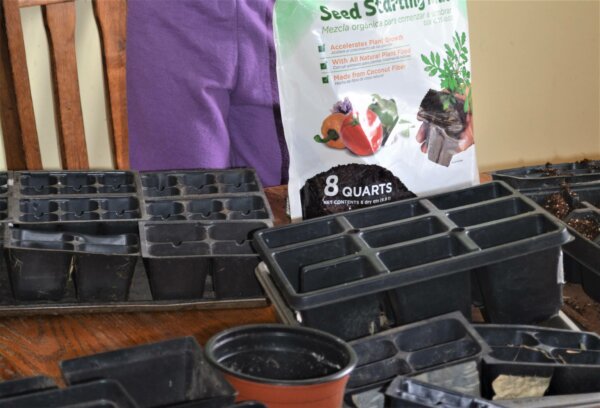
We filled our containers with soil. Then I showed the girls how to make small holes in the center of the soil, where to place the seeds, and how to gently cover the seeds with more soil.
After we finished planting and labeling all of the different tomatoes and peppers, the girls had fun helping water the seeds. I instructed them to thoroughly water each container. It’s important that the seeds are kept moist and warm in order to properly germinate.
Next, I put my containers onto old cookie sheets (old baking pans work too) and set them on top of the fridge. Some people germinate their seeds in damp paper towels, as most seeds don’t need light during the germination phase.
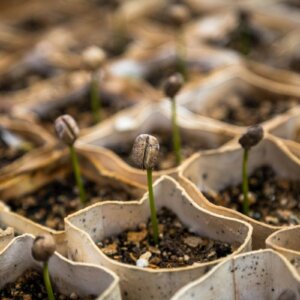
I keep a close eye on my containers during the germination phase and water them often. As soon as I see the sprouts poking through the soil, I get them under my grow light, which helps them from getting spindly.
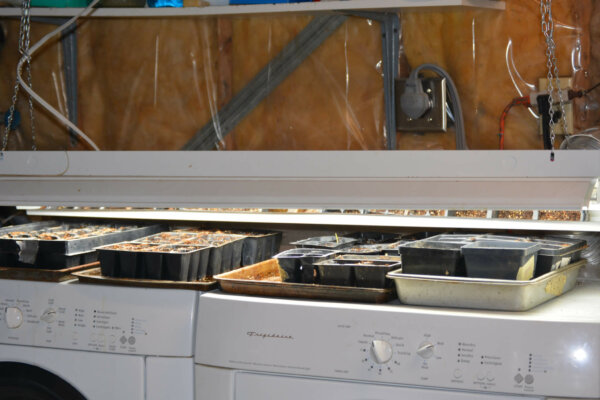
Once your plants are under the grow light, make sure you have the light as close to the plants as possible. As the plants grow, adjust the light accordingly, keeping it very close to the plants.
As spring draws near and the days grow warmer, bring your plants outside for part of the day. However, be careful not to leave them out in the bright sun for too long at first, as this can actually harm the plants.
Your goal is to gently ease them into the great outdoors, and you must do so gradually.
If it’s very windy, don’t bring them out. Still, don’t be too cautious: some wind is beneficial, as it will encourage strong stems. Some people run fans on their indoor plants for this exact purpose.
When To Transplant Your Plants
Once the danger of frost is gone, you can transplant your plants to the garden. The best time to transplant your sprouting plants is a cloudy day. This way, the plants won’t be shocked by the bright sun.
If you feel that your plants are outgrowing their containers, but it’s still too cold to transplant them outside, you have a couple of options. You can either transplant them into larger containers, or transfer them to the garden and cover them with some type of protective covering.
My husband built planter covers for this purpose. They fit perfectly over our raised garden beds, and we’re able to plant our tomatoes and peppers about 3 weeks earlier than we would without them!
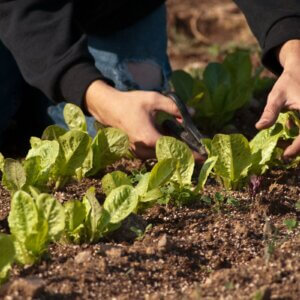
When you do transplant your plants to the garden, you’ll want to be careful not to disturb the roots. In order to do so, you’ll want to make sure that your plants are a good distance apart from one another and surrounded in organic fertilizer.
Once you’ve made the transplant, give the plants a good soaking. Spread some mulch around your plants and they will be off to a great start!
Watch Your Hard Work Pay Off
Whether you are a serious gardener, an amateur gardener, or have never planted a seed in your life, starting your own transplants is completely doable and worthwhile.
You’ll save money, and you’ll have the pride of knowing that the nourishing food in your garden is a direct outcome of your hard work!
If you have children, they’ll find it amazing that the tiny tomato seeds they helped plant in the spring have turned into a plant full of red juicy tomatoes they can enjoy munching on in the summer!
Today’s article on how to start your own transplants, is brought to you by Melissa Hartner of blacksheepandhoneybees.com. She and her family live on a half acre homestead in Minnesota.


















Very good article, obviously well experienced. My only advice is to COVER baby seedlings with plastic so that any extended dryness won’t be a deal breaker. Domes, saranwrap with popsicle sticks will help ensure most of your seeds actually make it. I’d raise the lights a bit so they don’t cook. No fertilizer at this stage. Careful with the depth of the hole in transplanting germinated seeds into the soil. That hole should only be twice as deep as the size of the seed. And I’d use a spray bottle to keep the surface moist and not soak ALL of the soil in the little pots until there are enough roots to help diminish the water before rot can set in. When germinating seeds to make starter plants that plastic covering allows a more constant environment. Take off when the plants set their 2nd or 3rd set of leaves. This also protects these seedlings from rodents who LOVE sprouts!!