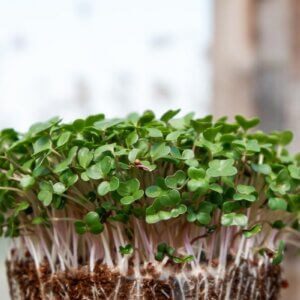
Most seeds have very little nutritional value, but sprout them and it’s a whole new game.
Sprouted seeds contain vitamins and calories while bringing a garden to any space. You don’t need special tools or seeds to have a sprout garden either. To start a kitchen garden, you will need a mason jar with a ring, some thin mesh – fabric or coated window screen – and seeds.
Think outside the sprouter! All kinds of seeds can be used to make sprouts including herb seeds. (Think about basil sprouts with fresh tomatoes…)

Start by putting the seeds into your jar, pull the screen tightly over the mouth of the jar and then screwing the ring on. Cover the seeds with water and swish them around a few times. Turn the jar over and drain throughly. It is very important to drain them very throughly. If your sprouts are wet, they will rot – you want them to be just moist.
Let the sprouts sit on the counter, out of direct sunlight. After 12 hours from the first rinse, do it again and drain throughly. Rinse and drain every 12 hours – draining throughly each time. Anticipate about a week of twice daily rinses.
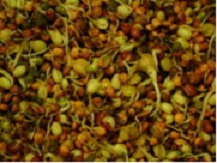
After a couple days the seeds will sprout. Don’t stop the rinse and drain cycle. After a couple of days, you may notice that your sprouts have a whitish fuzz on them. Don’t panic – that is just rootlets. Give the seeds a good rinse and you will see the fuzz disappear.
Keep rinsing and draining well every 12 hours. If you seeds form a mat, and some kinds do and others aren’t quite as friendly, take a fork – or your fingers – and gently tease them apart during the rinse. They won’t grow if they don’t have room.
As you go along in the process, the hulls of the seeds will naturally fall off. The larger hulls should be removed and the smaller hulls it is up to you and your predilections. The hulls float so it is easy to strain them off. Remove the lid and add water to the top of the jar. Use a fork or chop stick to move things around and loosen the hulls. Hold the sprouts back with your tool of choice and pour off the hulls. Do this again and again until the hulls are mostly removed. A few more will come out at the very end.
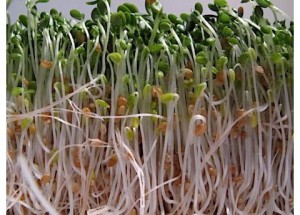
Plan on the rinse, drain well and repeat one more time. The bigger your sprouts get, the more important it is to dry them well. Mold can easily start and you can loose a whole crop quickly.
Now you can rinse and then spin your sprouts dry in a salad spinner. If the hulls are small enough, they will just fling out, but larger ones might need a little helping hand.
It is very important to dry your sprouts well at this stage. If you refrigerate them while they are wet, they will turn to slime. You can eat them or store them up to about six weeks in the fridge. Ventilation is important for longer storage.
Learn lots more about seed sprouting at SproutPeople.org!
What have you sprouted in your kitchen?
Top image credit: Flickr – Peter Kaminski





















Leave a Reply