When I was very young, my mom taught me how to can and pickle beets, and I have continued to do so since my husband loves pickled beets. I have always wanted to eat beets, but I’ve never been a fan of the earthy flavor. Beets are such a healthy vegetable supplying large amounts of iron and vitamin C among others.
You Can’t “Beet” This Rootcrop For Versatility!
As homesteaders and farmers, we look for crops we can use and sell at market. If you have a small amount of garden space and need a crop that is versatile, beets should be your crop of choice.
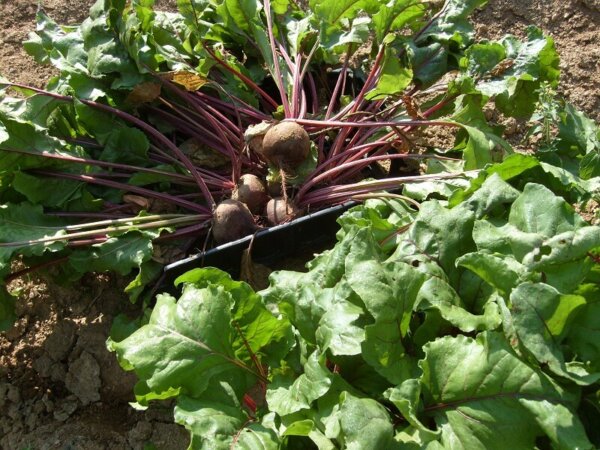
Selling To Farmers Markets And Restaurants
You can grow the beets all year, and it is a reliable crop to provide your markets. We have found that restaurants love to use the “baby” leaves in a wide variety of recipes. The larger leaves are used in about the same way as chard. The type of beets we grow to sell are Detroit and sometimes golden. Detroit is dependable while golden is gourmet.
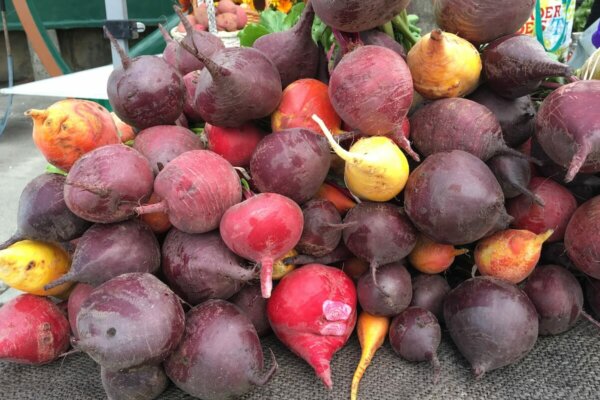
The size of the beet depends on your customer. Some restaurants prefer the “baby” beet while others want a larger beet to slice and quick pickle. Farmers markets are usually individuals that are looking for a pickling size.
Tips For Growing Beets
We are in plant hardiness Zone 7, so we start beets fairly early. As soon as soil temperatures warm to 60 degrees Fahrenheit, we sow our beet seeds. Usually, with soil temperatures at this range, germination is within 7-10 days.
If we are doing a small plot we will sow the seeds by hand. Our early beets are mainly for beet tops (young leaves), so we are not concerned with the spacing of the seeds – they can be planted closely.
https://www.instagram.com/p/BEOu155FNIP/?tagged=plantingbeets
The seeds can be planted about 1-2 inches deep. If we are focusing on the beetroot and size, we are more likely to space the seeds a couple of inches apart to allow room for growth. If we have a larger area of beetroot we will use a seed sower. We prefer to use the Earthway because it has specialty discs for seed size.
Our gardens are naturally grown – no chemicals. We use mature (aged) goat manure in our garden areas. We try to not grow the same crop in the same area each year and this helps with pest control, especially root maggot and/or wireworms. However, we do use wood ash or Diatomaceous Earth if needed for pests.
We harvest when the leaves are large enough for salads. As for the beetroot, we typically harvest when the bulbs are 1-2 inches in diameter.
https://www.instagram.com/p/BO0psPcB2N8/?tagged=harvestingbeets
The beets can be sown all through the growing season up until the first frost. We will harvest the last of the beetroot in fall or early winter for storage.
Now, what do you do if you don’t like beets? Put them in a cake! Yes, you read that correctly. Put them in a cake!
Here is a very simple recipe I use:
Beetroot Preparation
This step can be done ahead of time if you want to refrigerate/freeze the beets for later use. The larger beetroots can be used for these cakes. I peel the beet and cut them up into small chunks to make cooking time quicker.
- Add enough water to cover beets.
- Cook on high and bring to boil.
- Reduce heat to medium and let simmer until tender. Watch your water level; you may need to add water before the beets are done.
- Drain the beets and let cool. The liquid can be reserved for other uses.
- When cool, the beets can be pureed. The pureed mixture can be refrigerated/frozen or used immediately in a recipe.
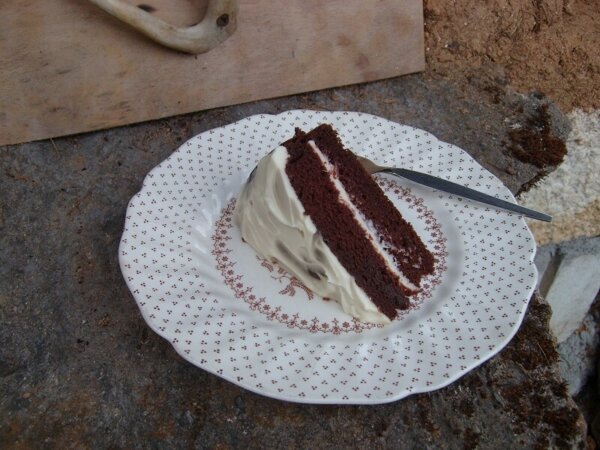
Simple Chocolate Beetroot Cake
Ingredients
- 1 1/4 cups cooked and pureed beetroot
- 1/2 teaspoon vanilla extract
- 1-1 1/2 cups sugar
- 1 cup vegetable oil (I prefer grapeseed oil)
- 3 eggs
- 1 cup all-purpose flour
- 1 1/2 teaspoon baking soda
- 1/4 teaspoon salt (I prefer pink Himalayan salt)
- 6 tablespoons unsweetened cocoa powder
Directions
- Mix all the ingredients. The great thing about this recipe is you don’t have to be particular about adding your ingredients. Just add ALL the ingredients together in a bowl and mix. I mix with a wooden spoon so as not to overmix the batter.
- Pour into prepared tins.
- Bake at 350 degrees Fahrenheit for 25-30 minutes for cake or 15-20 minutes for cupcakes.
- Frost when cooled.
- Slice and serve.
I use a simple cream cheese frosting that goes great with this cake.
Cream Cheese Frosting
Ingredients
- 1 package cream cheese softened to room temperature
- 1/4 cup powdered sugar
Directions
- Mix ingredients until well combined.
- Frost cakes and cupcakes once they’ve cooled.
Pickling Beets Recipe
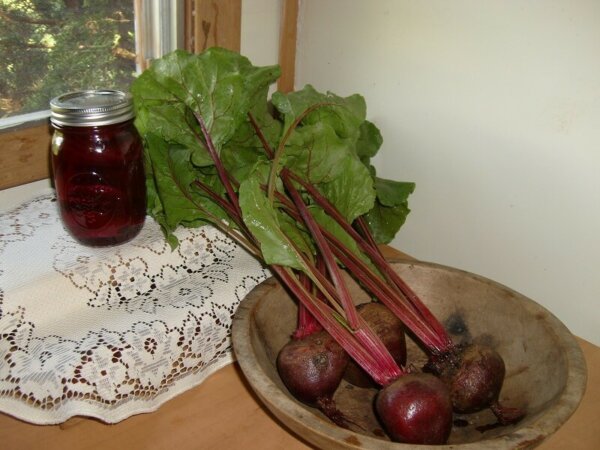
And for those of you who love beets or are just wanting to try them out, here is a very simple recipe that can incorporate the spices of your choosing.
Note that this is just a base to begin with. Check out our articles on fermentation recipes and canning recipes to find even more beet recipes.
Ingredients
- 4 pounds medium-size beets
- 2 cups water (or reserved beet water/infusion)
- 2 cups sugar
- 2 cups white distilled vinegar
- 2 teaspoons pickling spices (you can buy this at the store or make your own)
Directions
- Wash all the beets with a vegetable brush before putting into the water to boil. This allows you to save and reserve the beet water/infusion afterward.
- Place the beets in a large stockpot – I use a stainless steel – and cover with water.
- Put on medium-high to high heat. Bring the pot to a boil.
- Cook for at least 25 minutes, until “fork tender”.
- Either drain out the water into a colander or drain the liquid off into a container.
- Using a knife, peel the skins away from the beets. I always peel my beets before I cut them.
- If your beets are small enough, you can can them whole. If you’d prefer to can them sliced, slice the beets now.
- While you’re slicing, prepare another stainless steel pot on the stove with either water or the infusion saved from a previous batch, sugar, vinegar, and spices. Heat to medium-high or high heat. Most recipes suggest putting spices in a cheesecloth and then taking out before using liquid. I put my spices directly into the mixture and keep them in the liquid.
- Bring to a boil and simmer for about 10 minutes.
- If desired, prepare your cans by heating them in the oven. I do one jar at a time.
- Once the cans are ready, layer the beets inside and then cover them with the brine you just created. Use a small spatula to remove air bubbles.
- Wipe the rims of the cans, put on the lids, and tighten them.
- Place the cans on a towel until they seal and let them cool before moving. As a note, I don’t use a water bath for my beets.
*Please note: This is the recipe we use on our homestead. We do not make beet pickles to sell. If you are interested in selling pickles at market check your local state rules and regulations.
In our area, western North Carolina, you must go through a “Pickling/Fermentation” class given by the Cooperative Extension Agency before producing and selling pickled/fermented products.
Now, What To Do With That Reserved Beet Infusion?
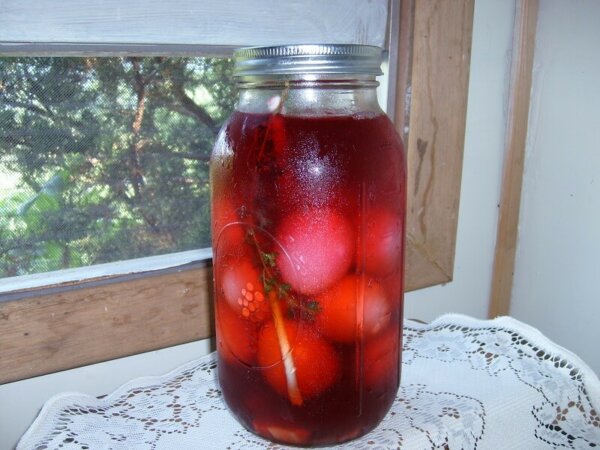
You can put the beet infusion, when cool, directly into containers and freeze for later use. You can also go one step further and add spices to it, bring to a boil, and then can the spiced liquid to use later.
This spiced liquid can be used to do a quick pickle – pickled hard boiled eggs and pickled cabbage.
Susan Tipton-Fox, along with husband Alan Fox, continues the farming and preserving practices passed down to her by her family. She runs on-farm workshops and overnights in Yancey County, North Carolina. Follow her on Facebook: The Mushroom Hut @ Fox Farms.




























We are beet fanatics at our house. The colorful root vegetable is extremely versatile and tastes delicious in a variety of different forms. My wife likes to have “beet sandwiches” where she uses a piece of italian bread and puts pickled beets, mayo and onions on the sandwich. She swears by it!
Hi, We are homesteaders, off grid in Northeastern Ontario, Canada. I have no idea how I stumbled on your site, but congrats! It’s very well done.
Quick question, how large of a space would you garden in one particular produce type before you consider moving to a seed spreader?
The thought of planting one seed on a half or even quarter acre sounds terrible to my back, so I would probably get some type of seed spreader before that point. I guess it depends on the cost – a decent precision garden seeder with a few different seed plates costs slightly over $100 (amazon example for Earthway brand precision garden seeder). For me, that’s pretty easy to justify for a machine that will save you time and last for years.