Unless you’ve been living under a rock, you know that our honeybees are in trouble these days. That should have everyone concerned seeing as how they play a vital role in the pollination of many of our crops. Plus, their honey, wax, and propolis are all incredible products that would be sorely missed if not available.
It took me a few years of reading about honeybees and contemplating acquiring some before I actually did so. This past spring I turned 30 years old and I figured a beginner beehive kit and a package of honeybees would make the perfect birthday present for myself!
Ordering The Bees & Hive:
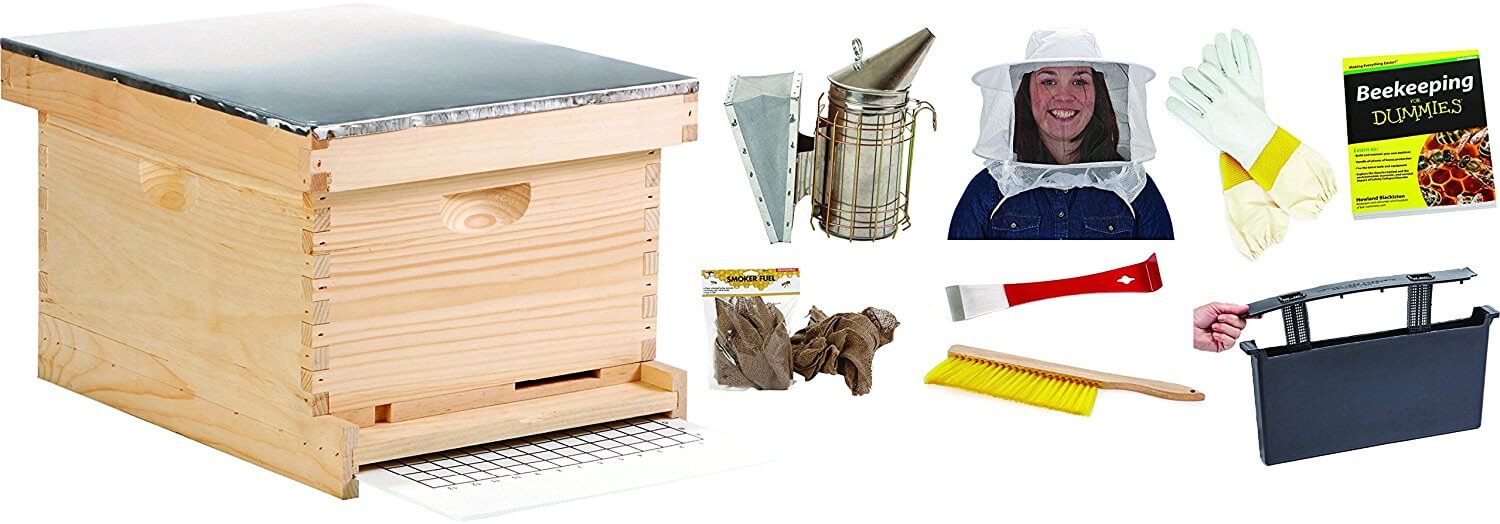
I purchased my kit from Runnings, a farm supply store here in town. It included one deep hive box, a hive tool, brush, smoker, gloves, veil, frame feeder and a “Beekeeping for Dummies” book. The kit was supplied by the company Little Giant.
The hive and frames were assembled and all that we needed to do was paint the outside of the hive to protect it from the rain. The worker in that department gave me contact information for a woman named Harmony. I contacted her and she gave me a couple of options for bees, Italian or Carniolan.
There are more than just these two breeds of honeybees, but these two are the most popular. I decided to go with the Italians, who are known to be calm, good comb producers, and produce large colonies.
Picking Up The Bees:
When the bees arrived I received a call from Harmony and I met her in the parking lot of Runnings. She and her husband were in a pickup truck with a topper. The entire bed of the truck was full of packages of honeybees! It was quite the sight to behold! I selected my package and handed Harmony a check for $115 and home the bees and I went.
I kept them in our dark cool garage and spritzed the screened package with sugar water from time to time, which the bees licked up enthusiastically. The next morning we drove a few miles to my parents’ house. This is where we had chosen to place the hive, as they have a couple of acres vs our half an acre.
We placed the hive in an area that faces south and gets sunlight until late afternoon when the trees nearby provide shade. There, my husband and I met my bee mentor Paul. Paul’s son and my daughter went to preschool together and by chance, Paul mentioned that he kept bees as a hobby on the very day I had purchased my bee kit! He offered to help install the bees and help out with the first couple inspections.
Installing Your First Beehive
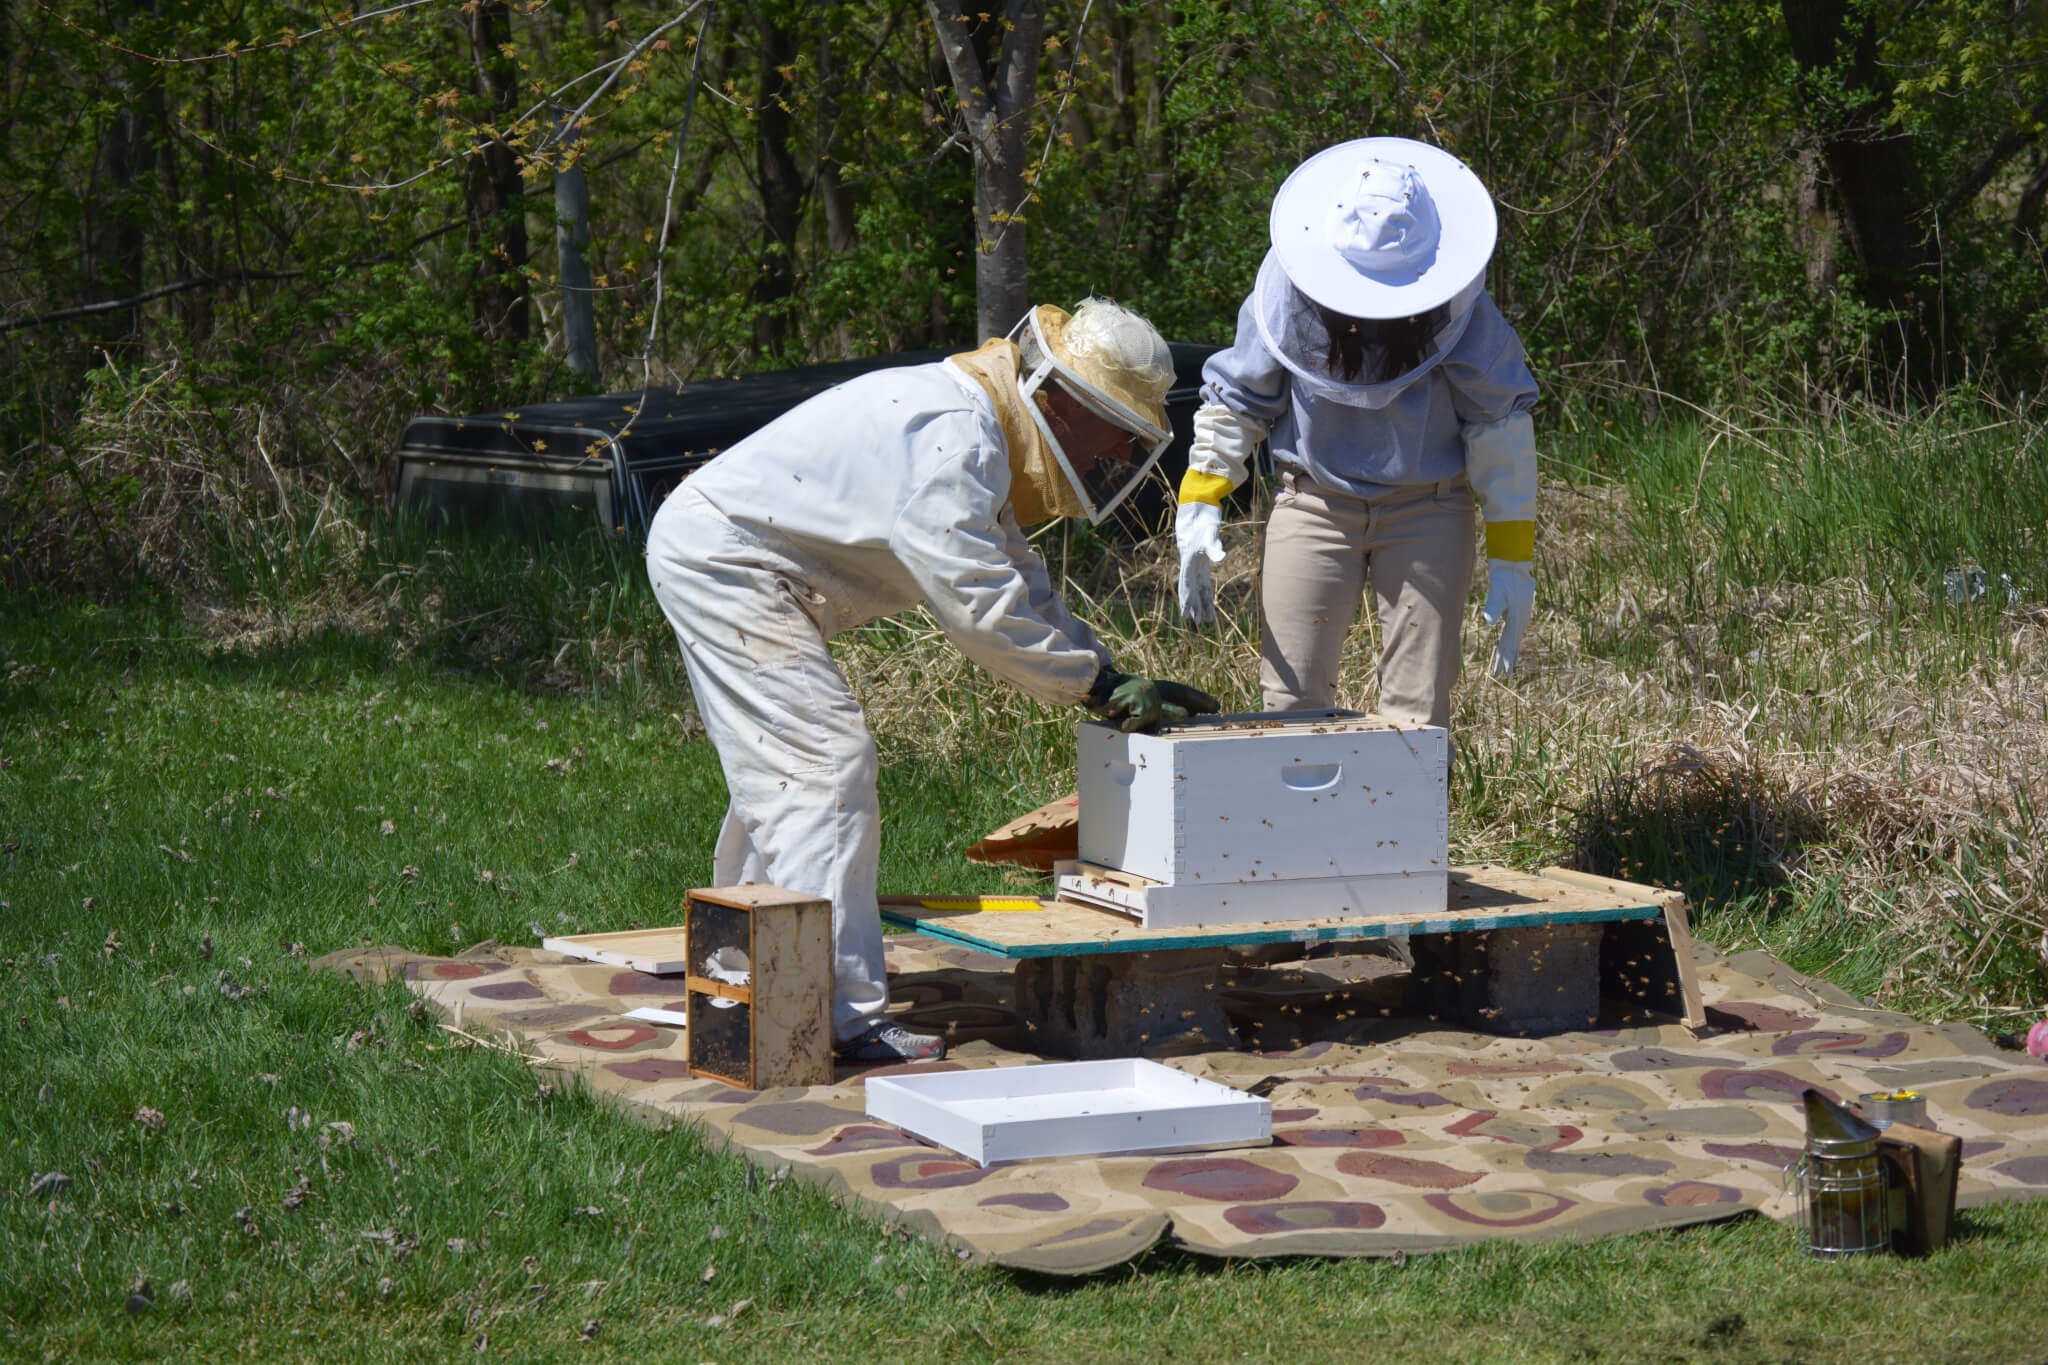
Paul suited up and I adorned my veil and gloves. After spending over $300 on the hive and bees, I decided to forgo the suit. Long rubber boots, a thick long sleeve shirt and pants would have to do. The bees are quite docile especially when they have no honey to protect and we were able to install them without any stings. The process of installation was relatively easy. We basically shook the bees out of the package directly into the hive.
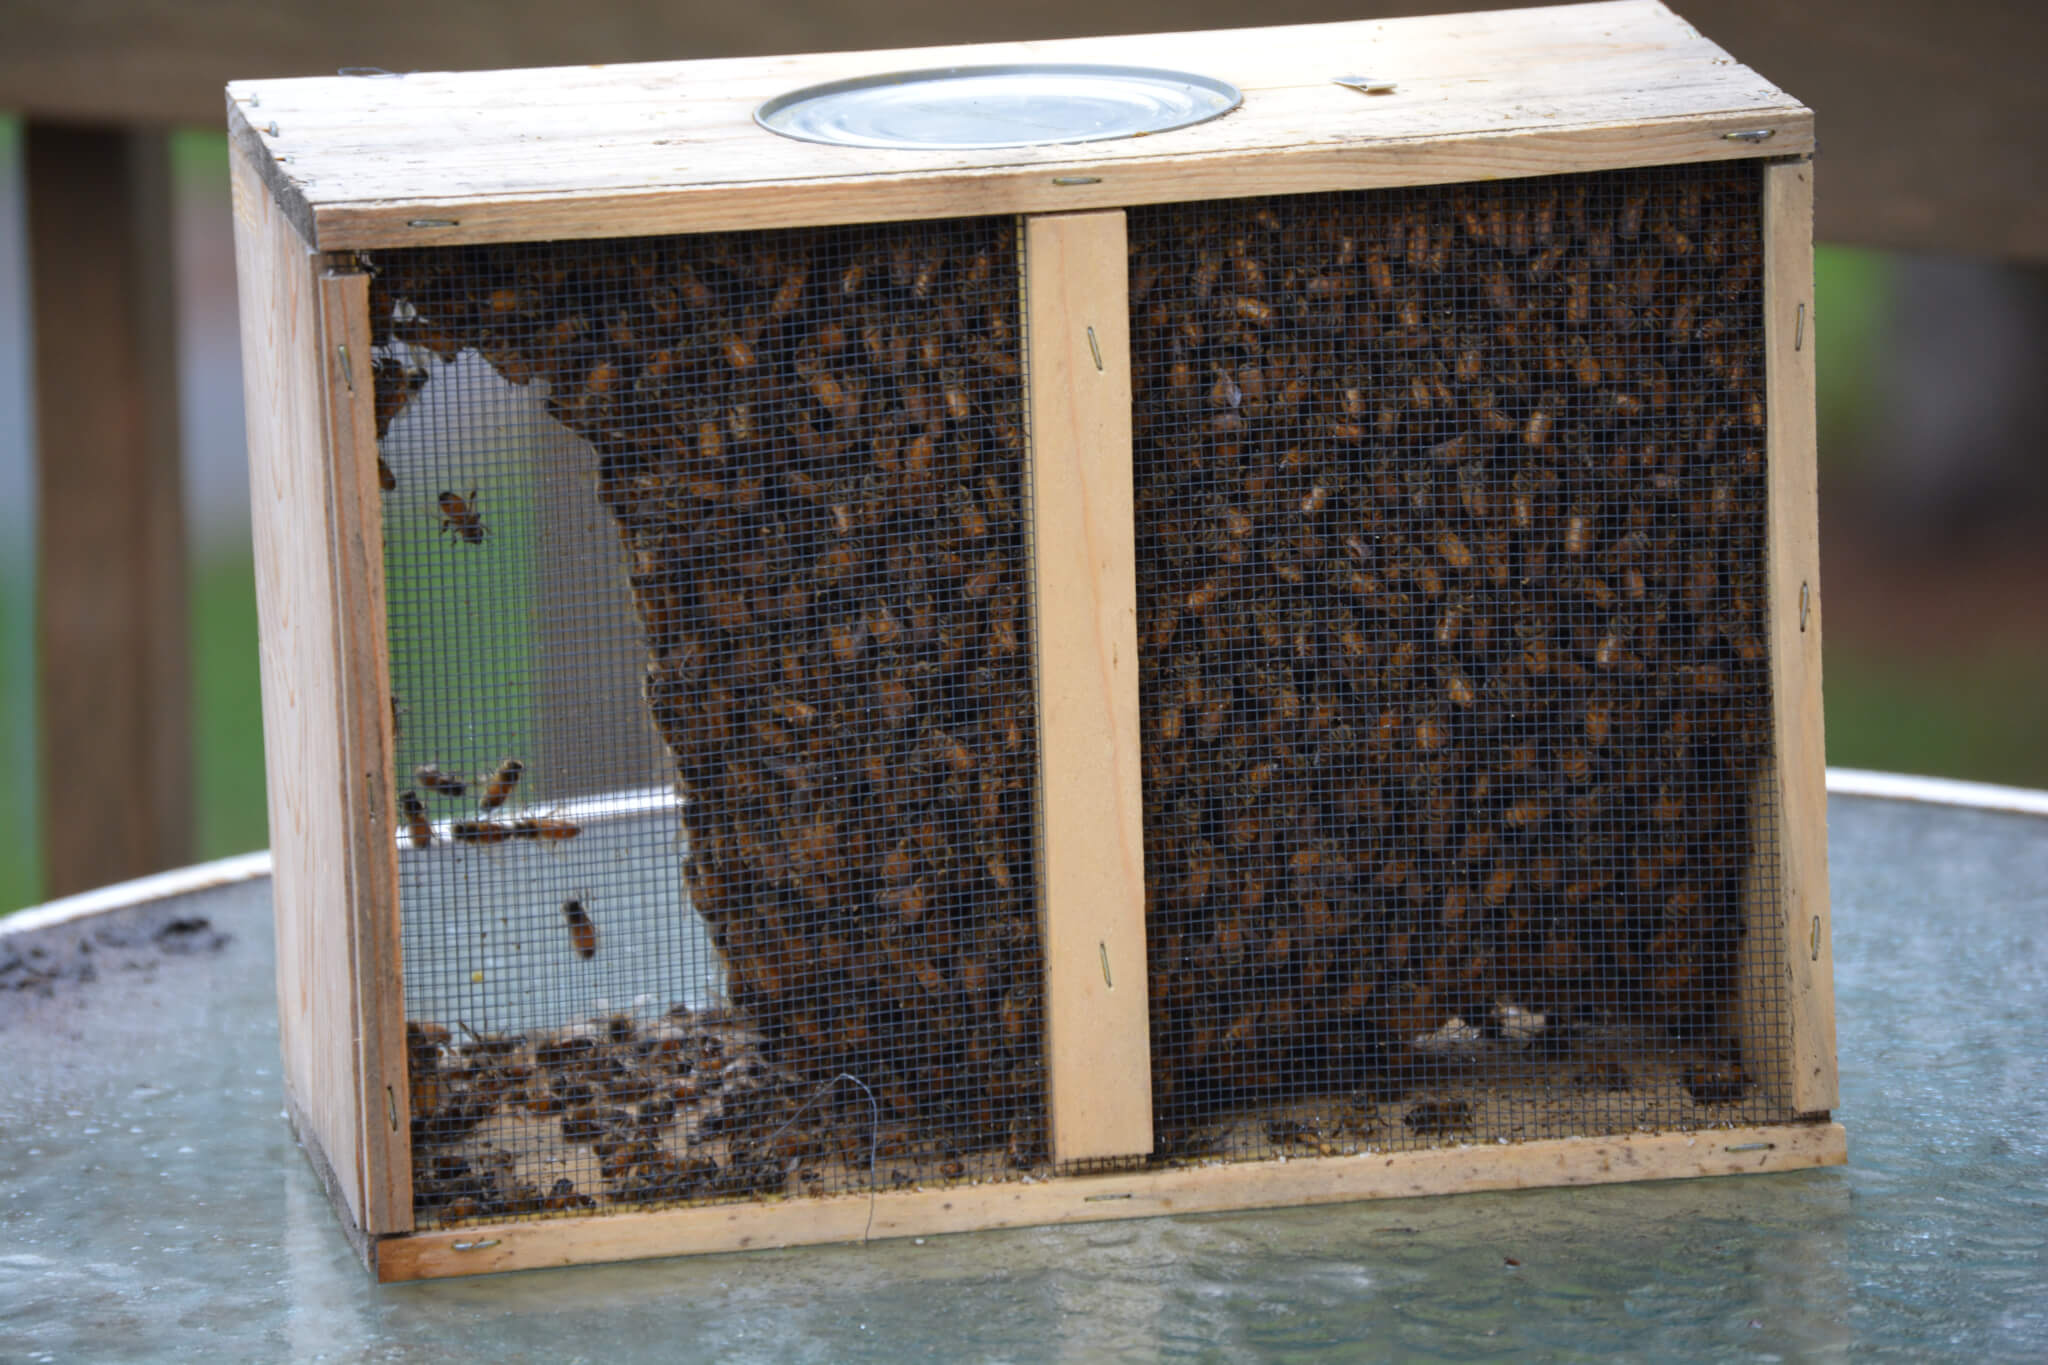
The queen bee comes in her own little screened compartment. This we hung in the middle of the hive between two frames. A small hole at the top of her compartment was supposed to be plugged with a small white candy, but it was gone. My reference books suggested using a bit of marshmallow to plug the hole if this was the case. We didn’t have marshmallow, so we substituted a bit of laffy taffy. The queen needs to be kept separate from the rest of the bees until they have a chance to become accustomed to her and accept her as their queen. The bees feed the queen through the screen and release her by eating the candy. Had we not plugged the hole and had she come out right away they may have killed her, or she may have flew away.
The next couple of inspections were quick and educational thanks to Paul. He helped me identify the eggs which the queen was already laying. He explained that the bees like to keep their hive tidy as we watched a worker bee pull out a dead bee from the hive and drag it all the way to the end of the rug. We happened to have an old, large rug laying around which we laid out under the elevated hive in order to keep a bit of space between the hive and whoever mowed the lawn nearby. It also prevents the grass from growing tall around the hive. It has worked like a charm! Anyways, it was wonderful having someone experienced and knowledgeable by my side to explain what we were looking at.
Smoking, Feeding, & Inspecting The Hives
Paul also taught me how to operate the smoker. We relied on newspaper, sticks, pine cones, and pine needles as fuel. A word of advice, a blowtorch comes in handy when starting your smoker! He taught me not to jar the hive and not to approach it from the front. He also gave me an extra top feeder that he had to place on the hive. This way I wouldn’t need to use the frame feeder, which takes up space in the hive and is more of a hassle to use than the top feeder.
He also advised me to feed, feed, feed the bees! He encouraged me to feed them a one to one ratio of sugar water for as long as they would take it. He suggested adding a few drops of peppermint and/or spearmint essential oil to the sugar water to help ward off varroa mites, which he claimed he never has had issues with. I took his advice. Unfortunately, I underestimated how much the bees would eat and how quickly they would go through this simple syrup, so often times the bees went without. Not everyone feeds their bees, and if there is ample nectar available the bees fair fine. However, if it is honey you are after, you should plan on consistently feeding your bees, although many sources say not to plan on having a honey harvest your first year regardless of whether or not you feed your bees. After those first couple of times with Paul, I was on my own.
The inspections without Paul were a little intimidating at first. Luckily my husband assisted me. He operated the smoker as I looked over the frames.
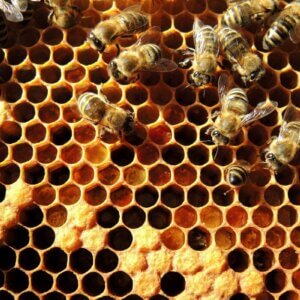
The highlight of the inspections were removing the burr comb and munching on the honey within it. Delicious! Burr comb is simply comb the bees have built up that is not properly positioned on the frames. It is good to remove it, otherwise it can gunk up the hive and make things more difficult for the beginning beekeeper. I’ve saved all of the wax from the burr comb and will eventually be making candles!
Adding Frames & The Excluder
Once the bees had built up their comb in the majority of the frames, it was time to add another deep super. Then, towards late summer we added on a shallow hive body along with a queen excluder, which I proceeded to remove a week later after listening to “The Fat Bee Man” on Youtube. He insisted that the bees injure their wings and don’t live as long when the queen excluder is used. He seemed like a guy who knew his stuff about bees so I listened to him!
The queen excluder is meant to keep the queen from laying eggs in the honey box. If the two lower deeps contain at least 60 lbs of honey which is about 6 full frames worth, then whatever honey is in the honey box is yours for the taking. Unfortunately, at my last inspection, the bees did not have nearly enough honey for themselves, let alone extra for me to take.
Since then, I’ve been feeding them a two-to-one ratio of sugar water, hoping that they will be able to convert it into enough honey before winter hits. Here in Minnesota winters can be brutal and the bees need at least 60 lbs to feed on throughout the winter just to survive!
Winterizing The Hive & Preparing For Year Two
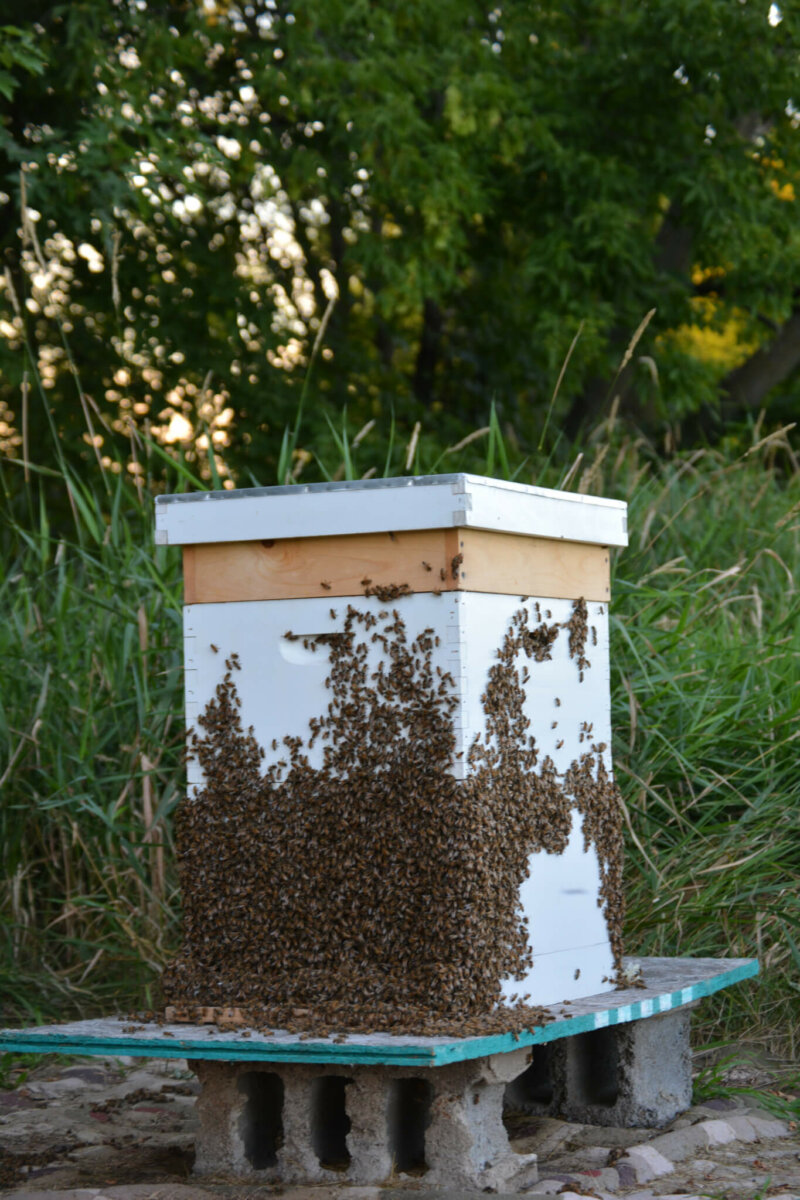
I also need to insulate and ventilate the hive before we head into winter. This is known as winterizing. There seem to be many ways to do it. We plan on using straw bales to surround and put on top of the hive, and then covering it with a tarp, making sure not to cover the entrance of the hive, as the bees take cleansing flights on warmer days. They will not defecate in the hive.
This first season has certainly been a learning experience. Beekeeping, like most other areas in life, are full of different people who have different ways of doing things. This can be challenging for novices who are wanting to learn to do things the “correct way.” My plan is to just keep reading and learning as much as I can from experienced beekeepers and remembering that I will ultimately learn by trial and error, the most effective method of all!
If my bees make it through this winter, I will have considered my first year of beekeeping a success! Keep your fingers crossed for me and the bees!
—
Looking to attract more pollinators to your yard? Trying building an insect hotel.
Today’s Homestead Story on Beekeeping for Beginners was written by Melissa Hartner of Black Sheep and Honeybees. Melissa lives with her family on their half-acre homestead in Minnesota. In this post, Melissa walks us through her beginner beekeeping experience during year one.























Leave a Reply