Starting a worm bin can feel overwhelming – where do I keep it? What kind of worms do I need? What if it smells awful? What if I kill my worms?
Not to worry! Humans have been throwing food scraps in a pile for thousands of years.
Worm bins are a great way to turn waste into compost and put nutrients from your kitchen back into your garden. Worm bins can also be a fun teaching tool to talk about decomposition, waste, and ecosystems with kids or grandchildren. Best of all, it’s easy.
There are 3 key components you need in order to start a worm bin.
Let’s take a closer look:
The Right Worm Bin Container
This is the simplest part! Anything can be a worm bin. My first worm bin was the bottom drawer of an old filing cabinet, which we left in the backyard. That was less than ideal for a number of reasons, but don’t get stuck because you can’t find the perfect container.
One important consideration is size. Depending on how fast your household produces food scraps, something the size of a file drawer will quickly fill up (oops). Often, worm bin experts advocate a cubic yard or meter, which is great if you are building a worm bin and have lots of space, but something closer to the size of a kid’s toy box can be more realistic. Be sure to consider that a bin full of damp food scraps and compost may be too heavy to lift alone.
Worm bins can be indoor or outdoor. People keep worm bins in city apartments and college dorms, not just in houses with gardens. If you live someplace where the winter temperature gets much below freezing, an indoor worm bin is actually a better option. Having your worm bin frozen into a brown ice cube is not good for your worms or other helpful micro-organisms! If you are worried about summer smells, you can always plan to move it outside when the hot weather arrives.
Should I Buy or Build A Worm Bin?
This is an early decision and both options have pros and cons.
Worm Bins For Sale:
There are many options available if you want to save yourself some time and buy a premade worm bin.

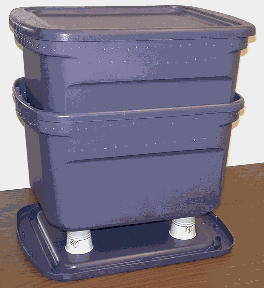
The most common type available commercially is a multi-tray system, shown above:
The trays stack on top of one another and have mesh bottoms so that worms can migrate between trays. This means that once your vermicompost on the bottom has been “finished” you can remove the tray and use the compost without digging through the layer of still-decomposing food scraps on top. It is clean and convenient. Many stacking worm bins also have a water-catching system at the bottom that helps keep your worms from getting soggy. A spigot or valve on the bottom layer allows you to drain off the brown water, called leachate, which unfortunately shouldn’t be used on edible plants.
The drawback here, of course, is price. Worm bin stacks run anywhere from $60 to upwards of $100, depending on how many trays are included. Nevertheless, for many people the benefits and ease outweigh the cost.
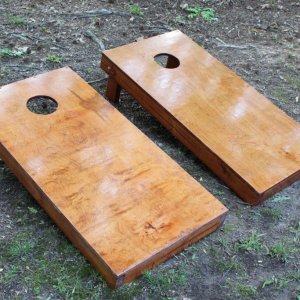
If you’re not into plastic, there are also wooden options for sale:

DIY Worm Bins
DIY worm bins may be more flexible, and the cost and amount of labor varies hugely, depending on what you want and what you already have around.
If you buy all your DIY materials new, you could end up spending an amount similar to what you would spend on a manufactured worm bin – that’s fine if your goal is to gain the experience and satisfaction of building one yourself. Here is a great guide to building a bin from scratch out of wood.
The good news is that you or your local second-hand store probably already have everything you need for a basic worm bin, and sometimes it is not necessary to spend any money at all!
Many mid-sized containers can be repurposed as worm bins. Large plastic storage bins are excellent – however – they should not be airtight. Worms need oxygen, too. That can mean drilling holes in your worm bin lid, or just leaving it cracked open.
If your container has a waterproof bottom, like a plastic bin, your compost will be prone to sogginess and you may sometimes need to drain the liquid off. That can be as simple as tipping your worm bin over and collecting the liquid. Some people prefer to drill holes at the base of their worm bin also and put a catchment tray underneath – you have to keep an eye on it though, or it may overflow. A water drainage system is not necessary. Without one, you just need to keep a closer eye on your worms to make sure they don’t get too waterlogged.
The Right Worm Food
Your worm bin should not be used to compost meat, eggs, or dairy.
Let me emphasize this: your worms are vegan. This is the key to making worm bins an indoor activity – composting animal products will attract rodents and cause truly horrible smells.
Great Food For Worm Bins:
Great Bedding For Worm Bins:
|
Bad for Worm Bins:
|
Other than that, your worm bin can take any of your kitchen waste, including paper products. In fact, worm bins need woody or paper filler, called bedding, to balance the carbon-to-nitrogen ratio. This means your finished compost will be more nutrient balanced and ready to throw on your raised beds, and it supports a healthy environment for your worms. Having enough sources of carbon will also help control excessive moisture and prevent your worm bin from smelling up the house or yard.
The classic carbon material for worm bins is shredded paper or cardboard. Those work fine, although cardboard glues, glossy paper, and newsprint ink contain non-organic chemicals that can become toxic at high concentration. Don’t worry about avoiding those things entirely, but best practice is to mix those processed paper products with other sources of carbon. Yard scraps, bush trimmings, and other garden debris are always great. If you bought a bale of straw to mulch your garden or bed your chickens, that is an excellent carbon-filler material as well. Wood shavings are great if you have them, although they take somewhat longer to break down, and you’ll want to be sure not to use shavings from treated wood.
When you dump your kitchen food scraps, just throw a handful of your carbon scraps underneath and on top of your compost. The bedding will absorb moisture and the layer on top will help reduce smells also.
The Right Worm Species
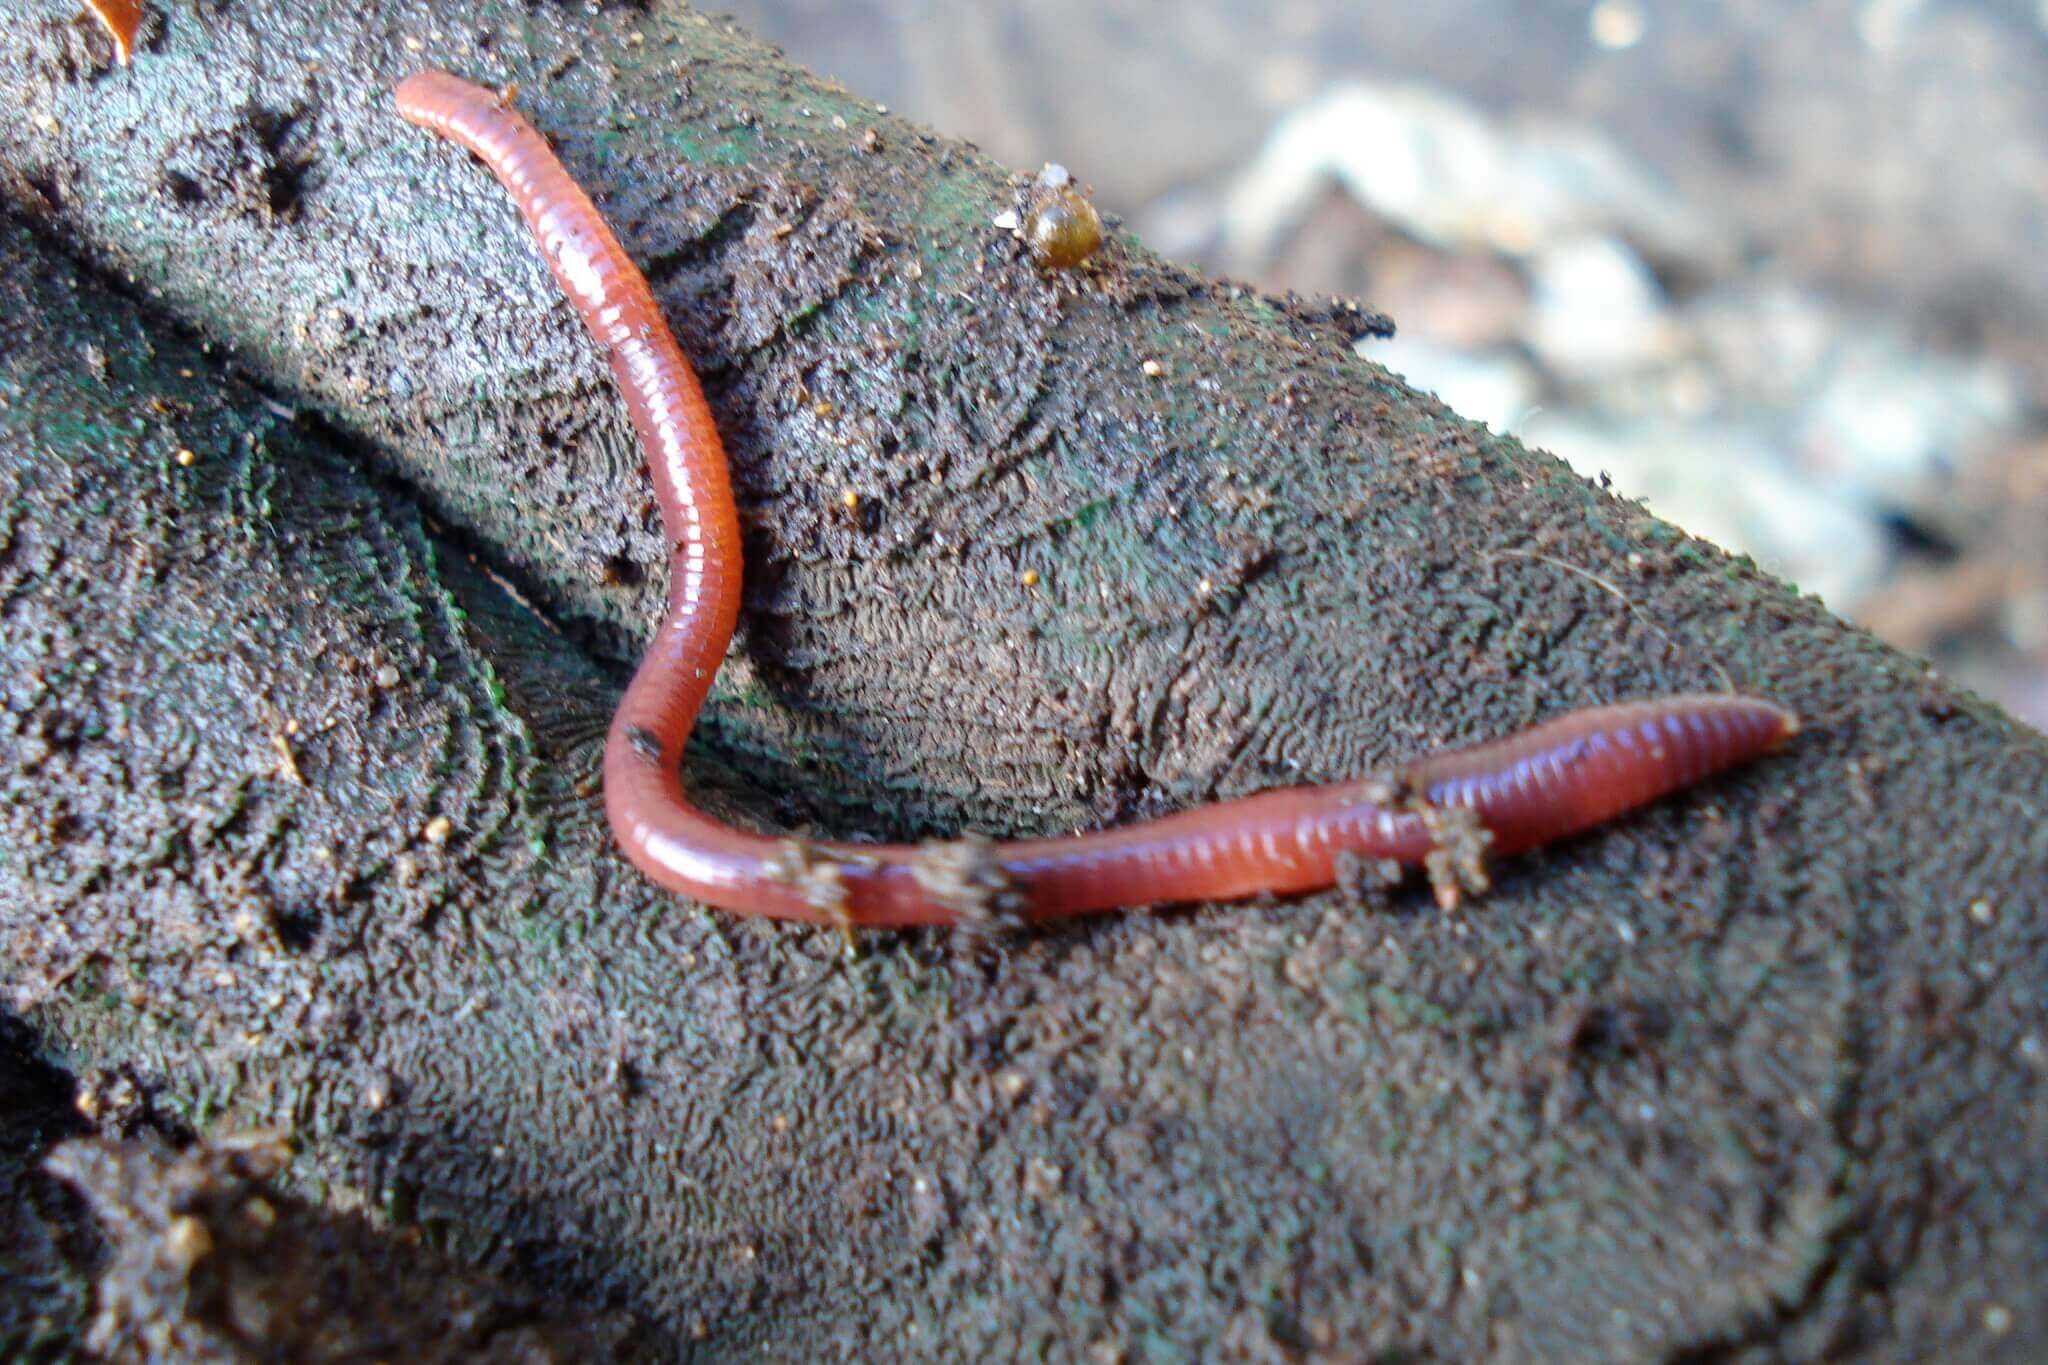
Not all worms are created equal when it comes to compost systems. Taking a handful of worms out of your raised beds will not work very well. Compared to garden soil, your worm bin is much higher in nitrogen, and your worm population will be much more crowded. You need a variety of worms that will be happy in those conditions.
The classic compost worms are red wrigglers, Eisenia fetida. You can buy them at garden or farm stores, order them online, or sometimes you can find them at bait and tackle shops – though they may not know the species for certain. Of course, the easiest option is to find a friend or neighbor with a worm bin and get them to give you a handful. It may take your worms a few weeks to adjust to a new system. Give them some material to start with (both food scraps and carbon) and then leave them for a while before resuming regular feedings.
Looks like online prices range as follows, though there were more expensive examples that we’re leaving out:
- 100 wrigglers – $30 with shipping
- 600 wrigglers – ~$45 with shipping
- 1,000 wrigglers – ~$65 with shipping
Feel free to mix species of worms as well. Some vermiculturalists swear by other varieties of earthworm like the European and African Nightcrawlers. Different species of worm prefer different temperatures and dampness levels, so experimentation will determine what is best for your environment. If you can get a worm mix from a neighbor or from a good local garden store, that’s a good way to guarantee that your species will thrive in your climate.
One thing to consider is how many worms you need to get started. Worms for compost are sold in batches of 250 or 500, and starting with 1000 worms is generally recommended. A thousand worms weigh about a pound. If you are getting a handful from a friend, you will likely have fewer to start with, so you will need to give them even more time to adjust and reproduce before beginning regular feedings.
Worm Bin Troubleshooting:
My worm bin smells terrible – I can’t get rid of the excess ‘worm juice’!
If you have problems with smells or with excessive sogginess try increasing the amount of carbon-filler in your worm bin and give the worms more time between food scrap feedings. The pH of your worm bin will be mostly self-regulating, but if your bin smells sharp or vinegary you can add crushed eggshells to lower the acidity. If the container gets too soggy, you can drown your worms. Enough carbon bedding will help with the moisture, but if your compost is really saturated, you can drain the liquid off. Here are some other tips.
That’s it! Now you have all the tools to happily keep several thousand worms in your house. Once you get started, worms are the most low-maintenance pets you’ve ever had, and they turn your table scraps into rich compost for your garden. Thanks, worms!





















Leave a Reply