Beans are an incredibly exciting plant to grow. This may come as a surprise to folks whose experience with the common bean (Phaseolus vulgaris) is limited to the limp, gray-green cylinders that glorp out of a can and boil to depressingly mushy. If that’s the only way you know beans, I am delighted to introduce you to the joys (yes, joys!) of planting, harvesting, and saving your own bean seeds.

Beans are some of the friendliest fruits the new seed-saver can plant. They’re easy to grow, they don’t require huge isolation distances for pure seed, and they’re easy to harvest and clean. As long as you can keep the local rabbits from eating your seedlings, you should be largely problem-free. That sort of ease is what greases the slippery slope from uncertain first-time gardener to super passionate seed saver.
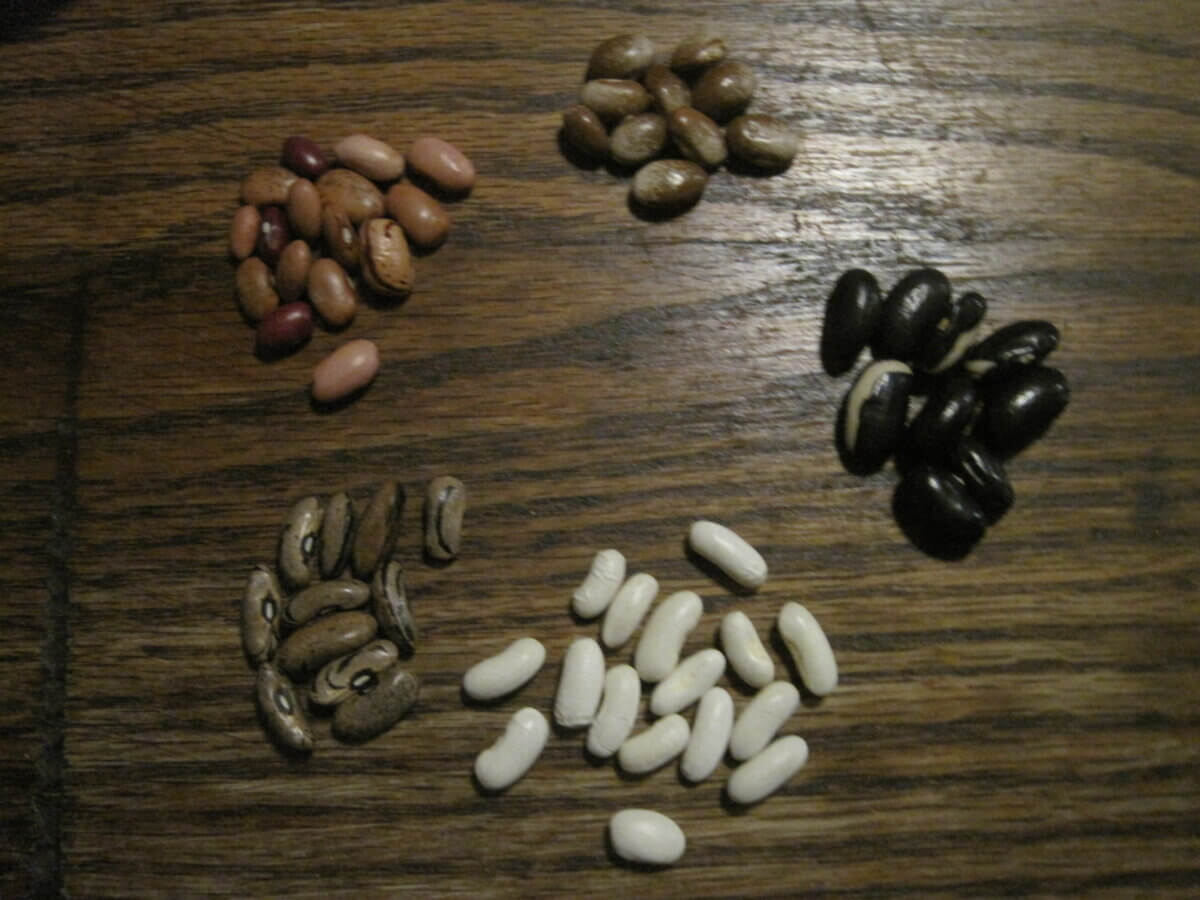
Don’t say I didn’t warn you.
Step 1: Grow Some Beans!
In order to save bean seeds, you need fully mature bean pods. And to get your hands on fully mature bean pods, you need to grow beans.
The thick, meaty green beans that are sold at farmers markets and grocery stores are, like much of our favorite produce, eaten immature. The waxy seeds inside are still in their infancy, and won’t produce anything if planted in the soil. Instead, you’ll have to grow your beans and allow the pods to mature fully, thus yielding two great opportunities — the chance to save seeds for next year, and the chance to grow your own dry beans for eating.
My favorite part about growing beans is the immense variety available to the gardener. Beans have been cultivated for a really long time by many cultures around the world, and as a result, there are thousands of speckled, spotted, beautifully hued, and two-tone varieties. Some folks have made a lifetime project of collecting as many rare bean seeds as they can to keep them alive. If you check out the listing for “beans” on the Seed Savers Exchange, you’ll have to search through more than 2,000 entries of rare and heirloom varieties.
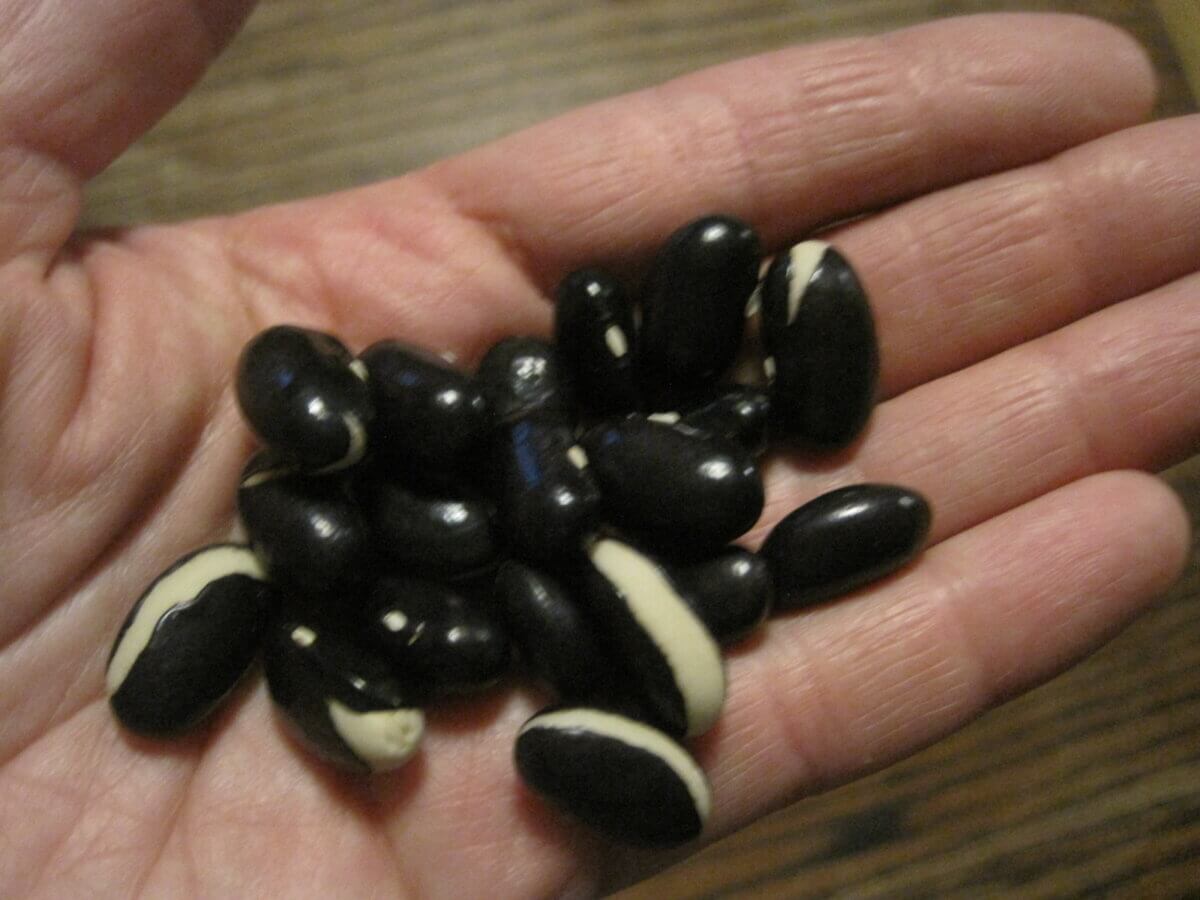
So when it comes time to grow your own, you have some choices to make. Will you plant a well-known green bean like the delicious Blue Lake? Will you try out a multiple-hued variety like Cherokee Cornfield? Or will you find some hard-to-find variety, like the split-skinned Grandma Gina beans pictured here?
One of the great things about growing beans is that if you can’t decide what variety to grow, you don’t have to. You can grow multiple varieties and still get pure seed from every one. You only need to separate beans by a mere 10 to 20 feet to prevent cross-pollination. However you decide to grow them, I recommend planting at least 20 plants of different varieties to ensure a good genetic mix and a bountiful supply of beans.
Step 2: Allow Bean Pods to Fully Dry on the Plant
Beans can be prolific producers, so you will be able to save your bean seeds and eat plenty of beans while you do it. I would recommend choosing a handful of prime pods per plant, and, if necessary, marking them off with string so that any visitors to the garden won’t accidentally harvest your “seed beans.” Choose more than you think you’ll need, just in case something goes awry.
The selected bean pods will need to mature fully on the plant, so I recommend erring on the side of caution and allowing them to mature as soon as you can — especially if you live in an area with a short growing season. Frost will kill bean plants, and it’s a seed-saver’s specific heartache to have a freeze kill off your plants before they were finished with their reproductive work.
You’ll know that pods are ripe for the picking when the pod is crisply dry, straw-yellow (though some pods will be closer to brown), and crackles apart under slight pressure.
Step 3: Harvest

It’s likely that your seed beans won’t all ripen at the same time, so once they start to mature, visit the garden every day and add to your growing collection. I typically collect dry pods in a mesh produce bag that I hang in an airy place between fillings. If I have a large harvest, I use a 5-gallon bucket. It’s important to note that dried beans are very much food. Any animal — especially rodents — that can reach your cache may help itself.
Step 4: Crush, Winnow, and Dry Some More

Cleaning bean seeds is easy compared to other types of seeds. If you have a relatively small amount of beans to process, you can spend a pleasant evening cracking and separating the beans from their pods by hand.
If you have a large amount, you can employ your feet, rather than your hands. Load up a pillowcase with the beans and pods, tie a rubber band around the open end, and stomp away some stress. Once the bag is fully flattened, you can pour out the resulting bean-shell-shard mix on trays, and shake them outdoors. If you choose a windy day, the wind itself should pull away most of the light shell fragments, leaving the heavier beans behind.
However you separate your beans from the pods, I would highly recommend spreading the cleaned beans back on a tray and allowing them to dry for at least two weeks more. This is the grim voice of experience telling you that it’s far better to wait a few more weeks to ensure your crop is fully dry than to load it in a plastic bag and come back to mold in a few months.
Step 5: Sort out the Stinkers
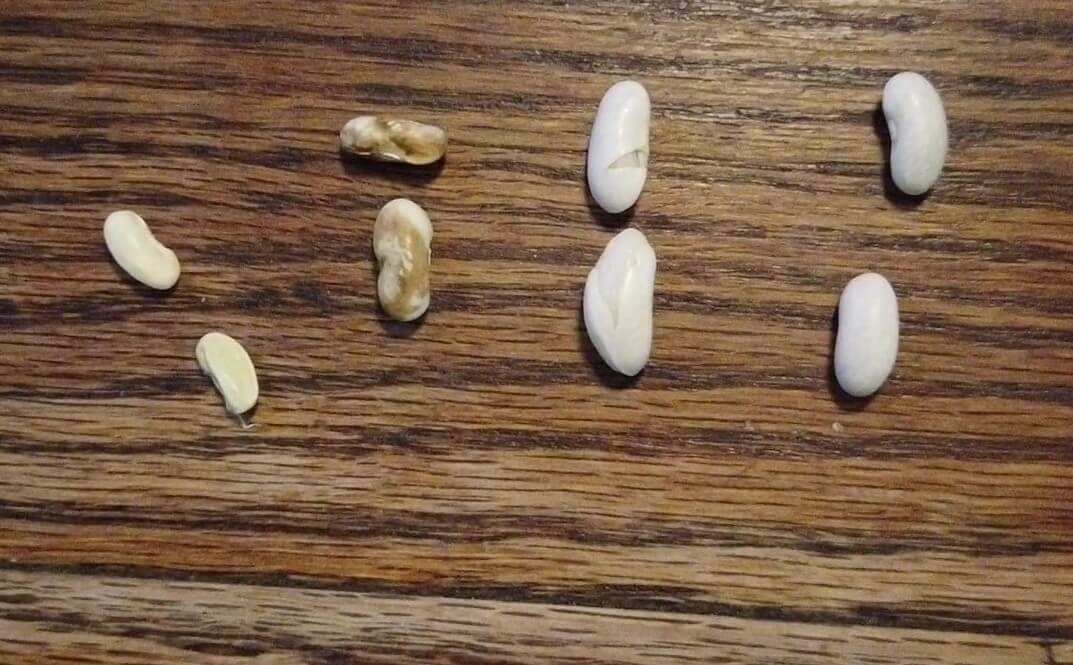
Not every bean seed you grow will come out beautiful (though most will). Some may be undersized, weirdly deformed, or obviously worm-chewed. Any seeds that don’t look right shouldn’t be considered a candidate for next year’s planting.
If you’re in a rainy spell while the bean pods are drying on the plant, you may also run into one of the seed-saver’s worst problems: Seeds germinating in the pod. If a seed is already germinated, it won’t be able to stop and go back into dry stasis. Once it has made the decision to begin sprouting, it will either grow into a plant or die trying.
Save true-to-type (unless you’re purposely cross-breeding), perfect, unsprouted beans free of blemishes and insect damage.
Step 6: Put Into Dry, Safe Storage (or Eat)
Before you put your beans into winter storage, make sure to take the time to admire their beauty. Once you’ve gone through all the trouble to both grow and save your own bean seeds, they become anything but ordinary.
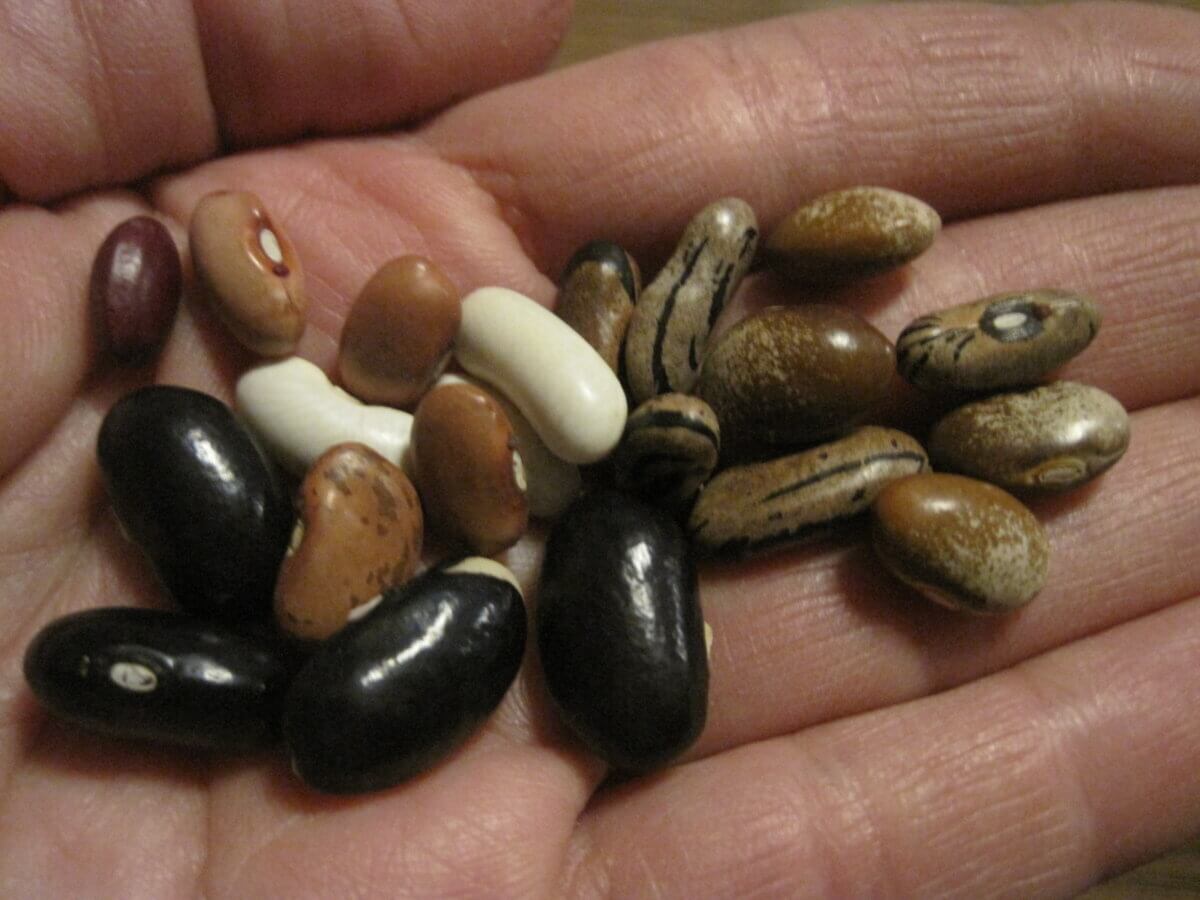
Beans can be stored in labeled paper bags or jars, being sure to keep them in cool, dark, dry conditions. Officially, they’ll be viable for 3 to 5 years, but historically, they can last for much, much longer. Stored beans have lasted hundreds, even more than a thousand years, as archaeologically-discovered beans like the 1500 Year Old Cave Bean the Folsom Indian Ruin Runner Bean and Anasazi Bean have proven.
If you find yourself with a huge surplus of dried beans, I must remind you that dried beans are food for people, too. If you have more than you can possibly use next year, soak the extras overnight and cook them up in delicious bean soup, burritos, or whatever you fancy. It doesn’t matter if they’re bush beans, pole beans, or beans intended for growing as green beans — Phaseolus vulgaris is edible no matter the color.
Step 7: Share and Plant Again
Of course, the whole reason for saving your own bean seeds is so you can be self-sufficient in your garden’s bean department. It’s something special to take your seeds to the soil and know that you have a personal connection to them.
And as I always like to mention, surplus seeds are meant for sharing. If you have a standout variety for your area, consider sharing your seed stock with fellow gardeners. Together, we can start claiming some food sovereignty free of seed packets, seed companies, and financial transactions; sharing seeds hand-to-hand as humans once did.






















I am looking for grandma ginas bean, any idea where i can get it?
Been researching Grandma Gina pole beans would love a start of the variety. Haven’t been able to find any. Would you share.