In the carpentry and remodel biz it’s not often one gets to burn something in order to make it more durable and fire resistant, but the centuries-old Japanese wood preserving practice known as Shou Sugi Ban does just that.
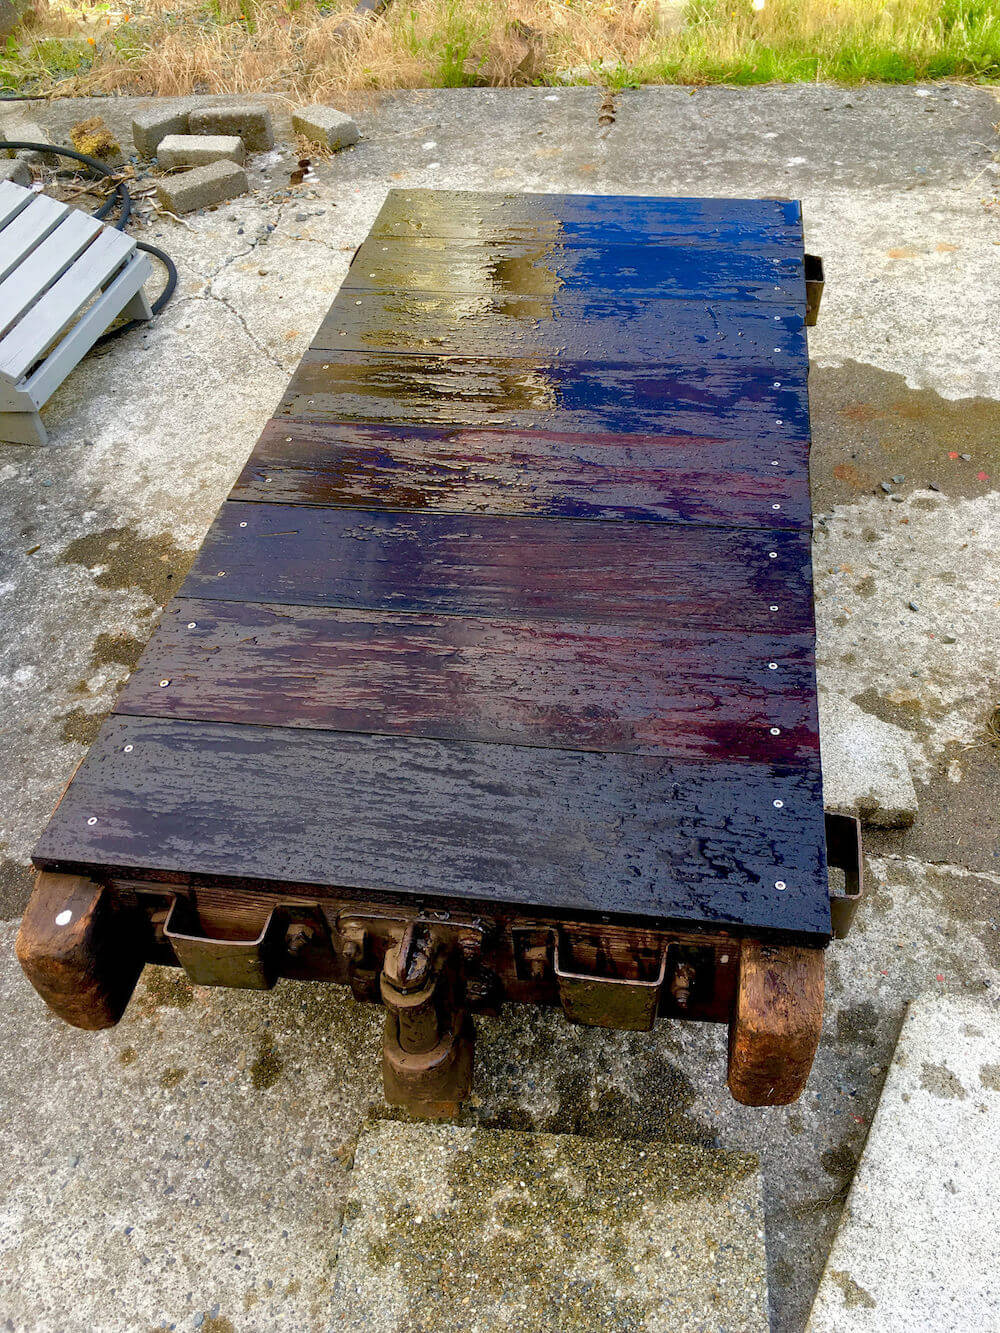
If you’re looking for an immediate weathered look, or a dark natural finish to your cedar garage or interior wall paneling, this technique of charring the top layer of your lumber is not only easy-to-do, but can save you money in the short and long term.
However, what’s priceless about this technique is its aesthetic uniqueness, not to mention the amount of control you have as the artist when charring your own lumber. Here’s a little history before we light the torch.
The Roots Of Shou Sugi Ban
The practice of Shou Sugi Ban, or literally, burnt cedar board, started to take shape as early as the 17th century when Japanese carpenters couldn’t meet the market demands for driftwood. Shou Sugi Ban was developed to be an alternative for driftwood.
Its weathered look and enhanced durability made the practice very popular. Yet, by the 20th century, Japan’s cedar forests were nearly exhausted and the price of imported timber too expensive to keep the practice alive. The art was nearly forgotten, but reemerged in Japan near the end of the century and soon after found new life, particularly in the United States in the 21st.
Charring Wood Makes It Last Longer
Charring your cedar, oak and fir, amongst a plethora of other woods, transforms the physical properties of the wood making it more resistant to fire, UV deterioration and insect infestation.
This transformation comes from what you burn and what solidifies. A young tree’s chemical construction is mainly comprised of its cellulose structure, until it ages and the naturally occurring polymer lignin spreads throughout the tree’s cellular structure.
When a mature tree is milled and processed into planks you have both cellulose and lignin properties present. Charring culls the cellulose and hardens the lignin, lowering the wood’s thermodynamic conductivity, and ruining the pulp’s yumminess for insects. Yes, yumminess. Charring also blocks harmful UV rays from drying, splitting and breaking down the wood.
Can You Buy Charred Wood?
Yes, some fantastic artisans are creating gorgeous stuff. Also, plenty of carpenters have charred wood before and others would be over the moon to do the research and try it if you asked them to. However, if you’re the DIY type, there’s no reason at all why you can’t give it a go and have control over the look of your project.
How To Char Wood Yourself
Charring your own planks gives you creative control to create the look you’re after. You can go nuts and blacken your entire board, shingle or 4X10, or feather them from darker to lighter.
No matter how much or how little you decide to char your wood using proper equipment is paramount to ensure the successful execution of any project.
Equipment
You’ll need a torch. For smaller projects you might be able to get away with using a Bernzomatic hand torch, but anything sizable, like siding, tongue and grove and large format stock get a propane torch wand that can easily connect to your gas grill’s propane tank.
If you’re a grilling purist, this means you’ll have to purchase/rent a portable propane tank. It’s important to note here that most of these tanks have a safety valve that lowers the gas pressure if you try and open the tank too much too quickly.
It’ll take a bit of time, but you want to feather your tank valve and the switch on your torch so that you have a roaring flame. No cat’s paw flames for this project.
Next, gloves, eye protection and a fire extinguisher in case someone taps you on the shoulder while you’re working and you turn around and light the dog house on fire.
Do this outside! You wouldn’t grill inside, so don’t Shou Sugi Ban inside either. Overall, be very careful, like you would anytime you’re using an open flame.
How To Use Charred Wood
Lastly, here are some things to think about before you purposely destroy your wood to make it more durable.
Your charred wood is good to go after it has been burnt. It looks great as siding and awesome as trim/accenting around windows and doors. If you do end up igniting your doghouse on accident, you may just want to finish what you started.
Another thing to think about is further treatment of the wood after it has been charred. Blue, red and grey stains can create a truly unique look that can range from a driftwood look to a dilapidated barn theme.
Brushing and staining goes a long way for interior applications live shelves, cabinets and wall paneling. Using a clear coat can give your finished lumber a nice sheen too for your interior projects.
I recommend you talk with your local stain pro and practice your torch work on a few pieces before you burn the whole project down. It’ll improve the overall quality of your project and leave you with a lot less explaining to do.




























Ahora lo puedo hacer.Excelente articulo .Gracias por compartir.
I want to do the Shou Sugi Ban for my siding on my home using pine plywood, how would you suggest sealing the seams in between the pieces of plywood.
Do you think charring pine wood can be a good idea, like roof shingels? Pine is way cheaper than these hardwoods.