It really began with the secret garden. No, I’m not referring to Frances Hodgson Burnett’s novel by that name, though it is a favorite, and I’ve always wanted my own secret garden. Perhaps now I do. My secret garden really was a secret. At least initially. And hence its name which it holds to this day.
Hidden behind thick shrubs and weed trees, I didn’t know it existed. I was cleaning out one of the larger gardens in the front yard, this one already marginally established, when I noticed a pile of rocks just beyond the overgrowth lining the driveway. I cut and physically plowed my way through and discovered a large rock garden. Well, I was convinced at the time that’s what it was.
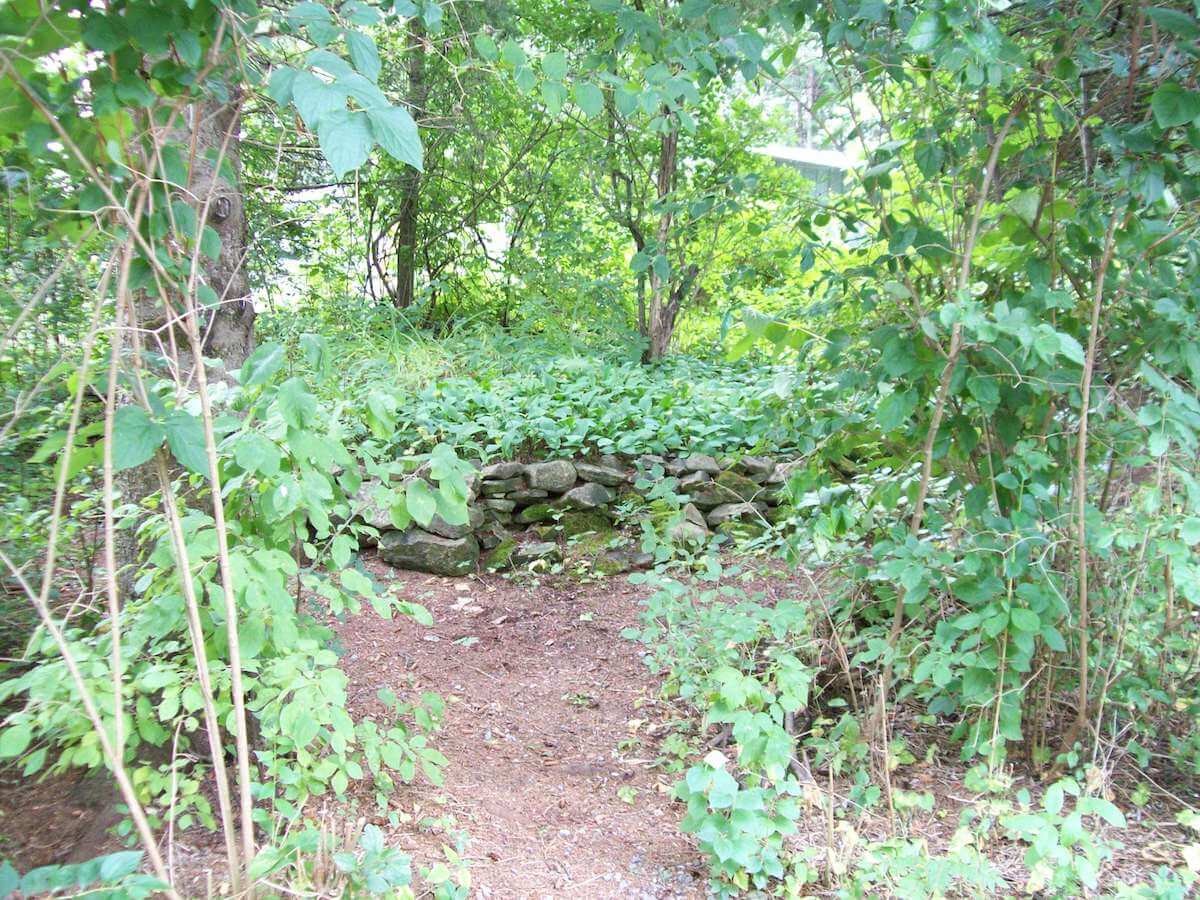
It must have been a garden at one time or another, but when I found it, the weeds had taken over after years of neglect. I spent the first autumn cleaning it up and was rewarded the following spring with an extensive carpet of trilliums and other wildflowers. I carved more paths leading into and around the garden, and over the years, I have been thrilled with my little hidden treasure, my secret garden.
That got me started on the rest of the property. No more sharp edges and precisely placed stone edging. My gardens were wild and they needed an edging that honored their wildness as well as their cultured beauty.
I had lots of possibilities available right here on my little piece of country paradise. Fallen trees, tree branches, and rocks dug from the depths of my new gardens—you name it, I had it readily available, more or less.
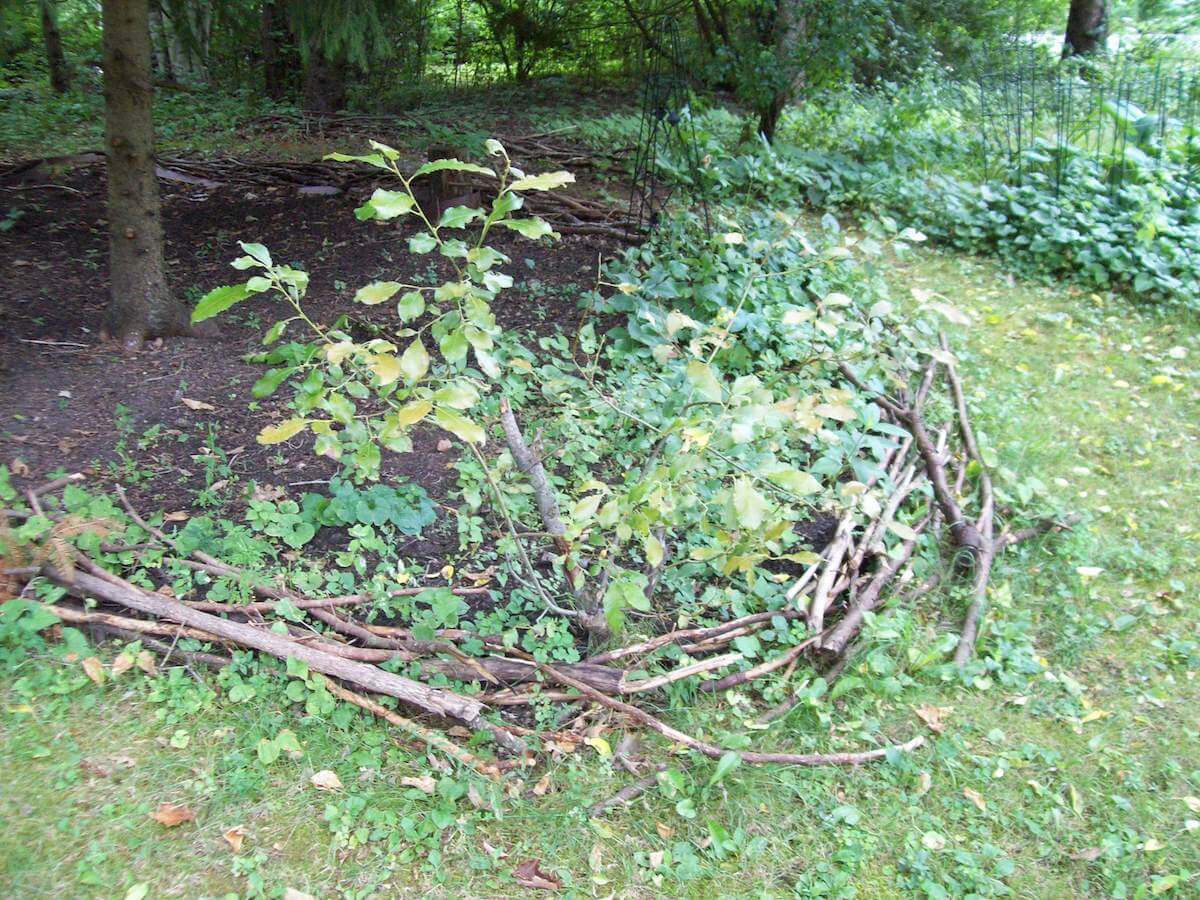
My dream home in the country quickly developed into an ongoing project, laced with love, creative ideas, and lots of experimentation. As my garden plots grew and expanded, I realized very soon that I needed pathways between and through my garden areas: the wooded gardens, the English gardens, and the veggie and herb gardens. I also needed to edge my garden areas, to mark my plots, so to speak.
I didn’t want to purchase the cheap plastic garden edging from the garden centers. I had enough on my property to make my own unique garden edges. Besides, the purchased product was expensive, and being a form of plastic, who knew what damage it could eventually do to my soil.
Fallen Tree Branch Edging
With lots of trees and lots of windstorms, not to mention the heavy ice storms in the winter, I quickly accumulated a lot of fallen branches. Yes, I collect these for kindling, but I can only use so much. My shed filled up with boxes of kindling in no time at all, enough to undoubtedly last me at least a decade.
I’m not one to have a bonfire just for the sake of burning fallen branches. I firmly believe it’s not good for the environment, and with the lengthy dry spells in the summer months, it was dangerous. Besides, with all my trees on the property, there really wasn’t a good, safe site to do an outdoor burn.
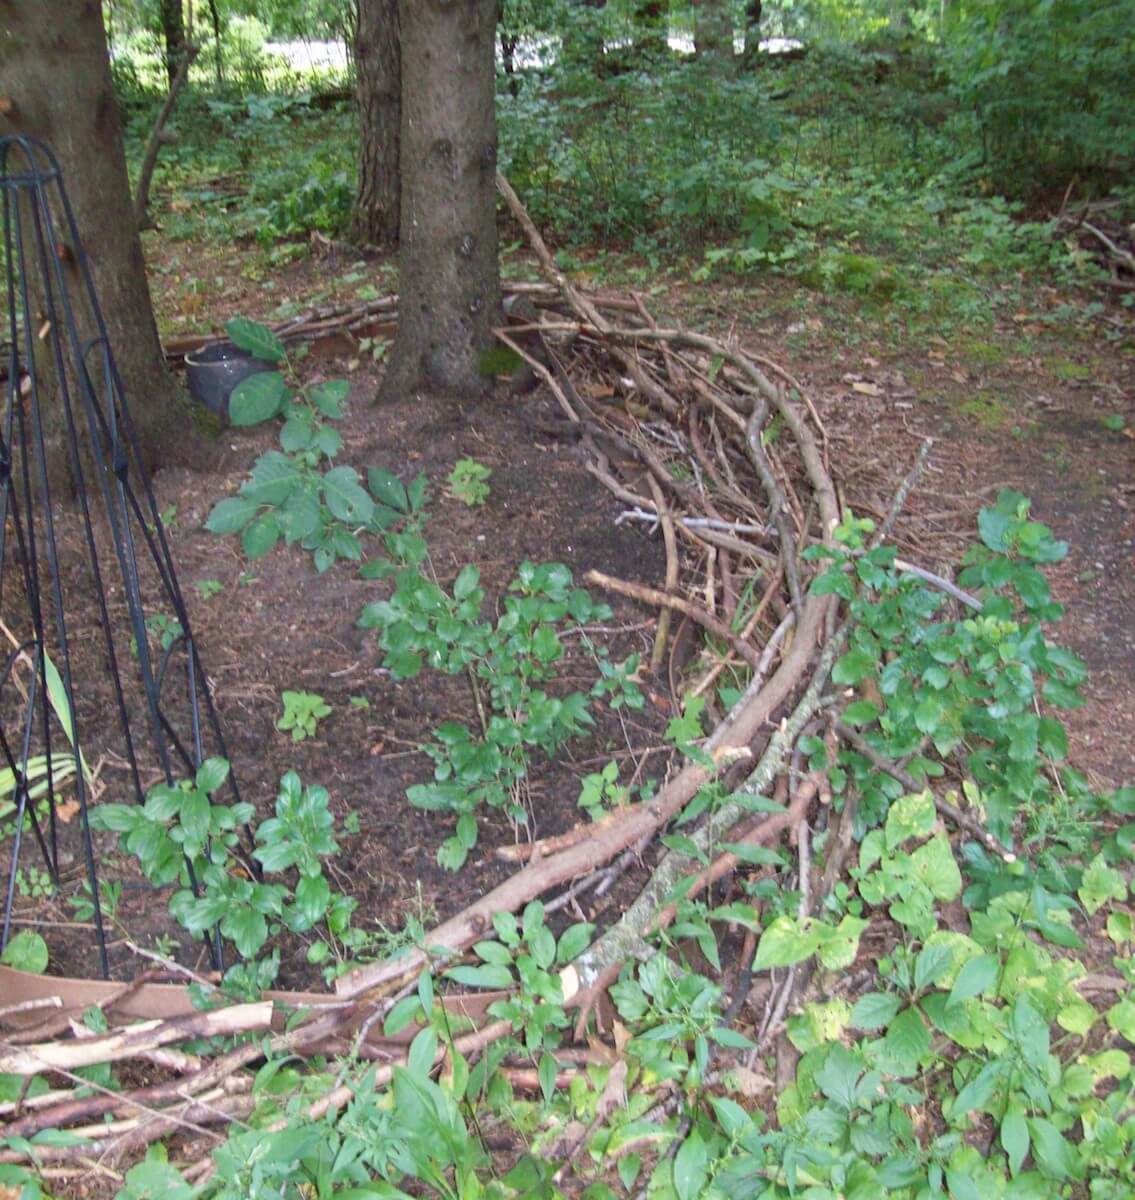
Having studied the various English designs for woven fences, I decided to make my own variation of woven garden edging. It’s nothing sophisticated, but it works and it certainly makes good use of what’s already on my property. My wildflowers love the interlacing sticks, growing both around and between the irregular line of branches.
Turning Dead Trees Into Edging
An unfortunate downside to having too many trees is that they tend to die and fall over. I can—and do—cut up these fallen trees for firewood, but once again, I only need so much.
Two very old apple trees that rotted in last summer’s heavy rains were stacked all winter beside a rock wall. The firewood chunks were still too green to burn, so they needed time to age, well—I guess you could say—like a good wine.
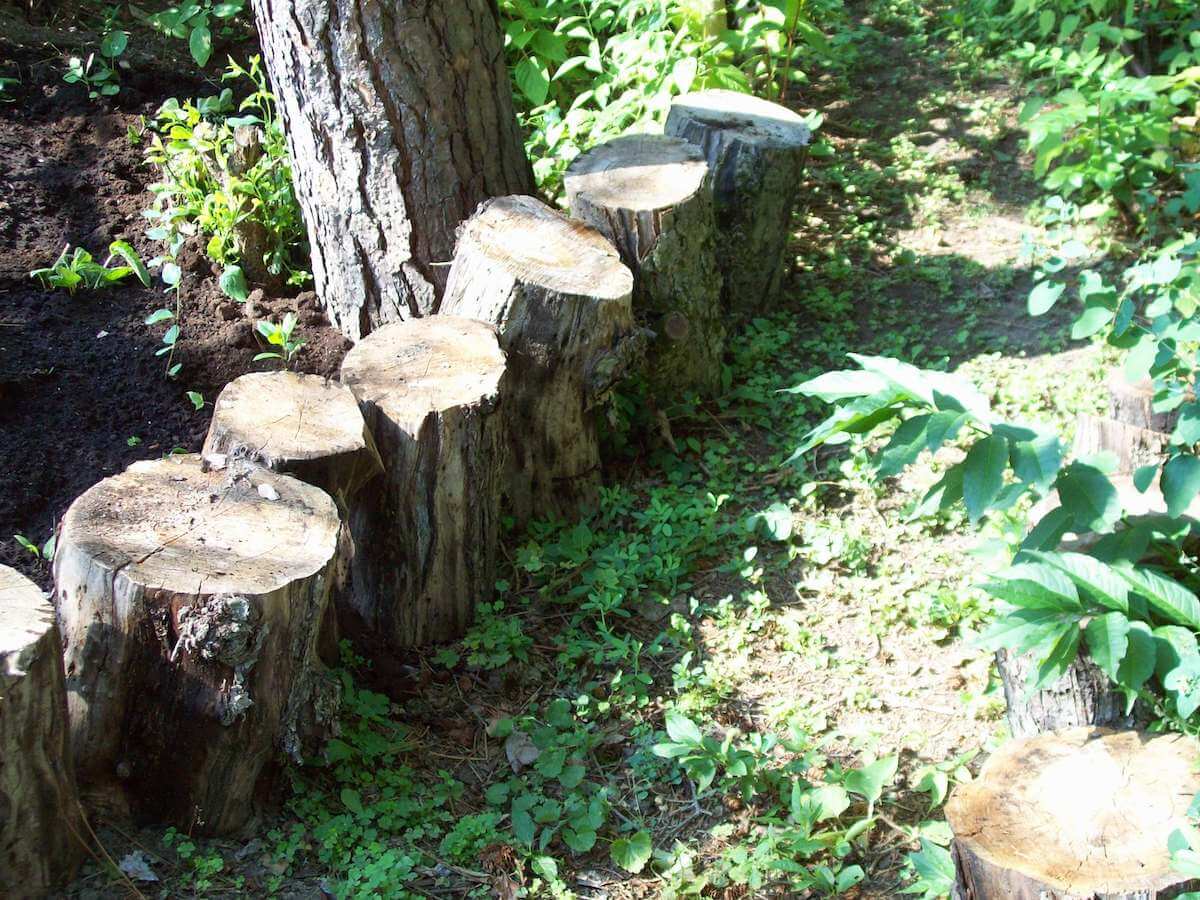
When I went to move them a year later, they were infested with carpenter ants. Not something I wanted in the house. My decision was made. I would not be bringing these logs into the house. They were rather large anyway, and I had already pulled several muscles chopping firewood.
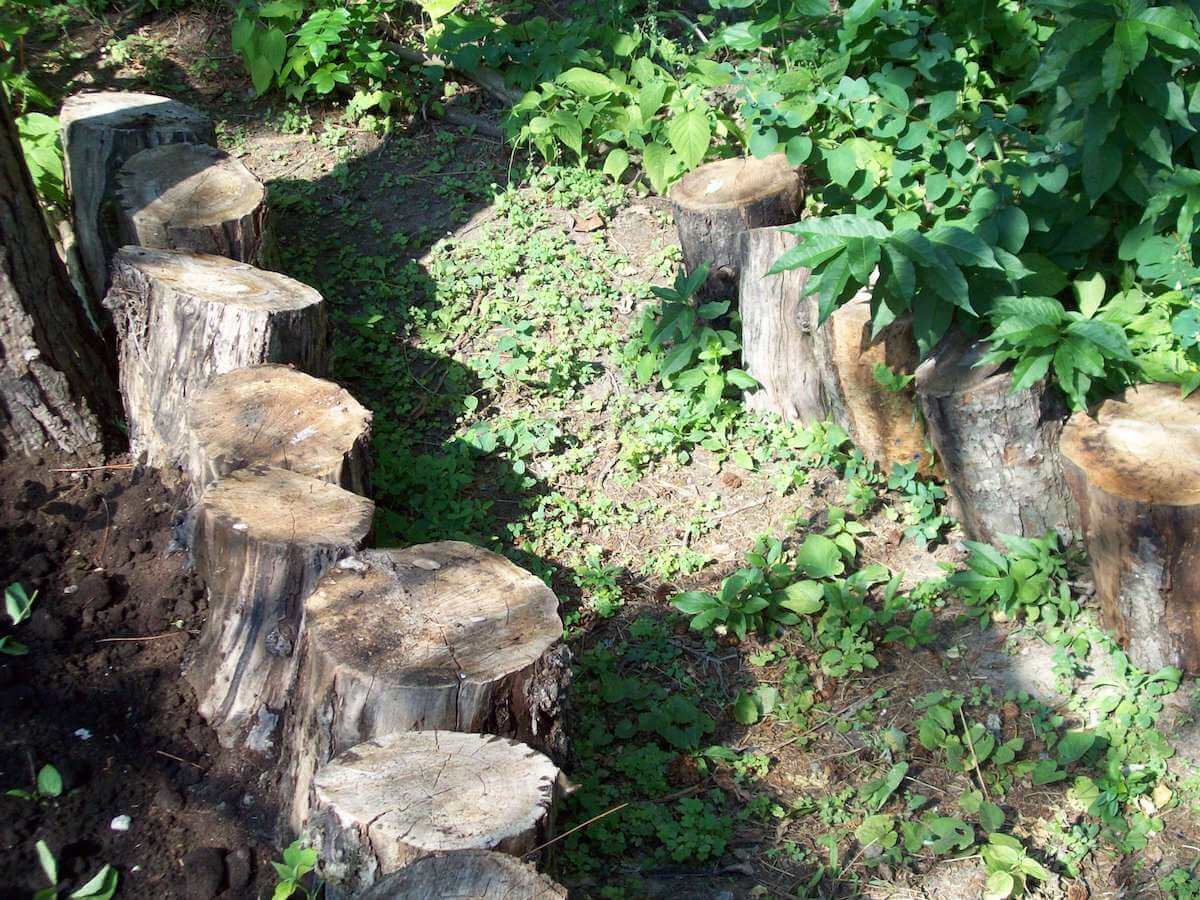
I decided to use these logs as another form of natural garden edging. The carpenter ants would slowly eat away at the rotting wood; the fungus would grow and add some creative dimensions; and my garden paths would be well marked, far enough away from the house to prevent a carpenter ant invasion.
Utilizing Rocks and Boulders
As I dug up more garden plots, I also dug up huge rocks and boulders. Some of these rocks did require a bit of maneuvering and creative manipulation to dig up, but I managed, stacking the rocks to one side while filling in the holes left behind with good compost and soil for another new garden.
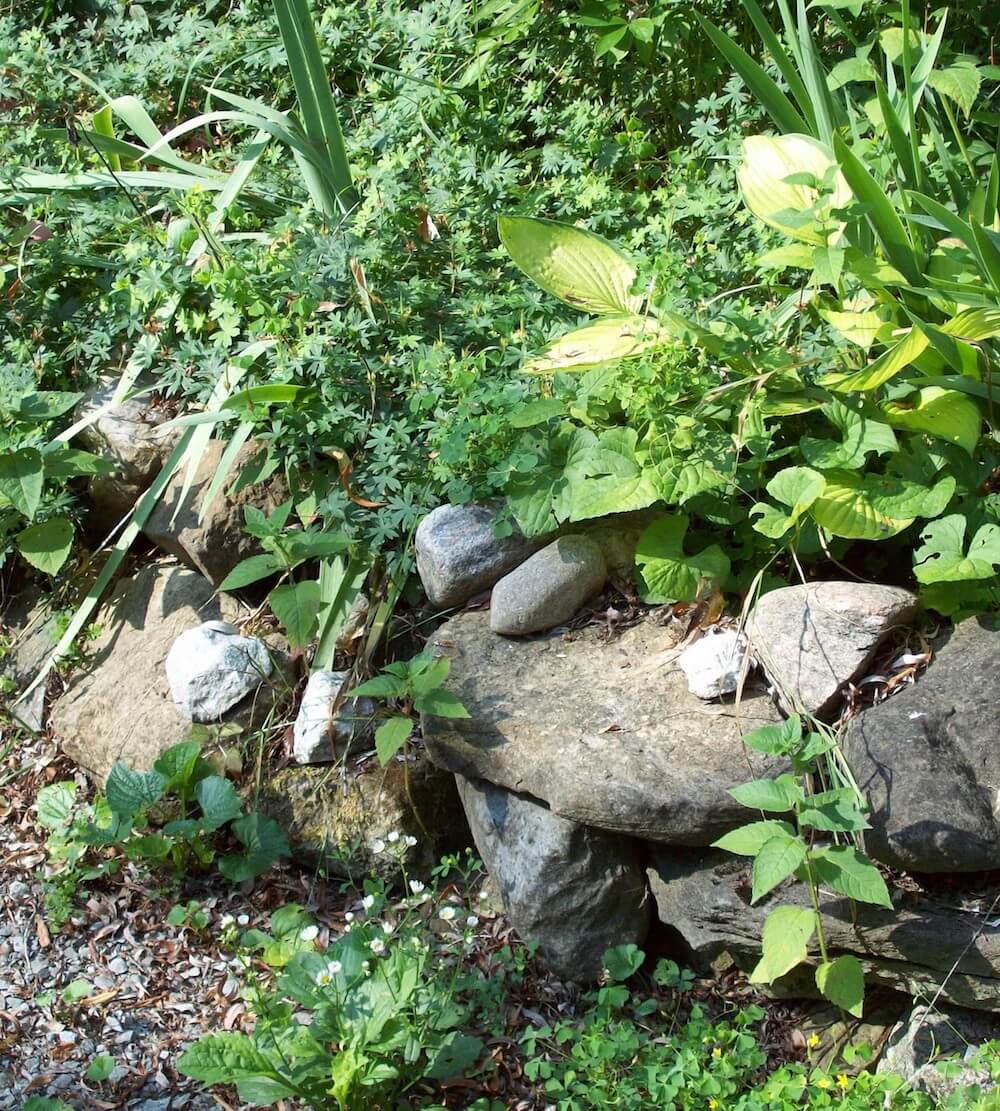
The rocks, for the most part, were too large to cart around to another location. So, I used them nearby to execute small rock walls, rock-lined paths, and garden edges, usually around the new gardens I had just created.
Creating a Rock Garden
My country plot had some interesting mounds of rocks at different intervals. Since the land had once been part of a large farm, I assumed that these rocks had been plowed into a corner, out of the way. I added more rocks to these piles and filled the cavities between the rocks with soil. My mounds became rock gardens.
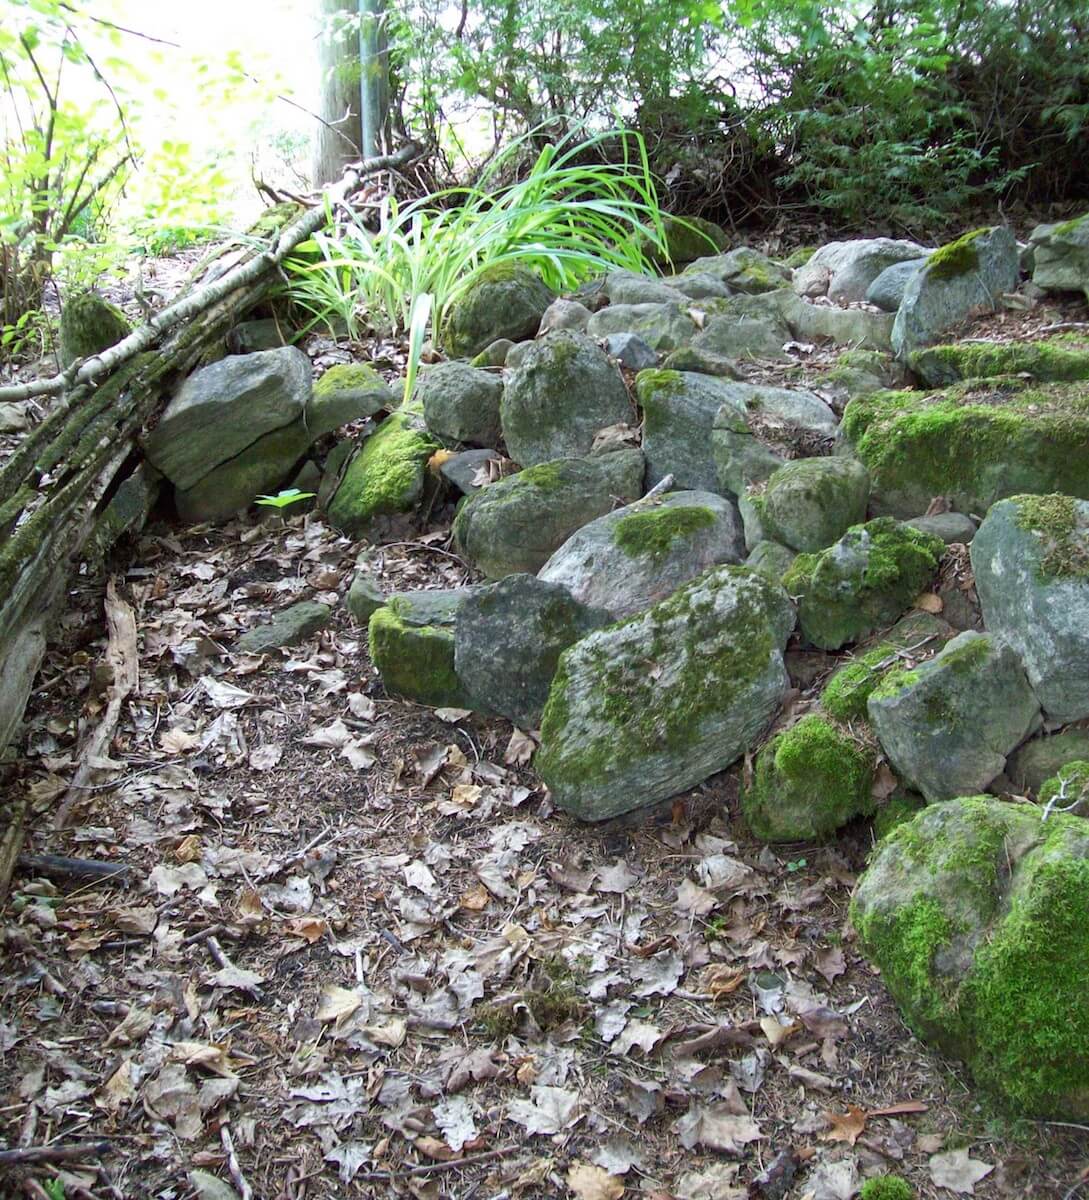
The best plants for these mounds were the sedum that I had growing in several other locations. They did well in the somewhat shallow soil, and best yet, the chipmunks and other wildlife that carved themselves a home within the piles of rocks weren’t interested in my sedum roots.
Working in my yard in the country has been a vast learning experience, from the different types of plants that will do well to the simple things like garden edges. I wanted to do things as naturally as possible, including edging my garden.























Hello, Emily!
I was recently faced with a similar branch inventory conundrum. I was wondering if I could try to use them for edging, and found your blog while searching! I definitely think I will try. Thank you for the post! 🙂