Firewood is sold in measurements called cords and half-cords. A cord of stacked firewood measures 8 feet long by 4 feet high by 4 feet deep, or 128 cubic feet. A half-cord is half as long (so 4 feet × 4 feet × 4 feet), or 64 cubic feet.
Currently, in Connecticut, the going rate for a cord is between $200 and $300, depending on the type of wood.
If you have a fireplace or stove and some trees on your property that need taking down, then you can kill two birds with one stone by chopping wood yourself. Different woods burn differently.
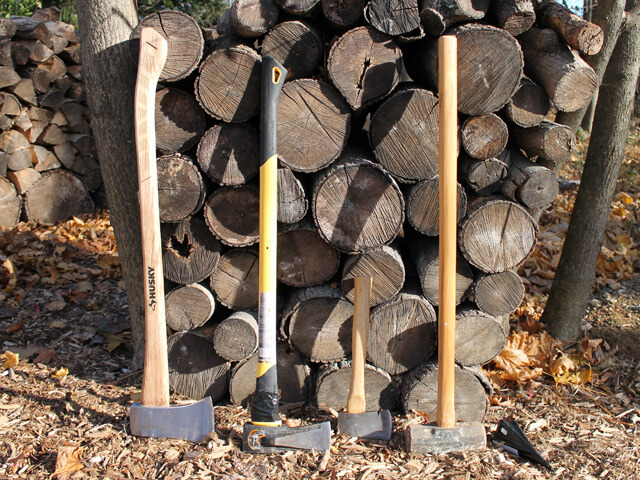
I burn a lot of maple trees because that’s what’s on our property, and it burns well once it’s been properly seasoned. I don’t recommend burning resinous woods like pine or cedar as the sap or oil sparks and pops when heated; it’s like throwing fireworks into your fireplace.
But if you’ve got some high-quality wood on your property that you want to harvest for the winter, read on to learn more about chopping wood and everything you need to channel your inner lumberjack.
Know Your Tools
If you’re going to be chopping wood yourself, it’s good to know the differences between various tools before you shop. I once had to explain to a clerk at Home Depot — a grown man — the distinction between an axe and a hatchet. Don’t be that guy at the hardware store.
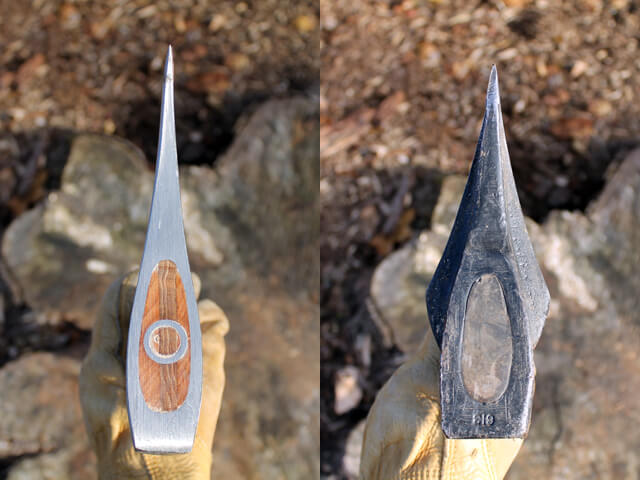
- An axe is for cutting down trees. It has a slim head and a long blade edge.
- A wood splitter has a thicker wedge-shaped head and a shorter edge. It’s made to split logs.
- A hatchet is a small one-handed axe, useful for cutting down saplings or pruning branches at the trunk.
- A sledgehammer and a wedge are for splitting logs.
Some mauls have a double-sided head with a blade on one end and a hammer on the other. I’ll discuss below how to use all these tools.
And along with working with the right tools, make sure that you’ve got the right protective gear, like sturdy footwear and eye protection, to get the job done.
Felling Trees: Put The Princess To Bed
The biggest question when cutting down a tree is determining where it will fall. You want it to fall in a straight, uninterrupted path to the earth, without hurting anyone, any property, or becoming entangled in the branches of surrounding trees.
Don’t assume the weight of a falling tree will smash through the branches of other trees. If the tree cover is dense, it’s very likely the falling tree will become caught, creating a precarious situation of an untethered tree floating overhead like a guillotine, supported only by those branches.
Related Post: Best Log Splitter
Depending on how much land you have and the tree’s proximity to your neighbors’ property, you may want to consider hiring a tree service to take down tall trees.
While it can be expensive, a tree service will cut a tree top-to-bottom in pieces using a cherry picker or, if they can’t reach it with the picker, with lines and harnesses. That way you don’t have to worry about the tree falling on, say, your neighbor’s house.
Once you’ve decided you can safely take down a tree, the tool for the job is an axe. I don’t like using a chainsaw for the simple reason that they’re loud; when the tree starts to fall, it will make loud cracking noises, and that’s your signal to get away from it. You want to hear those noises, and you will if you use an axe.
To cut down the tree, begin chopping a wedge into its trunk facing the direction in which you want it to fall. In other words, imagine an arrow stemming from the exact center of the wedge pointing toward its intended trajectory. Once you start chopping wood, never walk in front of the wedge; if you have to move around to the opposite side, walk behind the tree.
Always keep a path open to back away (or even run) from the tree once it falls, and don’t allow yourself to be trapped against another tree or obstacle. While the tree should fall fairly straight, it may roll to the sides or act unpredictably.
Also, don’t stand behind the tree as it can kick fragments and debris when it topples. When you hear it start to crack and snap, that’s your cue to move away.
Splitting Logs
Now’s the time to use that chainsaw! You can cut the tree into logs (with a hand saw, if necessary). If you’ve used a service, ask them to do it for you.
If you’re planning to use the wood for a stove or fireplace, a good idea is to measure the space and cut the logs into convenient lengths that will fit. The standard size is between 16 and 18 inches long.
Seasoning The Logs (Or Not)
You can either split the wood right away or stack the logs and let them season for a bit. If you’re using a mechanical hydraulic splitter it doesn’t matter, but if you’re going to split the wood by hand, then it depends on what kind of wood you have.
Some wood splits easier when green and becomes tougher as it dries; on the other hand, I’ve found maple is easier to split after it has dehydrated for a year. You can search around or read some forums on when to split various species.
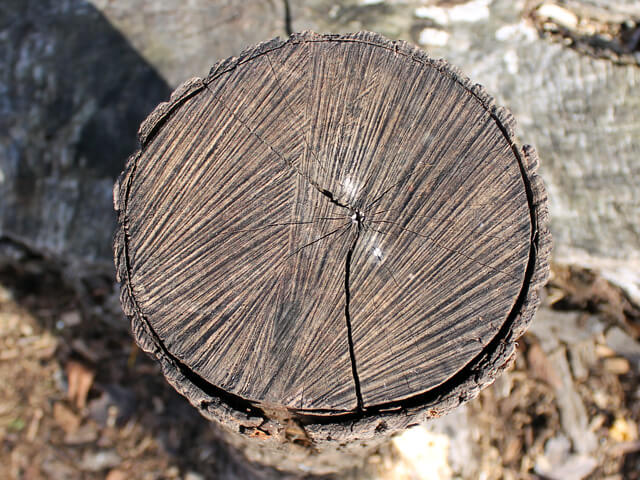
If you’re planning to let the logs season, the important thing is to get them off the ground either by stacking them on old shipping pallets or on logs you don’t plan to burn. Any wood touching the ground will become soggy and rotten, so if you’re sacrificing logs for a base layer, choose the knottiest, which are the hardest to split.
After about a year, you’ll notice the drying logs will fissure and crack. That’s when you know they’re ready to split.
Setting Up Your Splitting Workspace
Find a hard surface on which to split the logs, either an old tree stump or a bigger flat log or densely packed ground. Soft soil or grass will absorb much of the energy of your swing, making it harder to split the log. You literally want to put the log between your wood splitter and a hard place.
Stand the log on your base and line any large cracks so they’re parallel to the blade of your wood splitter. Knots (the areas where the tree’s branches connect to the trunk) are tough to cut through, so arrange these logs so your blade won’t strike any of the knots.
Splitting logs is a bit like baseball in that you’ll have to find exactly where to stand, how far back to swing, and so on. The lower your grip is on the handle, the greater the arc of your swing, and therefore the more power the impact of the splitter will have. Keep your eyes focused on where you want the blade to land, and hand-eye coordination should do the rest.
Choosing The Right Tool
You’ll want to use a wood splitter for the splitting rather than an axe. The wood splitter’s wedge-shaped head helps drive the pieces apart as it travels through the log.
For really fat stubborn logs that don’t split easily, try a wedge and sledgehammer. Stick the tip of the wedge into a crack in the log, then hammer it deeper to widen the crack. Don’t hammer it so much that you can’t remove the wedge.
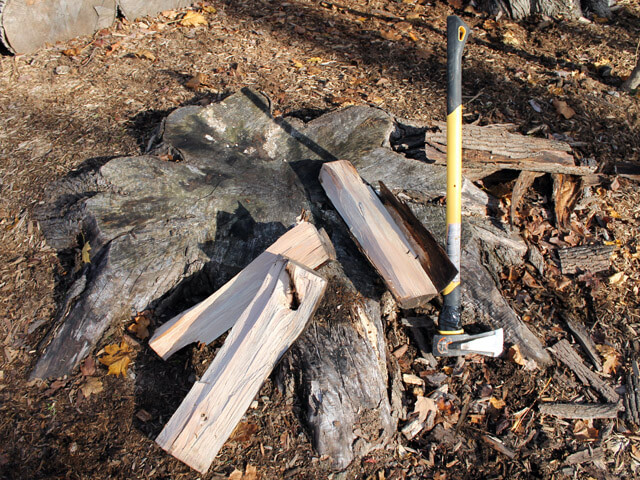
Work the wedge around the log as much as you can, then set it aside and attack the widened cracks with your maul.
As you split, you’ll develop a collection of smaller pieces of wood and splinters. Throw them into a bag or box and keep them dry—they make great kindling.
Chaining Logs
A fun trick is to loosely wrap the log in a chain and S-hook (called a shackle) before you begin.
This way the log will stay standing as you split it—you won’t have to reset every piece. You can halve it, quarter it, and split it into as many small pieces of wood as you want.
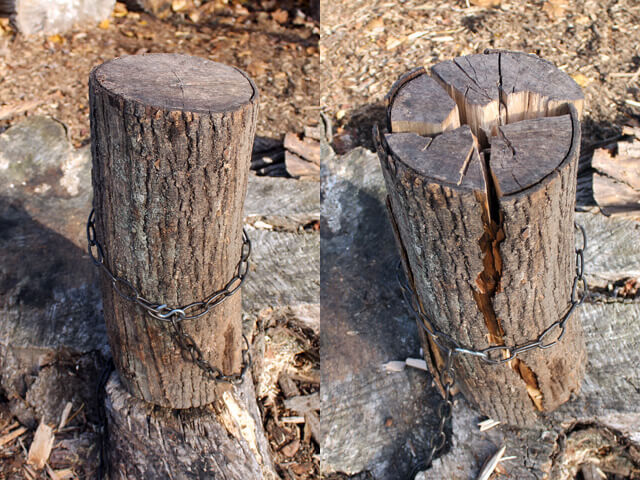
Then you can carry the entire bundle to your woodpile, undo the S-hook, and unroll the pieces like a carpet onto your pile. You should use a sturdier chain than I have in the photos; I found mine in the garage, courtesy of the previous owners, and you can see the links are splitting from the pressure.
Stacking Wood
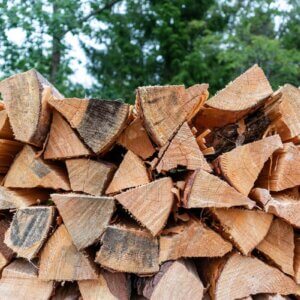
Stack the split logs in a pile for further seasoning before burning; at least another year is recommended. Again, any wood touching the ground will absorb moisture and become useless, so either sacrifice some logs as a base, or buy or make a stand.
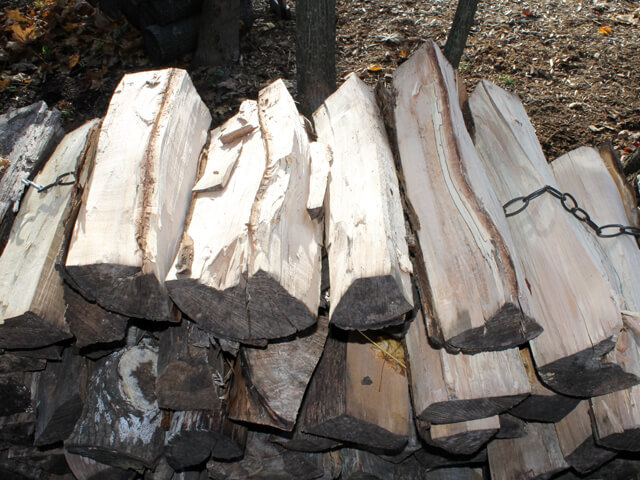
The more air that circulates around the logs, the quicker they will dry. You can experiment with different patterns or methods, which is an art form in itself.
Put On A Flannel Shirt And Make Some Cocoa
Just as there are competing ways to stack firewood, there are four-and-twenty ways to build a fire in the grate.
I’m a fan of a crisscross Jenga style where I stack two logs perpendicular to the two logs below it and make a stack three or four levels deep with a column of air in the middle.
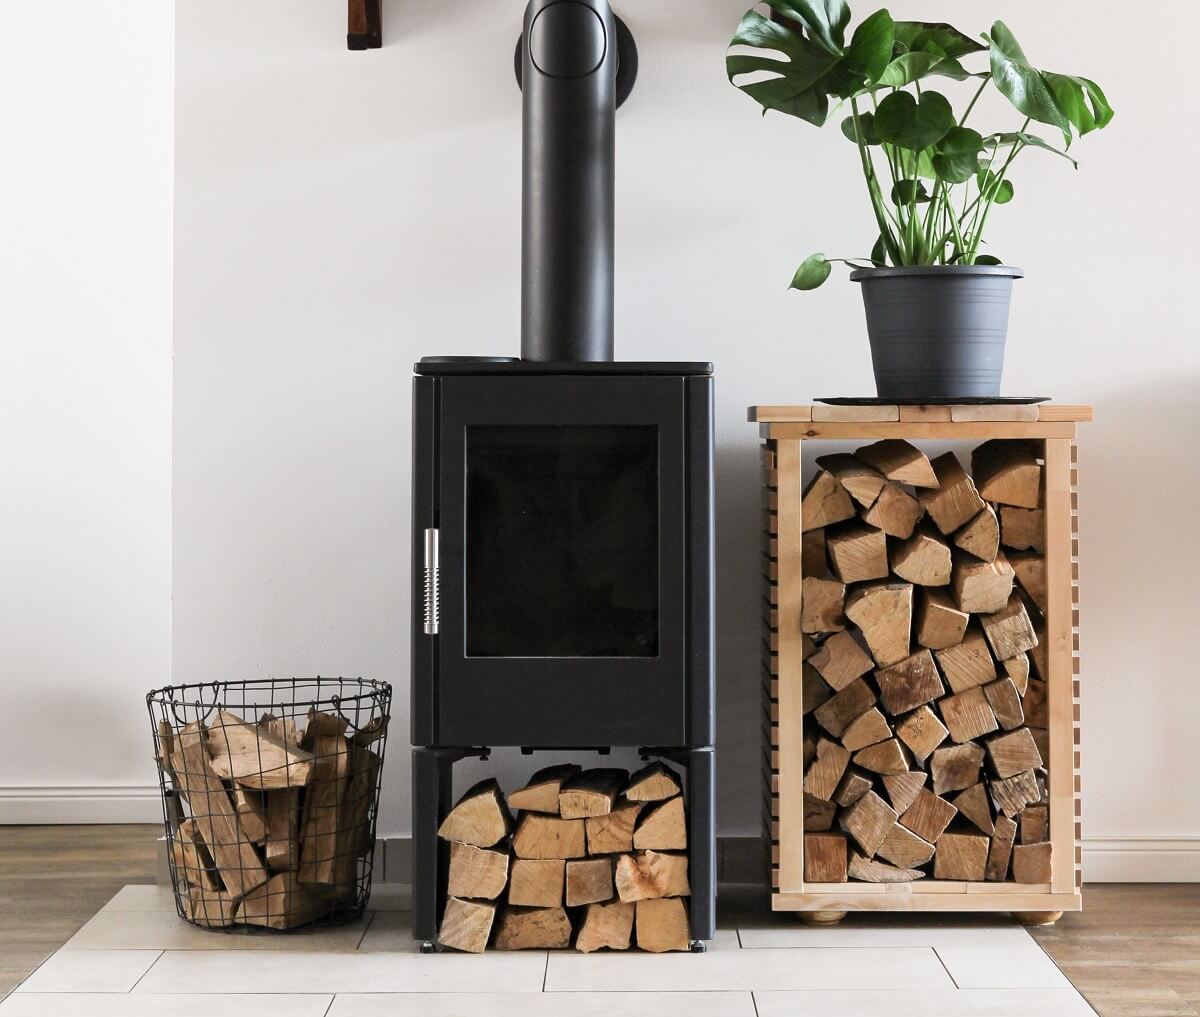
Then I stuff some newspapers and kindling into the bottom of the column and light that on fire. If it’s been seasoned right, the wood will catch with just one match.
There are few experiences in this world as satisfying as splitting wood on a cool autumn or winter day. Add a cup of hot chocolate to the scene, and maybe a little snow on the ground? That’s a great morning right there.
Author Jackson Kuhl lives in a restored 1899 Dutch colonial revival on an acre in Connecticut. All photos in the post are taken by him.









Love the post. Pretty sure all of that wood I split as a kid was using an axe, since that wood splitter doesn’t look like it could get the entire head wedged into a log the way an axe could.
I’m pretty sure I know my tools pretty well, and I’m pretty sure your side-by-side comparison shows an axe and a splitting maul/ “wood splitter” as you call it, not an axe and a hatchet. There are one-handed, small mauls (like the Fireside Friend https://www.amazon.com/Estwing-Fireside-Friend-Axe-Construction/dp/B000HAEI1A ) that may be misconstrued as a “hatchet,” I suppose, but with all your experience, is this just an accidental editing error?
Hi Frank!
Thanks for the note. I think you’re right, too! Must have been an editing error on my part. I appreciate the feedback!
Leigha
In Switzerland, authorities encourage us to light the fire from the top, not the bottom. That avoids smoke and burns cleaner. So, stack well-seasoned dry thick pieces at the bottom and smaller ones on top, with the kindling at the apex. Light the top and it will burn down beautifully, restfully and without smoke.