There’s something mesmerizing about a heavy door gliding silently on a steel track, especially when it’s indoors.
Recently, the Seattle based building outfit, Yellow Moon Construction, built an interior barn door using reclaimed materials found on the job site.
Installed with a new track, the barn door’s mix of reclaimed and new materials gave it a unique look and feel.
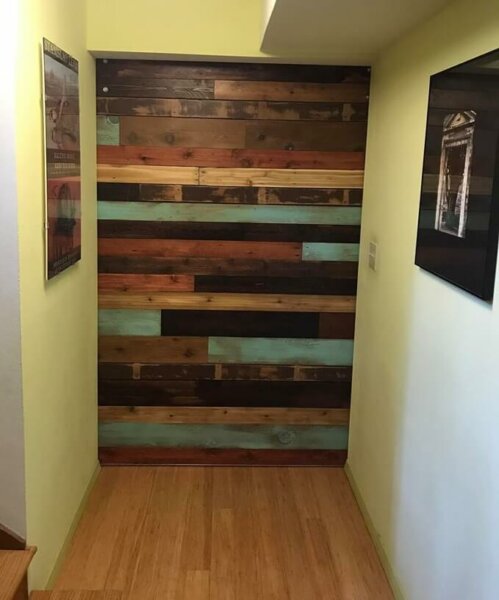
Are you looking to bring a rustic and vintage look to your space? Consider building your own barn door with our DIY instructions! Remember that this project is very open ended and can be tailored to include different colors and fit all varieties of entry ways.
DIY Indoor Barn Door
Tools & Materials You’ll Need
Tools
- Hand tools
- Measuring tape
- Pencils
- Screw gun(s)
- Micro pin nail gun
- Circular saw and/or chop saw
- Grinder
- Drill bit for metal/steel
- Air compressor and hose
- Sander
- Sandpaper
- Brushes
- Caulk gun
Materials
- Stain
- Paint
- Polyurethane
- Construction glue (liquid nails)
- 3 in. construction screws
Planning & Research
A project like this takes planning. To begin, research what kind of track you want. It’s important, especially if you’re not a professional, to be thorough with your measurements. Before speaking with a representative at your local door business, measure the height and width of your doorway.
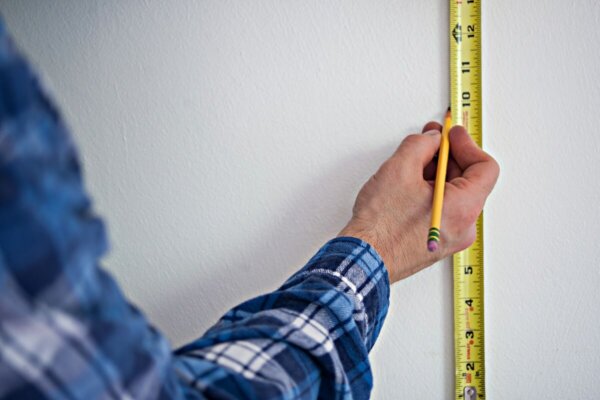
Also, measure the height from floor to ceiling because your track will sit above your doorway, and it’s important to meet your manufacturer’s clearance recommendations.
The track company we went with for our DIY barn door, Real Sliding Hardware, is a safe bet if you’re looking for high-quality tracks in a wide range of styles.
Get your track size and location figured out before you build your door. The last thing you want to do is build a door that is too large or too small.
Prepping The Barn Door And Track Dimensions
After working through the plans for the barn door track, you’re ready for your barn door’s final measurements.
Keep in mind that your door will have hardware attached to it and will hang on a track.
Using blue painter’s tape, mock out the position of your track.
Then, ask yourself these questions before determining the size of your barn door:
- With my door attached to the track, where is the desired placement for the top and bottom of my door?
- How wide should my door be to perfectly eclipse the doorway?
- How wide is too wide? — You will want to ensure that your door completely clears the passageway when it is opened.
- How thick is my door going to be, and how much space do I have to work with between the track and the wall? — You will want to ensure that your door doesn’t scrape against the wall when you open and close it.
- Are my walls, ceiling, and floor level and plum? — Think about the whole course your door will travel from the open to closed position. The last thing you want is your door to rub on an uneven floor, or a canted wall.
Our recommendation is to install your track before you begin constructing your door so you know exactly what space and dimensions you’re working with. Every track is different, so install the track according to the instructions provided by the manufacturer. Don’t just guess, because you do not want this door falling off the wall.
Building The Body Of The Barn Door
Prior to adding the planks, you will want to build the body of your barn door. With your measurements in hand, reuse some old interior doors to make the body of your barn door.
Ballard Reuse is one of several great places in the Seattle area to shop for used doors.
Keep in mind that depending on the width of the doorway, you may need to use two doors to create your barn door body. Cut the excess width off of the second door to create your barn door body from two doors. Make sure that the two doors you choose are the same thickness, and as close as possible in all other dimensions.
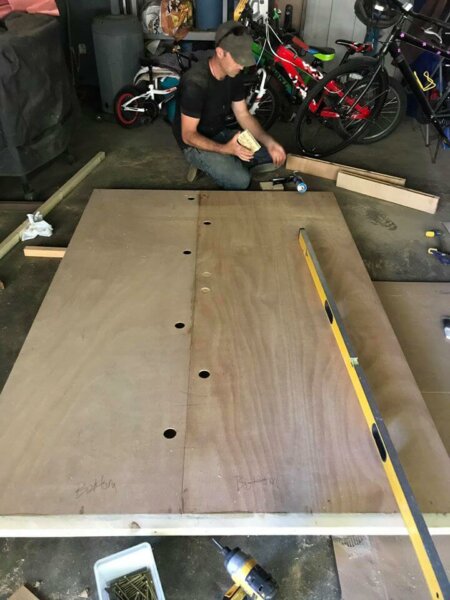
If you do need two doors, glue and screw the edges of them together to make one wide door.
You may have to improvise and get creative here! For instance, we cut holes in the face of one door to have access to screw it onto the other door. During this process be liberal with the glue and screws!
After your doors are joined together, paint them a neutral color that will match well with whatever board layout/scheme you plan on affixing to them.
Staining And Painting The Planks And Boards
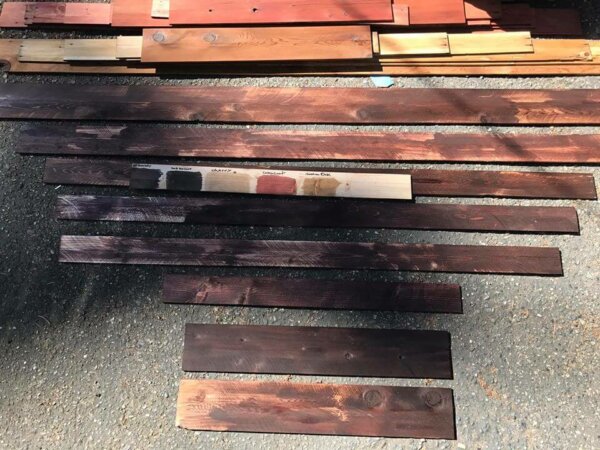
For our door, we stained a bunch of old fence planks and deck boards a multitude of different colors.
We varied how much stain we put on the boards, and mixed up how raw or refined our planks were with a palm sander.
We also painted a few of the boards, let it dry, and then lightly sanded them.
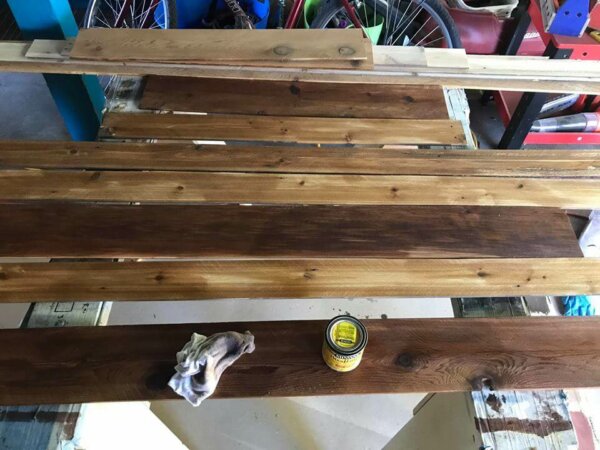
Pro tip: If you have access to a table saw, rip the edges of your slats for straighter edges.
Adding The Planks And Boards
Before adhering the planks to the door, do a mock-up of the layout. Place the planks and boards in the location on the barn door that you want to attach them, and ensure that they will all fit seamlessly once you start to cut them. Remember, you can always cut the boards more if they’re too long the first time!
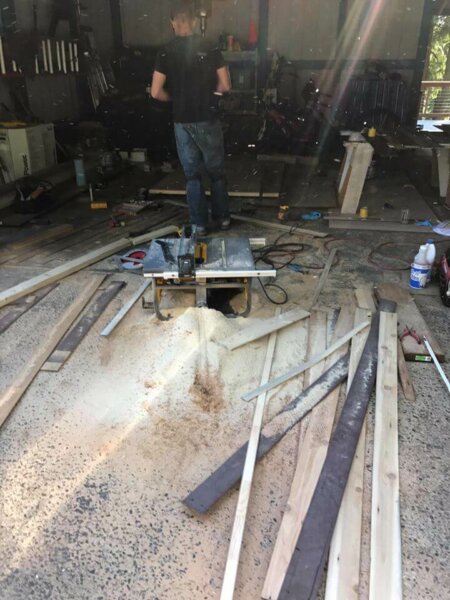
When you’re happy with how it looks, start cutting your pieces to the right length and affix them to the jointed door using glue, nails, or staples. We used a combination of liquid nails and a micro pin gun. If you have access to a nail gun and compressor, take advantage of it.
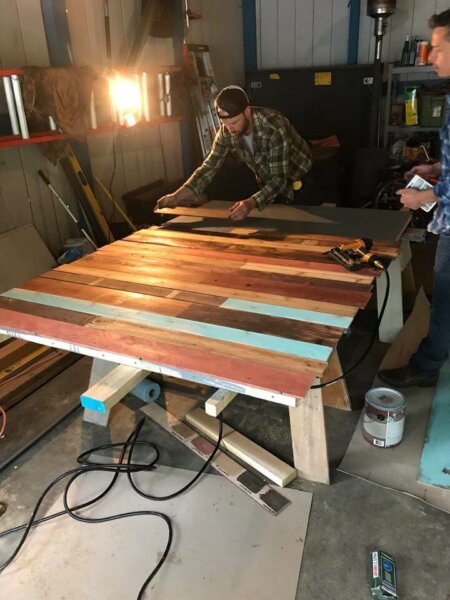
For every couple boards you add, measure the remaining space lengthwise to ensure that you’re not becoming un-leveled. It’s important that your planks/boards appear uniform and not slanted at all.
Related Post: 20 Free Pole Barn Plans
Adding Edges To The Barn Door
After making sure that your door is perfectly square, measure and cut down a length of lumber to create the new edges of your door. Your table saw or circular saw should be fine for this.
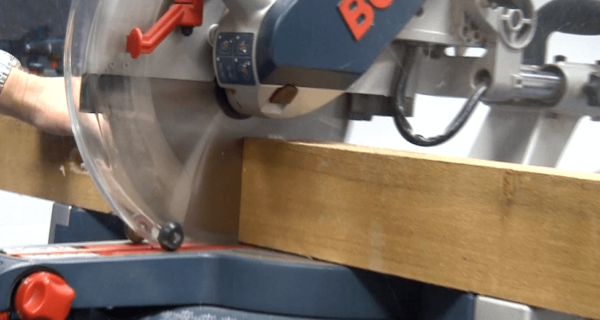
Insert your lengths between the plank edges on either side of your door, and micro pin/staple the edges to the new edging. If you look at your door from the side, the edge piece should look sandwiched between the planking.
Next, cut your steel edge banding to the proper length, drill the holes, and affix the steel edge to the sides of the door with matching stainless screws.
Final Touch – Adding The Track
I cannot stress this enough: read the directions that come with your track hardware package. As stated at the beginning of this post, you’ll want to have your track mockup dialed in before you construct your barn door.
Properly install the track onto your wall space, as well as the hardware (hangers) on your door, as detailed in the track instructions.
Add any additional handles or details that you would like to have on your new barn door.
Lift your door and carefully set your hangers on the track system.
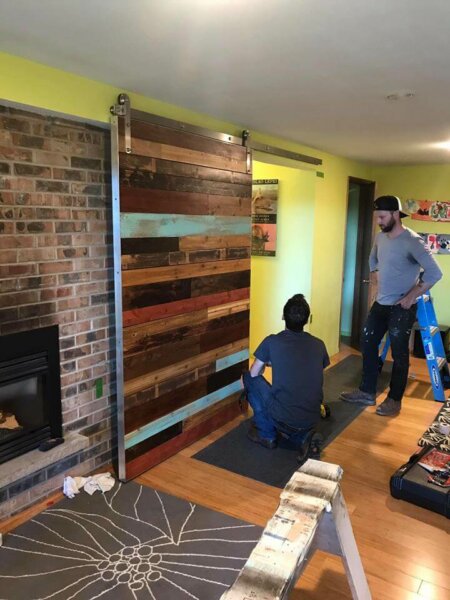
Now, commence opening and closing your interior barn door for the next two hours and feel proud with the work you did!
We at Yellow Moon can speak from experience, especially with the outcome of this door.
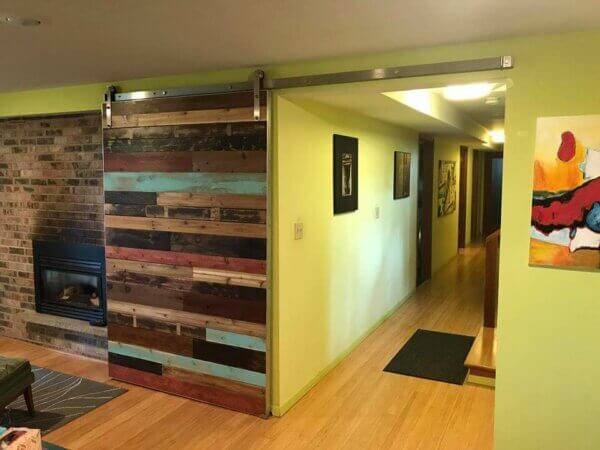
Just remember, this DIY project is whatever you need it to be. Take your time, be thorough with your research and planning, and above everything else, make it your own!


















Leave a Reply