A little over a year ago, I was living in a tiny village in Sub-Saharan Africa. I was a Peace Corps Volunteer with the specialized task of teaching locals how to conserve their natural resources, specifically trees.
A challenge unbeknownst to me before making the move to this region was something that most of us living in westernized cultures (for me, the United States) take for granted: cooking.
How do people in third world countries cook when there’s lack of electricity, and small propane burner stoves are generally unaffordable and out of economic attainability?
Simple. Outdoor wood fires.
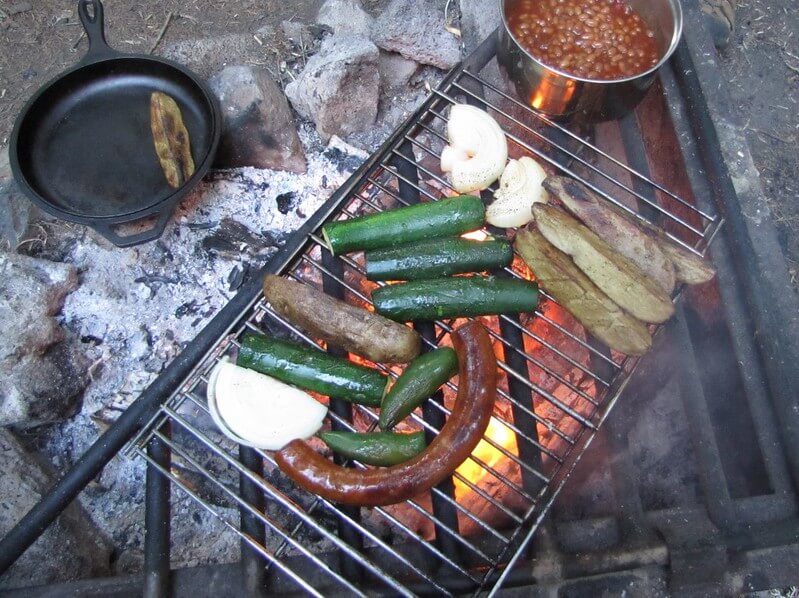
We call them “campfires” and we enjoy them as a leisurely activity, to roast marshmallows and hotdogs, host social gatherings, and stay warm before climbing into our sleeping bags or returning to the warmth of our heated homes.
For people in third world countries, fire is essential to daily living with their lives revolving around it for both warmth and food.
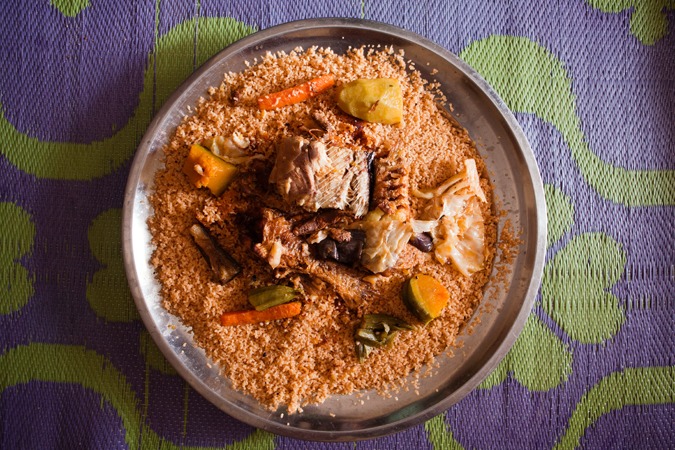
In Senegal, the women were in charge of cooking which basically meant they spent their entire day working around a small fire, and cooking out of giant cast iron pots, to provide meals made up of the staple rice for the entire family. In Senegal, families are large, often consisting of 15 or more individuals living out of one compound.
These meals took hours of preparations, and in my eyes, these women were heroes. They worked in hot, mind-numbing conditions while the men lounged around waiting for food to be hand delivered to them.
To say there was a gender divide would be to underplay it.
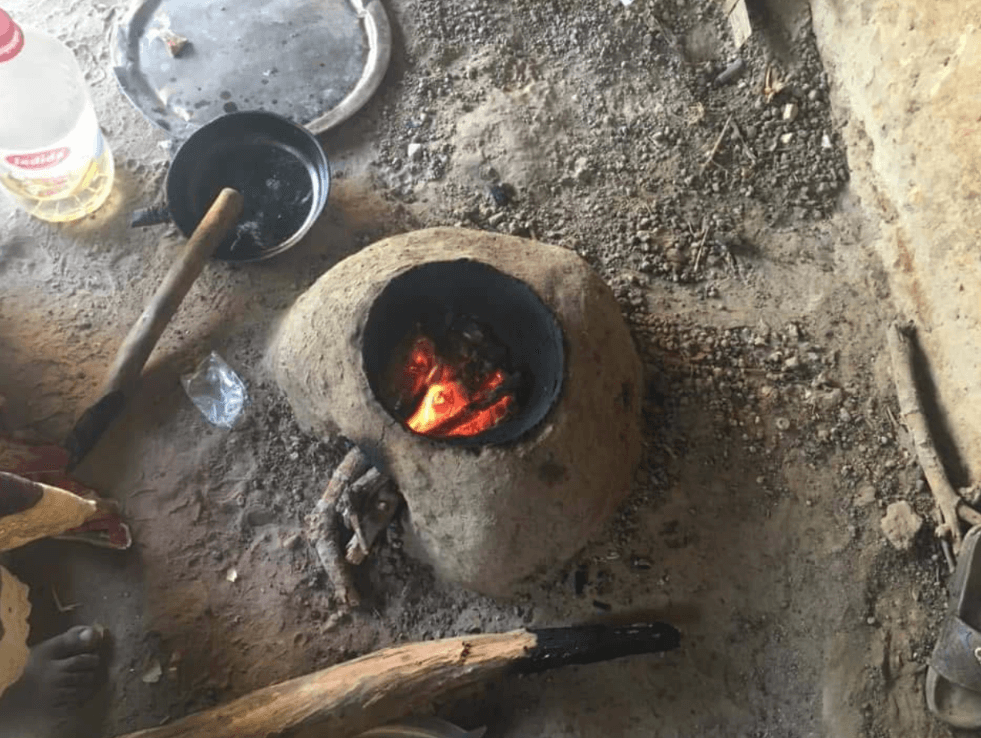
These cooking fires used immense amounts of wood, were unhealthy with long-term exposure because of constant smoke inhalation and eye irritation, and took a very long time to prepare food.
Because of these reasons, Peace Corps Volunteers promoted the creation of mud stoves.
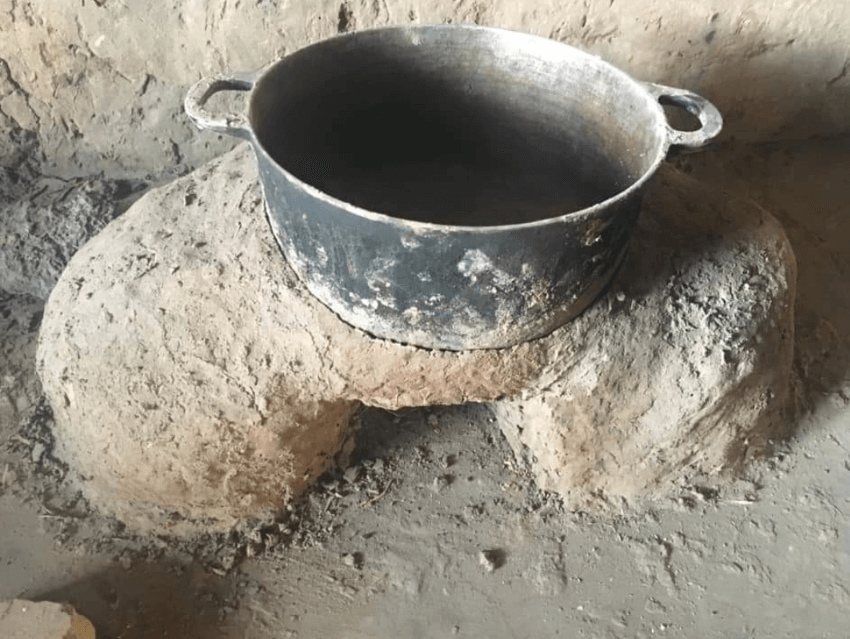
What Are Mud Stoves?
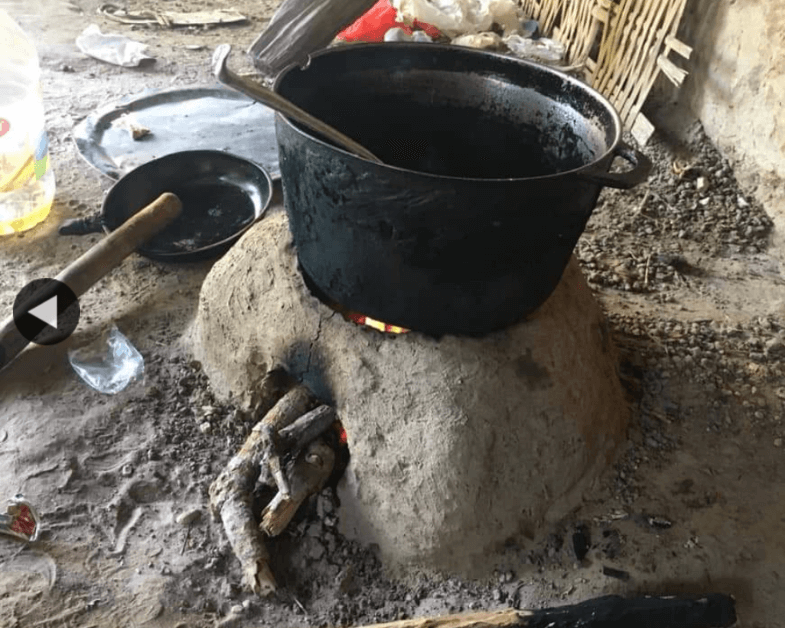
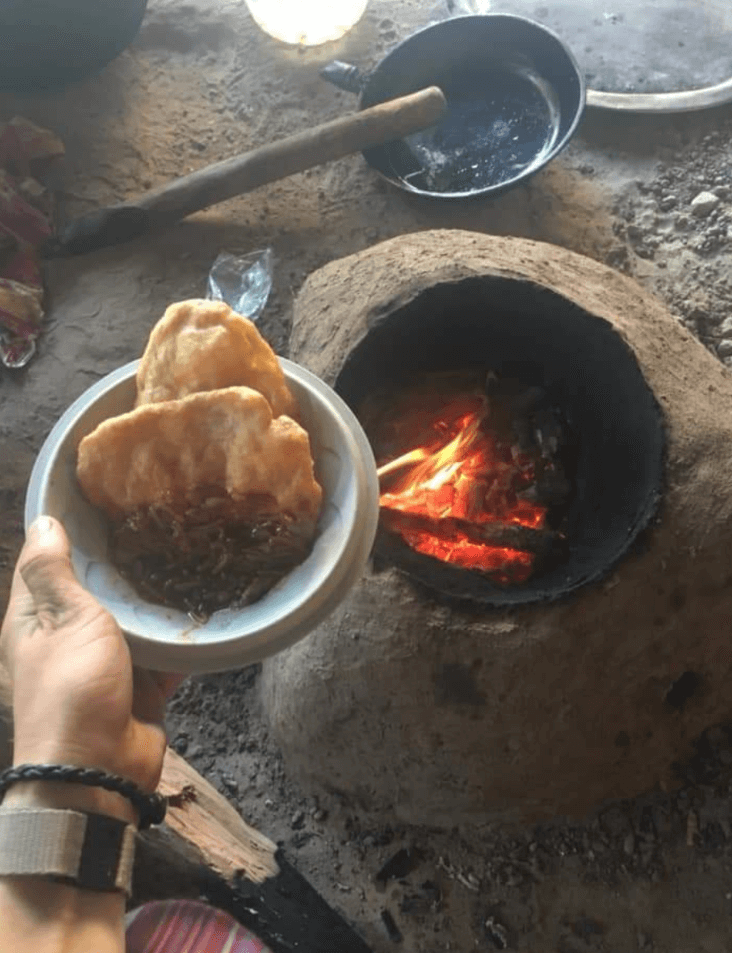
Mud stoves are a simple construction project that mostly consists of molding the mixture into place. Mud stoves utilize less wood, burn hotter faster, and ventilate smoke better. Not only do they burn fuel more efficiently and reduce health hazards, they’re also providing women with more time to do other things like go to school, study, or simply relax. It’s a win-win all the way around!
Related Post: How to Build a Rocket Stove: 7 Plans
Why Would Anyone Want to Make One in Their Backyard?
- It can be a fun family activity!
- It can be a good starter project if you’re interested in making a large-scale outdoor mud oven for pizza or bread making.
- If you like the idea of cooking outside and aren’t into grilling, this could be a great alternative.
- If you camp often in the same spot, this can be an easy way to set up a permanent cooking area.
- They’re cheap (or free if you have the right materials) to construct.
- They don’t require special skills to create.
- They can be aesthetically pleasing if you’re creative with it.
Okay, but HOW Do You Make Them?
First, you need to acquire eight materials. Seven of which, depending on where you’re located, can be found in your backyard.
1. Water
2. Clay. I used an old termite mound — however for stateside creations, any clay will work just fine.
If you’re having trouble finding natural clay, follow step one of this link.
You can also purchase clay if you’re unable or disinterested in finding it naturally. It can be found at most craft stores (Hobby Lobby, Michael’s, Walmart) and you may also order it online.
Lastly, you’ll want to make sure your clay is dry when you start combining the ingredients, and mostly powdered. You don’t want any large pieces in your mixture. I took a hammer to break up large dried hunks until it was loose powder (this part is fun).
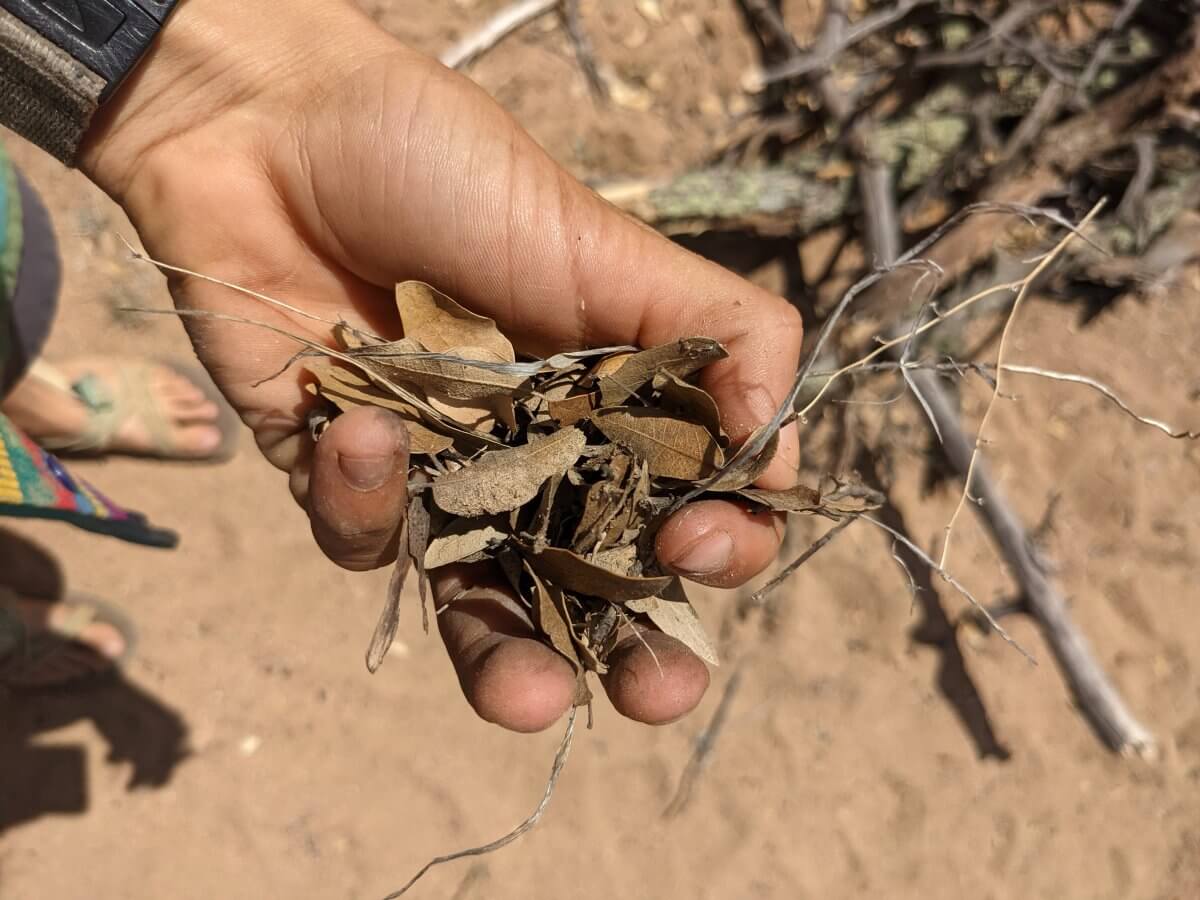
3. Dried organic debris (dead leaves, small dry twigs, even dried animal manure from cows or donkeys).
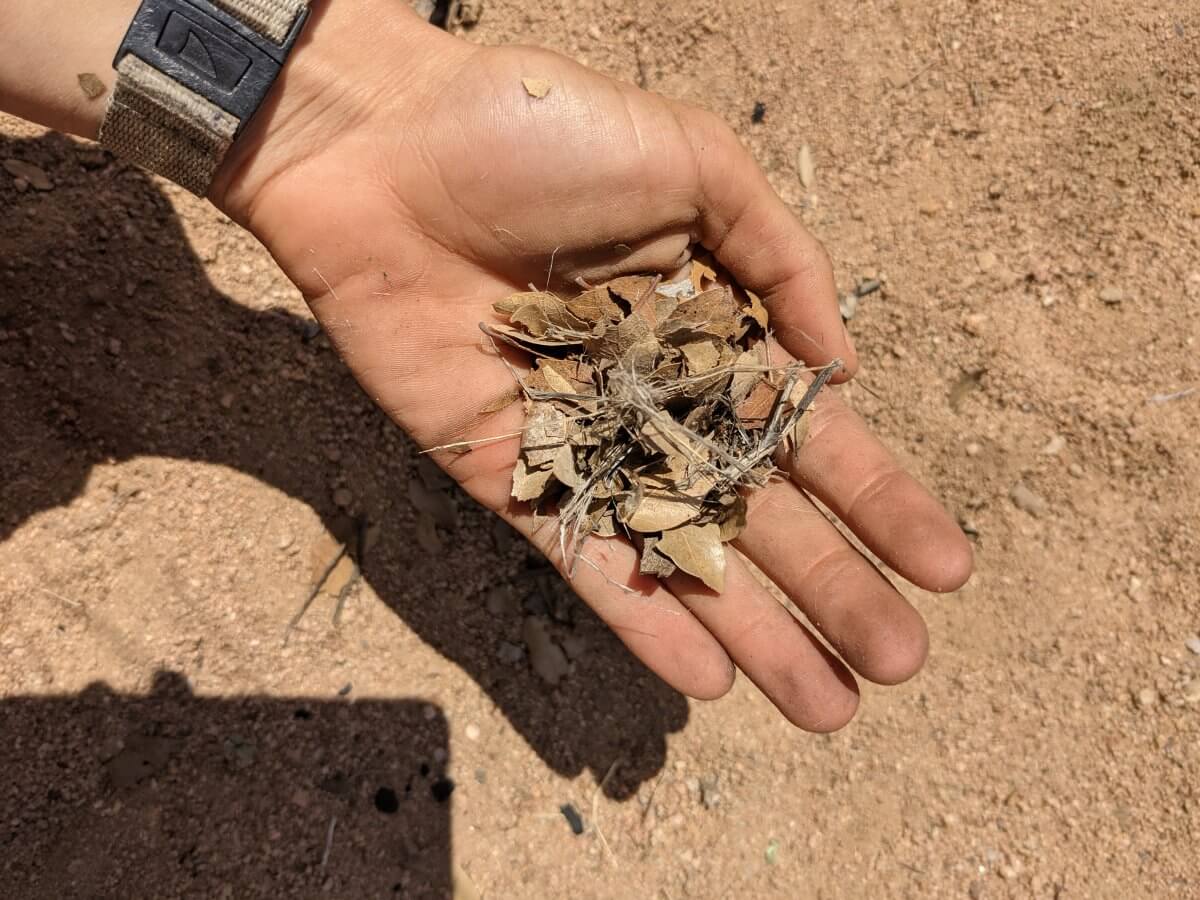
You’ll want to make sure you crush all dried matter into small pieces. Here’s a reference image to help you better understand.
And here is what they look like when they are crushed.
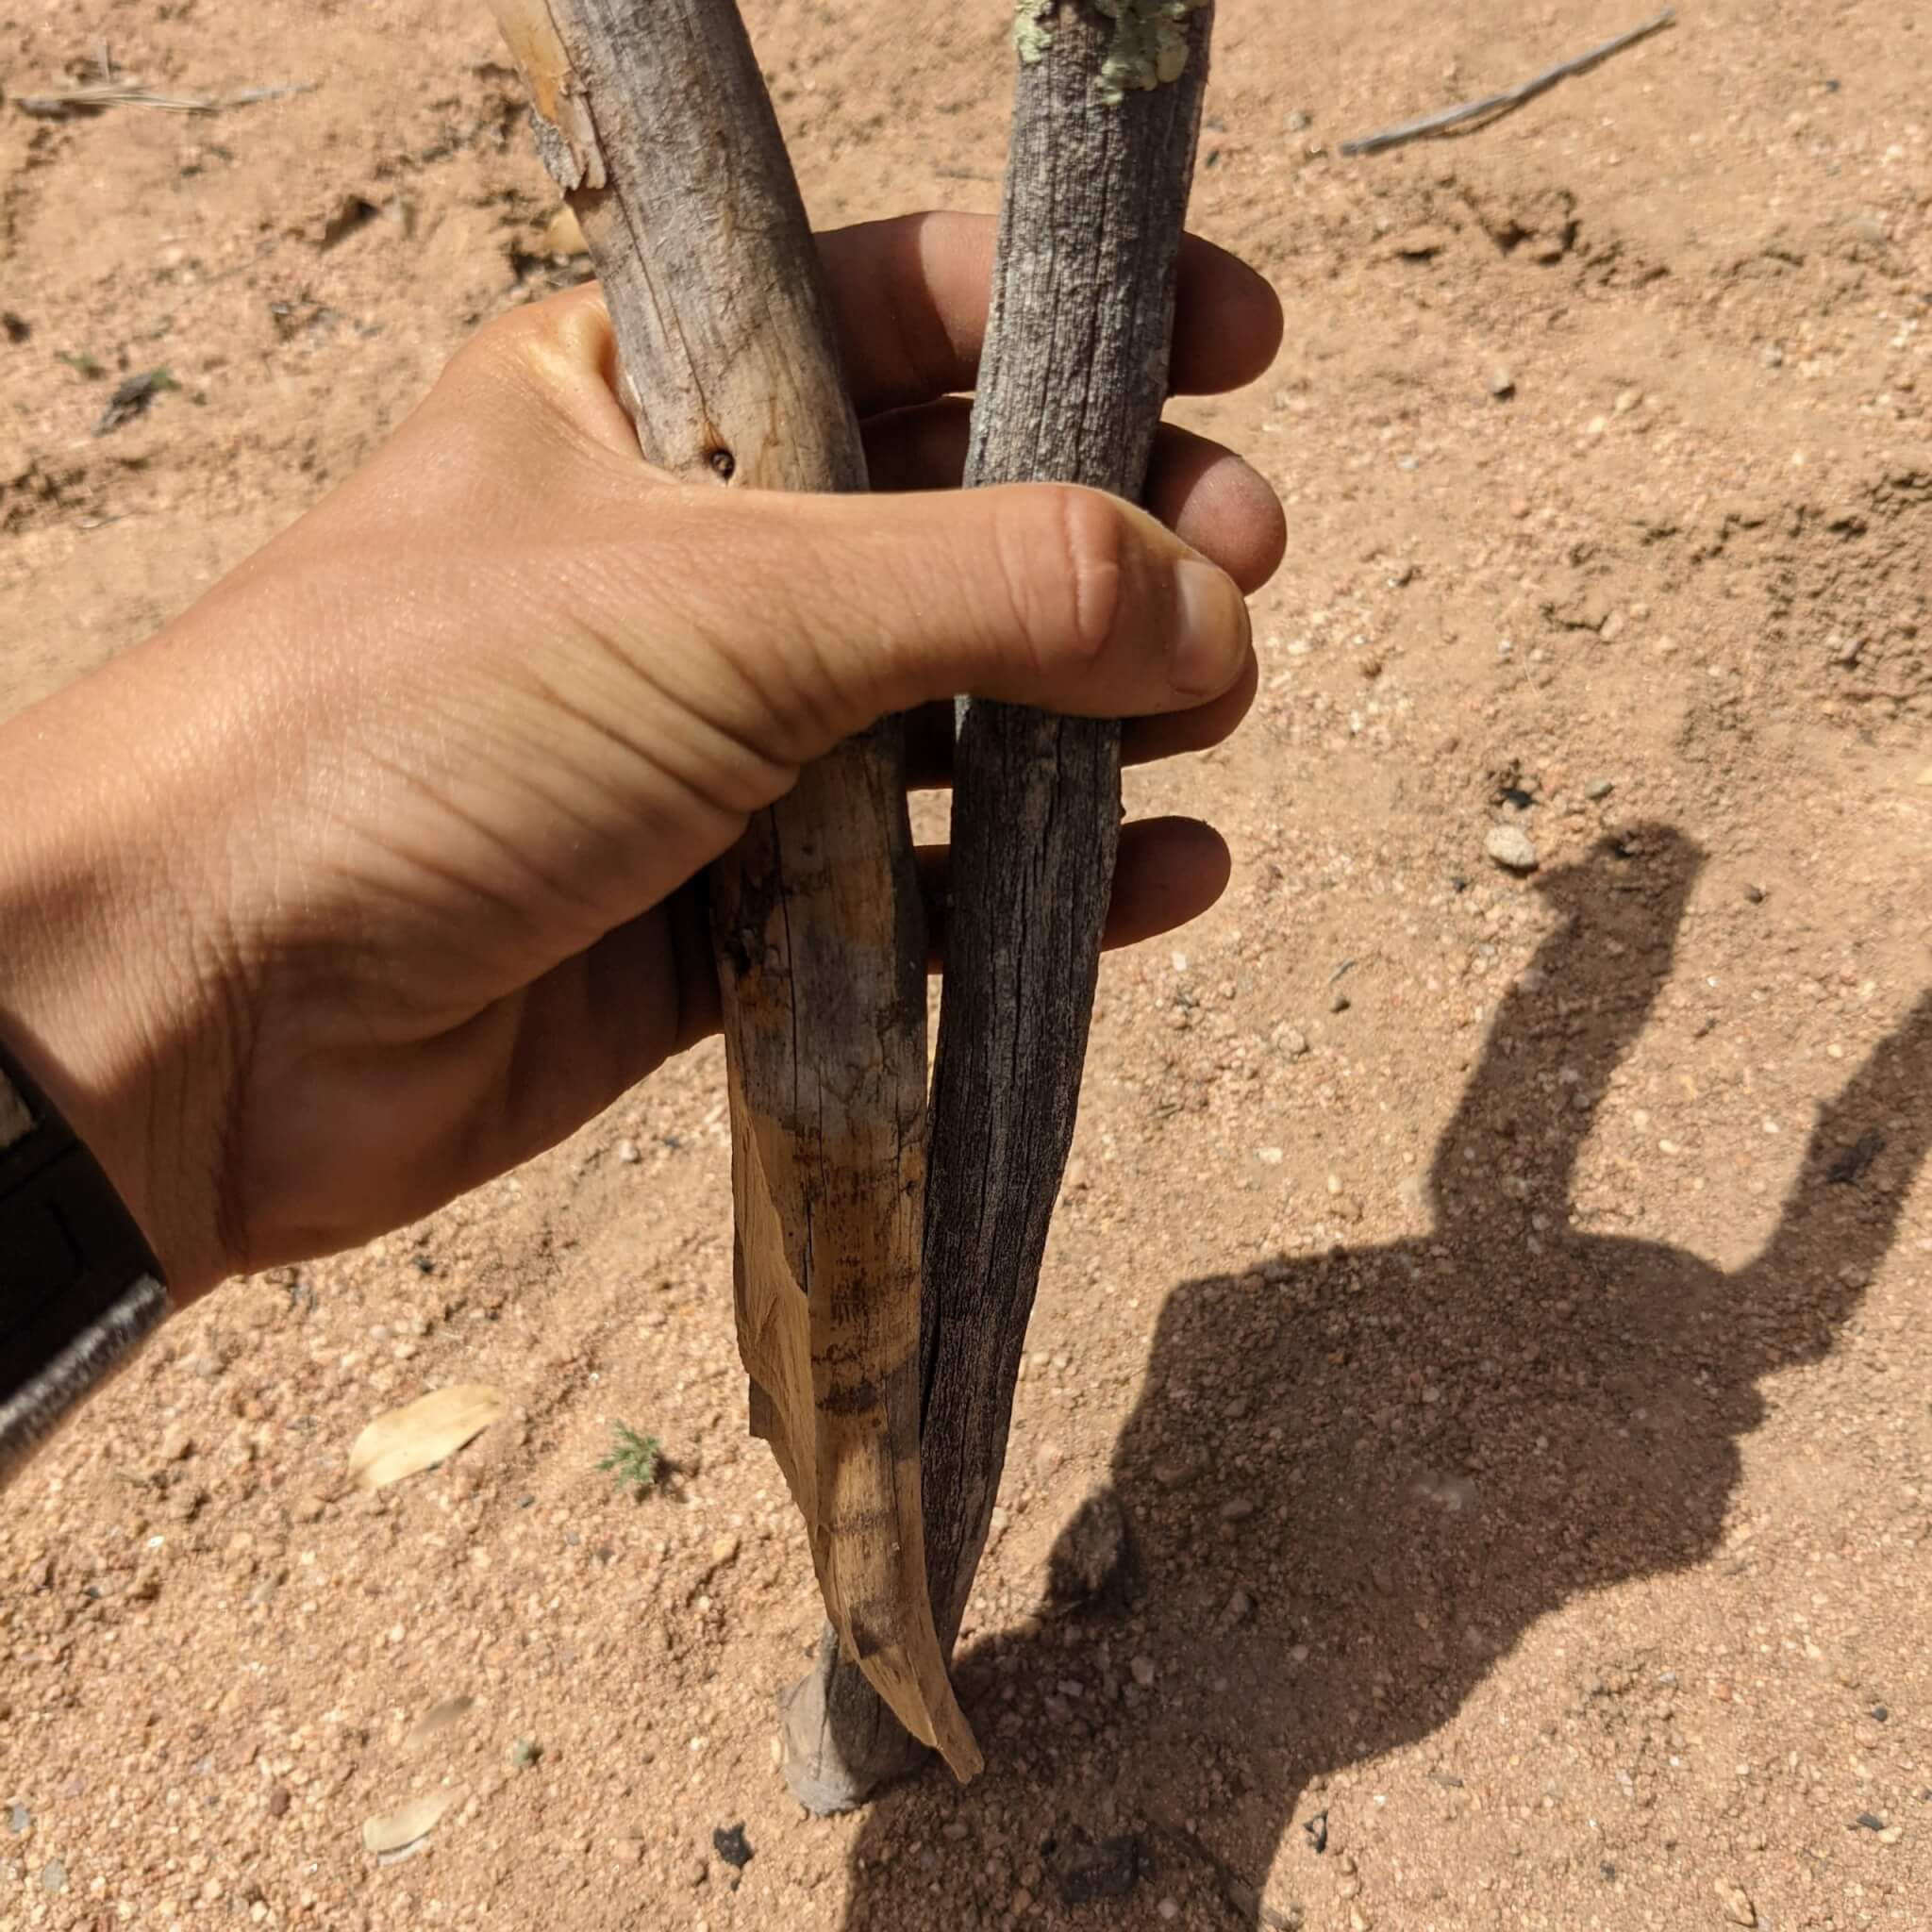
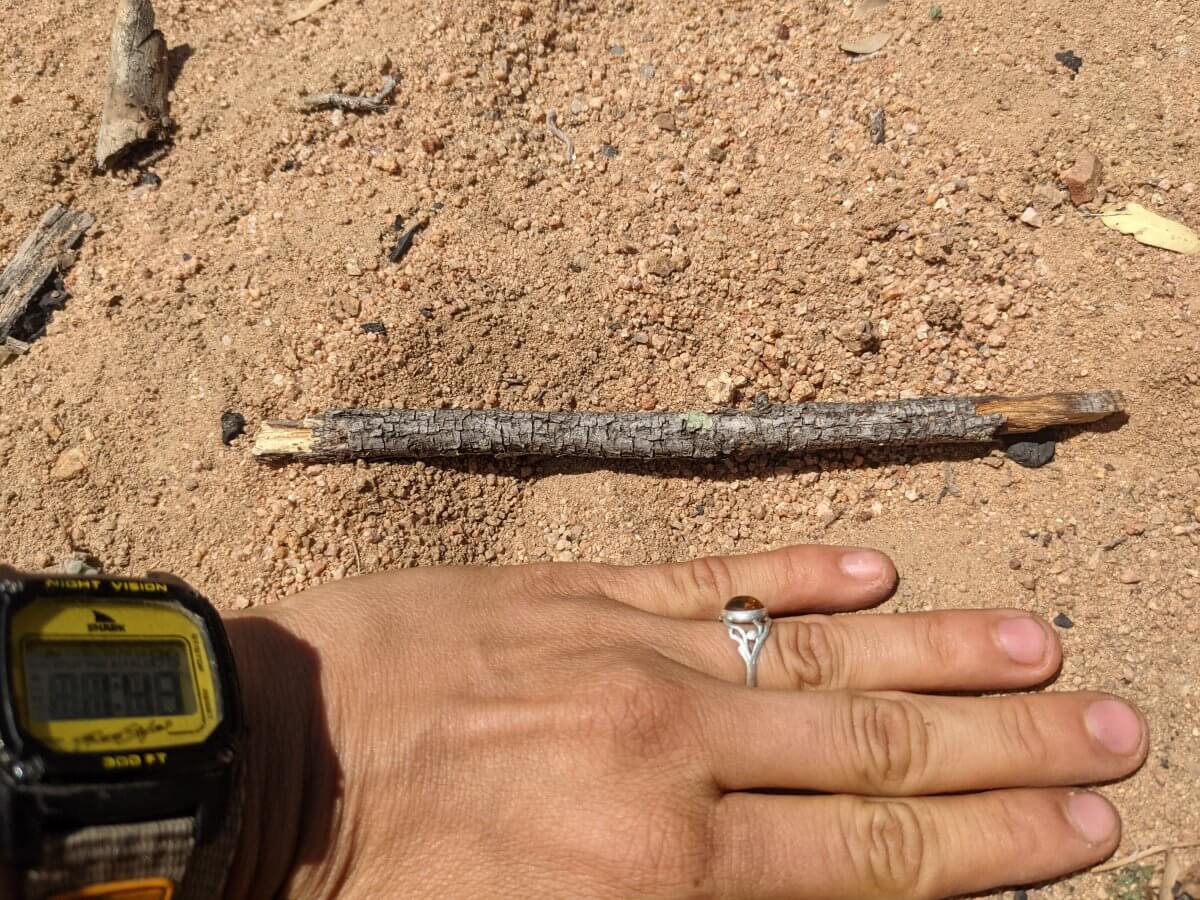
4. Two straight sticks, a decent length long, and just thick enough to wrap your hand around.
5. A cast iron pot that you’re okay with not using for about a week.
The size of the pot you want to use is directly indicative of the size of your mud stove. This pot will be molded into your stove which means the size of this pot will be the only size your mud stove can fit. My host family in Senegal wanted multiple mud stoves to account for their different-sized pots.
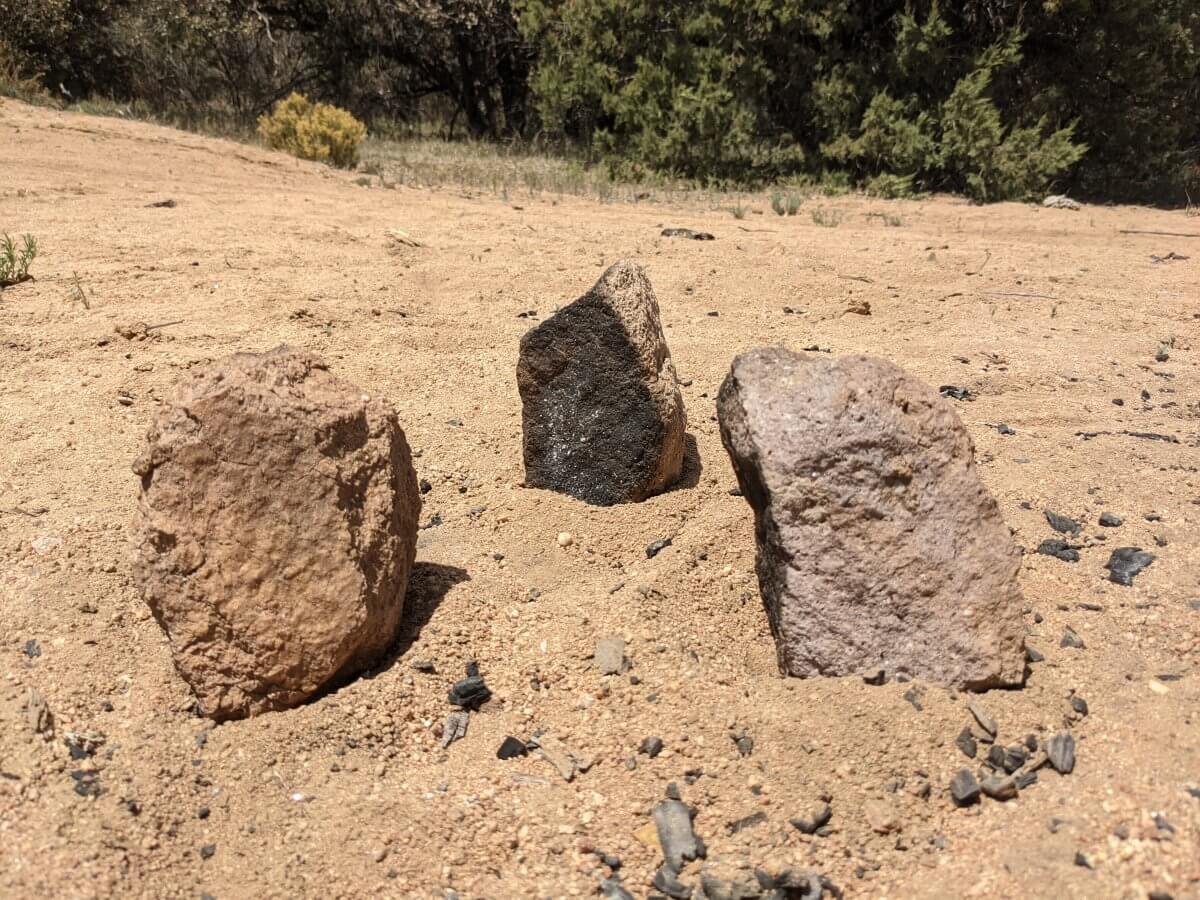
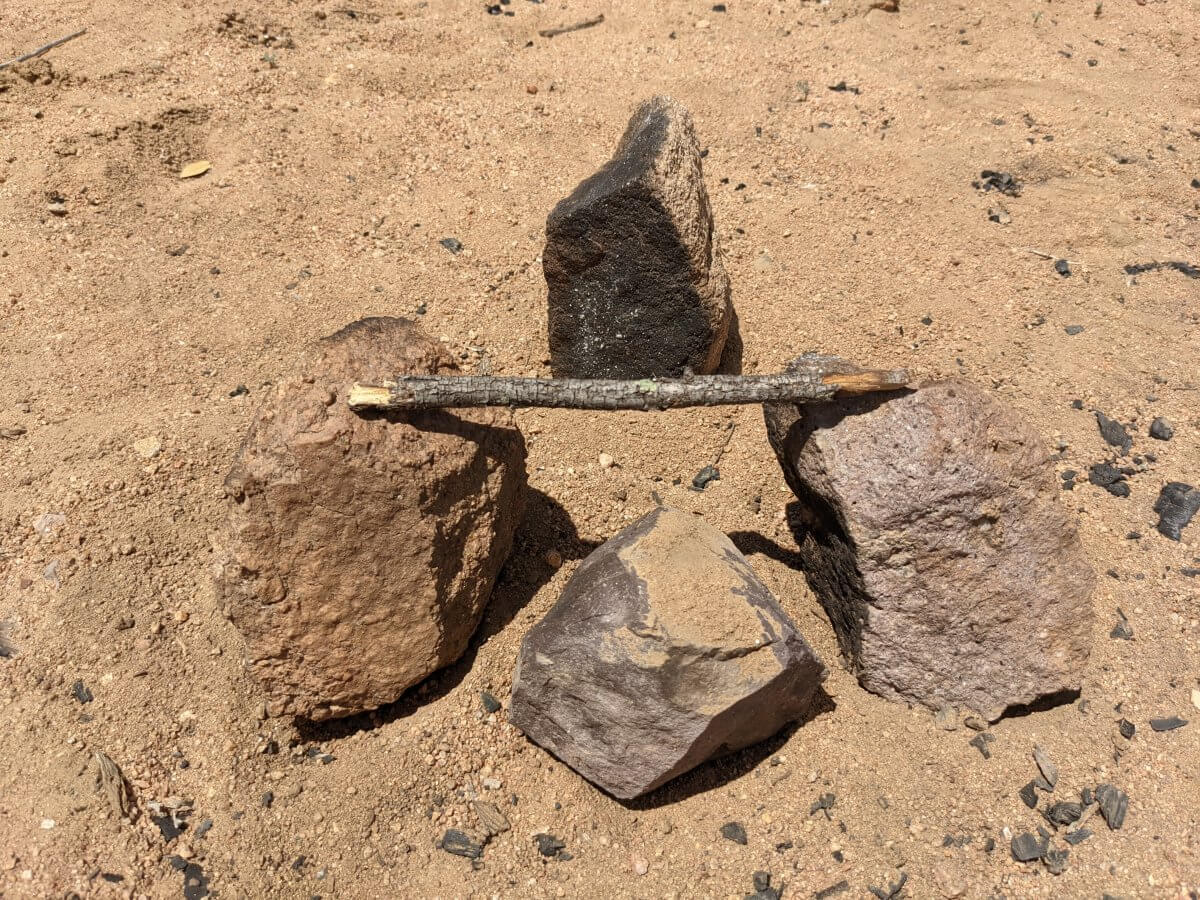
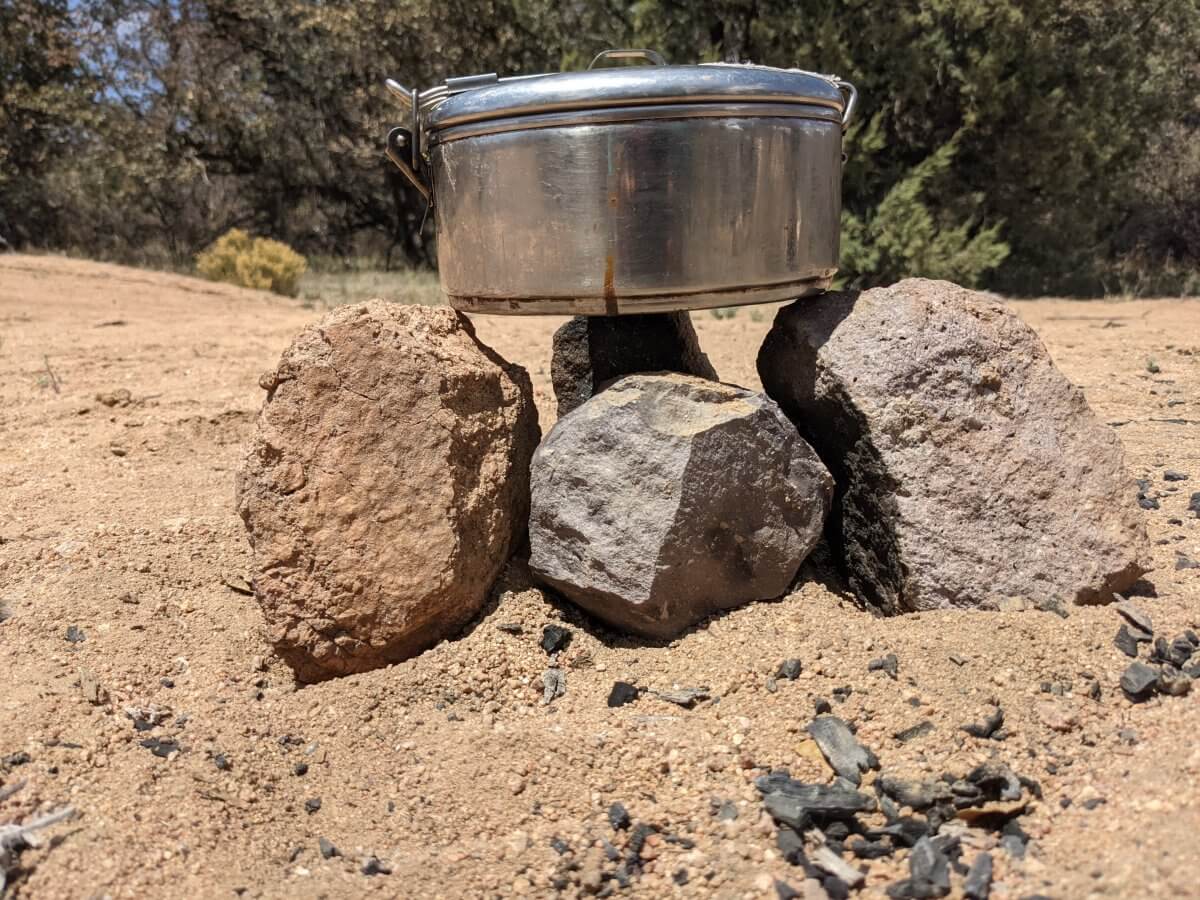
6. Three similarly-sized rocks that stand up to roughly the same height and balance easily. The size of the rocks directly coincides with the size of your pot and the height you would like your mud stove to be. If you want a taller stove, and therefore a larger opening to fit more wood, you want larger rocks. Here’s an example to better explain.
7. Any moderately-sized, rounded object. This is what will be used to hold the shape of the opening for your fuel. The opening also determines the size of your pot, and the size of your rocks.
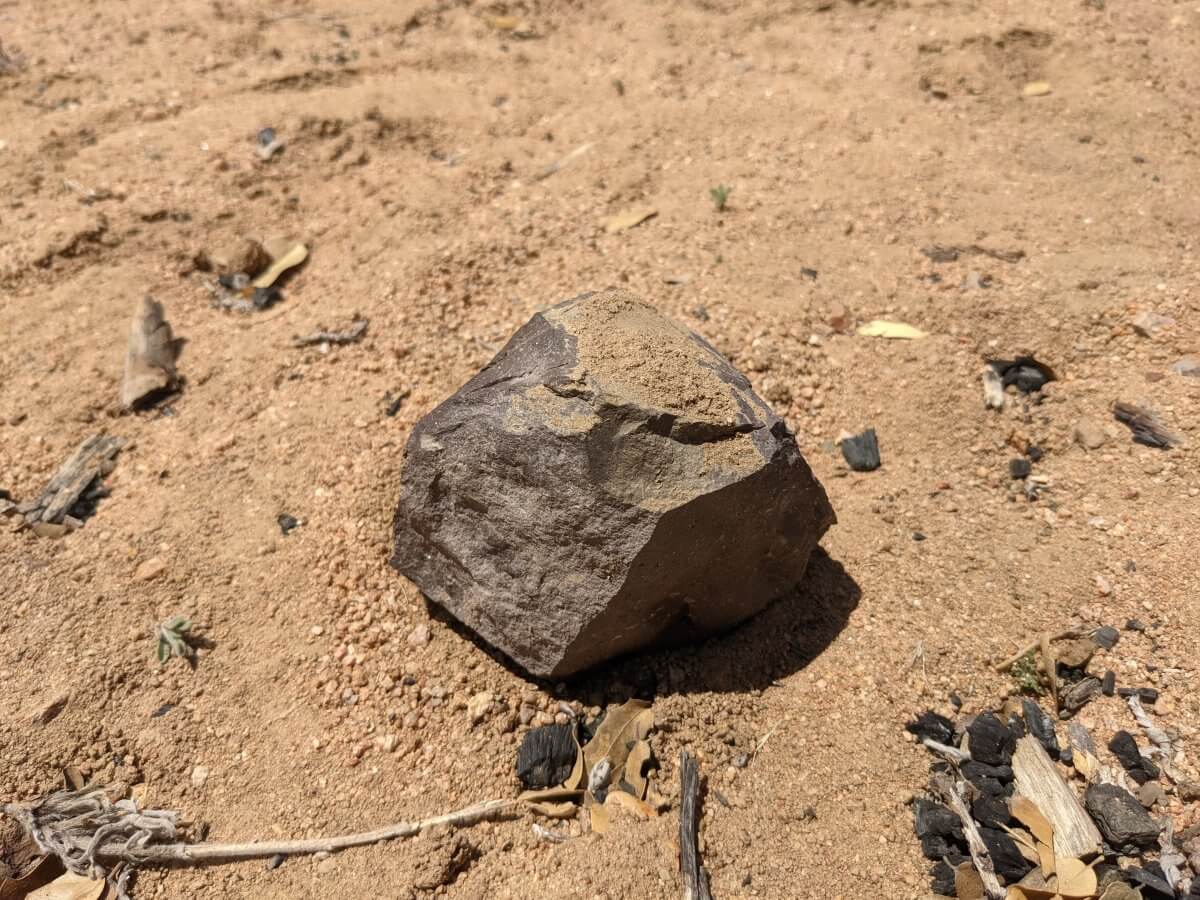
8. A small, straight, sturdy stick that is approximately the width you intend the opening for the fuel entrance to be.
Once You’ve Acquired Your Materials, You May Begin Mixing
A general rule of thumb is to mix 2-parts clay to 1-part dried material. There are no specific measurements needed. If you’re using a shovel, put two shovelfuls of clay and one shovelful of dried material.
When adding the water, there’s (again) no specific amount to add. Here’s the general rule of thumb for adding water: You want enough for your materials to mix and stick together, so that when you grab a fistful of the mixture, it doesn’t crumble apart when you squeeze it, but not so much that when you squeeze the mixture it oozes out of your hand.
It’s next to impossible to thoroughly mix your ingredients with anything other than your hands.
Make Sure You’re Wearing Clothes You’re Okay With Soiling
Hint: Kids are great to involve in this part of the process. It’s like playing with Play-Doh. In fact, a Play-Doh consistency is exactly what you want.

Once You Have Your Mixture, It’s Time to Start Molding
Step 1
Pick where you want your mud stove to be located. Make sure you take into account the direction you’d like the smoke to come out and where you’d like to add your fuel.Where the fuel goes in is the front of the stove. The direction the smoke comes out is the back.
Remember, this is not mobile. Where you make your mud stove is where it will always be.
Step 2
Set your rocks up in a triangle formation with the point of the triangle facing the back of the stove. Then make sure your pot fits and balances well on top of the rocks. You may have to do some adjusting to get this part right. Here’s an example.
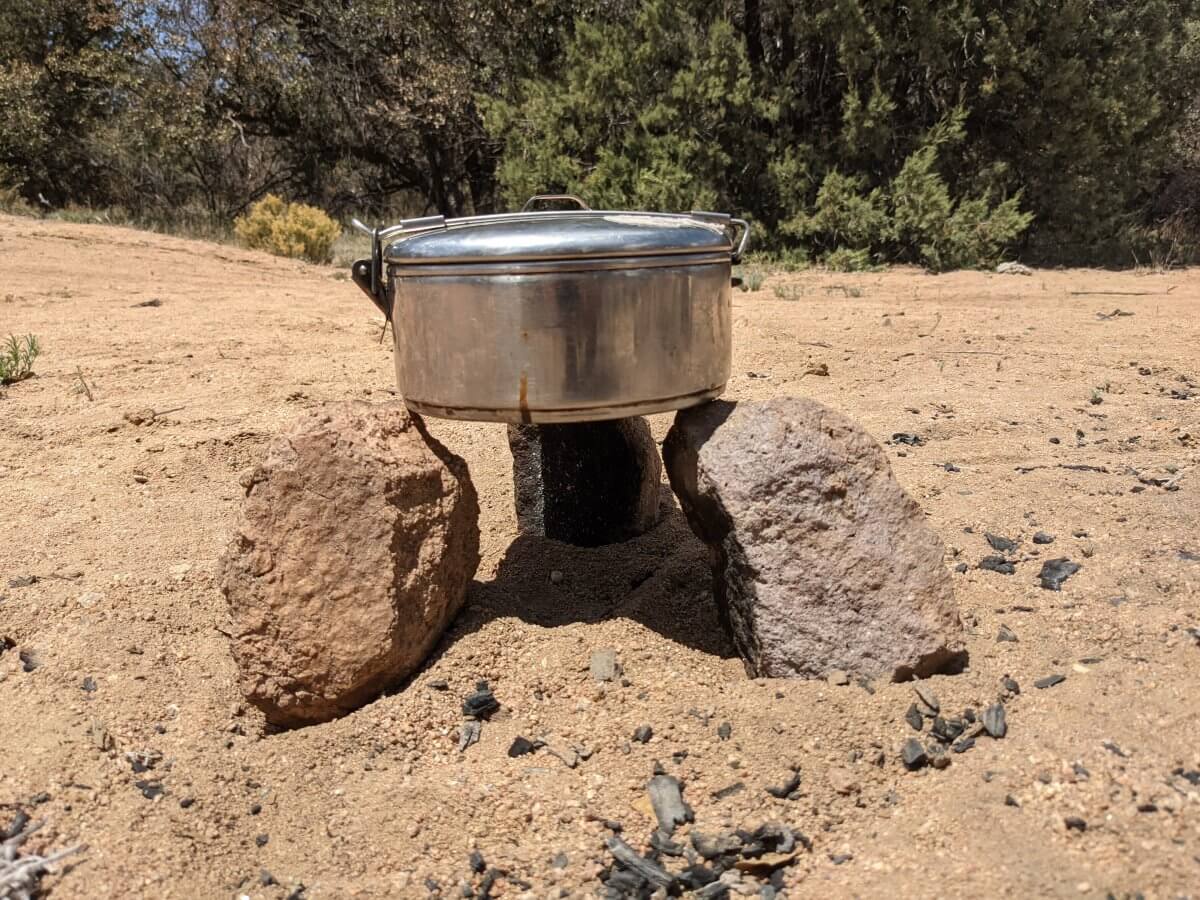
Note: I did not have a cast-iron pot on hand for these photos, but a cast iron pot is essential.
Step 3
Place your rounded object where you want the wood added (this will be the front). Make sure it fits well between the front two rocks, isn’t so tall that it causes the pot to be unbalanced, and is large enough to fit a few pieces of wood.
Step 4
Start applying the mixture. Begin from the ground up, applying the mixture first to the base of the rocks (both on the outside of the rocks, and inside where the fuel will be burning). Ensure the mixture is being applied smoothly and evenly dispersed.
Step 5
Once you get about halfway up the rocks, take your two straight sticks, and place one on the left side between the front left rock and back rock, at about a 45-degree angle facing outward (reference image below). Then do the same thing on the right side with your second stick.
This arrangement serves as ventilation holes for the smoke once the stove is dried and the sticks are removed.
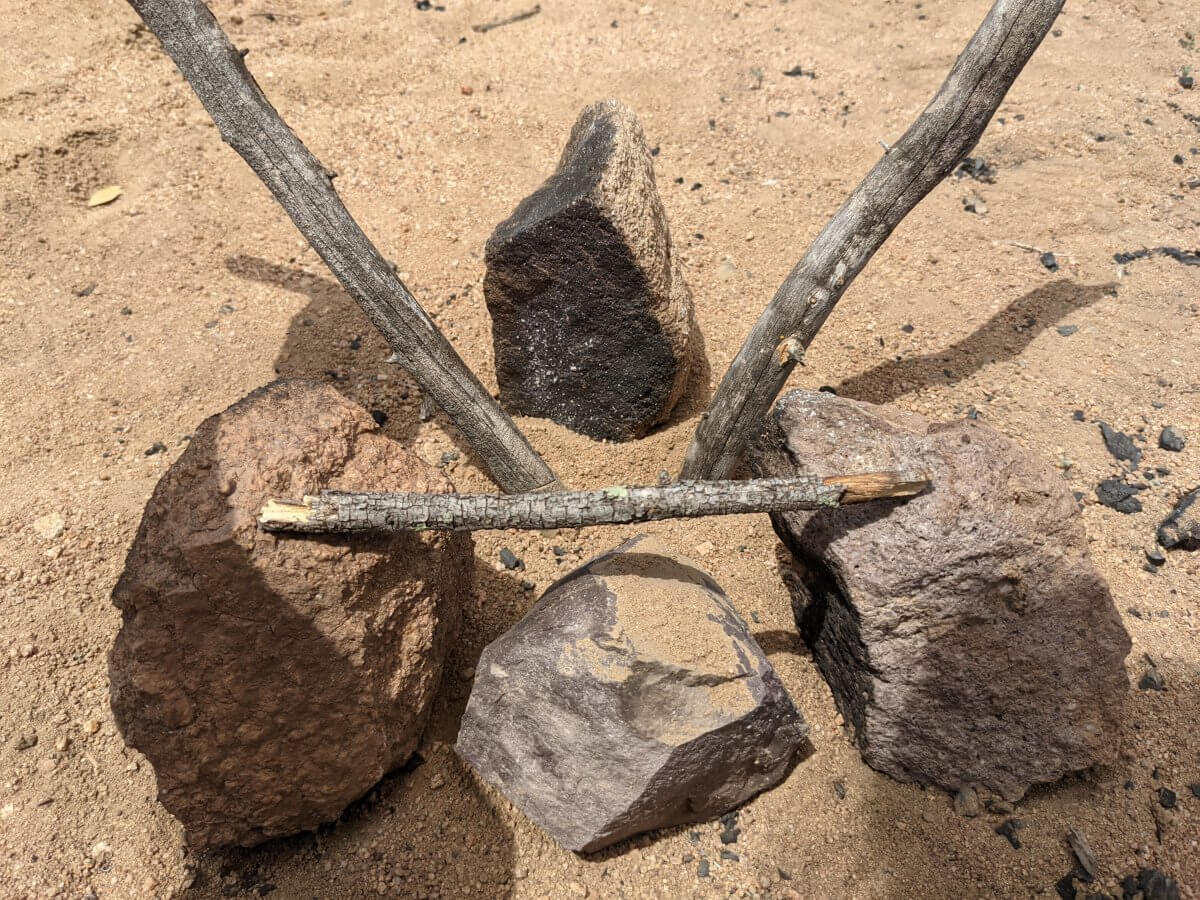
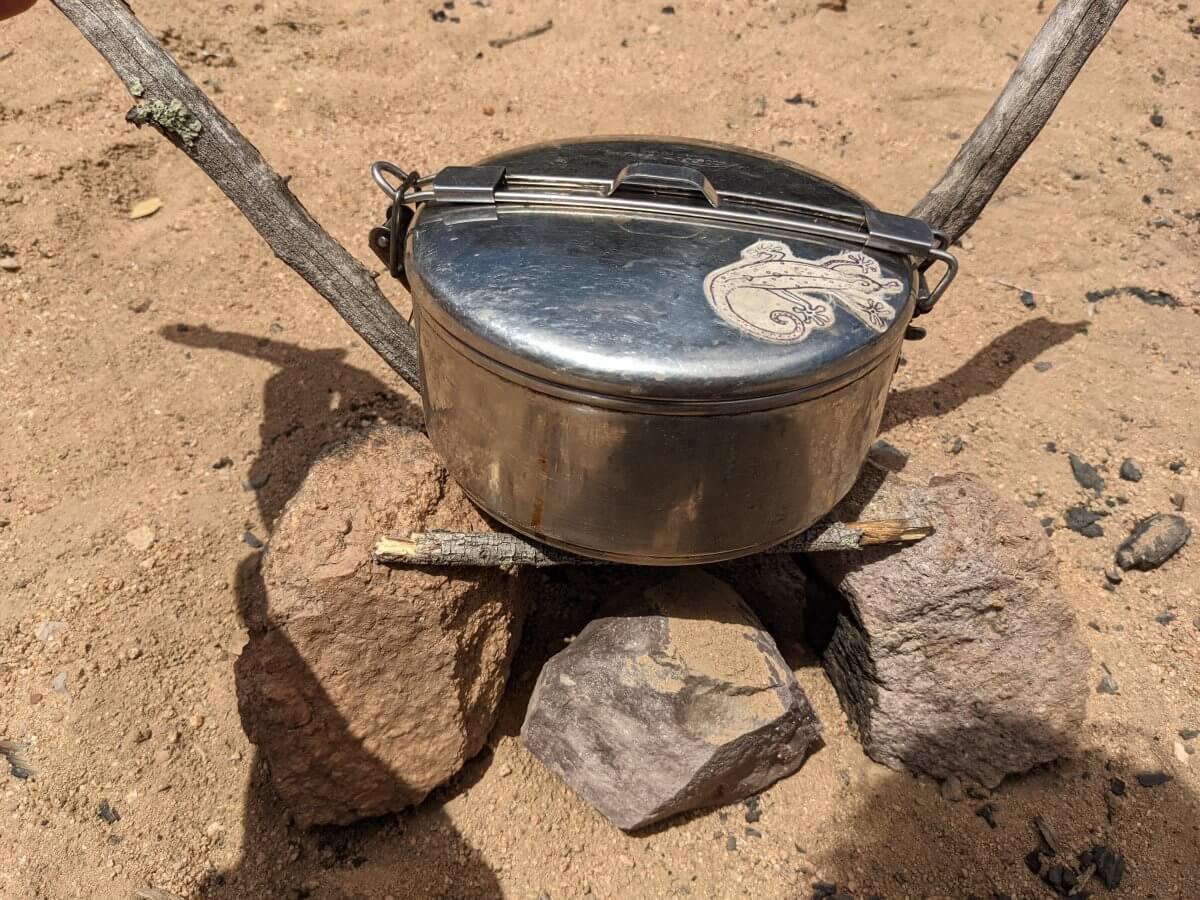
It is important to occasionally rotate the sticks during the drying process so that they do not stick to the mixture.
It is also important to ensure the sticks are smooth (at least from the bottom up) so when you remove them after the stove is dry, they do not get stuck or crack the stove.
Step 6
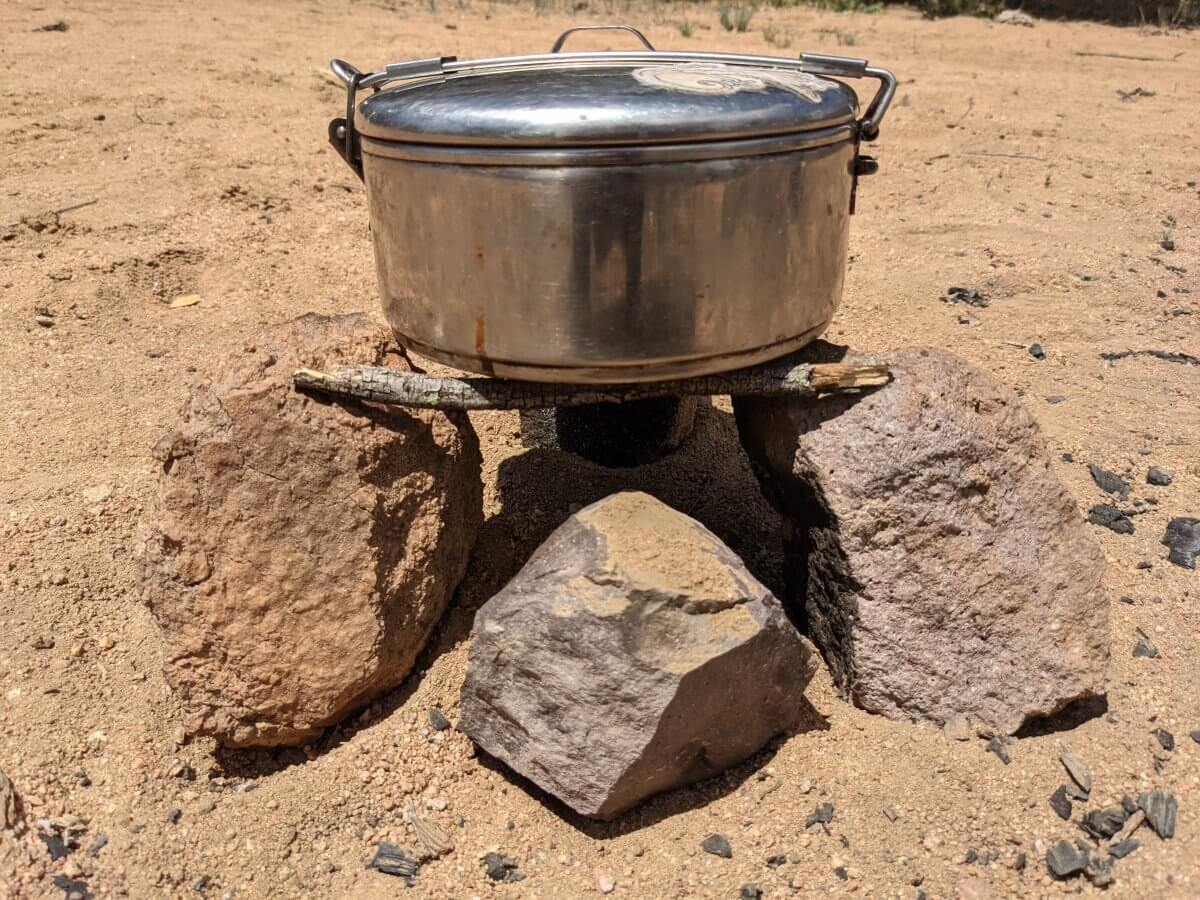
Keep applying the mixture over the newly placed sticks and up, until you get to the top of the rocks. At this stage, place your small straight stick over the fuel entrance, and balance it between the two front rocks. It helps to push it into the mixture to allow it to stick better.
Step 7
Apply the mixture over the small entrance stick until it is completely covered. Make sure at this stage, the clay is the same height all the way around the stove. The entrance stick serves as extra stabilization for the stove.
The area above the entrance is the most fragile and easily broken part of the stove because once the entrance object is removed, this section has nothing else to support it. That is why it’s important to make sure the stick you choose is moderately strong.
Step 8
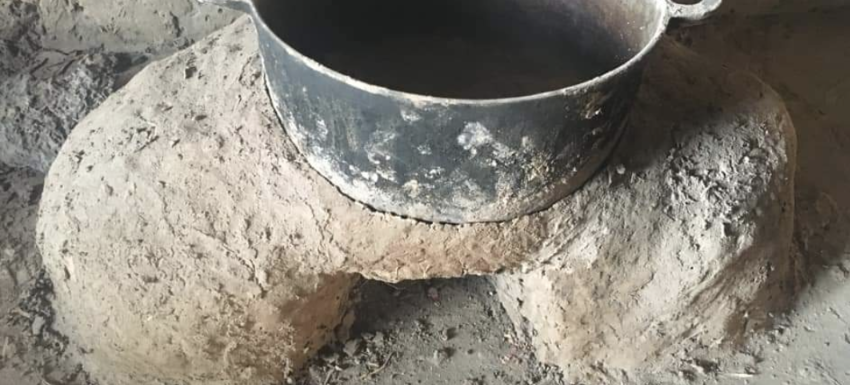
Once you’re sure the clay is evenly dispersed around the top, the rocks have been completely covered, and the fuel entrance well outlined, place your pot on top of the rocks the way you’d like it to sit. Begin modeling the clay around the pot to create a small lip. This insulates the fuel chamber and ensures the pot fits well into the stove.
Step 9
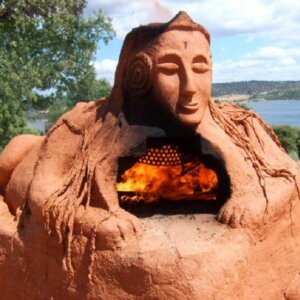
At this stage, it is optional to add a little bling to your mud stove. You may press decorative rocks or small tiles on the sides of your mud stove. I’ve seen people imprint leaf impressions on the sides and paint the stove after it is finished drying. Up to you!
Step 10
Allow mixture to dry for approximately one week. During this time frame, occasionally rotate the smoke ventilation sticks as well as the pot and the object you have used to secure the fuel entrance. Doing this helps these items not to stick to the mold, and makes them easily removable once the mixture dries.
Note: It is extremely important to allow the mud stove to completely dry before using it. Premature usage can cause cracking.
Step 11
Remove the smoke ventilation sticks and the item used to secure the entrance. That’s it. You can start cooking.





















Hey Liz,
This is Shelby Perry! I was in your stage in Peace Corps, we left from the same airport in GA! I am back in Senegal working with a grant with Erik! I was going to make a mud stove for the family I am staying with. I looked online for a refresher on the construction project. You did a great job explaining and I am going to enjoy making this stove today! What a coincidence you wrote the article haha! Peace Only, Shelby