There are few garden plants I know that require as little upkeep as garlic, yet require as much time as garlic. If you’ve grown this wonderfully spicy, flavorful bulb in your garden, you are well acquainted with the near-year wait time till you’re finally at the point of harvesting garlic. You also know that the result is well worth the wait!
After all the months of waiting for those single cloves to transform into giant bulbs, the act of carefully harvesting garlic from the soil starts to feel like a treasure hunt — but it’s not ancient gold you’re seeking, but delicious, healthy food (and perhaps, a better reward).
It’s hard to not smile when you finally free the clove-laden goodness and heft it skyward in victory. It’s okay to chortle and crow in glee. If your neighbors judge, that’s on them. To aid you along your allium adventure, here are some tips and hints for pulling up an epic harvest, as well as ideas for how to make your garlic last all winter long.
How to Know When Garlic Is Ready to Harvest
This is a complicated question because the rather pedantic answer is that garlic is always ready to harvest. When you plant a garlic clove, you’re planting a perfectly edible piece of garlic.
When that bulb sends up those glossy, v-shaped leaves, it’s sending up deliciously tasty greens. When the new bulb just begins to form and has yet to separate into new cloves, that single sphere of young garlic is a delicacy.
And when the serpentine curl of a scape suddenly springs from the embrace of those giant, edible leaves, it’s an early summer delight. Finally (when it’s time to dig bulbs), they are, of course, as edible as they’ve always been.
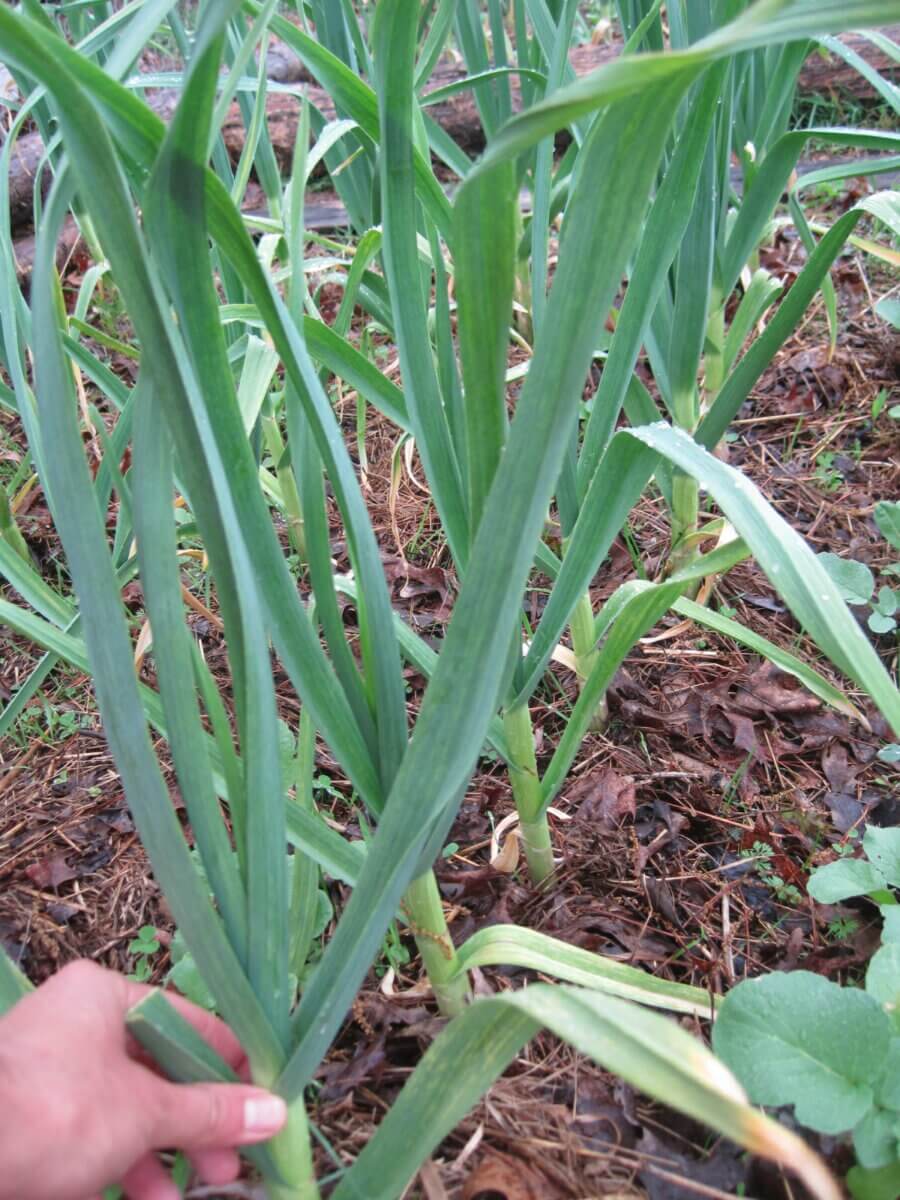
So let’s get more specific. When is a garlic bulb mature and ready to harvest for storage? For that, you’ll have to patiently watch the leaves closest to the ground — the outermost leaves, that is. Once garlic nears maturity, the leaves start to turn yellow and then a dry brown, starting with the first leaves it grew. This color change is your tip-off the garlic is “done” for the year.
For the best storage quality, you’ll want plants that are fully mature, and just that. Too young, and the cloves won’t separate well, won’t store well, and cannot be planted as next year’s seed. Too old, and you run the risk of having some cloves rot, or having the cloves separate from each other or burst from their protective sheaths — again, bad news for long-term storage. Generally, garlic leaves that are totally browned and fallen over tell you the bulbs are too far gone for good storage.
Related Post: Growing Garlic
Jere Gettle of Baker Creek advises that it’s time to dig garlic once the first four leaves at the base of the plant have gone brown, and I can confirm that I’ve had great success following those directions. In my zone 6 garden, every garlic harvested at that point is at the right stage. Of course, your garden may be slightly different.
To be sure the garlic is ripe enough before you harvest the whole plot, dig up a few experimental bulbs. Choose thick-stemmed, good-looking plants. If they seem to be mature with a good size, defined cloves, and firm, tight wrappers, then go ahead and begin the digging.
Harvesting Garlic
When you see that your plants are nearing brown-leaved maturity, stop watering them and allow the soil to dry. This step will make the curing process faster. Then, choose to dig your garlic on a dry, sunny day if you can.
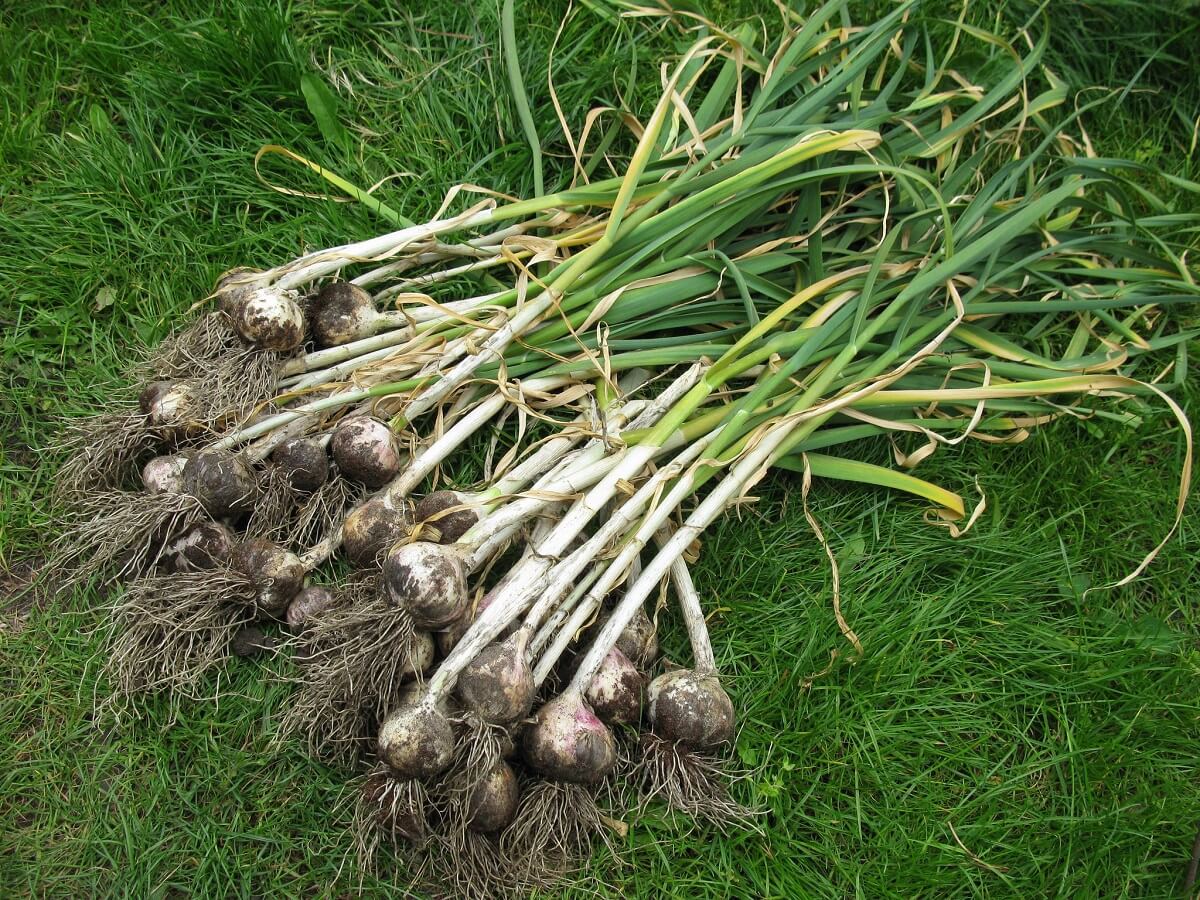
Though garlic is a sturdy plant, growing in the cold temperatures, resisting most if not all the pests in your garden, and packing a pungent aroma, it’s surprisingly delicate to harvest. If a clove is nicked, cut, or bruised during the harvesting process, it won’t keep. So when you’ve decided it’s time for the harvest, dig carefully.
And I did say DIG, not pull. Pulling the tops to free the cloves could result in the top breaking suddenly, flinging you backward on your butt, and leaving the bulb still in the ground where you have to dig it out anyway (minus the handy handle and with slight damage that means it won’t store well). Not that I’m speaking from experience or anything. Nope.
Related Post: Foraging for Field Garlic
Harvesting Garlic in Softer Soils
Depending on how moist the soil is, this task may be easy or somewhat difficult. If the soil is reasonably soft, you can use your hands to gently push away the dirt all around the bulb, get your fingers underneath it, and pull it free.
You may even be able to use a garden fork to move the soil and pry-pull the bulb from beneath, but be careful and don’t yank indiscriminately. I find hands are better overall to keep cloves from being damaged.
Harvesting Garlic in Dry, Hard Soils
Now if the soil is very dry and hard like some early summers can be, you’ll get to let your inner archaeologist out and carefully chip away at the soil until you can get your hands around the bulb and pull it. Take your time. You waited for this moment.
Now, shake off any excess soil, but don’t worry about getting the bulbs dirt-free and pretty, yet. Simply arrange the garlic, leaves, roots, dirt, and all, in a single layer in the shade for the afternoon. Once the surface has dried enough that the dirt has lightened, it’s time to get the garlic ready to cure.
If there are any damaged bulbs during the harvest, they’re not a loss even if they can’t be stored. They’re dinner! You can eat garlic immediately after harvest without curing. The curing process is what makes garlic last in storage, but it doesn’t affect or enable edibility.
Curing Garlic for Storage
For those new to it, “curing” any harvest can seem like an intimidating term describing some sort of mystical process. But all it means is that you’re allowing the harvested plant to fully dry before storing it. In the case of garlic, curing will tighten up all those wonderful papery wrappers that clothe each bulb, naturally sealing them in a state of relative stasis until it’s time for them to be either eaten or planted in the fall.
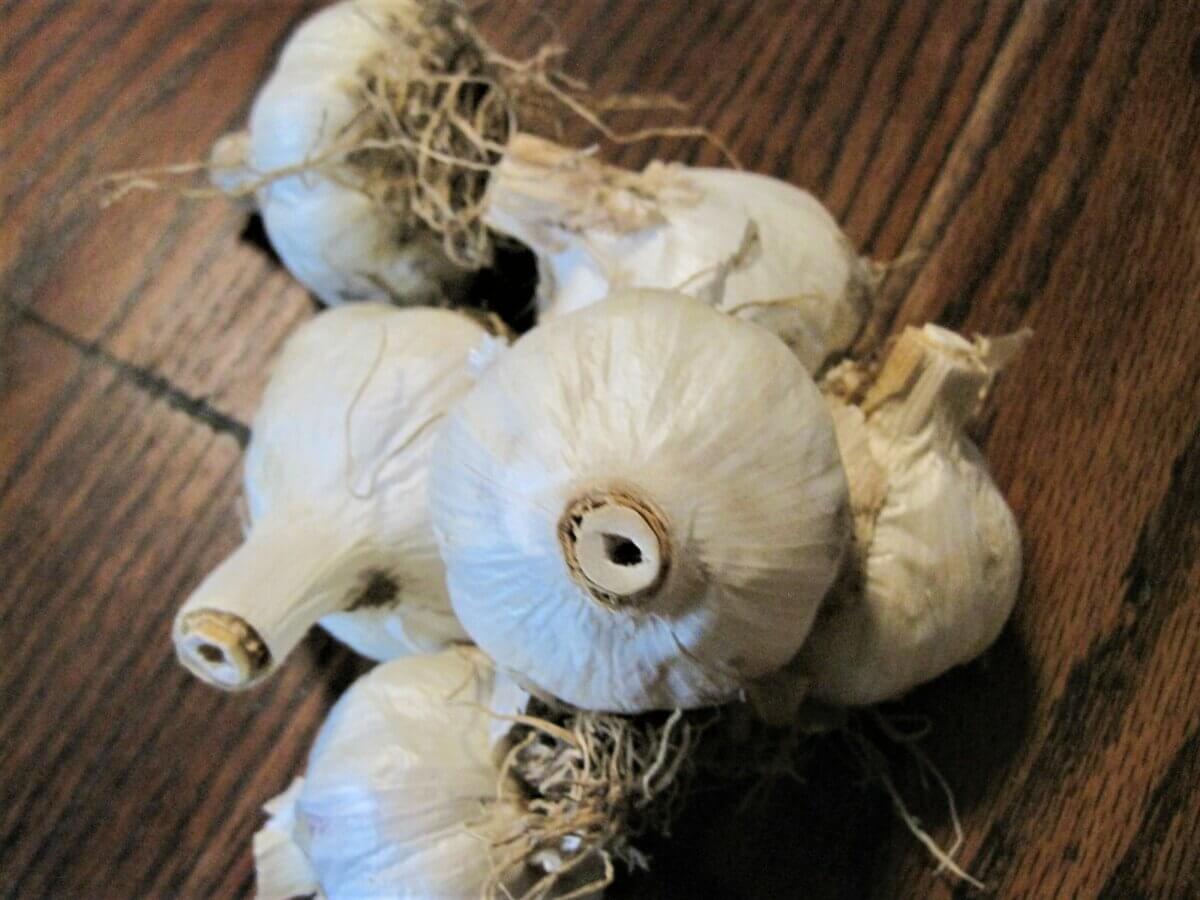
Garlic needs to be cured out of the sun; spread in a single layer on a wire rack or pan. A good place to cure garlic is sheltered, relatively draft-free, and dry. A wire shelf in the garage, sheet pans in a covered porch, or a nice, dry space in a shed are great places to cure garlic. Just don’t forget about it. Depending on the size of your harvest, the curing process may take up quite a bit of space. Remember, you’re drying the whole plant, leaves and all, not only the bulbs.
Related Post: How to Store Garlic
The curing process may take anywhere from 3 to 7 days, depending on the weather. Once the garlic is nice and dry with leaves and wrappings that feel like paper, it’s now time to clean and get it ready to bundle it for storage.
This process does make a bit of a mess, so plan accordingly. I find the process of turning dirty, shaggy-looking lumps into beautifully smooth, paper-white bulbs to be quite satisfying.
How to Clean Garlic
- If you’re not going to be braiding your garlic, trim the tops off the bulb with pruners, and leave about an inch of stem so you don’t accidentally nick a clove.
- Trim the majority of the roots with the pruners, too.
- Then rub the dry, dusty outer layers of wrappers with your hands until you have an unblemished, smooth layer of tight, clean paper.
- If you’re going to braid garlic, you can still clean off the dusty outer layers — just keep the long, dry leaves attached.
How to Store Garlic
The ideal location for storing cured garlic is an area that is around 32 to 40 degrees Fahrenheit and around 50 to 60% humidity. Too dry, and the cloves may shrivel. Too wet, and they run the risk of rotting. Too cold and damp, and they may sprout. These limits are why the refrigerator is a bad place to store garlic.
Which basically means, any cool, unheated area of your home may be the perfect place. That cool stairway leading to the basement? The unheated guest room? The screened-in back porch? You may have to experiment to find the ideal storage spot, but at least now you know it’s not next to the woodstove or in the root cellar proper.
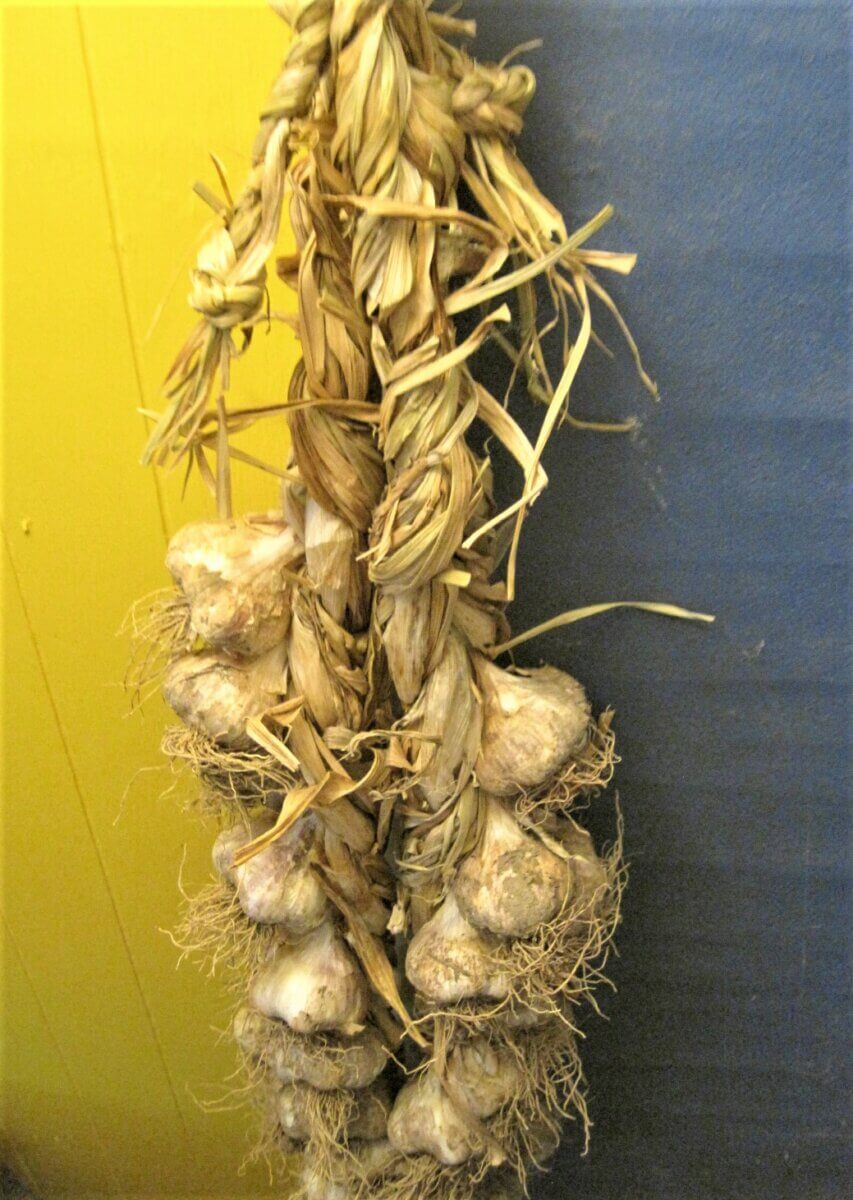
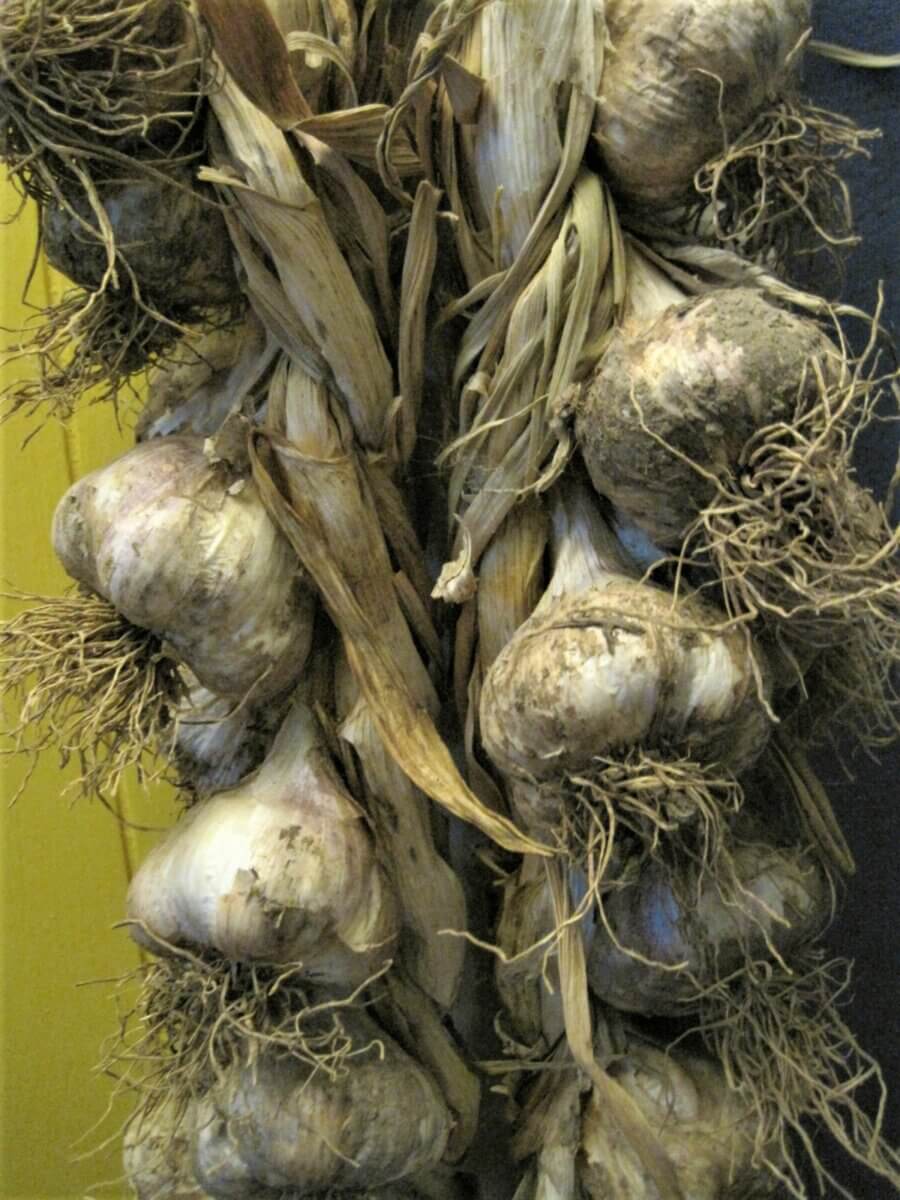
Cured garlic can be stored in paper bags, mesh hanging bags, or braided. I delight in the sight of a beautifully braided strand of garlic hung up for winter use If you’re handy and crafty, you can probably figure out how to braid garlic on your own, but if you need to see the process to get your hands around the idea, check out this lovely video. Or check here for another way to “braid” hardneck garlic.
Stored well, hardneck garlic can last up to around six months. Softneck garlic will last even longer, usually around nine months if stored in cool enough conditions — and if you don’t eat it all before then …
Preservation Methods
Since fresh garlic can last a long time if stored well, it seems obvious to me that the best way to store garlic is to cure it and hang it. That said, there are other methods for preservation available to those interested.
You can freeze peeled garlic straight if you wish, or mince it finely and freeze it in a block. Then, when you want garlic, simply grate off the desired amount. Mashing up an oil-rich pesto to freeze will make garlicky goodness as easy to access as a trip to the freezer.
Dehydrating unbruised cloves is also an option, particularly if you want to make some flavorful garlic salt.
Pickled garlic could make a tasty nibble on a cheese tray!
Of all the ways to process garlic for long-term storage, two that I don’t recommend are canning or storing in oil. Garlic is so low-acid that it doesn’t can well (and canned garlic sounds less appealing than fresh). Also, garlic stored in oil at room temperature is apparently a perfect breeding ground for botulism, and that’s something nobody wants at the dinner table. That’s not to say that garlic oil isn’t delicious. Simply make garlicky oil fresh whenever you want it on bread or pasta, keep it refrigerated, and use it within a week. No botulism to worry about.
Now however you decide to put up your garlic, make sure you plant enough to set aside the best cloves for next season’s planting. In garlic’s case, that’s relatively soon after the harvest. As I start to cook with our homegrown garlic harvest through the summer, I reserve all the biggest and best cloves for the fall. Come October, they’ll be hustled back out to the garden, carefully planted and mulched, and the process of harvesting garlic will begin all over again.
Resources
- Root Cellaring, Mike and Nancy Bubel
- The Heirloom Life Gardener, Jere and Emilee Gettle




















Leave a Reply