Wind chimes: They’re soothing, relaxing, and add a beautiful, decorative addition to your garden or backyard.
Wind chimes come in basically any color, material, size, and price tag, and nowadays, you can find some pretty artistic options on Etsy and at other retailers.
But if you’re the do-it-yourself type that wants the ultimate satisfaction of crafting your own decorative garden pieces, DIY wind chimes are definitely something worth considering.
Whether you’re looking for a subtle, decorative wind chime or something larger, we’ve found some of the best DIY wind chimes to add relaxing, soothing sounds to your outdoor area.
DIY Copper Wind Chimes
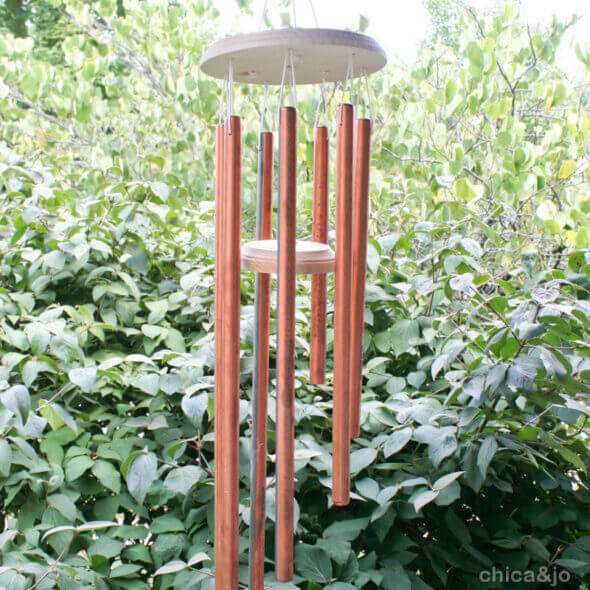
The first project on this list is a fairly traditional-style DIY wind chime that features a simple wood base and large copper pipes — both of which can be found at your local hardware store.
The windcatcher was added to create more sound, but if you like a subtler wind chime, or you live in a windy area, you may not need to add that piece.
Nature Suncatcher DIY Wind Chimes
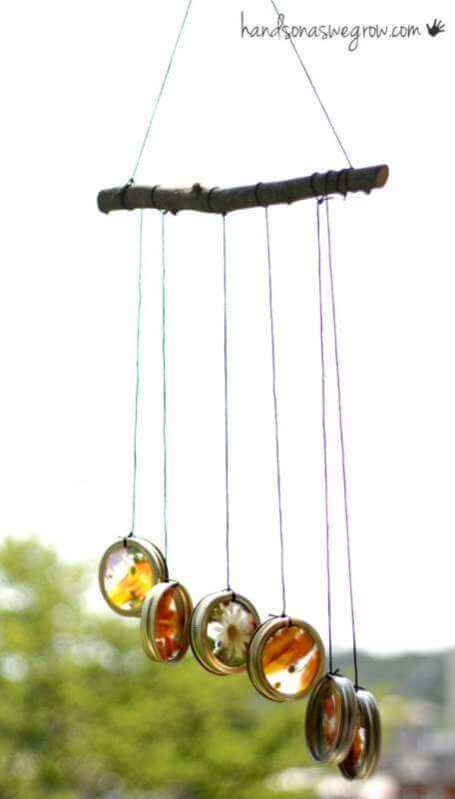
Here’s a hands-on DIY wind chime project that your kids will love. The project features simple supplies like contact paper, string, mason jar lid rings, and a branch.
Work with your kids to pick out their favorite flowers to include in the project, and teach them about the plants as you go.
DIY Agate Wind Chime
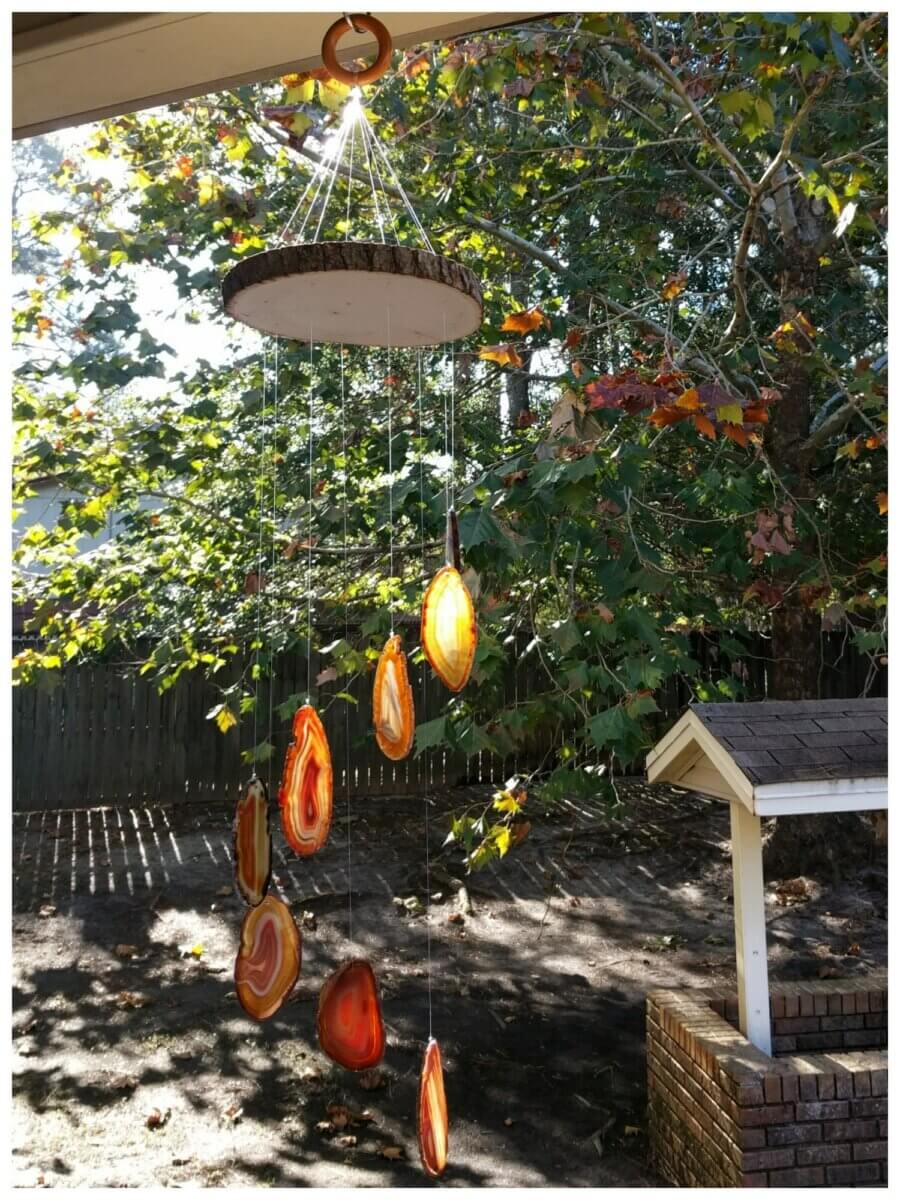
When the sun hits these DIY wind chimes, they become absolutely mesmerizing to watch. Utilize your favorite agate slices to make it truly one of a kind.
Related Post: Wind Chimes
These wind chimes create a subtle, peaceful sound, making them a great option for suburbs or apartment complexes. The wood slice adds a rustic feel to the piece.
Sea Glass DIY Wind Chimes
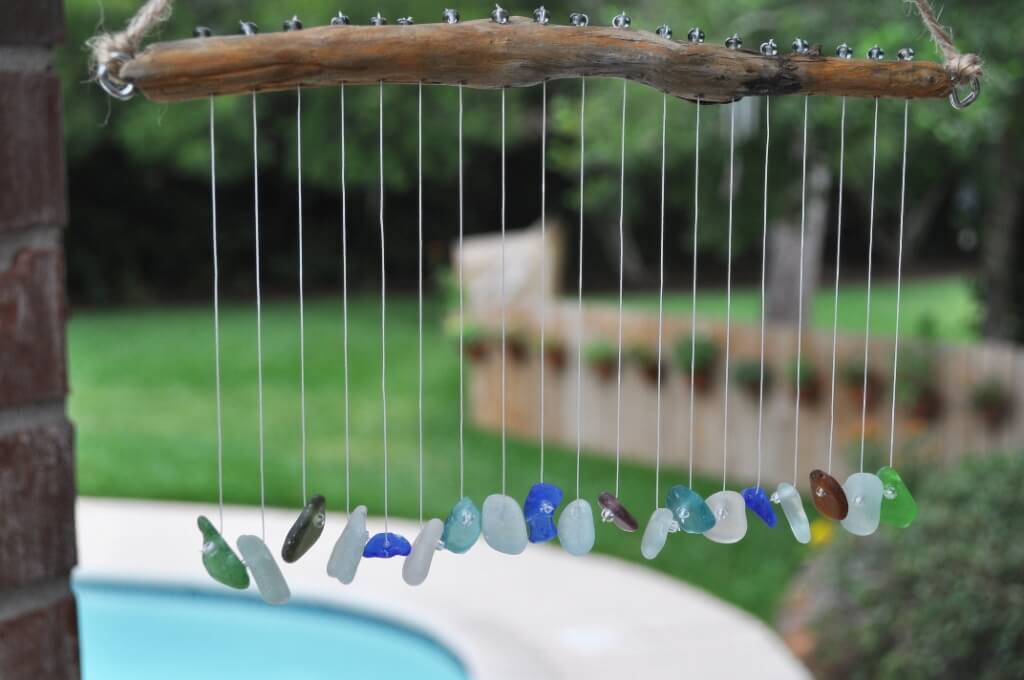
If you’re able to collect sea glass (legally and sustainably) in your area, consider transforming it into this beautiful set of DIY wind chimes. Mix colors and sizes and pair them with a driftwood base to tie the sea theme together.
DIY Canning Lid Wind Chime
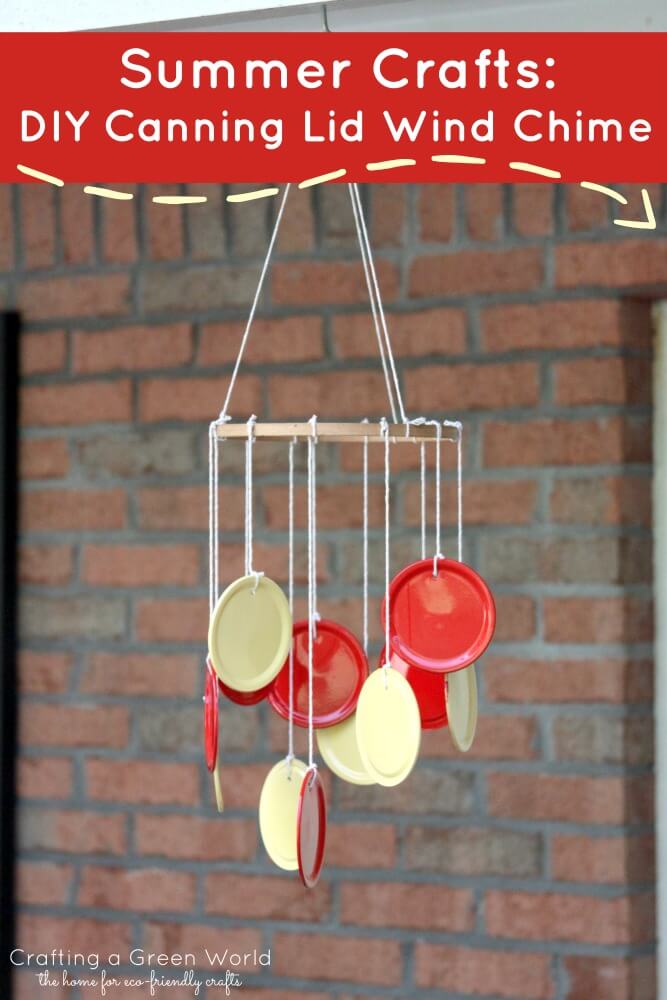
And if after the project above you find yourself with a lot of lids and no rings, try out this project for DIY wind chimes. Paint the lids, glue decorations to them, draw on them … the options are endless for how you want to decorate your chimes.
You’ll only need six simple supplies for this project, and it’s a great way to upcycle mason jar lids that are dented or otherwise compromised for canning purposes.
Upcycled Aluminum Can and Silverware Wind Chime
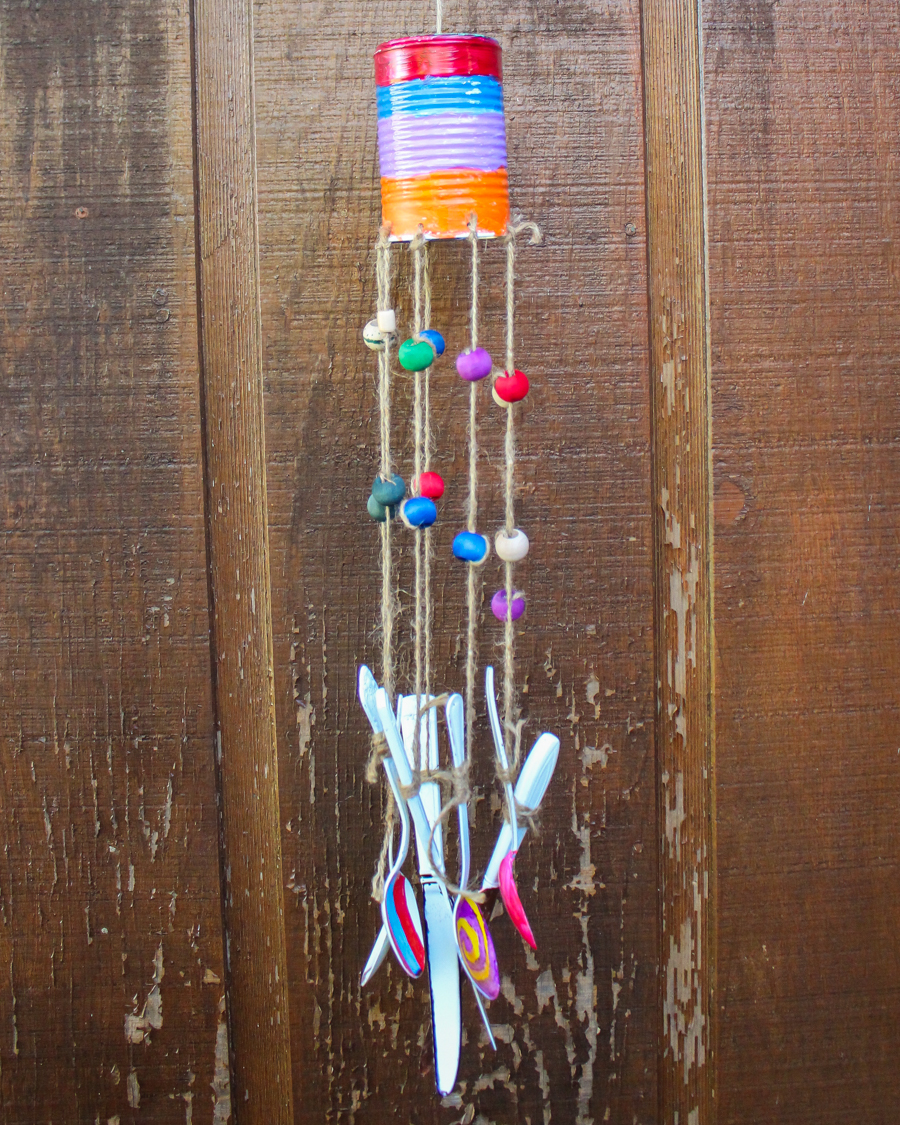
Here’s another project for upcycling items in your home that have served their purpose and could otherwise end up in a landfill! Made out of an aluminum can and old silverware, this set of DIY wind chimes can be decorated to your liking to match your house or other garden decorations.
If you don’t have old silverware, you can use anything from keys and metal lids to bottle caps and stashed beads. Just remember the sound of your wind chimes will depend on what objects you choose.
DIY Moon Phase Wind Chime
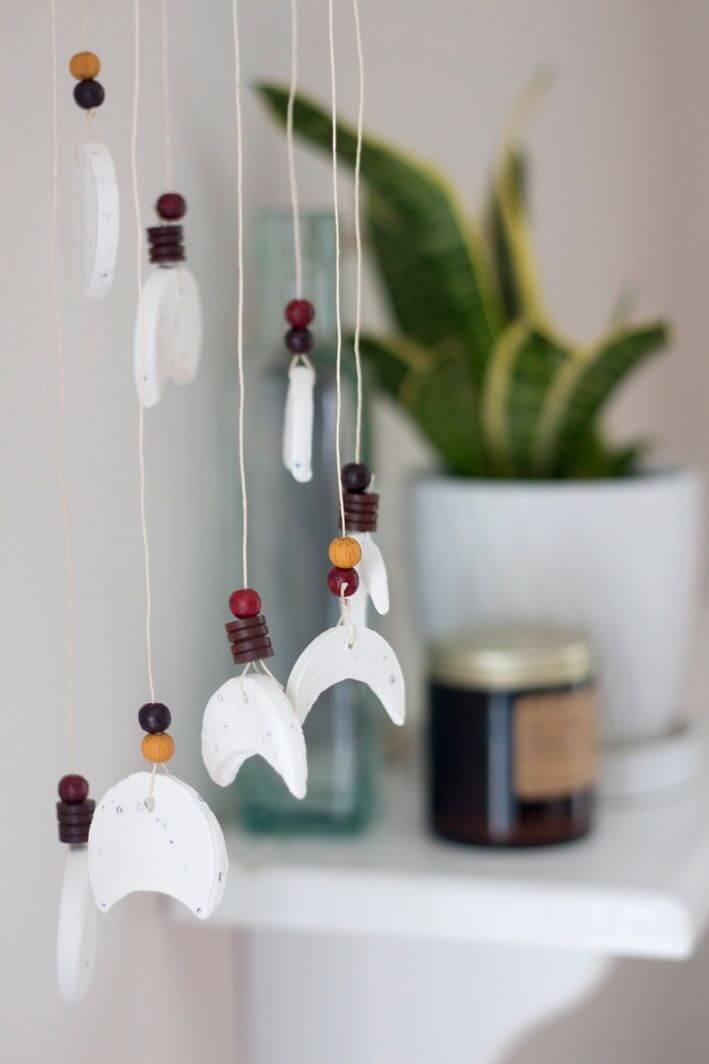
Crafted out of beads and clay, these moon phase wind chimes aren’t particularly noisy, but they’re a beautiful complement to your home’s interior. Choose whatever color you want for the moon phases, and mix and match your bead colors for a unique look.
Indoor Paper Wind Chimes
Though these “wind chimes” won’t make any noise, they are absolutely adorable and would look beautiful in a kid’s bedroom or nursery. This project involves some hands-on skills like cutting and gluing, making it a fun project to do with family.
DIY Beaded Wind Chimes

If you’re looking for DIY wind chimes that aren’t particularly noisy, but look pretty, check out this beaded option. You’ll need a whole mess of assorted beads along with a piece of driftwood, beading thread, a drill, and bells.
Arrange the beads with like colors as shown in this project, or mix and match your colors. You’ll be surprised at how soothing it is to arrange them.
Bamboo DIY Wind Chimes
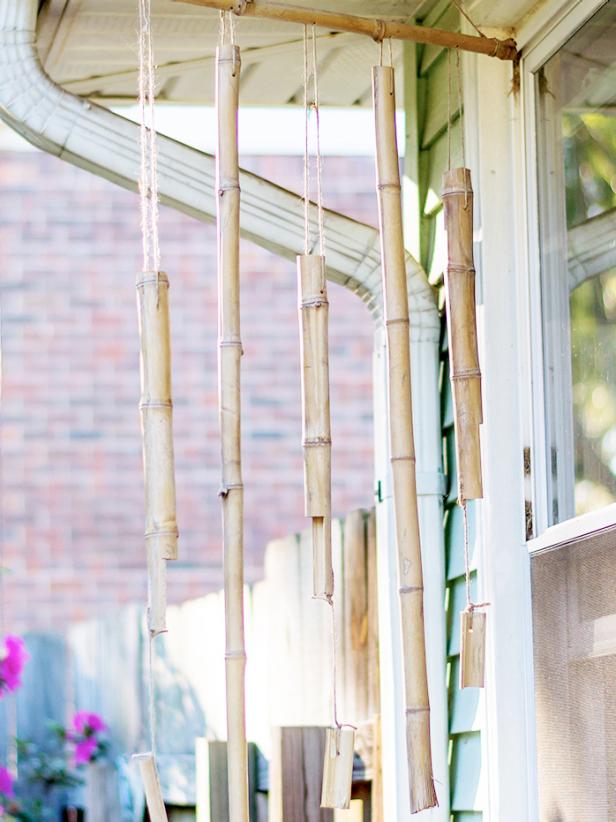
If you have an unruly patch of bamboo in your garden and no idea what to do with it, consider cutting, drying, seasoning, and transforming it into a peaceful set of DIY wind chimes.
Related Post: How to Grow Bamboo
Along with the bamboo canes, you’ll need a drill and some twine to string them. This project results in a subtle, yet pleasant sound that will provide some serious zen to your backyard space.
DIY Handmade Clay Wind Chimes
Maybe crafting with clay is more your speed. These wind chimes are simple and elegant and would look good in your kitchen window. This project only calls for four simple supplies and creates a set of bell-shaped wind chimes that could be hung from driftwood for a natural feel.
Macrame DIY Wind Chimes
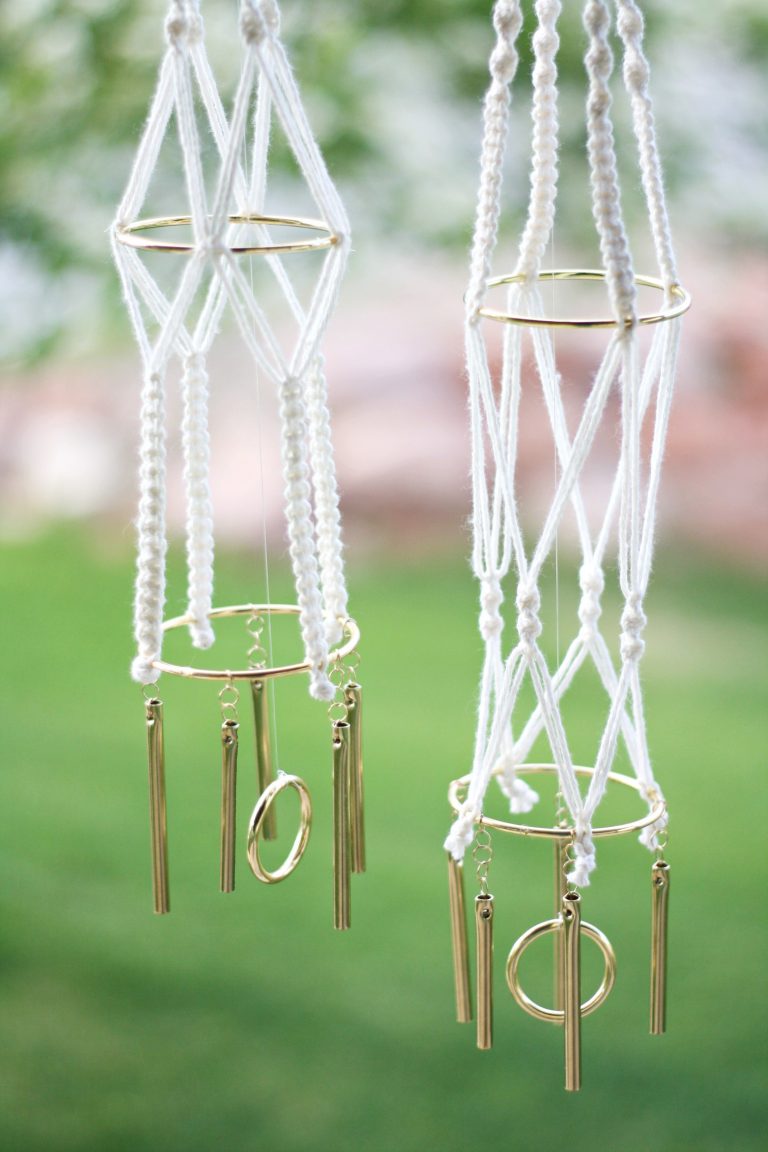
For those that live in an apartment building where you don’t want to irritate your neighbors with louder wind chimes, consider crafting these petite macrame-style chimes.
It’s a relaxing, laid back project that’s perfect for decompressing after a long week of work. And it results in a beautiful wind chime, too.
Seashell Wind Chimes
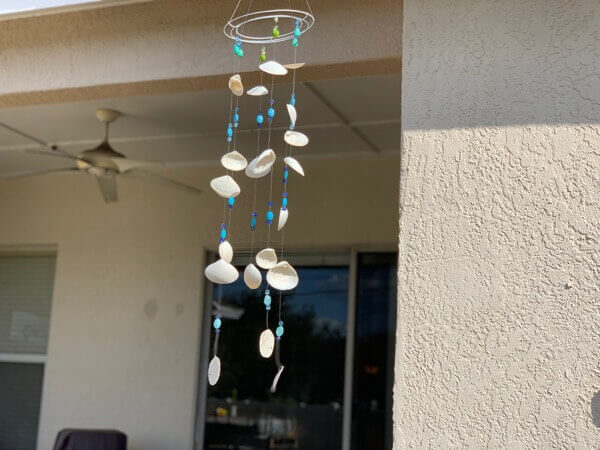
Whether you live near the sea, or only dream of it, these seashell DIY wind chimes are reminiscent of time spent at the beach. The seashells are paired with blue glass beads that really pop in the sun, and match the beach theme perfectly.
Colander and Spoon Planter Wind Chime

This set of DIY wind chimes has it all. It’s upcycled, colorful, and even doubles as a hanging planter for your favorite seasonal flowers. Paint the colander whatever color you prefer, and either leave the spoons “as is” or match them.
Recycled Can DIY Wind Chimes
If you have some tin cans lying around, save and upcycle them into these spinning wind chimes. Paint them your favorite color or leave their original design. It’s a totally affordable project that kids will love.
1-Hour DIY Wind Chimes
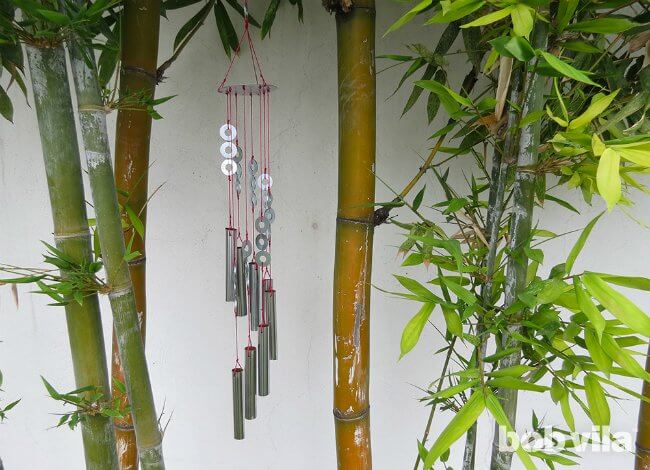
Made out of a few simple supplies that you can find at the hardware store, these wind chimes are understated but beautiful. Here, the pipes and washers are left unfinished, but you could certainly paint or decorate them to match your home’s outdoor decor.
Modern DIY Wind Chimes
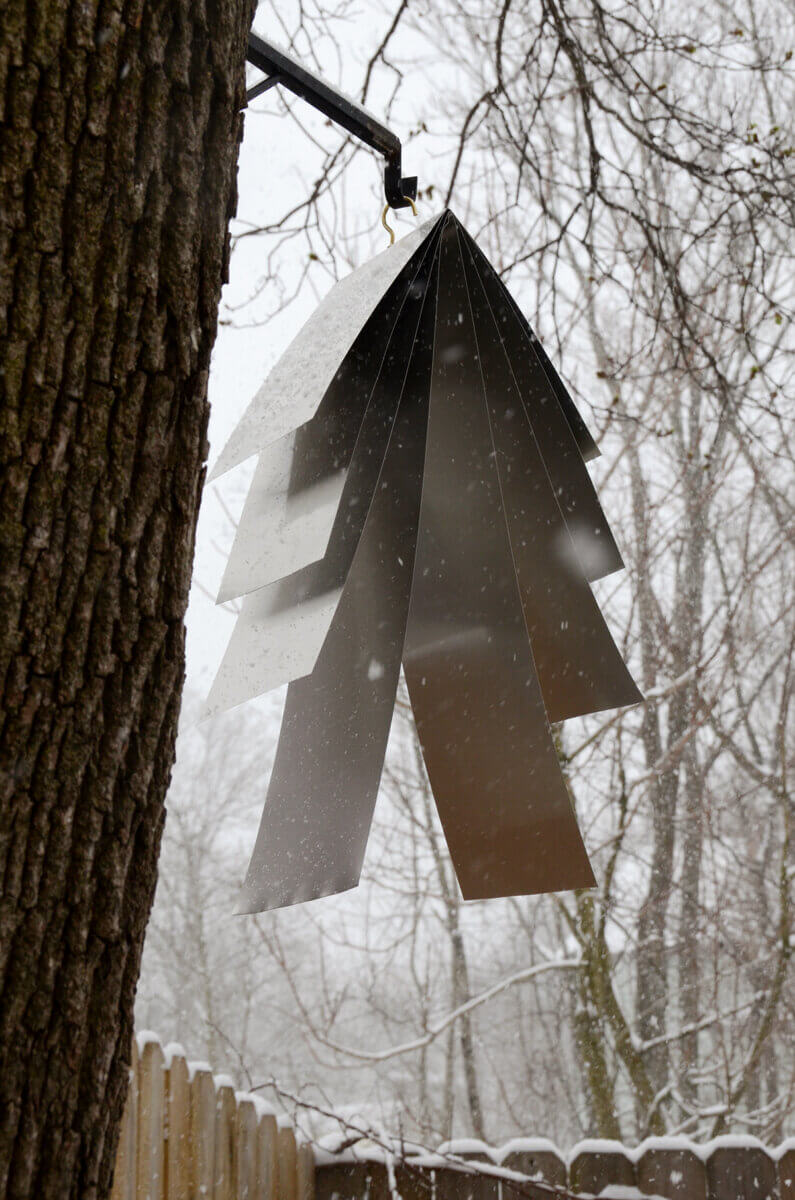
Here’s a truly modern take on the idea of a wind chime. There really aren’t any chimes, but the shape of the aluminum material allows for wind to pass through and create a subtle rumbling noise.
If you’re trying to create an elegant backyard area, a couple of these would definitely elicit compliments from your guests.
DIY Anthropologie-Inspired Wind Chimes
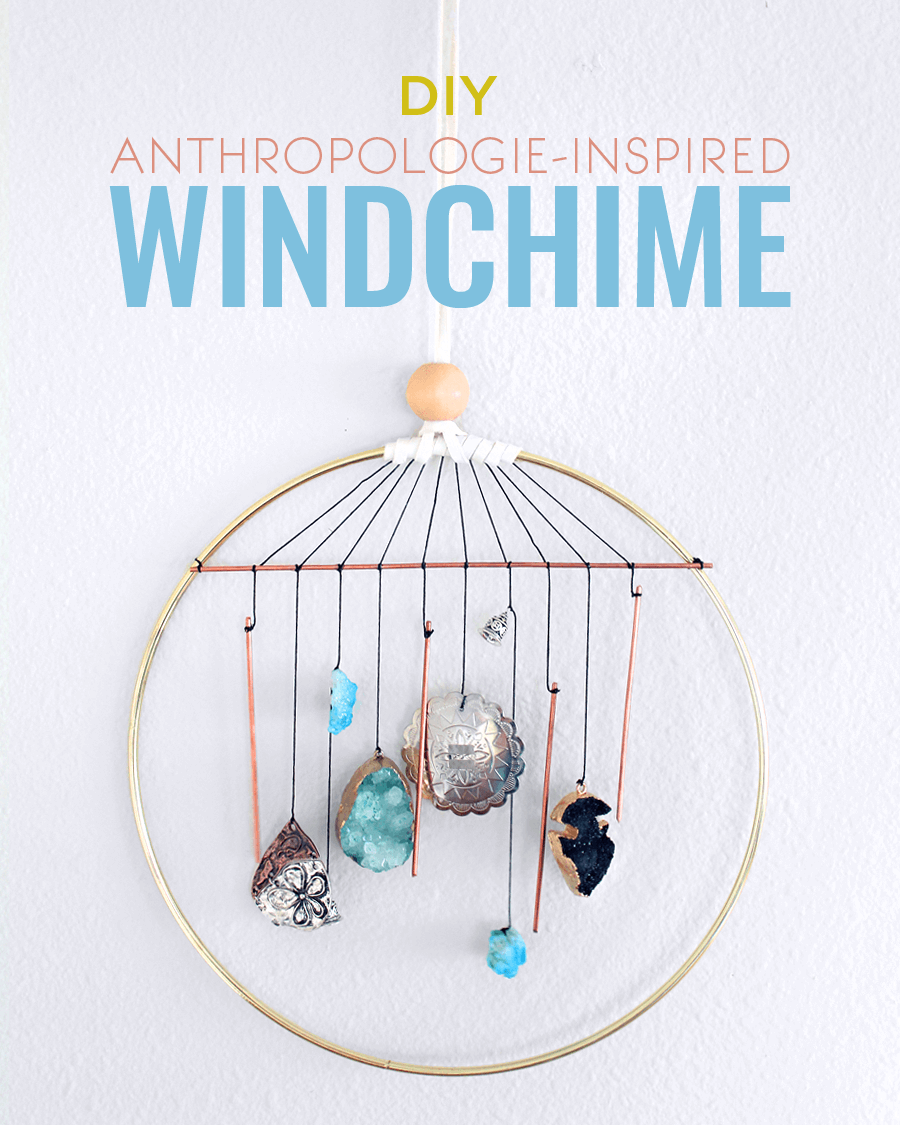
Though these may be intended for hanging on the wall as interior decoration, they’re absolutely unique and beautiful outdoors. Adapt them with attention to how well you secure the artifacts, and other materials you choose.
You can use your favorite beads, or a couple of necklace charms that you have kicking around in your jewelry box.
Colorful Metal Washer Wind Chime
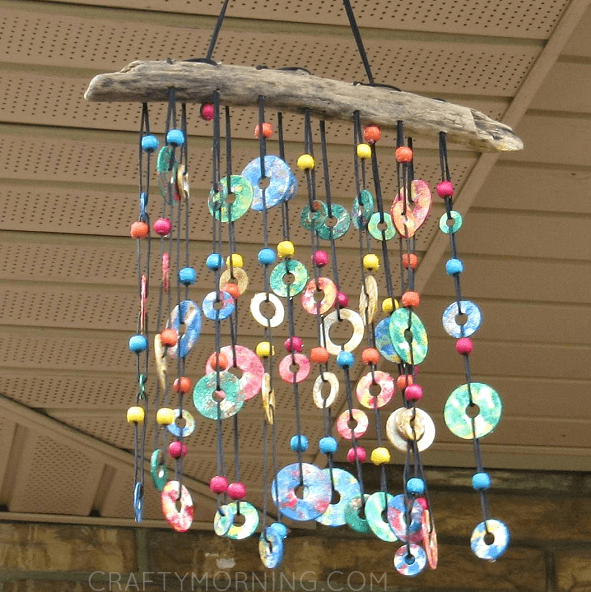
Here’s a DIY wind chime that incorporates elements from a few of the different projects above. Metal washers are used as the chimes while a piece of driftwood is used as the base. Add your favorite beads for a pop of color and interest!
Balsa Wood Fall Wind Chimes
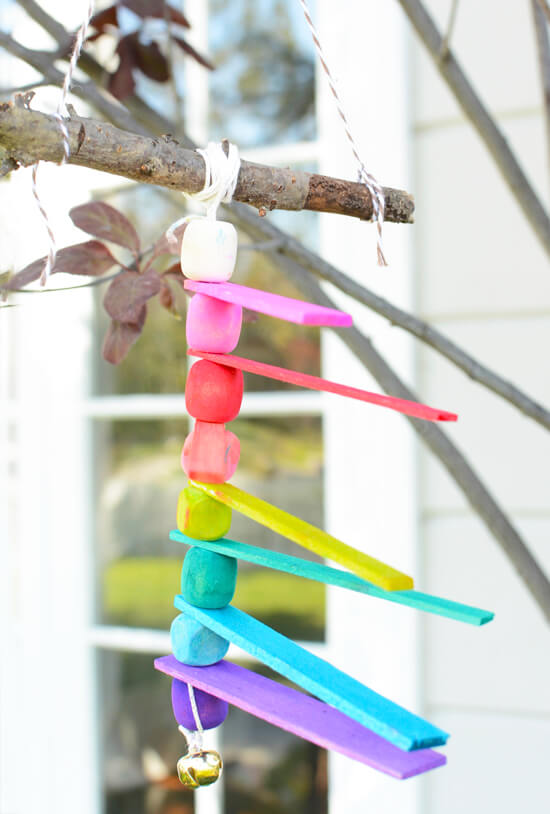
This unique take on wood wind chimes has a vertical rather than horizontal design. You can find balsa wood and wooden beads at your local craft store, making this a project with easy-to-source supplies.
Let your kids paint their balsa wood however they want, and add a bell at the bottom to get a little bit of chime action.












Some suggestions regarding your copper tube chimes: First, the tubes should not be supported at the ends, rather at 0.224 times the length of each tube. This will allow the tube to vibrate at in it’s fundamental mode. Likewise, the support cord should not touch the top of the tube, rather be led to holes between the tubes. Second, the length of the tubes should be cut to give a pentatonic scale (for 6 tubes). The longest tube can be trimmed to match a certain musical note but this is not critical. If the longest tube (lowest note) is length L, the other tubes should be cut to .9439L, .8909L, .8170L, .7711L, and .7071L. With these lengths, the long and short tubes will be an octave apart. Finally, where to have the striker hit the tubes. Striking at the center will emphasize the primary note while striking near the end will develop more harmonics. For the first case the tubes should be hung so the centers of the tubes are at the same height (with the striker contacting there). For the second case, hang the tubes so the bottoms are at the same height, again the strike point.