Midsummer comes over the horizon, and with it comes humidity, mosquitoes, firefly nights, and hard work in the garden. But one of my favorite summer arrivals is wild in nature, both delicious and hazardous. It’s blackberries! The ravines and forest edges that were full of white-spangled spring brambles are now absolutely loaded with free fruit as far as the eye can see.
There’s a catch to harvesting wild blackberries, of course. It will cost you scratches and torn shirts, and even a fair amount of blood if you really get caught deep in a thicket of the fierce vines. But for those of you with bramble blood coursing in your veins, the reward of sweet summer fruit totally outweighs the personal toll.
If you’ve got the will to battle the thick thorny bushes and reap the juicy rewards, you can return home with amazing hauls of berries that would have cost a pretty penny at the store.
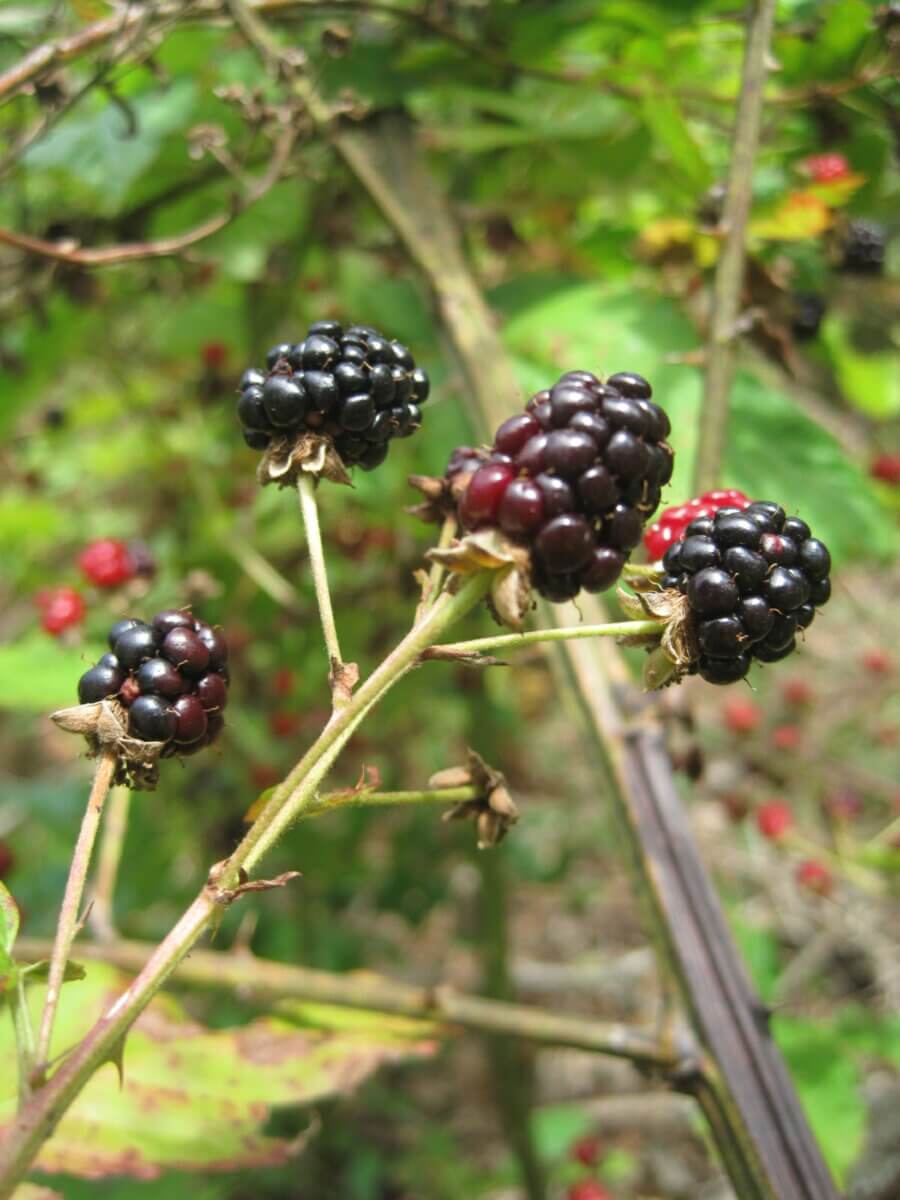
Knowing how to use wild blackberries isn’t hard, but once you’ve eaten all you want of the fresh berries, made a few pies, or canned some preserves, you may still find yourself with excess fruit. And when you find yourself in that enviable position, I offer this idea for turning them into yet another epicurean treat: Blackberry wine!
If you have two cups of berries, a bit of sugar, a jar, and four days, you have all you need to make a wonderfully effervescent beverage that is both refreshing and far healthier (and thriftier) than something store-bought. I guess this process is so simple and quick that calling it blackberry wine is somewhat of a stretch.
And since it is slightly alcoholic (probably a similar level to kombucha), I hesitate to call it a soda. We’re not using additional yeast and fancy equipment, or even aging the blackberry wine for long, so it’s delightfully primitive in nature. I guess you’ll just have to enjoy the slight misnomer because calling it “wild-yeast-fermented-fizzy-wild-blackberry-tasty-drink” is a mouthful.
But First, Some Notes For The Newbie
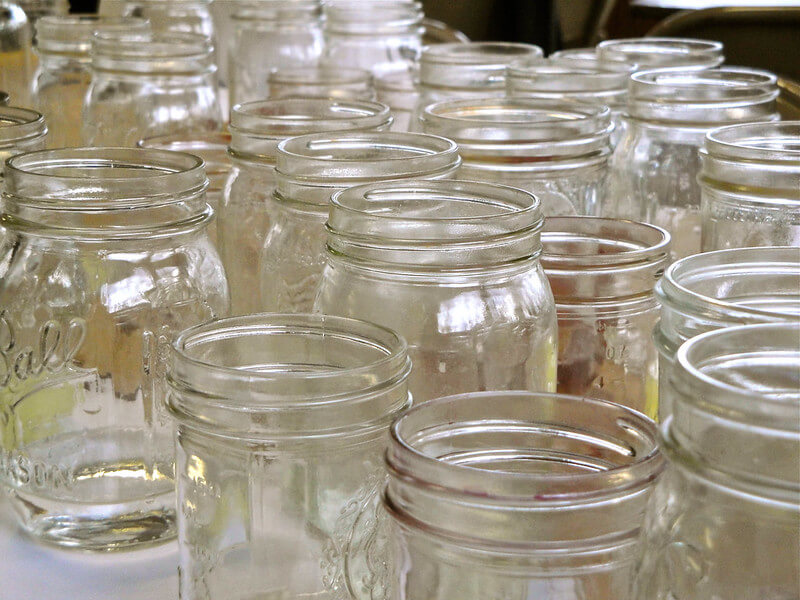
If you are new to fermenting, there’s some explanation I need to give you before we get on to the recipe. First, you’ll notice that everything needs to be washed with hot soap and water, but not necessarily sterilized.
It’s important to know that the processes we’re doing have a much higher rate of success when done in a clean environment and lower the chance of unwanted bacteria butting in to ruin our blackberry wine. But it’s also important to know that things like cleaning chemicals may hurt the wild bacteria we actually want. Hot water and soap has worked for centuries. It still works now.
The wooden spoon (or chopstick) that we’ll be using serves two purposes. It won’t react with the acidic fermenting vessel environment, and it will continue to be an inoculating host for beneficial bacteria if you don’t wash it, and just store it on top of the jar until the process is complete.
The bottles are important, too. If you’ve never naturally fermented before, reusing plastic beverage bottles for your first ferments is really helpful. In order to make wonderful fizziness, we need to bottle the blackberry wine and let it build pressure and self-carbonate. On a hot summer day, this process can go fast, and if you’ve never done it before, a sealed glass jar can run a real risk of exploding.
Related Post: How to Make Dandelion Wine
The sticky, glass-shard shrapnel result is a real hassle to clean up. Plastic bottles, on the other hand, give you feedback. When the sides are hard with pressure (as with a store-bought soda), that’s your cue to slow down the fermentation by getting your blackberry wine in the fridge. Once you’ve done the process a few times, you can move on to the much more reusable and sustainable flip-top glass bottles.

The unwashed state of the berries is also important. This brew will ferment through the activity of the wild yeast already coating the surface of the berries, so you don’t want to remove it and hamper your efforts. When you’re harvesting blackberries, take the time to carefully pick good ones and to transport them cleanly.
Related Post: DIY Wine Cellar Plans + 10 Ideas to Inspire You
Finally, for all our city folks, make sure you don’t use straight tap water for this recipe. Chlorinated city water can kill the yeast and bacteria that you are trying to cultivate (that’s why you don’t want to make sourdough with tap water, either).
Phew! Still with me? Let’s get on to the recipe.
Blackberry Wine Recipe
Equipment Needed
- 1 half-gallon mason jar washed with hot water and non-antibacterial soap
- 1 wooden spoon or chopstick
- 1 paper towel or square of cheesecloth
- 3 used beverage bottles, washed (for newbies) or 3 flip-top growlers (for pros)
Ingredients
- 2 cups carefully picked, unwashed berries
- 3 tablespoons sugar (you can add more if you’ve got a sweet tooth, but start small)
- 1 tablespoon honey
- 6 cups filtered water/well water (not chlorinated)
Directions
1. Add the Berries to the Jar
In your large mason jar, place the two cups of berries, honey, and sugar. With a clean hand, squish and squish and squish the berries until you have rendered them into a wonderfully purple, juicy mess. Your hand might be stained a bit after squishing — wear it as a badge of honor.
2. Add the Water
Add about 6 cups of water. There should be at least an inch and a half or so of airspace left in the jar which allows the brew to froth without overflowing and making a mess.
3. Cover
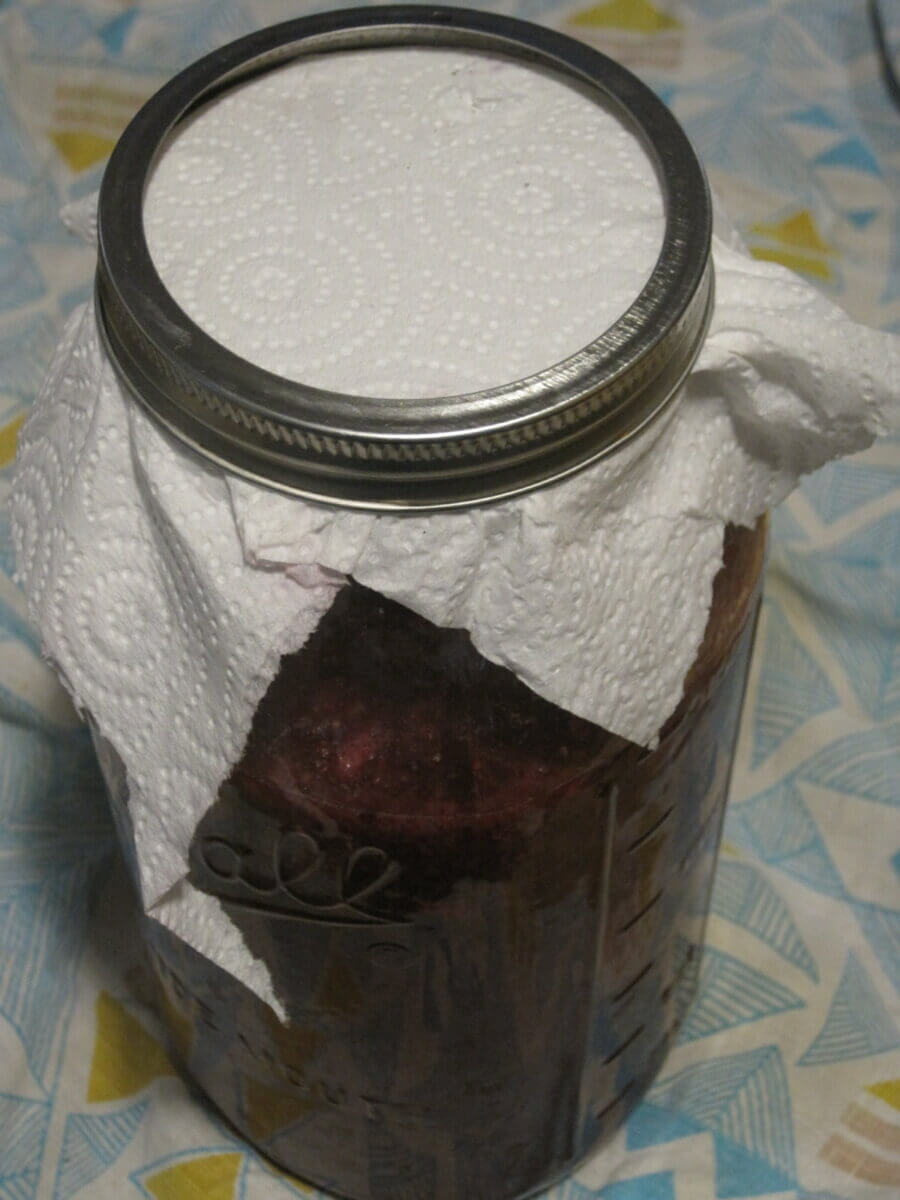
Cover with cheesecloth or a paper towel, secured with a rubber band or canning ring.
4. Stir Regularly
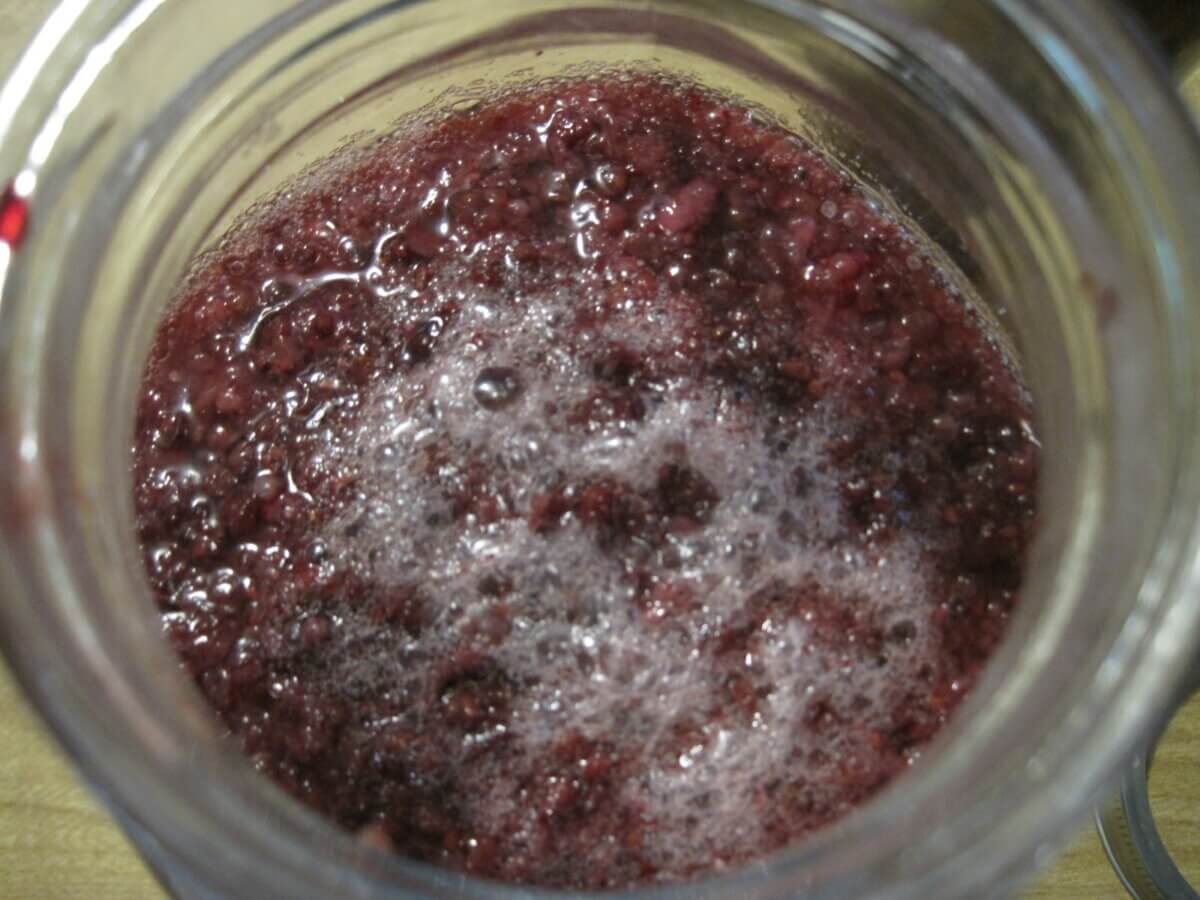
Then, for the next three days, use your wooden implement to stir the jar every time you see it, and at the very minimum, at least three times a day. The more you stir it, the better the end result will be. By day two, you should start seeing the frothing bubbles of fermentation success!
5. Start Taste Testing
After day three, and once the frothiness is good and strong and the smell is pleasant and slightly acidic, you can start tasting the mix. If you like what you taste, it’s time to send it to the bottle. And if you accidentally let your ferment go too sour, don’t mourn. You’ve just made blackberry vinegar instead (a different, but equally delightful treat).
6. Strain the Berries
Strain the blackberry solids and pour the jewel-purple liquid into your clean bottles of choice (having a funnel makes this infinitely easier). Seal tightly.
7. Let It Ferment and Enjoy!
Place your bottles in a dark, room temperature location for a day or two to build up carbonation and DON’T FORGET ABOUT THEM. Make a note if needed. Then, once the plastic bottles are hard with pressure, you can store them in the fridge until it’s time to enjoy.
The first time you open a bottle, do it in the sink, slowly, and away from your face. If the fermentation was really strong, the opening can be pretty explosive. Makes for a super dramatic dinner presentation, but I’m sure no one wants blackberry-purple spots all over their favorite shirt.
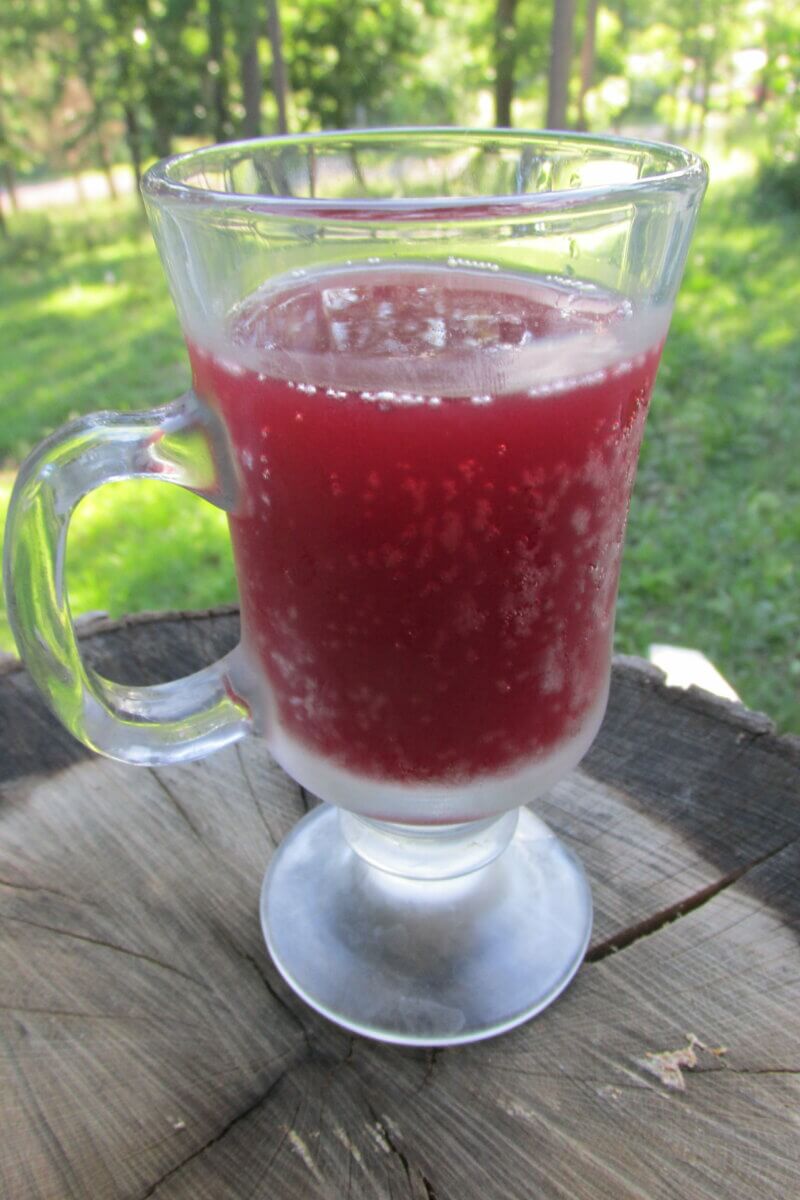
Poured in a glass so that the light can catch the dancing effervescence, no one would guess this delightfully sweet-and-sour, fruity blackberry wine was a wild berry only a few days ago. Once you’ve enjoyed your first batch of blackberry wine, you’ll have to get back out there foraging so that you can make it again for as long as the wild berries are ripe.
If you get hooked on making your own, wonderfully customized sodas and wines, you can start messing with the flavors, too. Try adding a few torn sage leaves. Or maybe an apple and some ginger might be nice. What would tarragon add to the flavor profile? Explore, experiment, and enjoy.
You Can Do This
Fermented beverages have enjoyed a renaissance in recent years as kombucha, kefir, and their relatives have reemerged in the mainstream diet. The positive benefits of cultured and fermented “living” foods in a daily diet is something that has even the most neophobic of folks taking a brave gulp of something bottled and naturally fizzy.
But a strange side result of these ancient brews appearing on modern shelves is what I think of as the “yogurt effect.” Because these drinks, like their cultured yogurt cousin, are beautifully packaged, marketed, and enthroned in the well-lit aisle of a local grocery or health food store, the notion of making them yourself seems somewhat intimidating — if the idea passes through your mind at all.

For many of us, the knowledge is neither in our hands nor part of our childhoods We’re used to these foods coming in a package. But sourdough, yogurt, kefir, beer, and kombucha have one thing in common aside from all being cultured and fermented. Their production was originally home-based.
Peasants and farmers the world over didn’t need to shell out cash for healthy, delicious, fermented food. They made it themselves daily. It is time to rediscover our shared fermenting roots and put some literal culture back in our kitchens.
I hope that’s a bit of encouragement to really give this blackberry wine a shot. I understand that fermenting something for the first time can be intimidating, but you can do it. This easy recipe is a great way to forge a new endeavor in the kitchen and build some confidence.
And if you are really excited about the possibilities of making your own low sugar, wonderfully probiotic, and thriftily easy beverages, I can’t sign off on this article without directing you to my source of inspiration, Pascal Baudar’s wonderful The Wildcrafting Brewer. Enjoying drinks like this need not be relegated to the pricey health drink aisle at the store. With a bit of motivation and knowledge, you can learn the lifelong, ancient art of brewing up wonderful drinks from the world around you.












When do you add the honey?
This recipe doesn’t ferment higher than 0.5% ABV if it’s comparable to kombucha. With the addition of more sugar (and possibly more time to ferment), how much higher could it ferment? I guess the real question here is how alcohol-resistant is the natural yeast found on the blackberries?
Photo/Attachment:
Same time as everything else on the honey question!
Wondering if this could be done in a plastic resealable bag, 1 or 1/2 gallon? sure easier to smash up.
This is such a great article for me. I have massive amounts of blackberries and this process was so easy and so rewarding. I found it last year and came back this year to refresh my memory to start my first batch in 2025. Thank you so much for sharing and introducing me to this wonderful drink. My favorite is with added sage leaves but my husband likes it with peppermint leaves. Again, thank you.
Can I use frozen blackberries? It’s time to pick them, but I don’t want to make this recipe until the holidays.