Grapes are one of the oldest propagated crops and with good reason! These beautiful fruits are delicious and versatile foods used for snacking, canning, freezing, and of course, winemaking. Even if you don’t want to harvest your grapes, they are lovely ornamentals and even just a few plants can make a dazzling trellis display in the yard.
There are dozens of varieties of grapes to grow as a home gardener, and it’s not as difficult as it may seem to enjoy these lovely plants. This article will focus on how to grow “eating” grapes (also known as table grapes), rather than wine grapes — which have slightly different growing needs.
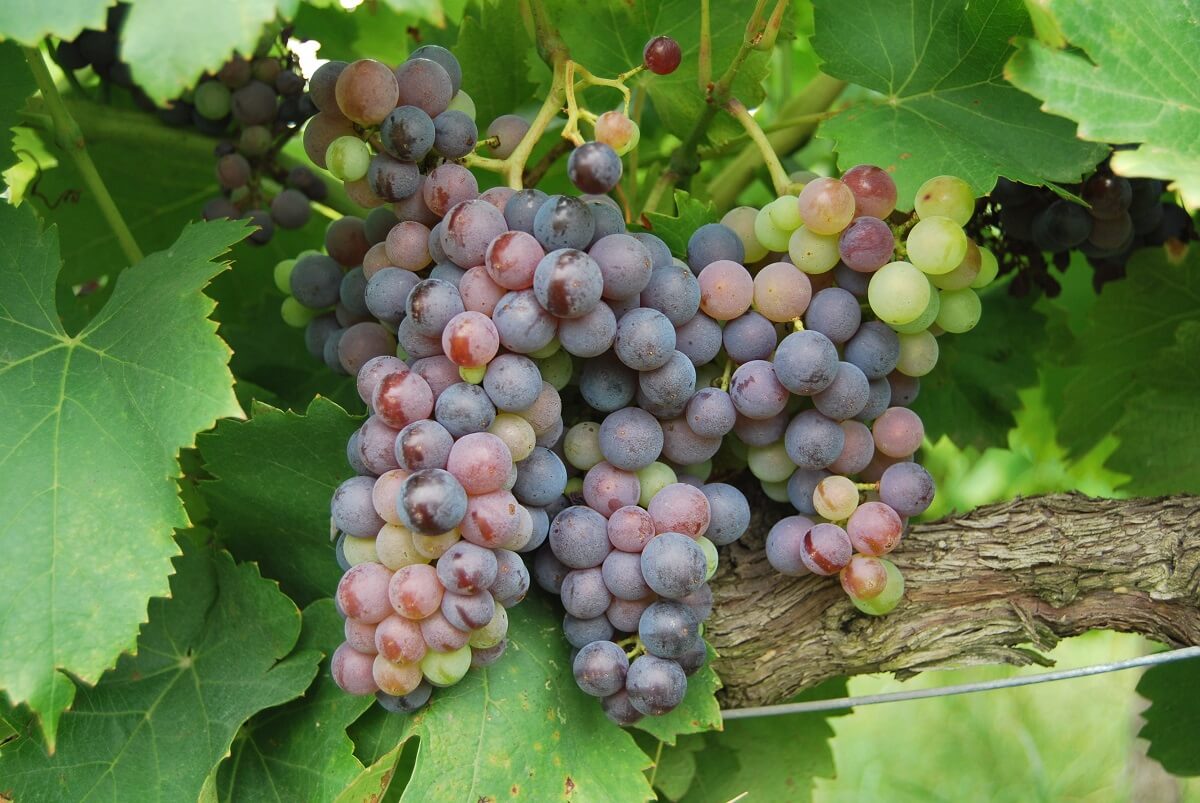
Grapes are a trellising plant that need space to grow and vine, so when you’re planning to add grapes to your garden, you need to plan for their growth both in the soil and above the ground. Grapes are a perennial vine that can provide your garden with fruit for years to come. Well-maintained vines can last upwards of 30 years!
Grape Varieties
There are three primary types of grapes grown in the U.S.
American (V. labrusca)
American grapes are the most cold-hardy variety, and grow in USDA zones 4 through 7. This type of grape includes the Catawba, Niagara, and Eastern Concord varieties.
European (V. viniferia)
European grapes prefer Mediterranean climates or USDA zones 7 through 10. This variety includes many of the common seedless grapes found in grocery stores, like Thompson seedless (used for raisins), Flame seedless (also used for raisins), and Ruby seedless. Most common wine grapes fall into this category as well, like merlot, cabernet, and chardonnay.
North American Native Muscadine (V. rotundifolia)
These grapes grow mostly in the warm and humid U.S. South, and can be used for food or wine.
The famous wine regions of the world have a Mediterranean climate — hot and dry during the day and cool and moist in the evenings. However, cooler regions around the world have niche grape seasons, evidenced by the range of wines now seen from Oregon, Washington, and Vancouver, British Colombia. Technically, grapes can be grown in USDA zones 4 through 10.
How To Grow Grapes
Grape roots are usually sold as bare rootstocks in the spring, although you can find pre-grown vines and of course, seeds. When choosing your grapes, The Farmer’s Almanac recommends choosing vigorous, 1-year-old plants as they are likely to be the hardiest.
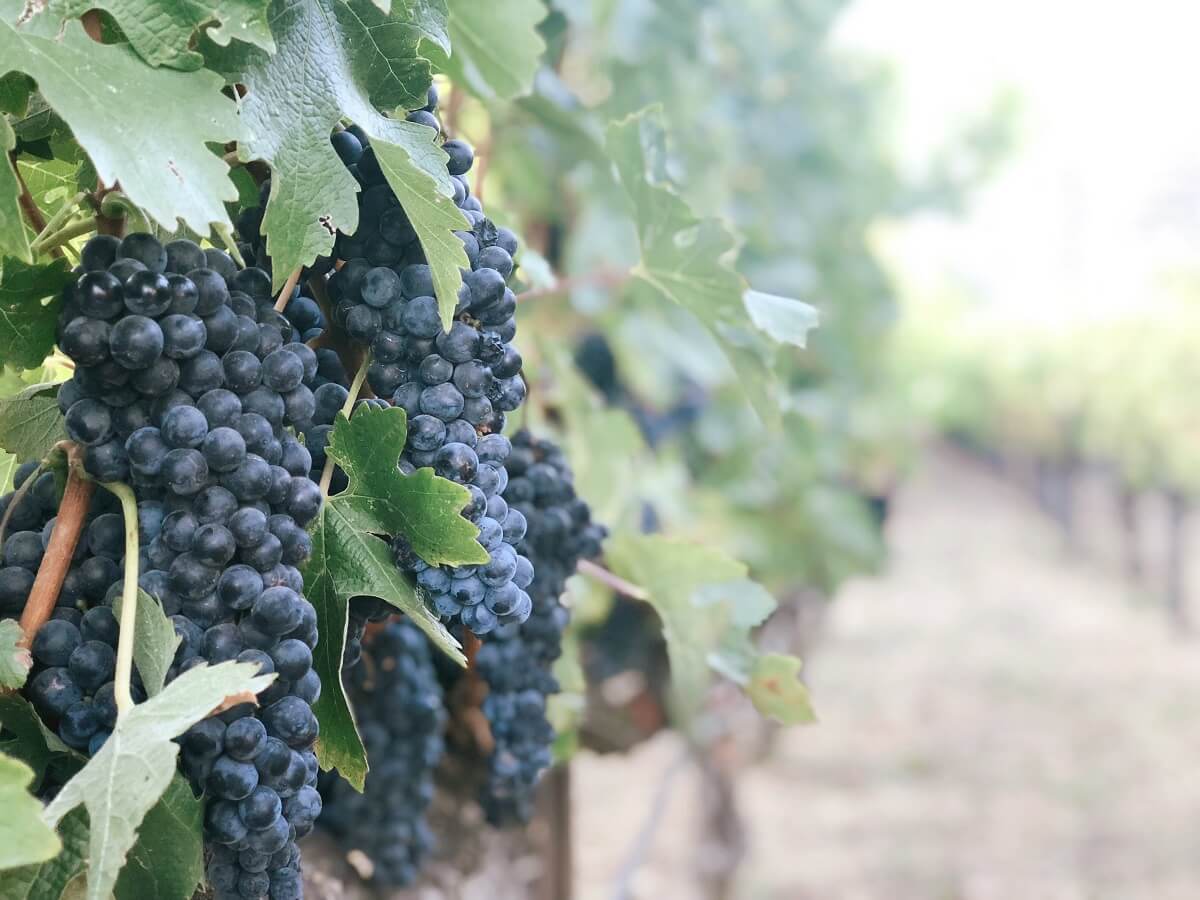
If you start with bare root stock, University of Minnesota Extension service has a simple list of tips for planting bare root vines:
- Grab a bucket and fill it with water, soaking the roots for 3-4 hours.
- When you plant the canes, make sure to keep the most vigorous ones and remove the weak ones.
- Find the lowest bud on the cane and plant those vines an inch or so above the soil.
- Trim off any roots that are too long or broken.
- Dig a large hole and plant your root system into the ground, providing enough space for the roots to spread out.
- Cover the roots with soil.
Each plant will need about 6 to 10 feet of space to grow above, so it’s a good idea to set the trellis before thinking about planting the roots. When planting, leave about 5 to 8 inches of space between each root.
Grapes prefer deep, well-drained and slightly loose soil. They prefer full sun and also need good air circulation. It’s also important to set up drip irrigation as watering from the top can cause water to linger on the leaves and cause rot or fungus. Make sure to apply plenty of compost or other organic fertilizers.
How To Maintain Grape Vines
One of the most important details about growing grapes is pruning. These plants need pruning before planting, during growth, and before the season ends. When first planting the grapes, Almanac recommends pruning down to two or three buds at a time to ensure that the plant focuses on the growth of the plant, not fruit.
While your grape vines can and likely will fruit in the first year, it’s important to focus on giving the roots a good start before allowing it to fruit. Some experts recommend pruning off fruits for the first year only, while others recommend waiting a full two years before allowing the grapes to fruit.
For more information on how to correctly prune your grapes, check out these tips from Almanac.
Related Post: DIY Wine Cellar Plans + 10 Ideas to Inspire You
Better Homes & Gardens reiterates the importance of pruning. They suggest that after dormancy, keep only a few of the stems from the previous years and “train” them on the trellis. Take off everything else.
Pruning makes the plants more vigorous, the grapes tastier, and explains why wine country looks so barren in the winter! This also applies to the fruit itself. Trim off any small or odd-looking grape bunches as these tend to overproduce. Taking off less-than-ideal bunches will improve the quality of those that you keep on the vine.
Common Grape Vines Pests And Diseases
Grapes are susceptible to a few pests, including aphids, Japanese beetles, powdery mildew, and black rot.
To avoid mildew and rot, ensure that the leaves dry quickly. It’s important to have space between vines for better air circulation. You can also cut back the leaves if they’re very bushy; it will help fruits grow if they seem slow to ripen.
Harvesting Grapes
Assuming you have pruned your grapes well, and let them establish good roots over the previous two seasons, you should have anywhere from 20 to 30 pounds of grapes growing on your vines in the coming years.
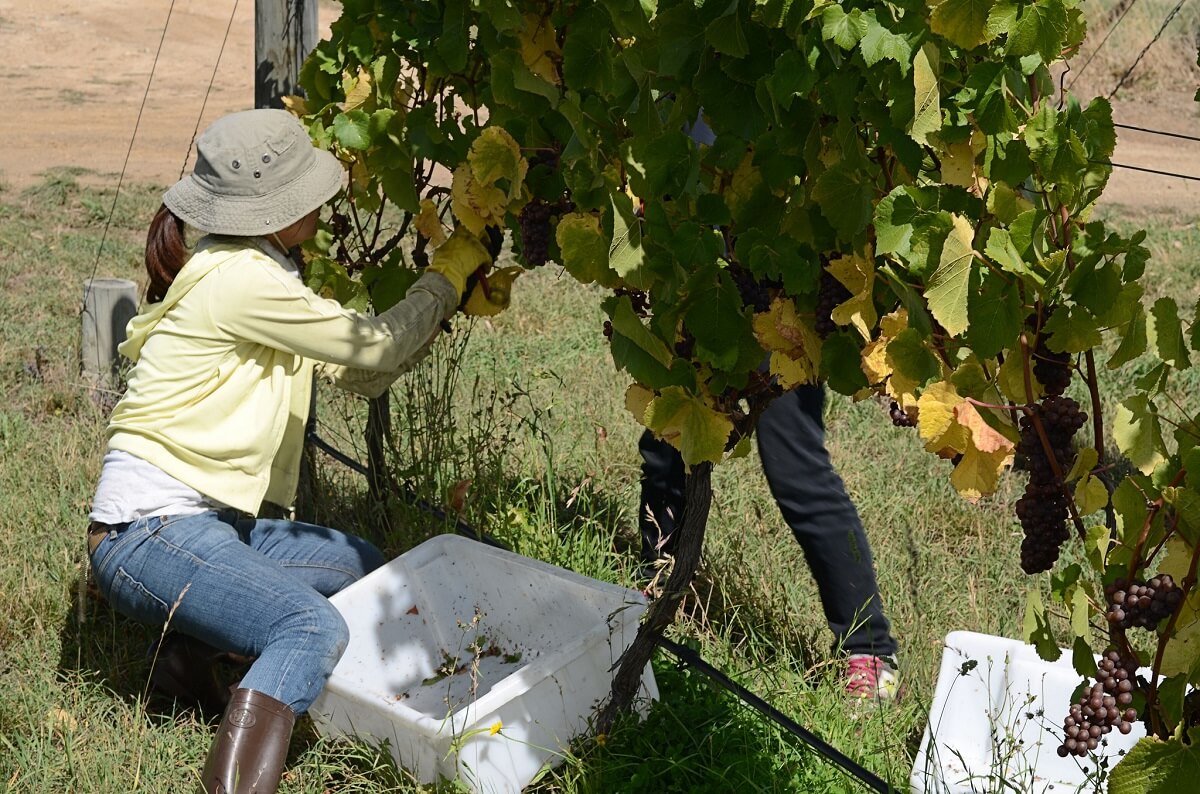
Grapes need to ripen on the vine (as they will not ripen once picked), so the best way to know when your grapes are ready to harvest is to eat them! Taste the grapes on the bunches before harvesting, and if they are to your liking, then you can harvest. The fruits should be vibrantly colored, juicy, plump, and tightly attached to stems.
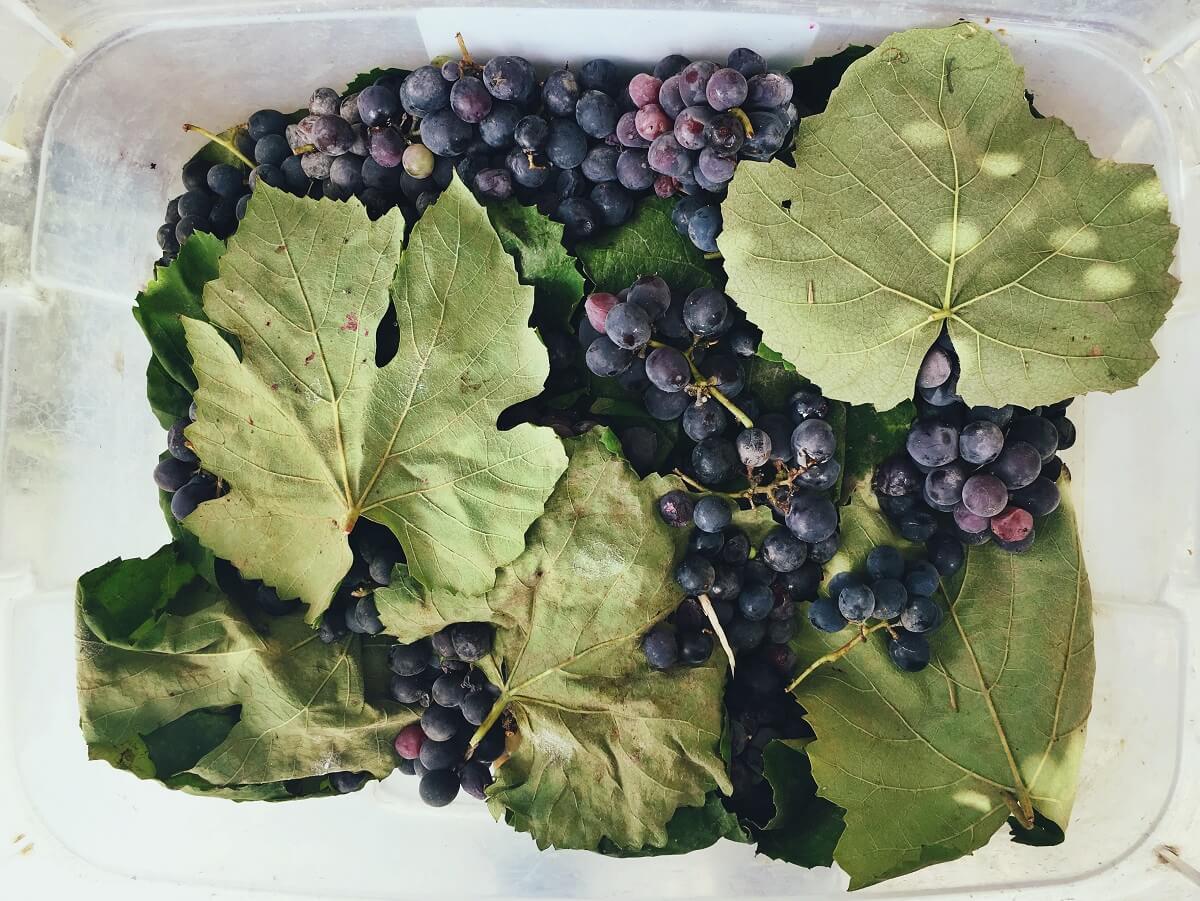
Once harvested, you can store grapes in the cellar for up to six weeks. Separate them from other fruits and vegetables and pack them in straw or newspaper. They can also be turned into jam or grape juice for preserving so that you can enjoy your harvest in the cooler months.














Leave a Reply