There are so many reasons to skip the supermarket and stick to your kitchen these days. If you want to avoid the crazy crowds, save money, and make healthier choices, then you’ll love this easy recipe for homemade queso fresco!
Any chance we get to make homemade, wholesome recipes, feels like a win in our house. That’s why my family and I were so excited to make our own queso fresco. The very best part? It’s inexpensive and easy.
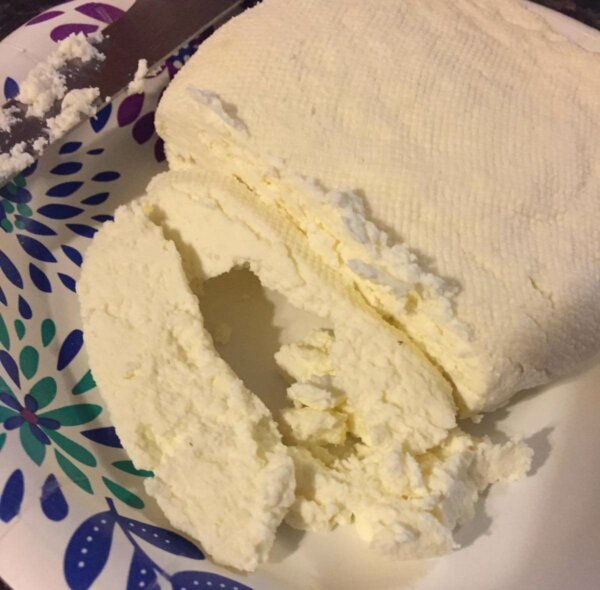
If you’re like me, you might be a little intimidated by the idea of making your own cheese. Something about the unfamiliar ingredients and a seemingly complex process was enough to deter me for quite a while. However, queso fresco is an acid-set cheese, meaning you don’t need a long list of ingredients or tools to make it.
What Is Queso Fresco?
First, let’s talk about queso fresco, because it’s not as well known as American or mozzarella cheese. The name directly translates from Spanish to English as “fresh cheese,” which is accurate to the taste.
The light, fresh, creamy flavor is why it pairs so nicely with traditional dishes from Latin America. The freshness of the cheese usually offsets other flavors that are spicy or powerful, yet the mild taste opens the door to endless recipes.
Queso fresco is typically made from cow milk but can be made with a mixture of cow and goat milk. A source of acid and some salt are the only other ingredients you’ll need, making this one of the simplest cheeses to make at home.
If you’ve never tried queso fresco it is usually compared to ricotta, feta, or goat cheese but with a much milder flavor. Now that we know it’s undeniably delicious, here is the simple process to make your very own homemade queso fresco!
Tools You’ll Need
If you don’t have the time or money for lengthy recipes you’ve come to the right place. You’ll only need a few household items.
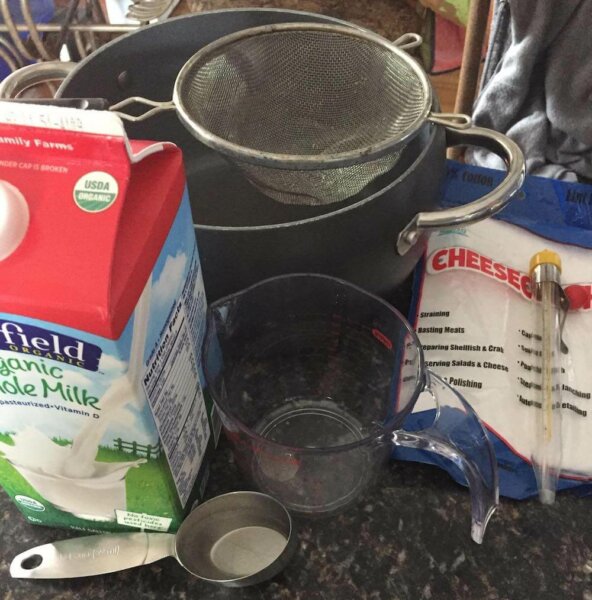
- One large pot
- Strainer
- Thermometer
- Cheesecloth or food-safe paper towels
Ingredients
- ½ gallon of milk (not ultra-pasteurized)
- ⅓ c. lemon juice or ⅓ cup of white vinegar
- Salt to taste
Directions
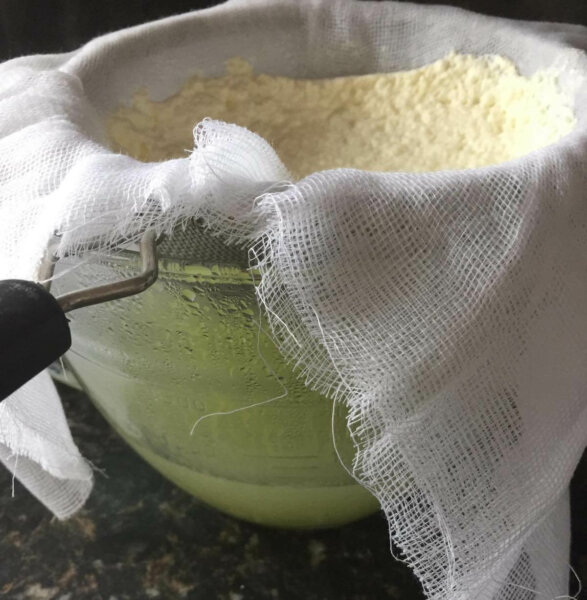
- Line your strainer with 3 layers of cheesecloth and place it over a large bowl. Put to the side.
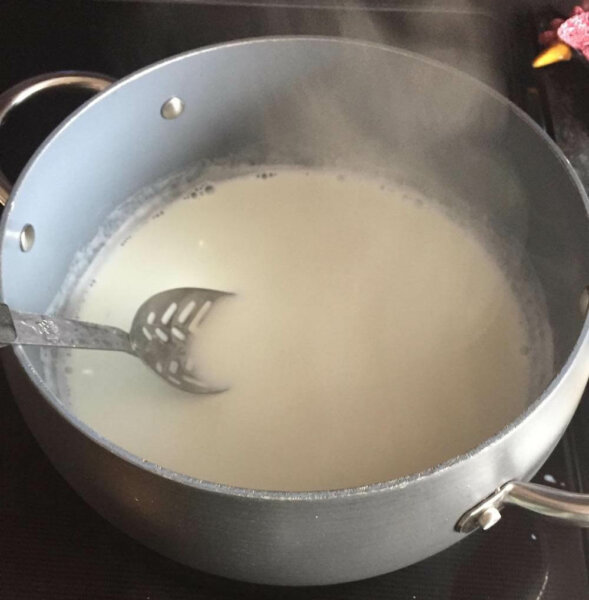
- Heat your milk in a large pot over medium-low heat. Stir the milk frequently until it reaches approximately 170°F. Once it reaches this temperature, remove the pan from the heat.

Marlene Ridgway / Insteading - Slowly add the lemon juice or vinegar one tablespoon at a time, while stirring.
- Stop stirring when the curds begin to separate from the whey. The curds will be white, and the whey will be pale and translucent.
- Leave the pot uncovered for 5-20 minutes until the separation is complete.
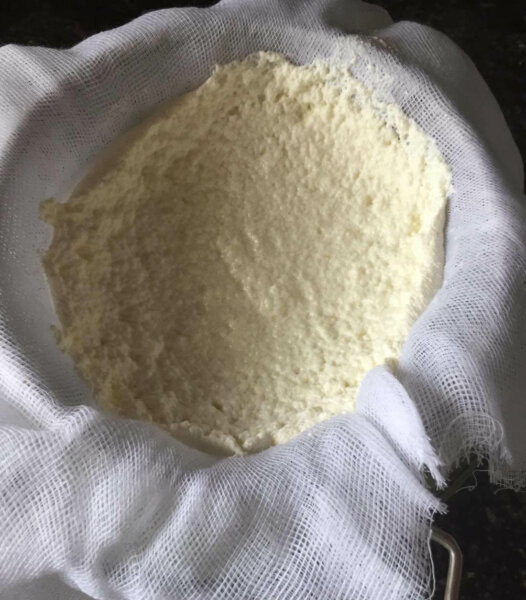
- Transfer the curds into the prepared strainer then cover the top with plastic wrap.

Marlene Ridgway / Insteading 
Marlene Ridgway / Insteading - Allow the curds to sit for approximately 20 minutes and add your salt before squeezing the remaining liquid using the cheesecloth.
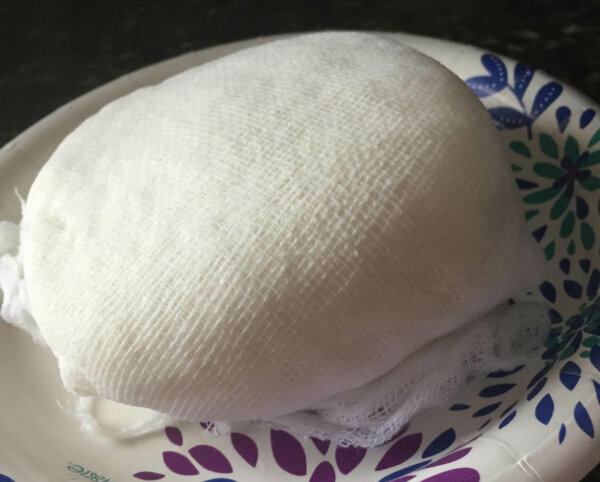
- If you wish to shape your cheese you can leave it wrapped in the cloth for approximately one hour or transfer it into a bowl where it will remain crumbled.
How To Store Your Cheese
This type of cheese is best served fresh, but if you store it correctly, it will last in your fridge for approximately 5 days. It’s a non-aged cheese, meaning it has a shorter shelf-life. Store your cheese in your refrigerator after you have tightly covered it, making sure that little or no air can reach it for best results.
The reason that you cannot store homemade queso fresco for a long time is that you are not adding the harmful preservatives or stabilizers to your homemade recipe. Most cheeses have a long shelf life because they contain sorbic acid, sorbate compounds, nitrates, and nitrate compounds. These additives stop certain bacteria from growing that cause food to expire.
Although this may sound like a good thing, preservatives are often considered harmful and unhealthy when consumed regularly. Better to be safe than sorry and make your cheese at home!
Queso Fresco Recipes And Ideas!
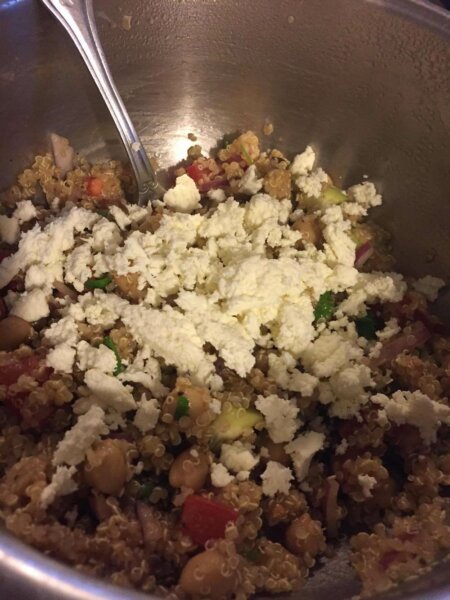
- Sprinkle and mix queso fresco into a salad for a salty kick, much like you would with feta cheese. Some have even said it’s great with watermelon, which sounds like a great recipe to try this summer!

Marlene Ridgway / Insteading - Use it as a garnish! If you’re serving up something spicy, like enchiladas, you can add some of this mild, fresh cheese to lighten the heat. It also nicely tops off tacos!
- Find a tortilla, some avocado, scrambled eggs, and a spoonful of queso fresco for a new take on breakfast this summer. It’s easy and delicious.
- Slather it all over your grilled corn or make a bangin’ corn salsa with your homemade cheese!
- Add it to your guacamole.
- Colombian cheese fritters are crunchy, savory, and oh, so delicious. A new and exciting replacement for mozzarella sticks.
There are endless possibilities when it comes to queso fresco. At this rate, you’ll be making a fresh batch each week. It’s a good thing queso fresco is easy and inexpensive to make in your own kitchen!
Freelance writer Marlene Ridgway, grew up in rural West Virginia cooking, keeping chickens, stacking firewood, picking blueberries, and gardening.






















I am interested in trying this out, but your directions are not clear as to whether or not the heat needs to be turned off after step 3.
Thank you!
Thank you for the comment! I’ve reached out to our writer and have edited that for clarity. Once the pan reaches 170 degrees, you can remove it from the heat. Happy cooking!