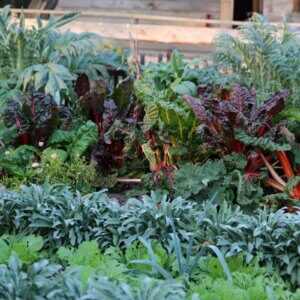
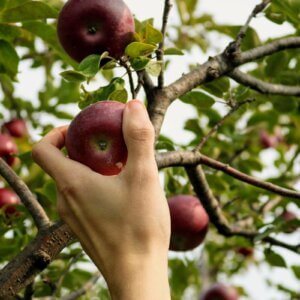
Green “snap” beans are a staple in many a homesteader’s garden, and rightly so — they’re delicious and flavorsome, and eating green beans straight off the vine is one of the great pleasures in growing your own food.
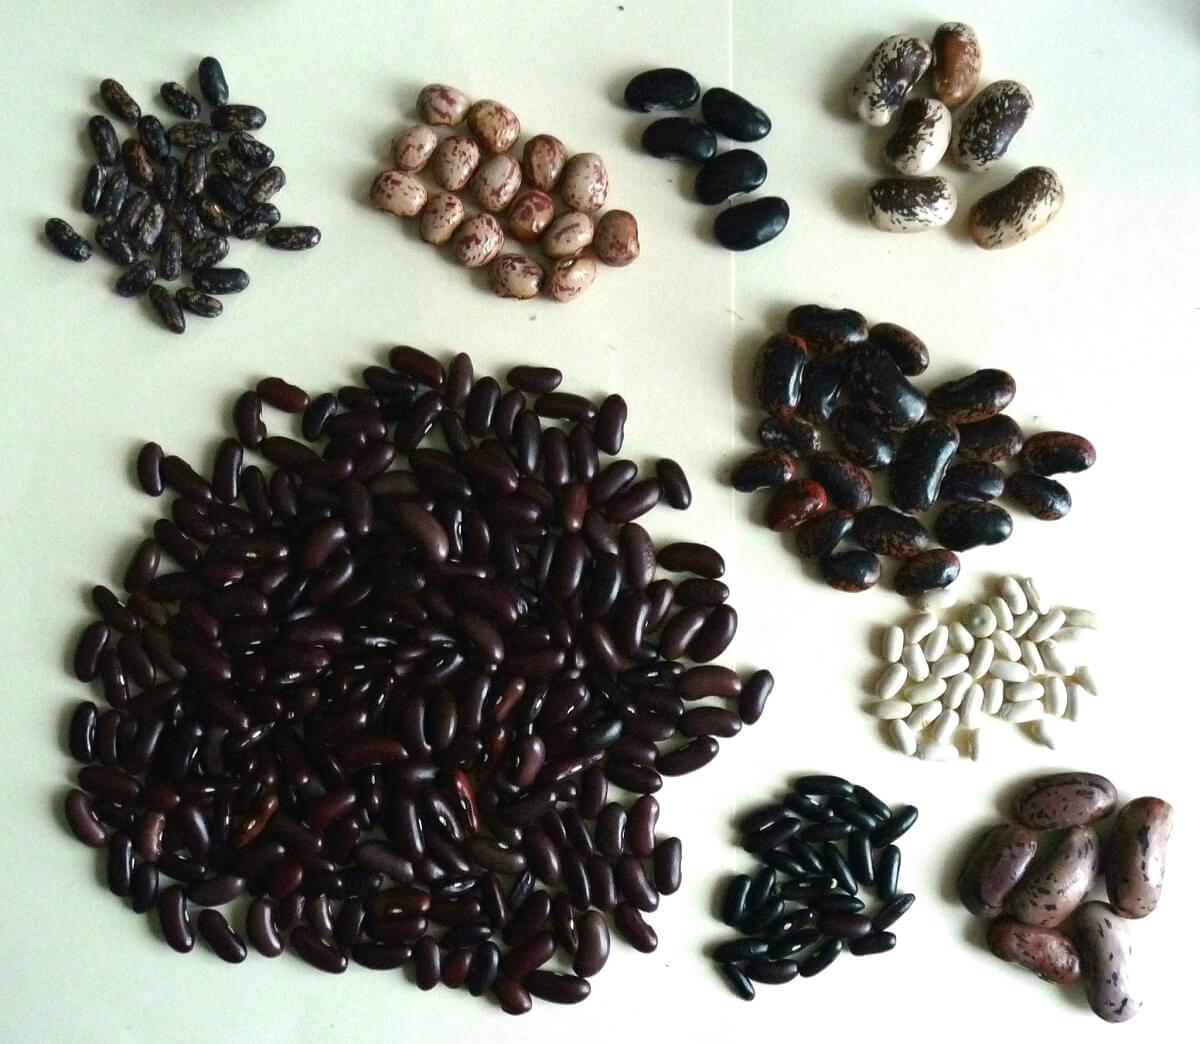
But far fewer gardeners grow dry beans like black, kidney, or pinto beans. The idea of growing black beans intimidates many of us. How do you dry or store them? The truth is, they’re hardy and low-maintenance plants with an uncomplicated harvesting process.
Growing Requirements
Good news: Beans are hardy plants capable of growing almost anywhere in the world. Your location will affect when you go about planting, but all that beans ask for is a 3-month (or longer) period of full sun — depending on the variety you’re growing — when they’re receiving an average of six or more hours of sunlight a day and soils are at temperatures of about 20 to 27 Celsius or 70 to 80 degrees Fahrenheit.

For that reason, the ideal planting time in temperate areas is late spring or early summer. Note that beans don’t transplant well due to their delicate root systems, so starting them early in a greenhouse is a risky endeavor. It’s much better to sow them in place. If you’re looking to get them started earlier in the season, try a cold frame instead.
Related Post: Growing Green Beans
In tropical areas of the world, the best time to plant is the beginning of the dry season. This allows beans the 6-hour period of daily sunlight they need and minimizes rain exposure (beans don’t appreciate constantly saturated soils).
Types of Black Beans
All beans come in two general types: bush beans and pole beans.
Pole beans grow high and require staking or trellising. They also produce over a prolonged period, meaning you’ll need to harvest throughout the season. On the flip side, you can plant them closer together than bush beans which means if space is your limiting factor, you might reap a larger harvest from pole beans.
Bush beans, on the other hand, are low-growing and require no trellis. What’s more, they tend to mature all at once – meaning you only need to harvest once and can shell and dry the whole lot in one fell swoop.
I recommend bush beans over pole beans for this ease of growing and harvesting, especially if you’re not concerned about maxing out your yield per hectare.
Many heirloom varieties exist for all kinds of beans, and if you’re buying from a seed supplier, you’ll be able to select the best variety for your particular climate. Another factor to consider is the time to maturity (which varies considerably).
You can also plant dry beans purchased from the supermarket. The advantage here is ease of access and low cost, though you’ll find they’re less adapted to your specific area and have a slightly lower germination rate.
Sowing Your Seeds
First thing’s first: Before sowing your seeds (beans), you’ll want to soak them in water overnight. This will kickstart the germination process which, though not absolutely required, will have them poking their heads out of the soil earlier.
Next, you’ll want to plant your beans in sandy soil with good drainage. You don’t want the soil to stay wet all day long or root rot will kick in. The ideal soil pH is between 6 and 6.5.
Beans welcome some added nutrients in the form of compost but require less of it than many other food plants. If you’re using commercial fertilizer, make sure you opt for a low-nitrogen variety. High nitrogen content in fertilizer causes bean plants to invest more energy in leaves and produce fewer beans.
Direct sow your seeds shallowly in the soil at about 3 centimeters (1 inch) deep, and space plants 10 centimeters (4 inches) apart for pole beans, or 15 centimeters (6 inches) apart if growing bush beans. It’s often recommended to sow with the “eye” of the bean facing down in the soil, though I personally haven’t noticed this affecting growth or yield in the slightest.
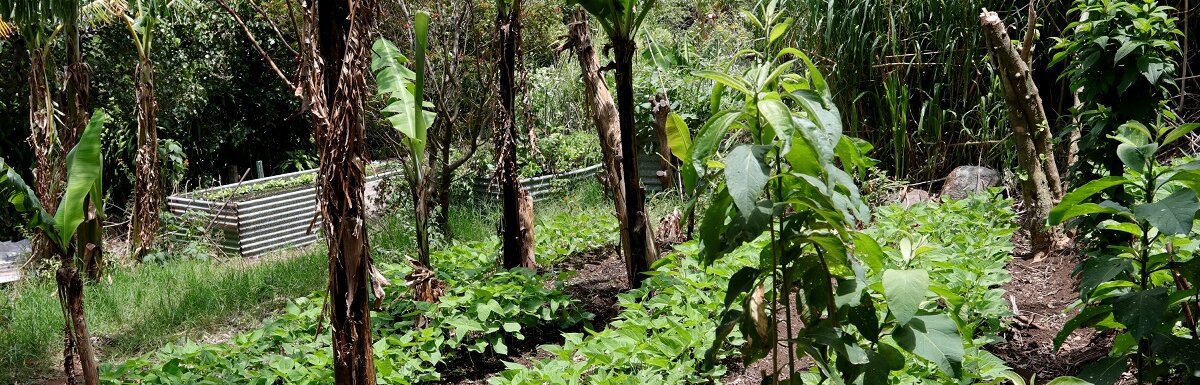
Many people find great success growing black beans in mounded rows. To do this, mound the soil 20 to 30 centimeters high (8 to 12 inches) to create rows the length of your planting field. I like to do three rows close together, running parallel, followed by a larger gap to allow for walking, and repeat.
Growing Black Beans
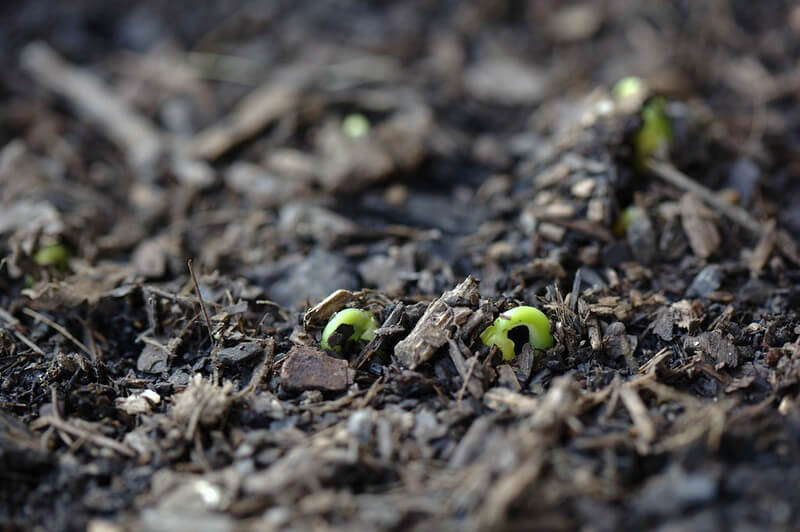
As mentioned, beans are hardy plants. That makes growing them fairly low-effort; all they ask of you between sowing and harvest is a little water and a watchful eye. Expect them to germinate in 1 to 2 weeks. Time to harvest will vary with variety, but usually runs somewhere from 80 to 140 days.
You will, of course, need to water your beans, but they don’t appreciate constantly wet feet. Watering is only necessary when the soil feels dry or the plants are beginning to droop. Depending on your climate, this may mean watering daily (excepting rainy days) or every 2 to 3 days.
You should try to minimize watering the leaves of your plants. Like tomatoes or pumpkins, they’re prone to mildew.
Finally, as you water, take the time to visually scan for any pests on the bean plants. The most likely candidates are aphids which can be removed by hand or with your preferred organic spray.
How to Harvest Your Bounty
Your plants will go through the process of flowering, producing green bean pods, and drying out to a more yellow color. You can eat them green like regular snap beans (they’re tasty straight off the plant or in other dishes) but of course, the main goal is to harvest them dry.
If seasonality allows, let the pods dry out while on the plant. Remember, bush beans will all mature simultaneously. Pole beans will produce a more staggered harvest.
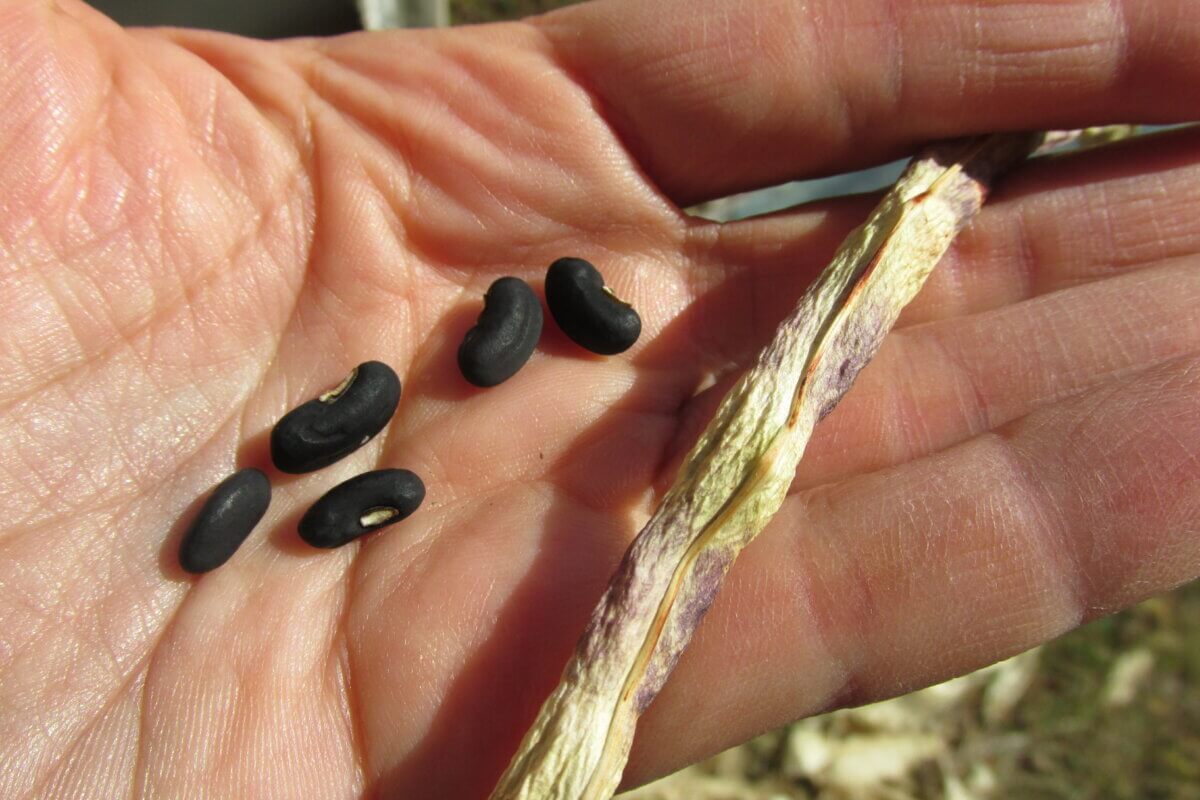
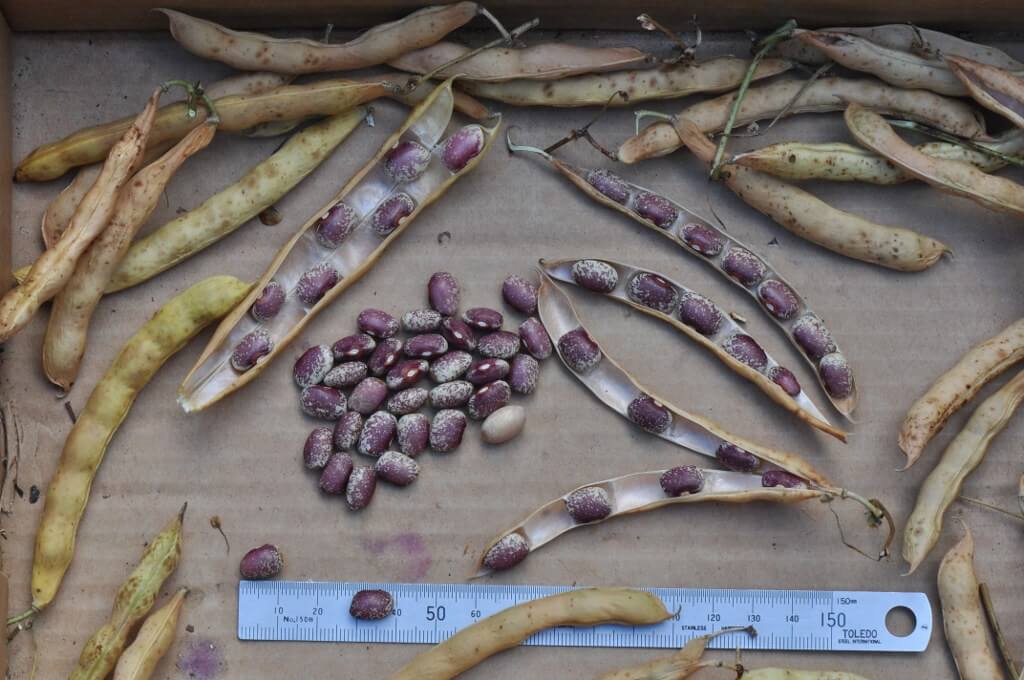
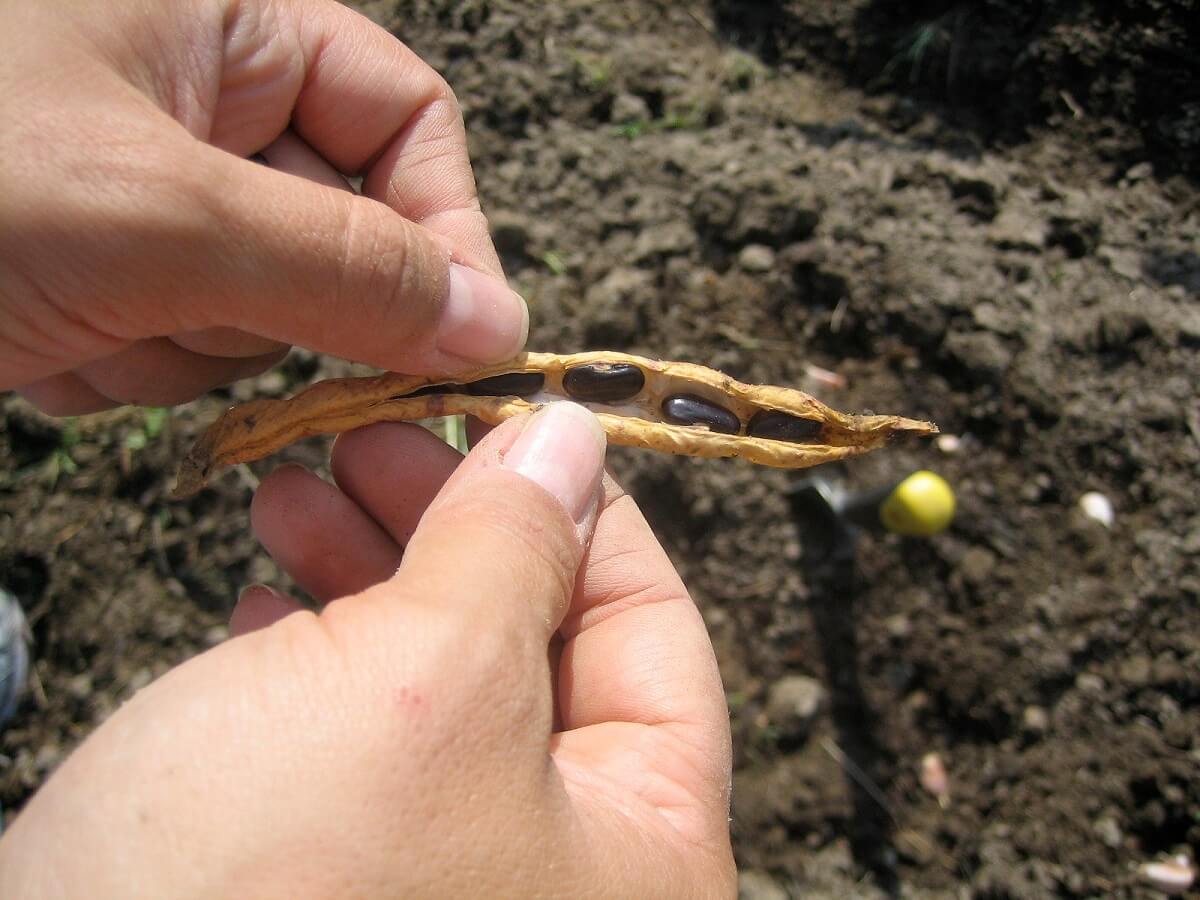
When the pods are dry and crisp, carefully pull or snip each one from the plant. If you’re unsure whether they’re ready, break one open, look for beans that are dry and black inside like the ones you first planted. If they’re still moist or pale in color, give them more time.
Next, you’ll need to shell all the pods you’ve harvested. Separate the beans from the pods and don’t forget to throw the pods in the compost! This can be a fun communal activity that kids and adults can do together and take the time to appreciate the harvest.
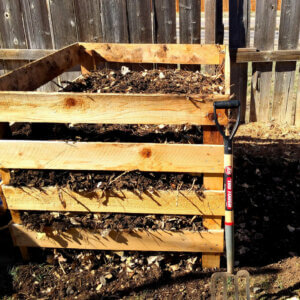
Once finished, lay the beans out on a flat surface for 1 to 2 days to dry out completely. As for the plants themselves, they’re chock-full of nitrogen (beans are well known nitrogen fixers), so either slash and lay them to compost in place or add them to your compost pile as a valuable nitrogen source.
Storing Dried Black Beans
After 1 to 2 days of drying, ideally on a sunny day, the beans are ready to put into storage. Glass jars are perfect for the task. Whichever container you use, ensure your beans are sealed off from insects (boring insects in particular love to get into dried beans).
Remember to set some aside and save seed for next year’s crop. Keep the jars of beans in a cool, dry place. The cooler the area, the longer-lasting they’ll be. Count on your harvest lasting at least 1 to 2 years — if you don’t eat them all first, that is.
Why Grow Dry Beans?
Along with trying something new in the garden, there are a few reasons you should consider growing black beans in the homestead garden.
Energy and Nutrition
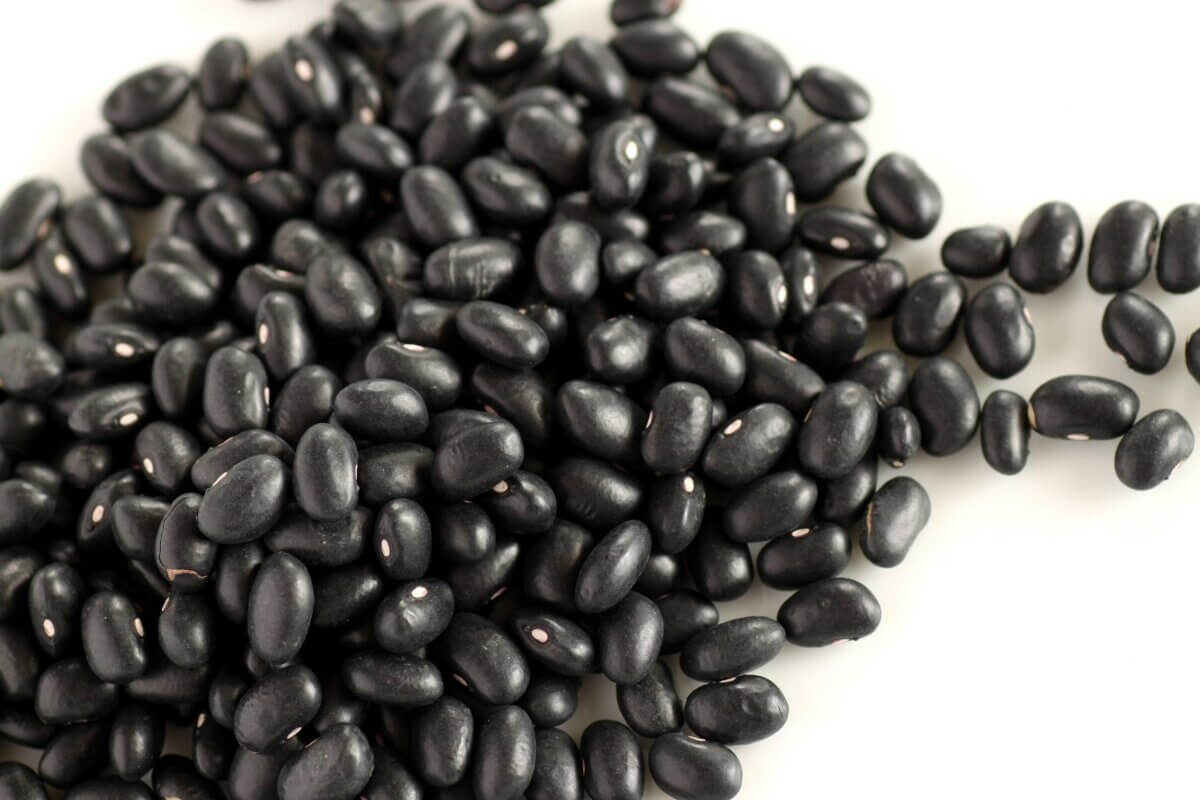
Let’s first look at the caloric value of these beans. Dry black beans contain 662 calories per cup, and kidney beans 613 calories per cup. That’s far in excess of most food plants and makes dry beans an excellent source of energy that is comparable to animal foods in caloric bang for your buck.
Raw energy values aside, dry beans also happen to be packed with essential minerals. Black beans, for example, contain 41.9 grams of protein (84% RDI), 9.7 milligrams of iron (54% RDI) and 239 milligrams of calcium (24% RDI) per cup of dry beans, plus almost your whole daily serving of manganese, copper, magnesium, and potassium.
There’s a reason beans are a staple vegetarian food around the world. They’re one of the few plants that provide the quantities of protein, energy, and minerals more often seen in animal foods. If you don’t raise animals for meat on your homestead, beans are a fantastic addition that really take you a step further towards self-sufficiency.
Shelf Life
Another plus for self-sufficiency is the ease of storing dried beans. If you plant enough, you can easily have dried beans on hand all year-round. They’ll last two or more years from harvest (and that goes for the ones you set aside for future planting seasons, too).
Versatility
If you enjoy variety in your garden and your meals, dry beans are hard to beat. The most common types are black beans and kidney beans, but you’ll find other options out there, all with similar growing preferences: tiger eye, cannellini, and fava.
What’s more, even a single type of bean can be put to work in an incredible number of dishes. Think hearty winter stews and chilis, fresh zingy tacos, black bean soup, and cold summer salads.


Leave a Reply