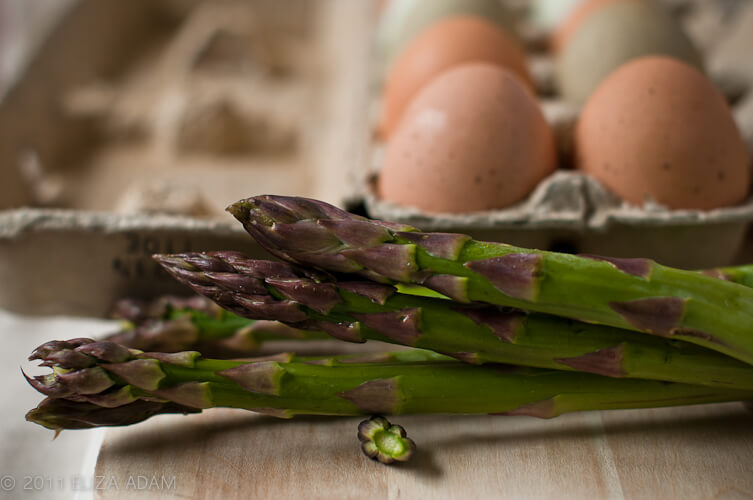
If you had told my 10-year-old self that I would one day be deeply emotionally invested in growing asparagus, I would have said “Gross!”
Love it, or hate it, this early spring crop has a unique place in both the kitchen and the garden. But even after I developed a taste for asparagus, I hesitated to try to grow it, because it takes so long to get established.
Here are some tips and tricks to picking great varieties, preparing to plant, and getting over your fear of commitment!
Asparagus Basics
One of the main appeals, and drawbacks, of asparagus is that it is a long-living perennial. It takes several years to start producing, but once it is established one bed will be productive for years to come. This is a plant that rewards patience.
Asparagus is hardy enough to thrive in a variety of conditions. My mother talks about picking wild asparagus growing in the ditches in Colorado, and I have seen monster asparagus plants in raised beds in Seattle. Commercial asparagus is grown in Mexico and California.
Asparagus wants cold winters or dry summers, to give it a period of dormancy, and grows best between 55 and 85 degrees F. As always, research what varieties grow best in your climate, and use the information from the seed company about soil temperature.
Speaking of seeds, most people don’t actually plant asparagus from seed. Because it takes so long to get established, many gardeners, including myself, buy 1-year-old asparagus crowns: a cluster of dormant buds with a root clump attached.
You may have heard people refer to “male” and “female” asparagus plants. Asparagus produces only either “male” or “female” gametes—either ovum or pollen—on separate plants. Plants like this are called diecious—a single plant cannot reproduce on its own.
In asparagus, male and female plants have slightly different characteristics. Male plants produce more spears, which makes them preferable to some gardeners, but female spears are thicker. You can buy hybrid asparagus types available that produce all male plants, which marginally increase yield but do not produce viable seeds for the gardener to replant.
Planting
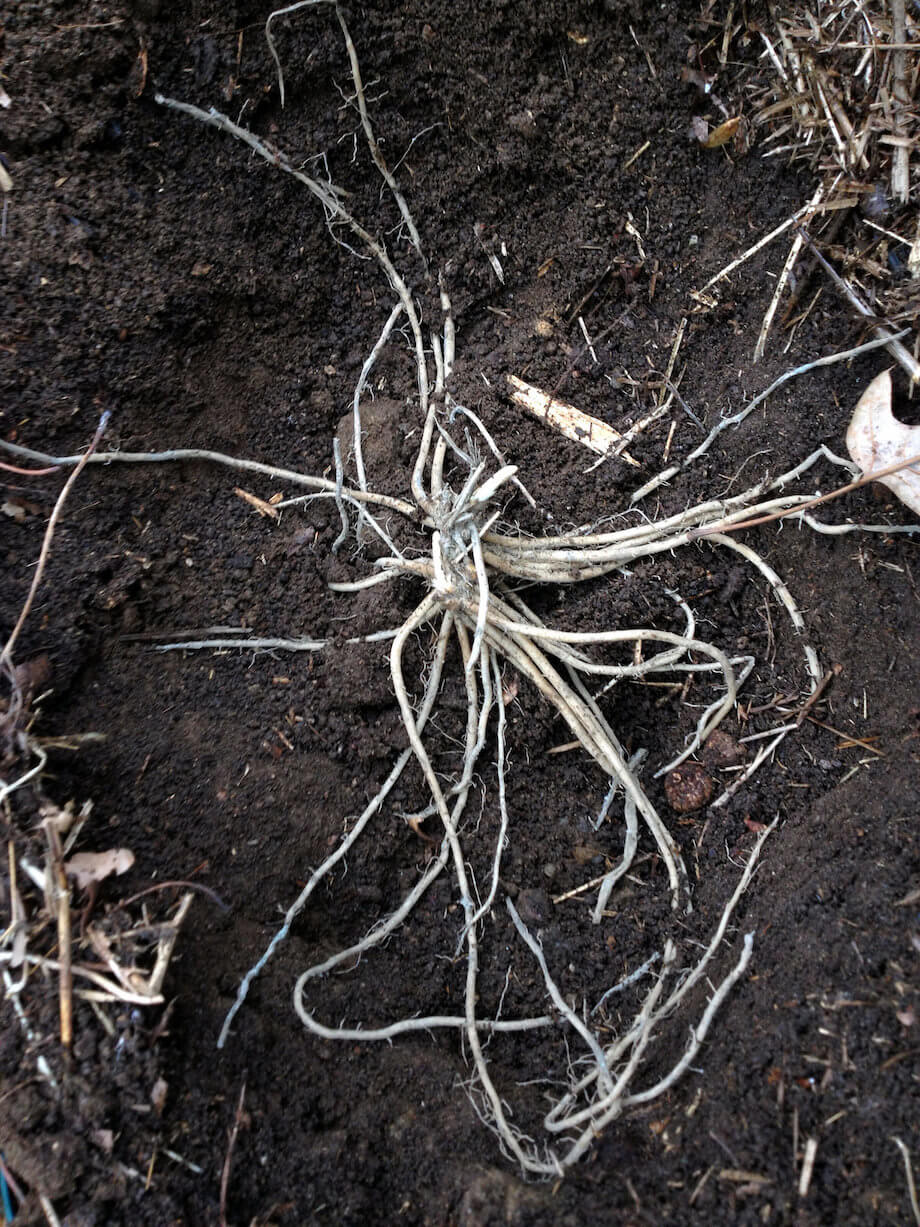
When you plan your garden bed for asparagus, choose carefully. This will be your asparagus bed for the next 15 to 20 years, if you’re lucky. It is possible to move established asparagus but transplanting asparagus damages the roots and sets you back at least a year in harvesting as the plants establish.
Before planting, get to know your soil. Check out our guide to creating and caring for healthy soil.
Soil quality is especially important for growing asparagus, since you won’t be able to turn the soil after you’ve planted your crowns. Giving your soil the best possible start will prevent headaches down the road. That includes incorporating lots of organic matter, amending to adjust pH, and focusing on getting a great soil texture.
Asparagus likes light, sandy soils that hold moisture. You can fertilize, to add nutrients, after the crowns are planted, but you won’t be able to incorporate any new material into the soil.
If you order seeds, start them outdoors in late spring. Asparagus roots grow too deep to start in a tray inside.
Follow the directions about soil temperature and seed spacing on the seed packet. Keep them weeded and watered for the first summer, and mulch them through the winter.
The following spring, as soon as the ground thaws, dig up each crown to replant in their permanent bed. If you order crowns from a seed company, keep them in a cool, dry place until you are ready to plant.
Plant your crowns about 18 inches apart, below the soil surface. Cover the roots but not the buds. As they sprout the first year you can mound soil up around the base until the original crown is completely covered.
Care
Weeding is the biggest part of asparagus maintenance. The slender stalks don’t shade any of the ground, so they do a terrible job of outcompeting weeds.
Ever wonder why organic asparagus is so much more expensive than conventionally grown? It’s because asparagus doesn’t grow in straight lines! Every year, new stalks come up anywhere in the bed, making it impossible to weed mechanically, with a tractor.
So while conventional farmers can use pesticides to control weeds, organic farms employ people to weed their acres of asparagus by hand, increasing the price dramatically.
You, like the farmers, have a choice of how to control weeds, but whatever method you use the most important thing is to start early in the season, as soon as weeds germinate, and to keep at it regularly so that weeds never get firmly established. Especially with young asparagus, vigorous weeding around them can disturb their roots.
Harvest
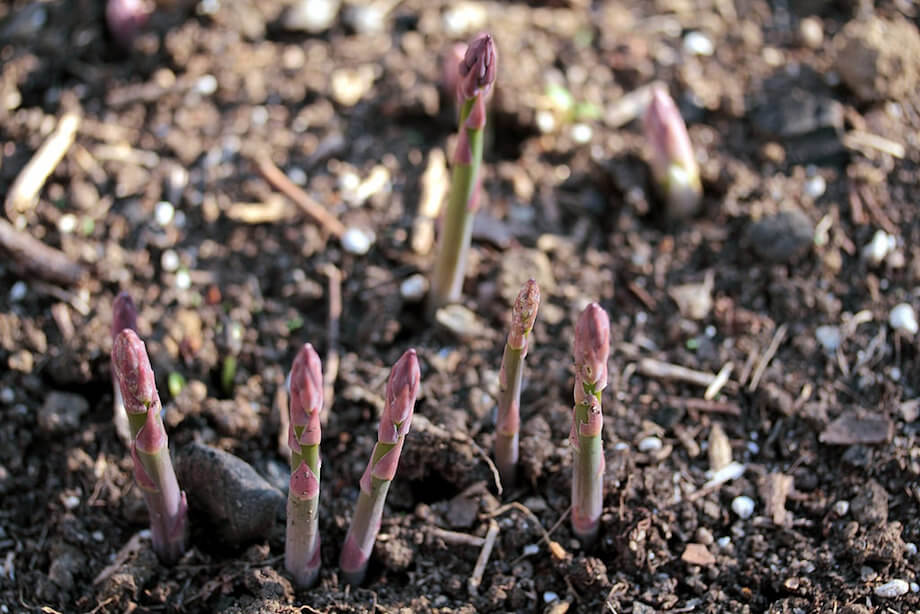
Although it is tempting to start picking your asparagus the second year after planting, restrain yourself. When you harvest spears before they go to seed, the plant puts energy into producing more spears. By not harvesting spears in the second year, or harvesting sparingly, you allow the plant to put more energy into developing a deep root system.That way it will be better established and more productive in following years. Asparagus harvest starts the third year after planting, in spring. It is one of the first green things of the harvest season, which is partly why I find it such a treat!
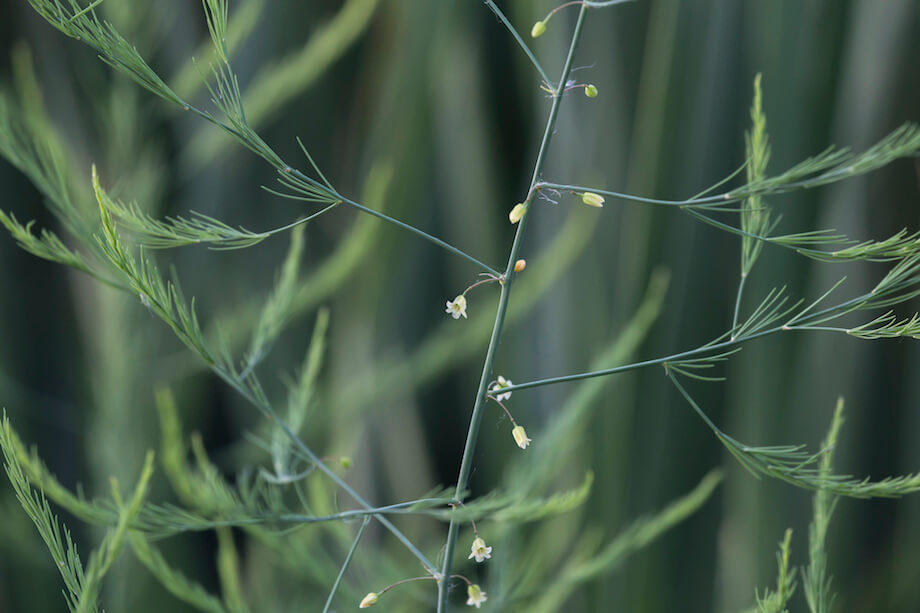
Through the season as you harvest, the spears growing will get smaller and smaller, as the plant gets fatigued. Once the spears are thinner than a pencil, stop harvesting and let the spears go to seed, becoming feathery, called the “fern” stage. After going to seed, the plants will go dormant.
When the plants are done producing for the season, mulch them with straw, grass clippings, or compost, just like mulching garlic or other overwintering plants. This helps hold moisture in the soil and suppress weeds, as well as enriching the soil with organic matter.
In the spring you can leave the mulch or remove it. In cool climates, mulch will slow the heating of the soil, so you will get your crop sooner by removing the mulch.
Asparagus is the reward of a patient gardener who will be in one place for a long time. The first year I planted asparagus I watched eagerly as the first slender shoots pushed up, too spindly to eat, and then went to seed, like feathery underwater creatures.
Then, in August, my chickens got into the garden and destroyed my baby asparagus patch (along with my lettuce successions and fall radishes). The crowns were so young that they had time to establish their root systems, and the chickens just unearthed them out of the ground by scratching for bugs around them.
All but two of my crowns had died. I cried when I found the destruction. The chickens had set me back another year in my asparagus harvest. I am naturally impatient and interested in instant gratification. I hated chickens. I hated asparagus! Who needs it? If it hadn’t been for my partner I would never have grown it again, but I’m so glad I did.
If you have an asparagus setback, take a deep breath, give yourself some time to calm down. Consider that if you are planning on living or gardening in one place for more than 5 years, asparagus is the gift that keeps on giving! Once it is established it is hardy and productive, and only needs periodic fertilizing and weeding.
And if you do have to move unexpectedly or leave your asparagus for some reason, consider the gift you are leaving to the next gardener lucky enough to follow you.
Spring Asparagus and Snap Pea Pasta
I ran across the idea for this dish years ago in a cookbook that I no longer remember the name of, but there are many variations online, many calling for cheese on top. It is one of my favorite spring recipes because the astringent flavor of the asparagus pairs so perfectly with the sweetness of the peas. It is a great dish to showcase these early season favorites!
Ingredients
- 1 cup chopped asparagus
- 1 cup chopped snap peas
- 2 cups dry pasta
- 4 cloves garlic, minced
- 1/4 cup extra virgin olive oil, or enough to coat pasta
- 1/2 tsp lemon juice
- Salt and pepper to taste
- Fresh thyme, sage, mint and oregano, chopped fine
Directions
- Cook pasta according to the instructions on the box, drain and set aside.
- In a frying pan, sautee peas and asparagus with minced garlic, until bright green, just beginning to become tender.
- Toss the cooked pasta with the vegetables in the pan, drizzle with olive oil until lightly coated, season with just a dash of lemon juice, salt and pepper to taste.
- Chop the fresh garden herbs and sprinkle them over the top. Serve hot or cold.














Leave a Reply