What Is an Earthbag?
An “earthbag” is not a thing in and of itself. It is actually a combination of two things: a bag and dirt. These dirt-filled bags are then used like large bricks.
What Type of Bag Do I Need for Use in Earthbag Construction?
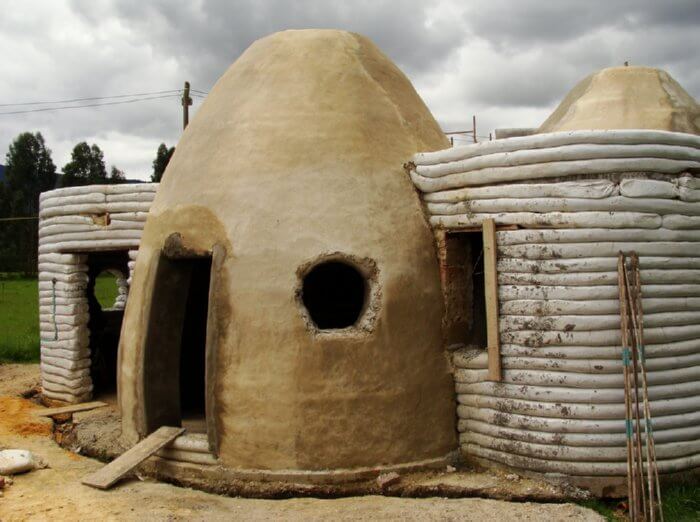
As the bags will have to stand up to some significant pressure from the dirt within them, and the weight of the wall on top of them, they need to be sufficiently strong. You can’t fill some single-use Walmart bags and expect to build a structure that is going to last for any length of time. In the realm of earthbag construction, you generally get two different camps. On the one side you have the all-natural builders that will shun the use of any synthetic material; while on the other, you have those who don’t mind using modern materials in conjunction with old. The former will generally use burlap sacks, and the latter use woven polypropylene bags.
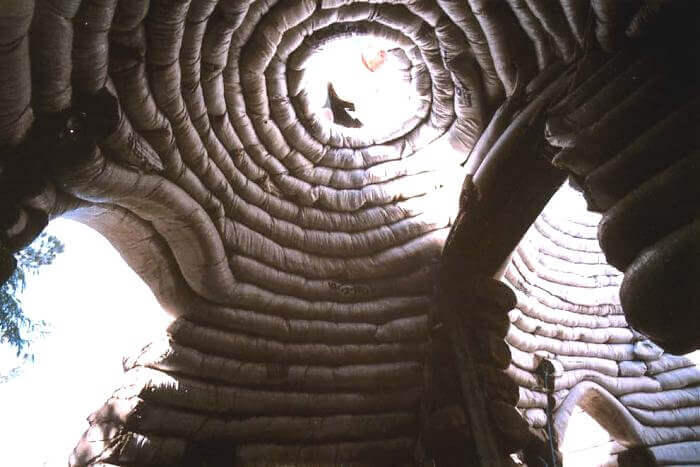
Each type of bag has its strengths and weaknesses. The polypropylene bags are typically more easily obtained and cheaper to purchase. They are widely available online through suppliers or on sites like eBay. The most significant downside to poly bags is that they are UV sensitive. If left unprotected in the sun, they will disintegrate and weaken the wall. The burlap sacks, on the other hand, are made of natural materials — although many are treated with hydrocarbons to make them stronger. The burlap can stand up to the sun better than poly bags, but they are more prone to rot in humid climates as they are a natural plant material.
You should also be aware that there are different sizes available. In general, you are looking for bags that are around 17 inches by 30 inches. This size works well for many reasons. First, it is widely available. Second, it makes a filled bag that is easy to handle (a filled bag will weigh around 90 pounds). Finally, when assembled in the wall, this size makes a wall of a nice thickness – about 15 inches wide. Bags of other sizes have their use, but this size will be your main go-to.
What Type of Earth Do I Need for Use in Earthbag Construction?
Many natural building methods use soil as their main ingredient. From adobe to rammed earth, to earthbag and rammed tires, soil is going to be a big part of your project. When doing research on these choices, you will often hear of the “perfect” soil mixture being 70% sand and 30% clay. This makes for a strong and rock-like material once dry. For something like rammed earth or adobe where the dirt itself will have to stand on its own strength, this ratio is important. However, for methods that involve an enclosure for the dirt (whether it is a bag or a tire), you can stray a bit from this ideal ratio and still get away with it. And if your earthbags are only going to serve as infill between load-bearing members (like a timber frame), then you can stray even further from this ideal.
How Do You Build an Earthbag Home?
Building any home is a complicated process that involves many different steps, and an earthbag home is no different in this regard. In so short an article, I will not attempt an entire step-by-step guide on how to do it, but I will go over some of the general steps.

Lay a Foundation
The first step is to build the foundation. Remember that the walls that rest on this foundation will have a weight that is far greater than your normal stick-framed wall. This means the foundation also needs to be more significant than your typical foundation. It will need to be wider than usual in to spread out the increased load appropriately (this is especially true if you are in an area with soils that have poor bearing capabilities). It will also need to be thicker in order to not crack under such a load.
Most of the time, a concrete foundation of some sort will be utilized. This can be a typical concrete foundation that would be like one you find on your average home. It might be a slightly modified concrete foundation like one that rests on a tamped rubble base. Some people have even tried cement-stabilized earthbags on a rubble trench. Just know there are many choices and all have their own set of adherents and critics. Which one works for you depends on your climate and personal preference.
The final word on the foundation is to make sure that you have some way of stopping moisture from wicking up from the foundation into the wall. This is generally done using a thick plastic sheeting placed over the foundation. However, an alternative approach can also be used: The first course of the earthbag wall can be filled with gravel rather than dirt. The air spaces between the pieces of gravel within the bags prevent water from rising from the foundation into the wall above. Whatever you choose, make sure to do something as not having any barrier there will eventually weaken your wall – especially in nonarid climates.
Assemble the Walls
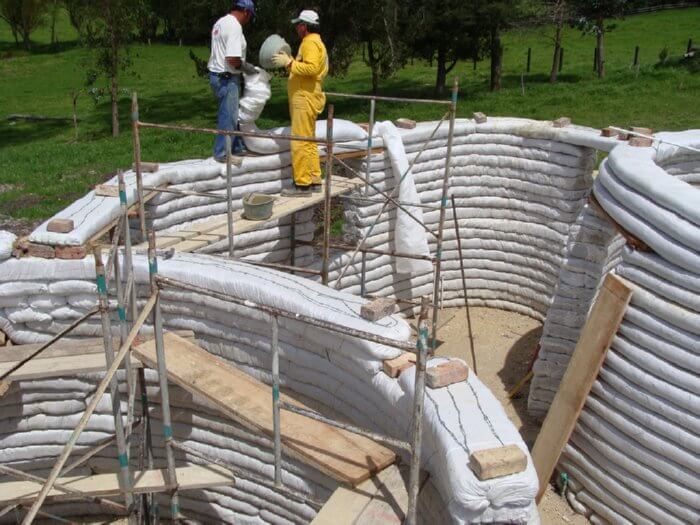
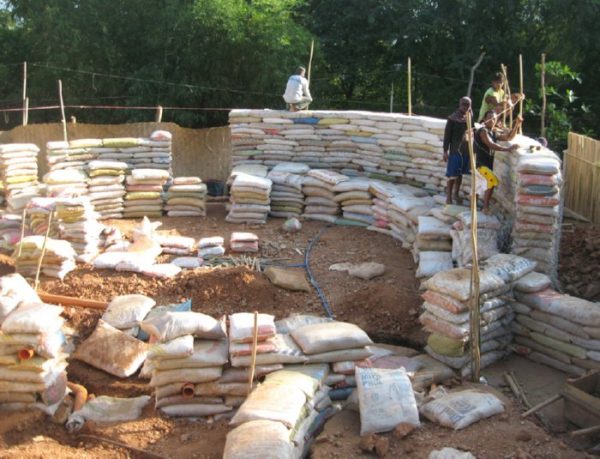
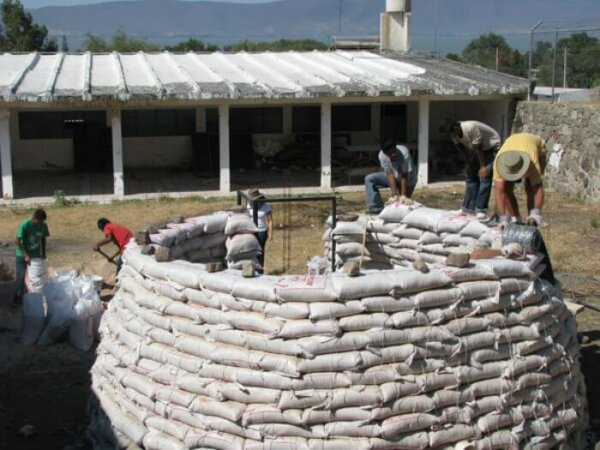
The first step in building an earthbag wall is to fill a bag with dirt. You will quickly find that filling a bag on the ground without any support is possible but not easy. To facilitate the process, you will want to make a bag stand that holds the bag upright, open, and in the correct location on the wall. The stand makes filling the bag much easier. Once filled to 6 inches from the top, fold over the top of the bag and put it in its place (which should be right where it was filled). Repeat this process for the entire length of the wall.
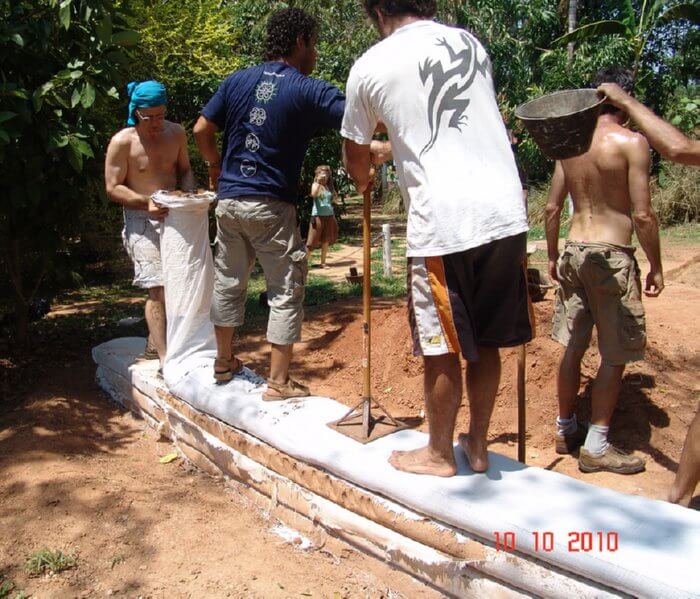
Once you have a whole row complete, you now need to tamp that row to make it hard and compact. Tamping also locks the bags together. To do the tamping, you need something heavy with a flat bottom. You can use a log that is about 5 feet long, a metal store-bought tamper, or a concrete one that you make yourself. Whatever you choose, make sure it is heavy enough to tamp well, but light enough that you can use it without tiring too quickly. Of course, the exact weight will vary according to individual strength, but an average store-bought tamper weighs about 15 pounds, so if you make your own, use 15 pounds as the standard.
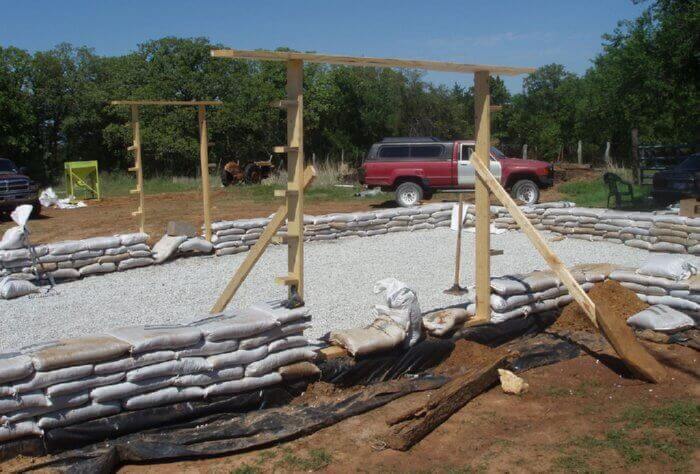
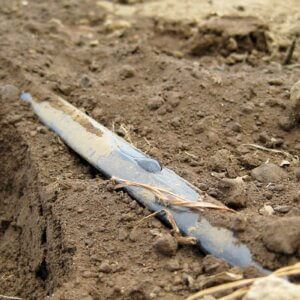
Now that the first row is completely laid and tamped solid, it is time for the second row. Before placing any bags, you will need to lay down a couple strips of barbed wire along the entire length of that first row. This will help to lock the layers together as the barbs will grab on to each one. You will now do the second layer like the first. However, there are a few things to note. You will need to have something under the bag stand to prevent the bag being filled from getting stuck on the barbed wire before you want it to. Also, you must make sure to lay the bags correctly. They must be placed like bricks; every bag in the second row needs to sit on two bags from the first row. Never allow the seams to line up in consecutive rows.
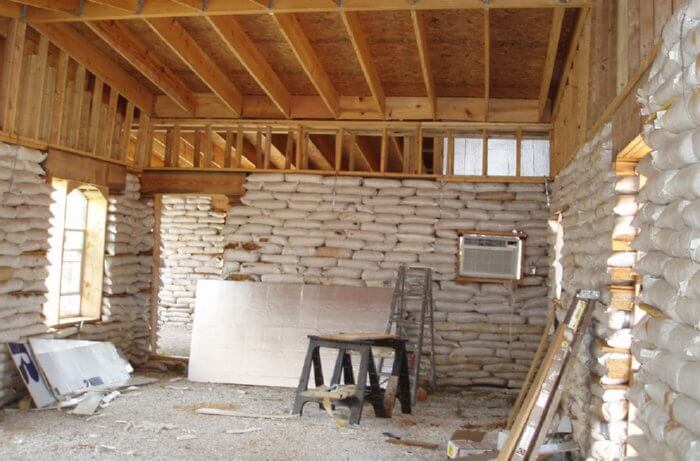
You will continue as above until you reach the height of the wall desired, leaving spaces for windows and doors. This is usually done through the use of temporary wood forms that are placed in the wall. The bags are built up and around these frames and once the structure is finished, the forms are removed.
Put on a Roof
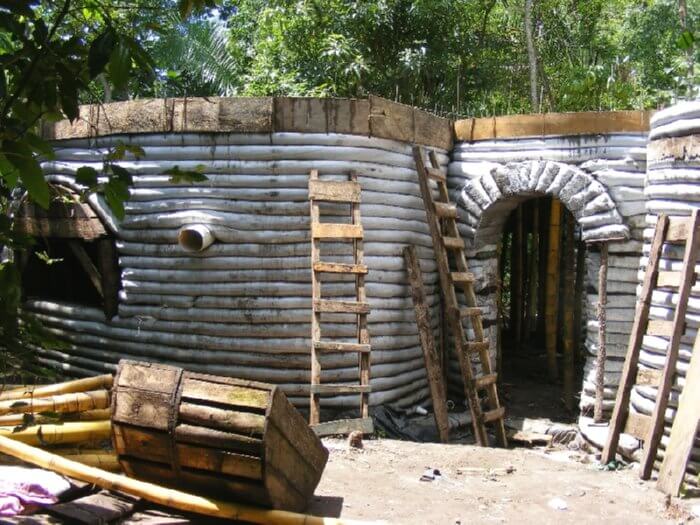
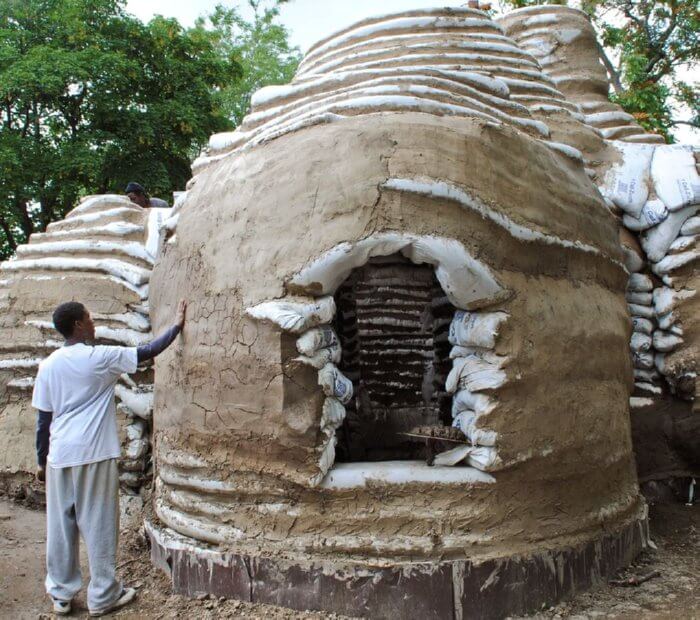
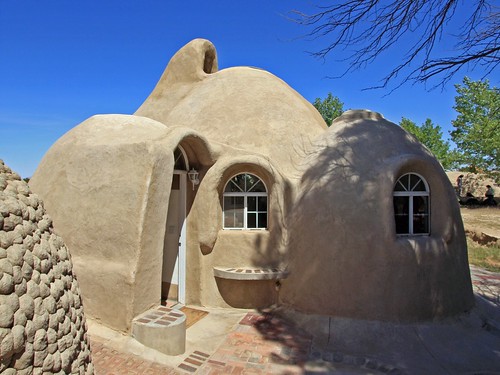
There are multiple roofing options available for an earthbag house. You could have a bond beam on top of the earthbag walls and then attach a normal roof to that bond beam. Earthbags provide you with a unique opportunity – a domed roof. On circular structures, once you have reached the desired wall height, you continue to lay layers of earthbags. Every layer comes a bit closer to the center of the circle than the last. You continue this until a dome is formed that is self-supporting and strong.
What Are Some Advantages of an Earthbag Home?
Ease of Construction – The techniques involved in earthbag construction are not all that difficult. Even without much experience, you should be able to construct a small structure with little difficulty.
All Natural – If you use burlap bags, the entire building can be constructed of natural materials. And even if you use the poly bags, only a small portion of the finished building is artificial in origin.
High Thermal Mass – Dirt is a material that has a high thermal mass. This trait makes the building itself a giant storage unit of thermal energy. It is able to absorb large amounts of energy and then release it slowly over time which helps to prevent quick temperature swings.
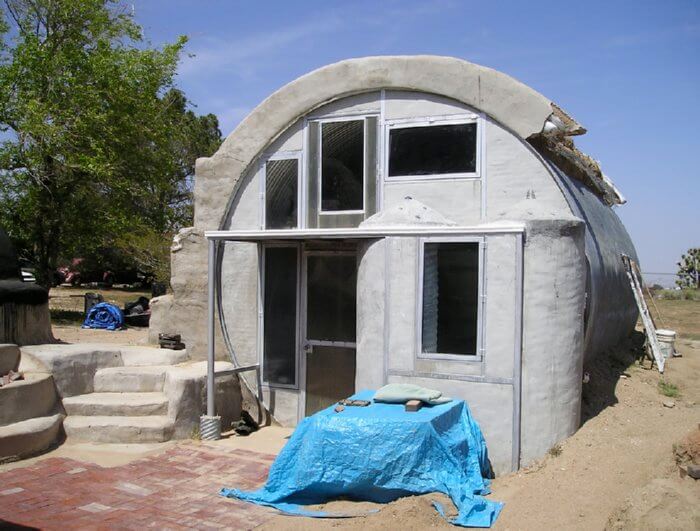
Cost – An earthbag structure can be built for a fraction of the cost of a traditional dwelling. This is, of course, assuming that you do the brunt of the work yourself and source the materials from around you. As the major part of your materials can be found beneath your feet, that shouldn’t be too difficult!
What Are Some Disadvantages of an Earthbag Home?
Low Insulative Value – While dirt has a high thermal mass, it has a low insulative value. This trait means that it will not prevent heat loss well. In order to function in a good portion of the country, insulation will need to be added to the exterior of the building, which can be tricky, but not impossible.
Permits, Insurance, etc. – As with all building methods that aren’t widely used, it can be tricky to get a building permit in some locales. This is a fact of life. Either go where there are no building inspectors or learn to work with the one you got. I should also mention that some insurance companies might not be willing to insure your new earthbag home, so check with them first if that is important to you.
Earthbag Home Construction Timelapse Videos
Now, it’s one thing to talk about all these features … and another to see them in action. Check out these videos of earthbag construction to show what it looks like when all these elements (and a LOT of hard work) come together to make a home.
Inspiring Photos


Books and Resources
- Books, supplies, links, lots of info: earthbagbuilding.com
- Cal-Earth focuses on researching, developing, and teaching the technologies of Superadobe. The prototypes have not only received California home permits but have also met the requirements of the United Nations High Commissioner for Refugees (UNHCR) for emergency housing. calearth.org
- Buy long bags here: calearth.org/shop
- Rubble-Bag Houses – How to: motherearthnews.com
- Earthbag Building: The Tools, Tricks and Techniques by Kaki Hunter and Donald Kiffmeyer.
Earthbag Architecture: Building Your Dream With Bags by Kelly Hart (Forward by Owen Geiger).
Building With Earth: A Guide to Flexible-Form Earthbag Construction by Paulina Wojciechowska
Polypropylene Sandbags for Sale
- Empty Beige-Tan or Green Woven Polypropylene Sandbags with BUILT-IN TIES, UV Protection; Size: 14 inches by 26 inches, 100 bags
- Sand Bags – Empty White Woven Polypropylene Sandbags with Ties, with UV Protection; size: 14 inches by 26 inches, 10 bags
- Empty White Woven Polypropylene Sandbags With UV Coating Protection, 14 inches by 27 inches, 100 bags
This article is updated from an original version by author Kieren Fox.










We built an earthbag retaining wall with barbed wire between the layers. It is solid and appears to be doing the job. We tried stucco-ing the bags directly but it quickly disintegrated over the summer. Trying to find something to cover the bags so we dont lose all our hard work.
I wish I’d known about earthbag homes years ago. I’ve only become aware of them recently and I like the low cost of it and the fact that most of the material is already onsite. I wasn’t sure how to achieve an earth home for my project so what I did was buy a dome home kit (this one, simpleterra.com/dome-homes/) then built earth up around it, using it as the base.