If you’re interested in cultivating dynamic, healthy, nutrient-rich soil, and are keen to incorporate nature’s natural composters, worm farming may be a perfect option for you.
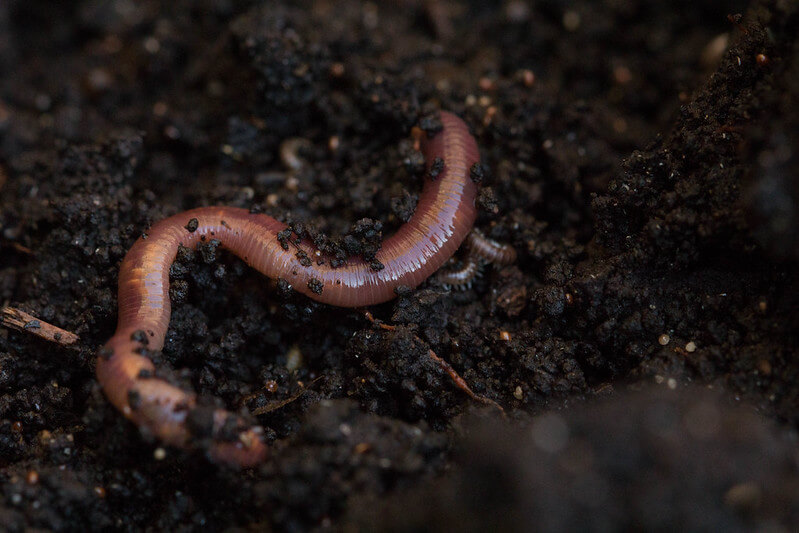
While rather less common than most soil invigorators, worm farming may be the most beneficial option (and in the long run, the least amount of work).
Interested? Read on to learn more.
What Is Worm Farming?
A worm farm, generally speaking, is a contained composting space where live worms feed on your food scraps.
Why You Would Want to Worm Farm
The benefit of worm farming (and the byproduct) is that worm waste is an incredibly nutrient-dense fertilizer that does wonders for your soil. It’s known as a top-tier fertilizer that can even increase moisture retention rates.
Fun fact: Worm-produced compost is commonly called vermicompost.
Vermicompost can also be called “black gold” because it is literally one of the highest quality, all-natural garden fertilizers possible. Vermicompost is incredibly nourishing for plants. Other names for it are worm castings and worm pee or poo.
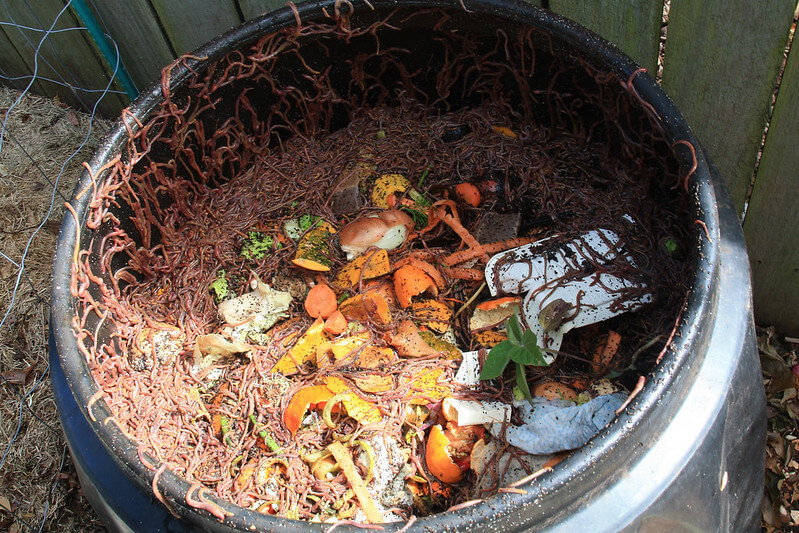
Aside from this beautiful benefit, it is an excellent way to reduce your household waste, and therefore, reduce waste being sent to landfills. Plus, economically speaking, you paid for your food scraps, why not use them for something beneficial? Once your worm farm is created, there’s next to no cost in keeping it going.
Fun fact: Worms can reduce organic material’s composition up to 95%.
Worm farming can also be an awesome educational experience for families with children. It’s a great way to teach them about reducing their environmental footprint, utilizing everything they have, learning the cycle of life, gardening, and many other things. And let’s be real, it’s not just an exciting educational experience for kids, but also for adults. It’s fun, and the worms can start to feel like pets as you get acquainted with feeding them.
This may sound odd, but if you have friends and family like mine, giving worm castings away as a gift to boost people’s gardens is a great idea. You can also sell your worm castings at farmers markets if you have extra and want to make some cash. It’s quite easy (and honest) to market as organic, too.
How Do You Acquire Worms?
Most can easily be ordered online and sent right to your doorstep. The question is how many, what species, and what’s the budget? If you’re starting from scratch, it may be best to purchase a smaller size until you get familiar with the process.
However, buying worms in bulk can be cheaper. I’ve found that you may expect to pay $50 to get started with a good amount — and you pay for worms by the pound. Red wrigglers (mentioned above) are generally about $30 a pound.
How Do You Determine How Many Worms to Get?
A fairly easy way to figure out how many worms you need is to consider your general food waste per week. Every day, gather your food scraps in a bin and weigh them. Or wait and weigh them all at the end of the week. Depending on what you find, and knowing that some species of worms consume up to half of their body weight a day, you’ll be able to do some simple math to figure out how many worms you need and how large a container space you need.
Hint: Generally speaking, if you have 2 pounds of food waste daily, you’ll want 4 pounds of worms.
What You Need to Start Worm Farming
The materials needed are relatively cheap and easy to find. If it doesn’t suit you to create your own worm farming compost boxes, you can order them online. However, online is the more expensive option (and less of a learning experience).
Here’s what you need.
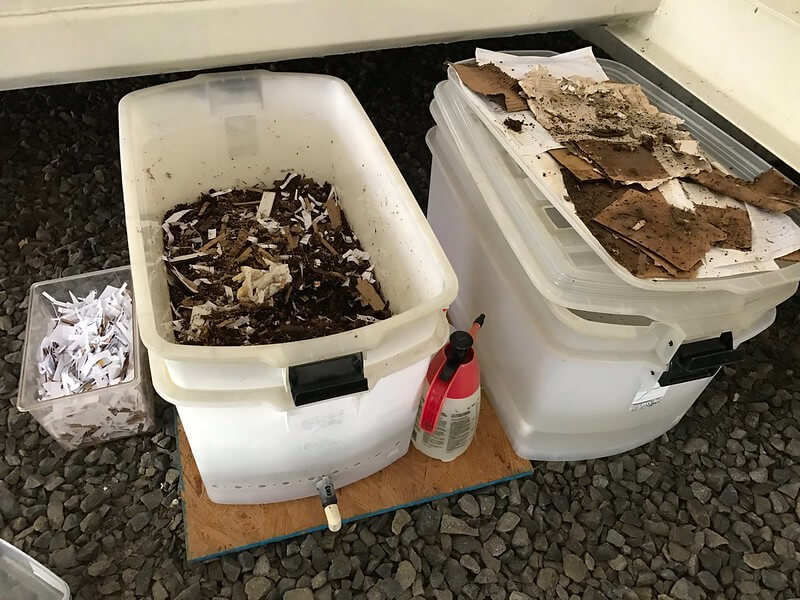
- Two rubber bins (one taller with a lid, one short without a lid)
- A tool to create small holes in the top bin
- Some sort of screen (like a window screen)
- Waterproof glue to keep screens in place
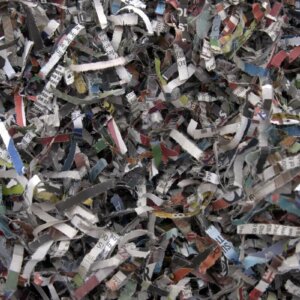
- Shredded, noncoated paper, newspaper, or brown paper bags moistened appropriately or soil or both
- a spray bottle to help moisten soil
- A tool to stir the compost
- Optional: food scraps container if you plan to feed your worms once a week
If it isn’t obvious, the primary ingredient to a worm farm is worms. What perhaps, is less obvious, is that it’s important to know which worms to get.
Earthworms are the best way to go, and more specifically, red worms (or red wrigglers). These are especially popular because they are known to consume half of their weight every day and thrive in compost environments.
After you’ve gathered your materials, you’ll want to create a few holes along the top of the upper bin, along with four moderately larger holes near the bottom corners of the top bin.
The screen should be cut to the appropriate size and glued over the holes in the bottom of the top bin. No holes should be created in the bottom bin.
Place the upper bin on top of the bottom bin.
The next step in this process is creating the beginning mixture of your compost bin. You’ll want to create enough so that there’s at least 3 inches of it in the top bin.
This can be a mixture of paper and soil or just soil. Make sure the soil is loose and broken up (no large, hard clumps). It’s also important to ensure it is all moistened appropriately to provide a good habitat for the worms (appropriate moistening is discussed below).
The next step is to add your worms. With the stress of being sent in the mail and made acquainted with a new environment, some say it’s best to give the worms a few days to adjust to where they are. After those few days, you may start adding food scraps for them to break down.
Another hint: I have been told (and am unsure of the truth behind it) that worms do not like onions, garlic, and citrus food scraps. A homestead I was working on forbid any orange or lime peels, onion (or the like) to be composted.
For sure don’t feed your worms dairy, meat, or extremely spicy foods. Those are a hard no!
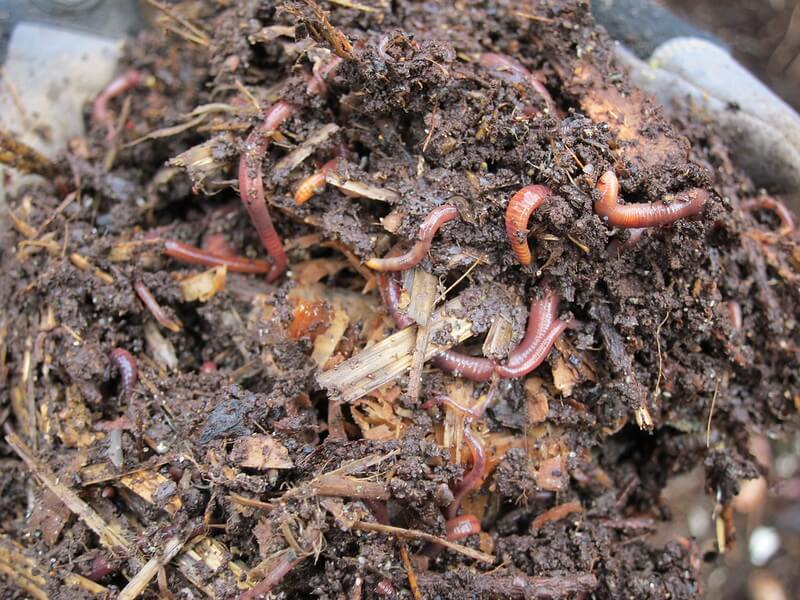
Some Tricks to Keep Your Compost Healthy and Alive
While it’s perfectly fine to toss your compost scraps in as you make them, some say to collect and deposit them once a week to keep regularity in the compost cycle. This likewise allows the worms more time to break things down between new foods being added.
When you feed your worms, add more soil or paper to keep the consistency right.
Regularly checking the moisture content in your worm compost is also important. You want dampness, not wet. Make sure everything in the bin is of equal moisture content (a spray bottle should help).
Related POst: DIY Worm Composting Solution for Under $20
It is helpful to make a small hole in the middle of the bin, place the food scraps in it, and then brush the newly added damp soil or paper over it.
Paying attention to what foods your worms seem to avoid eating can help increase their break down processes. For example, if you notice one particularly dry broccoli stem that’s been in there for a while, take it out.
And checking the buildup of worm castings regularly is wise as well. That way you begin to understand how fast they are breaking down the food and providing your garden with nourishing compost.
What to Do After Your Worms Are Established
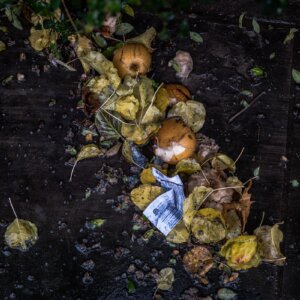
Easy! Just add your compost scraps, tea bags, vacuum dust, coffee grounds, etc., and let the worms do their magic.
Another thing you may decide to utilize is worm tea. The tea is as beneficial as the worm castings, and can easily be given to plants. All you have to do is drain the liquid that accumulates at the bottom of your bin and apply wherever you like.
It should be noted that this is just one way to worm farm. Many people create wooden outdoor boxes for their worm compost while some utilize trashcan setups. It’s totally dependent on you, your aesthetic, financial means, space availability, and general goals for worm farming.
Worm Farm Smelliness
Ideally, your worm compost should be next to odorless or smell of natural earthy goodness. If you begin noticing an unpleasant smell (rotten food, specifically), it could mean the worm bin is too acidic. Generally refreshing the bedding (soil and paper composition) will fix the odor. Having healthy bedding also helps keep fruit flies away.
It’s a learning process so have patience!
















Leave a Reply