So you love garlic, and you are ready to take the leap into growing garlic on your own.
This culinary staple is easy to grow and has a long shelf life, to keep your kitchen stocked all year. Look no further than this article for the basics of growing garlic, along with some tips, tricks, and recipes.
Varieties Of Garlic
There are dozens of varieties of garlic available, and the best choice for your garden depends on where you live. Most seed catalogs and online seed stores will note which climates are best for which seeds in the seed description. If you are buying garlic from a local garden store, they should already be stocking varieties that grow well in your climate.
Hardneck Garlic Vs. Softneck Garlic Vs. Elephant Garlic
Garlic falls into two main categories: hardneck and softneck. The difference is exactly what it sounds like – hardnecks have a firm central stem, while softnecks have a leafy top.
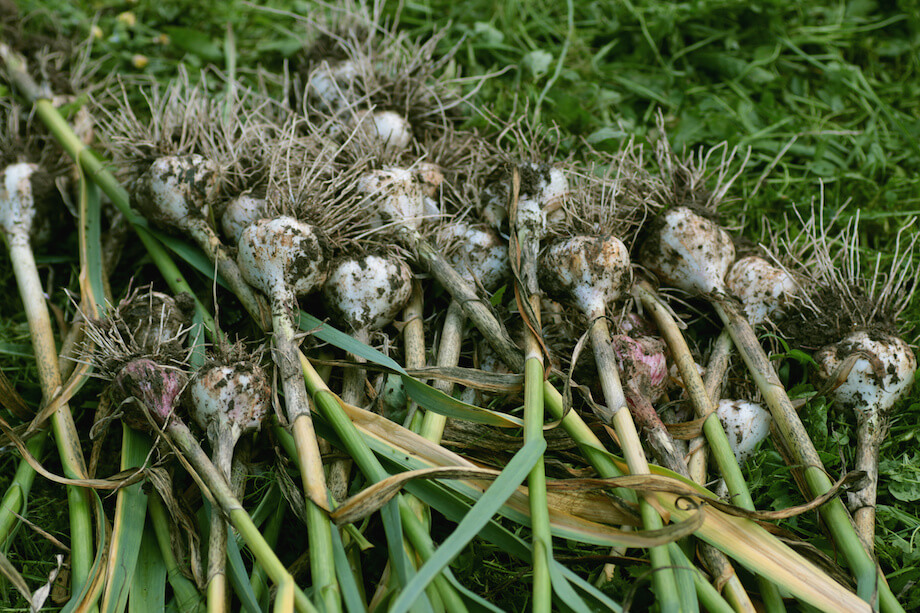
Hardneck varieties grow better in colder climates, and have slightly stronger, spicier flavors. The cloves are larger but contain fewer per bulb than their softneck cousins. The biggest difference, however, is that hardneck garlic produces a flower stalk, called a scape, which has to be trimmed before maturity, and which is a delicious culinary ingredient in its own right.
You may have heard of elephant garlic. Fun fact: It’s not actually garlic. Elephant garlic is much more closely related to leeks and has a mild allium flavor compared to the more potent flavor of “true” garlic. No matter what variety you choose, there are some general tips for growing garlic that applies to both soft and hard neck garlic.
The Best Soil For Growing Garlic
Get to know your soil before planting. Like all root vegetables, successfully growing garlic requires light-weight, well-drained soil, the sandier the better. Heavy, clay-filled soil will stunt your garlic’s growth and if it is too wet, it can even start to mold. Prepare your seedbed the same way you would for any planting.
Till and amend your soil as needed. Most agricultural extension services offer soil testing for low or no cost. This will give you an accurate reading of your soil’s pH, and nutrient levels. There are also home kits, which offer variable and unreliable results.
Getting a sense for your soil’s pH is more important than getting a precise read on the nutrient content. Most plants want slightly below a neutral pH of 7 for optimum growth, but a soil’s natural pH varies widely from place to place, and naturally adapted varieties will have some tolerance for the indigenous pH. In the Pacific Northwest, we have acidic soils, but just a hundred miles away on the other side of the Cascade mountains, the soils are basic.
As far as nutrients go, the big three are nitrogen, phosphorus, and potassium, or NPK. Other “micronutrients” are also necessary but needed in such small quantities that they are difficult to add on a small scale. If you are amending your soil with manure or with an NPK fertilizer, your bases should be covered. Assessing micronutrient levels is a good troubleshooting strategy when pH and NPK seem normal and your plants are still having problems.
Planting Garlic
When you buy seed garlic, it will likely come in whole bulbs—the way you buy garlic to eat. Before planting, each clove—the parts that make up the bulb—has to be separated, but not peeled. The larger the clove, the larger and hardier the bulb of garlic that will grow from it, so don’t worry about the tiny sliver-shaped cloves at the center of the bulb.
Separating cloves can be time-consuming. Many hands make light work, and this is a great task for long car rides, watching a movie, or keeping antsy kids occupied.
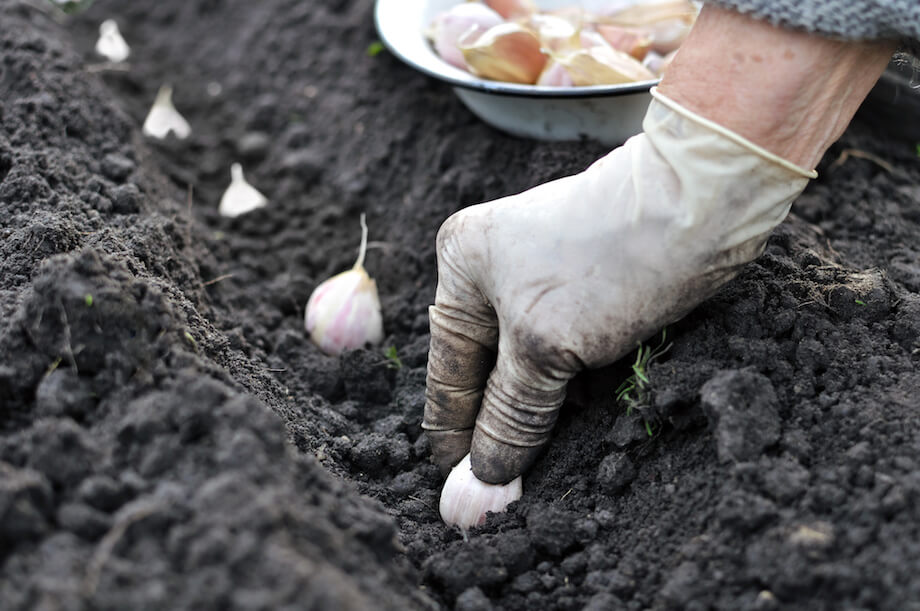
Garlic is planted in the fall and harvested in mid-summer the following year. Planting time depends on how warm your climate is. A good rule of thumb is to plant garlic the same week as your average first frost date, or slightly before.
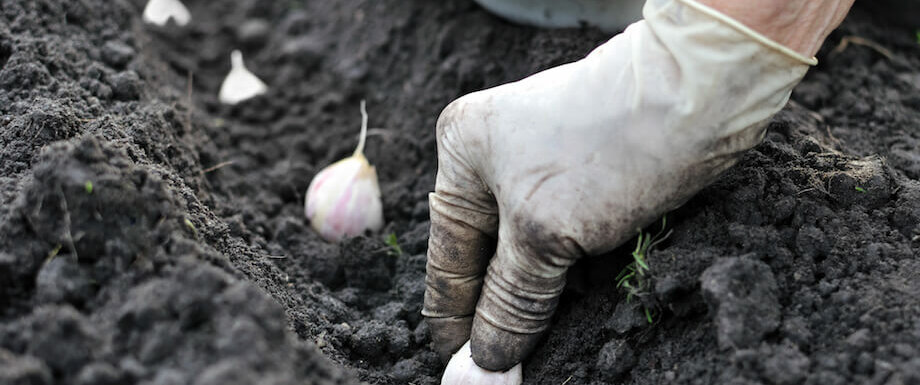
Garlic is easy to plant. Push the cloves into the soil, pointy tip up, just like tulip bulbs or daffodils. They don’t need much space—they can be planted about six inches apart. Once the cloves are in the ground, spread mulch to help trap moisture and heat, and to suppress weeds. Most people use straw, but you can mulch with leaves or grass clippings. Beware of introducing weed seeds with your mulch—garlic doesn’t compete well with weeds.
Keeping Garlic Plants Healthy
Throughout the winter, growing garlic shouldn’t require much of your attention. In some climates, it will germinate in the fall, but especially in cold areas, you don’t want shoots to grow before the frost, since the cold weather will damage them.
When spring starts, you’ll need to weed the area around your garlic. When dry weather arrives, you’ll need to start watering it. If you are growing garlic that are hardneck varieties, you will notice it growing a scape sometime in late spring or early summer. The scapes should be cut off after the bud at the end forms, before the plant goes to flower. Cutting the scape redirects energy into the bulb and gives you a harvest of delicious vegetables. But as far as growing garlic that has a soft neck, you won’t need to worry about scapes.
Garlic Scapes
Scapes have mild to medium garlic flavor and can be eaten raw or cooked. In the summer, my friends grill scapes on the barbecue as a side dish for—anything really, but my favorite way to eat scapes is pickled with vinegar and chili peppers. They pack a real punch in the winter when you are missing the strong flavors from the garden.
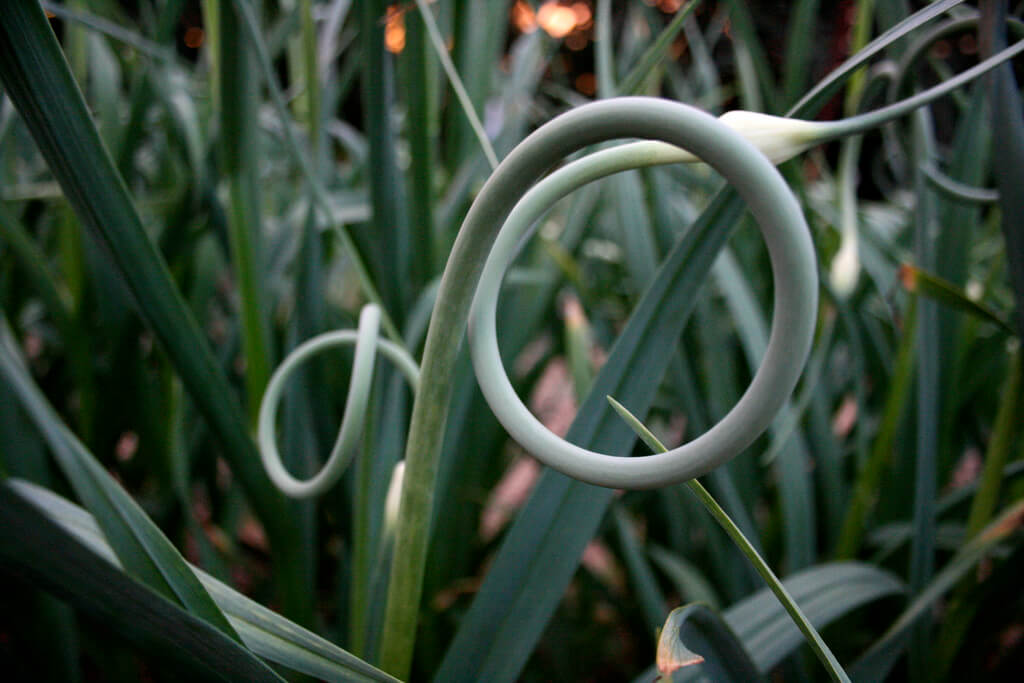
Scape season is only about two weeks long, so keep an eye on your hardneck garlic. If you miss the window, not only will you miss out on a culinary treat, but you will end up with scrawny garlic bulbs.
Pickled Scapes Recipe
Experiment with cloves, coriander, dill, and other spices. Some people add sugar at the same ratio as salt for more sweetness.
Your scapes should be shelf-stable and ready to eat as a garnish, seasoning, or palate cleanser throughout the year.
Ingredients
- Fresh garlic scapes, with the ends trimmed. The bud is the tenderest part.
- Brine made of equal amounts apple cider vinegar and water, enough to fill jars
- 2 tablespoons of pickling salt per 3 cups of brine
- 1/2 to 1 teaspoon each of white and brown mustard seeds and whole peppercorns per jar
- 1 or 2 whole hot chilis per jar
Directions
- Bring brine to a boil.
- Pack your jars with scapes, chilis, and spices, and pour the vinegar/water/salt brine to fill.
- Follow instructions for hot-water-bath canning in our article on canning from here.
Harvesting Garlic
Your garlic should be ready to harvest between the beginning of June and the end of July, within about a month of scape season. Pull up one bulb to check the size and development. Garlic is ready to harvest when it has clearly differentiated cloves, even if it is not very large.
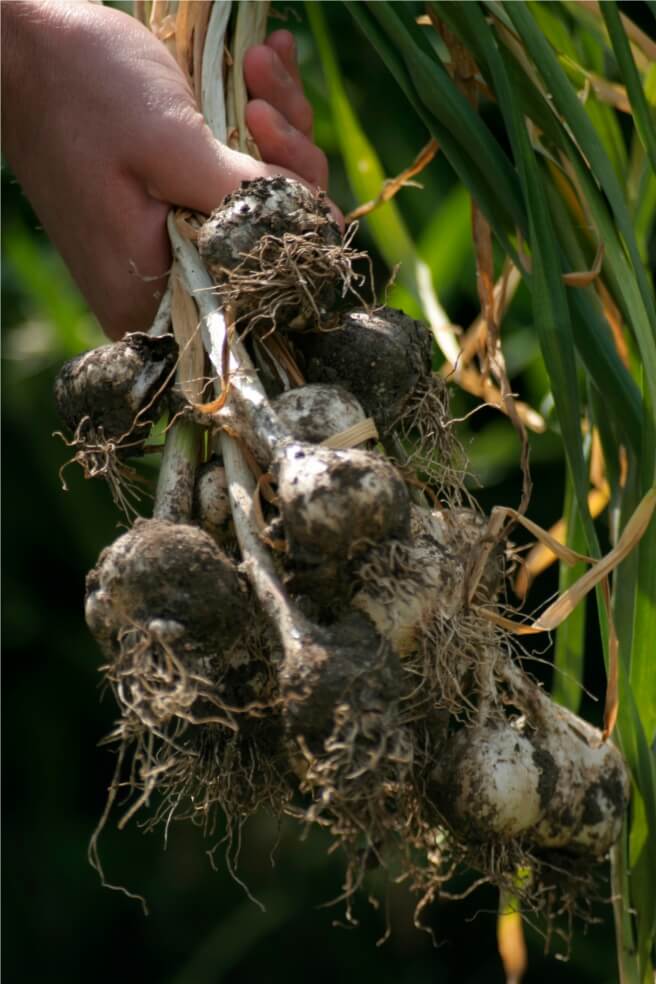
Garlic can be hard to clean, depending on your soil texture. Don’t wash the bulbs with water. Getting wet will cause them to spoil. Generally, garlic should be kept dry.
Once dry, the dirt can be brushed off, to some extent. That said, I have seen professional farmers sell dirty garlic. A little dirt won’t hurt you, and you will peel it before eating anyway.
Curing Garlic
There is a difference between fresh garlic and the stuff you buy at the store. Fresh garlic has a milder flavor and is easier to peel, but it won’t keep.
To store garlic without spoiling, it first has to be cured. Curing involves hanging the garlic in bunches in a dry, dark place for several weeks to a month. They will turn fully brown, and the skin will get flaky and papery.
Once cured, garlic can be stored for several months, although I can never quite get my garlic to last until June. After your summer harvest, you can put aside some of the biggest bulbs to plant in the fall. By saving the biggest to plant, you are selecting for larger and larger garlic.
Garlic is one of my favorite kitchen staples and growing garlic is always rewarding. My partner and I plant a crop every fall, and in our climate, it is a low maintenance crop. Don’t let the details overwhelm you. The best way to get started is to put a few cloves in the ground and see how they grow.
If you found this helpful, check out other titles in our series on growing veggies.















Leave a Reply