It’s hard not to love succulents—so much that they deserve a beautiful planter. Succulents are low maintenance, hardy, and look gorgeous. But they are also an incredibly odd bunch, coming in more shapes, colors and sizes than the cars on our roads. It’s for this reason that they deserve a pot that matches our love for them and their unique aesthetic.
Building a succulent book planter is a great DIY project that can be done at home on the cheap. There’s few materials required, and the result is amazing. You’ll have friends knocking on your door to build another one for them. Trust me—I know.
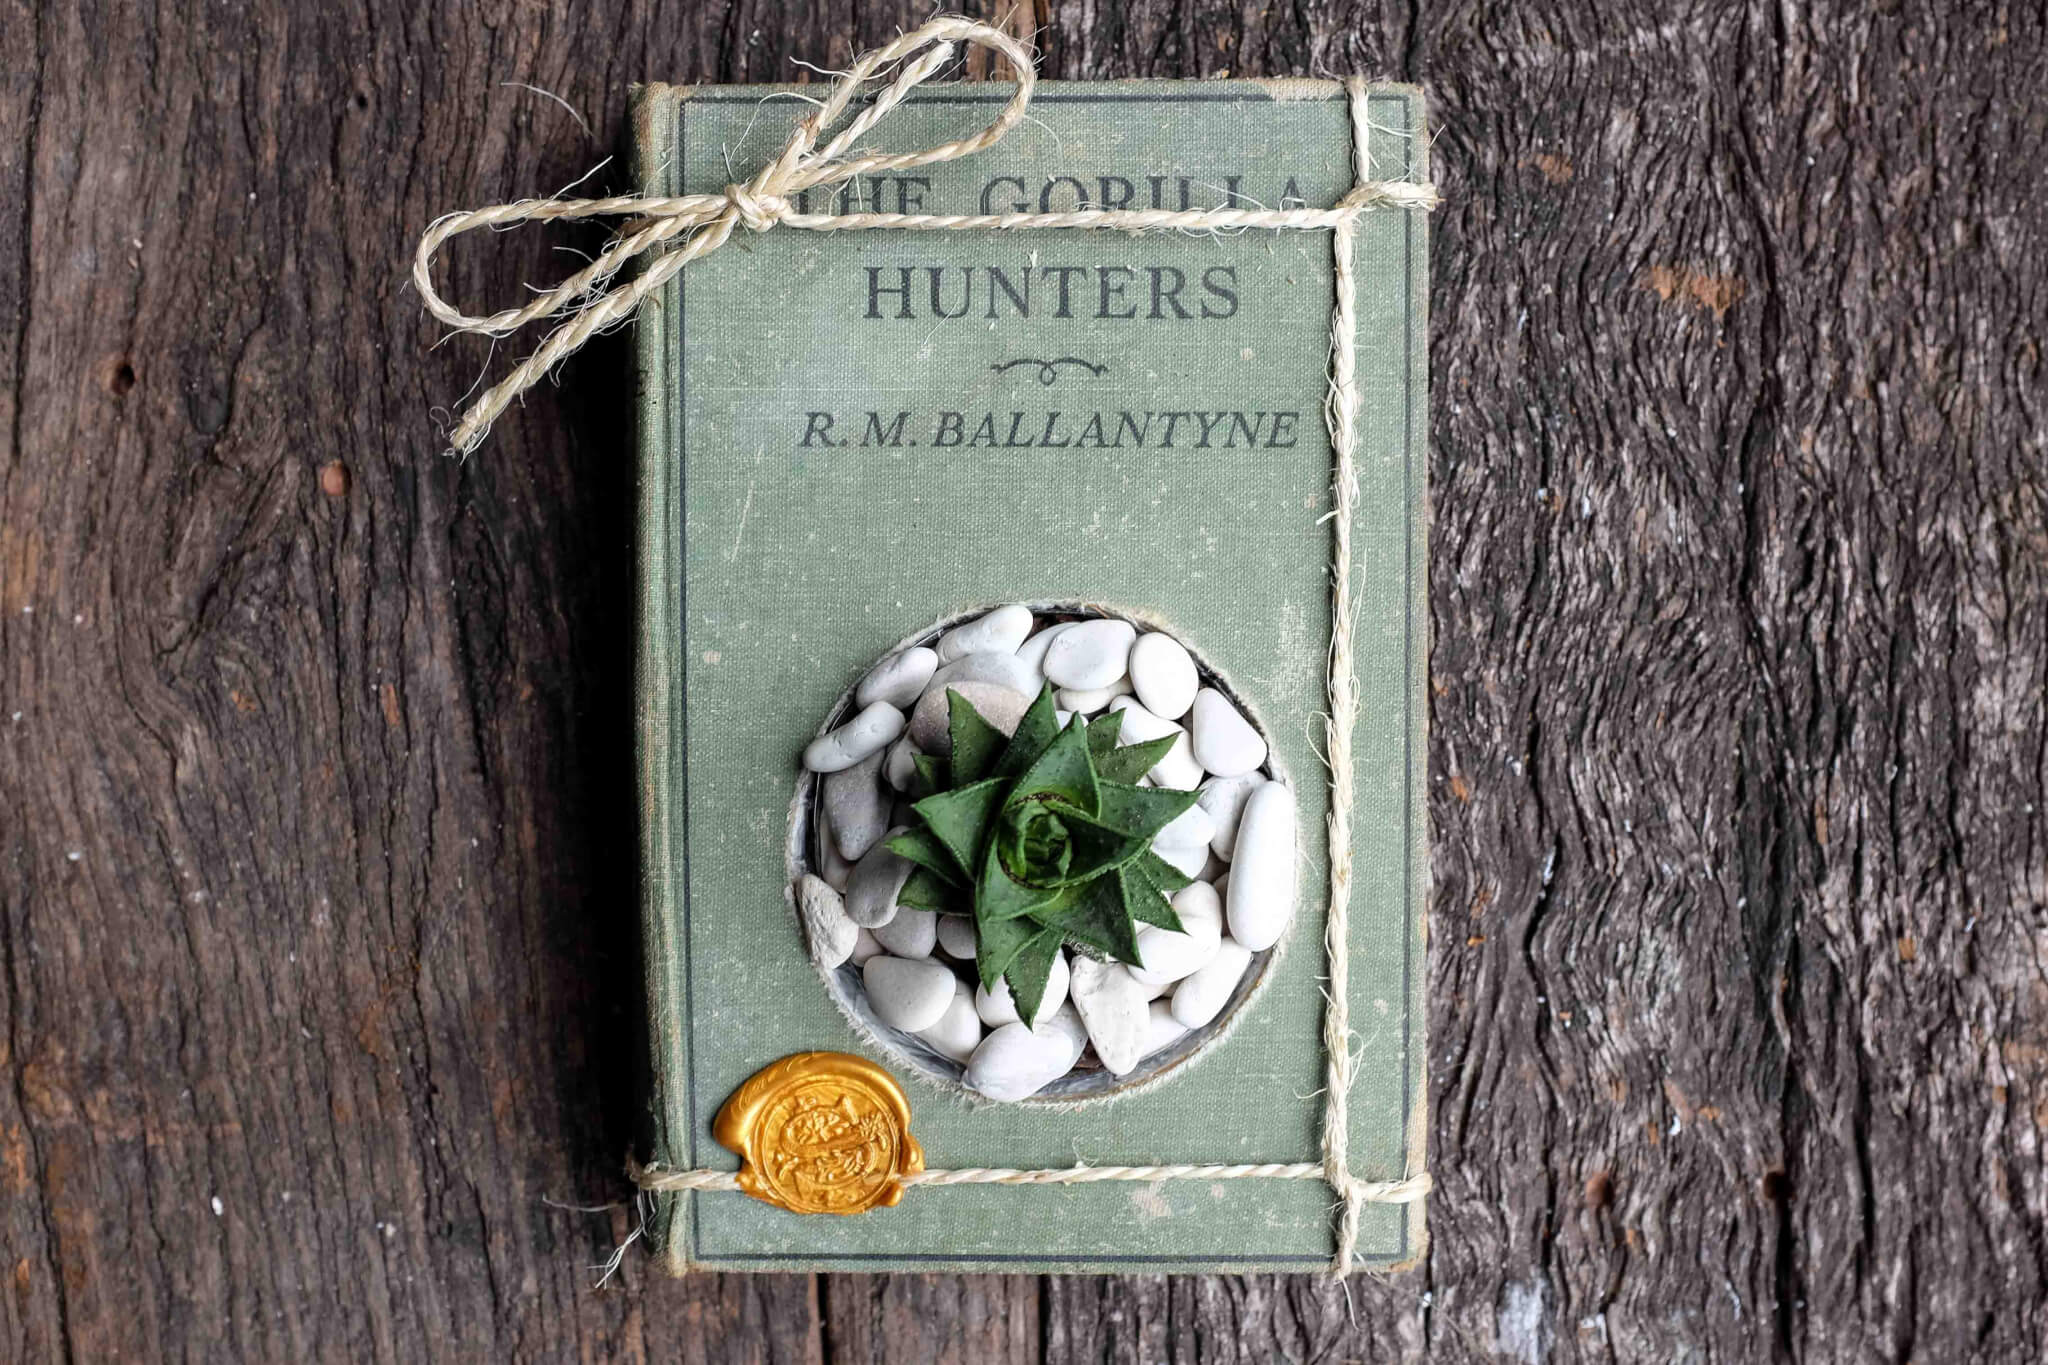
Materials You’ll Need
- A vintage hardcover book
- Twine (optional)
- Craft glue
- Wax (optional)
- Wax stamp (optional)
- Pebbles
- A succulent
- No more gaps
Tools You’ll Need
- Caulking gun
- Small paint brush
- Electric/battery drill
- Hole saw bit
- Clamps
Glue The Books Pages Closed
Start by pouring some of the craft glue into a small container. You’ll want to start with around a tablespoon of glue and dilute this with a little splash of water—this aids in the book pages drawing in the glue.
Brush the glue mixture over the three outside edges of the pages. Make sure to give it enough time to soak up the glue before reapplying. Different books will have different permeability and porosity of the pages, so it’s not an exact science. Just keep your eyes on it to see how the pages are soaking it up.
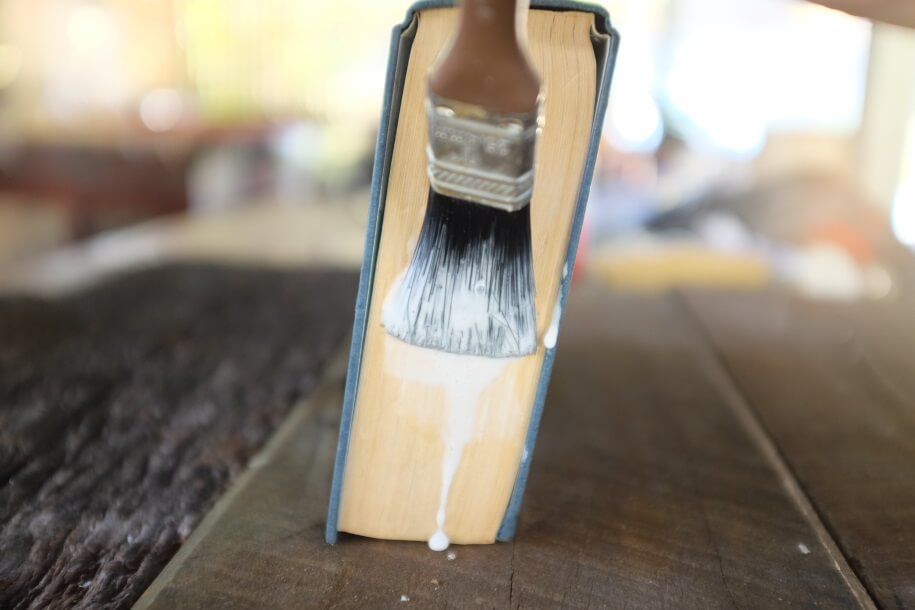
Once you’ve applied at least four generous coats of the glue mixture (more is better, but this is a good start), leave the book overnight for the glue to harden. You should place something heavy on top of the book to compress the pages. This will help with drilling later on.
Find Where You Want To Drill
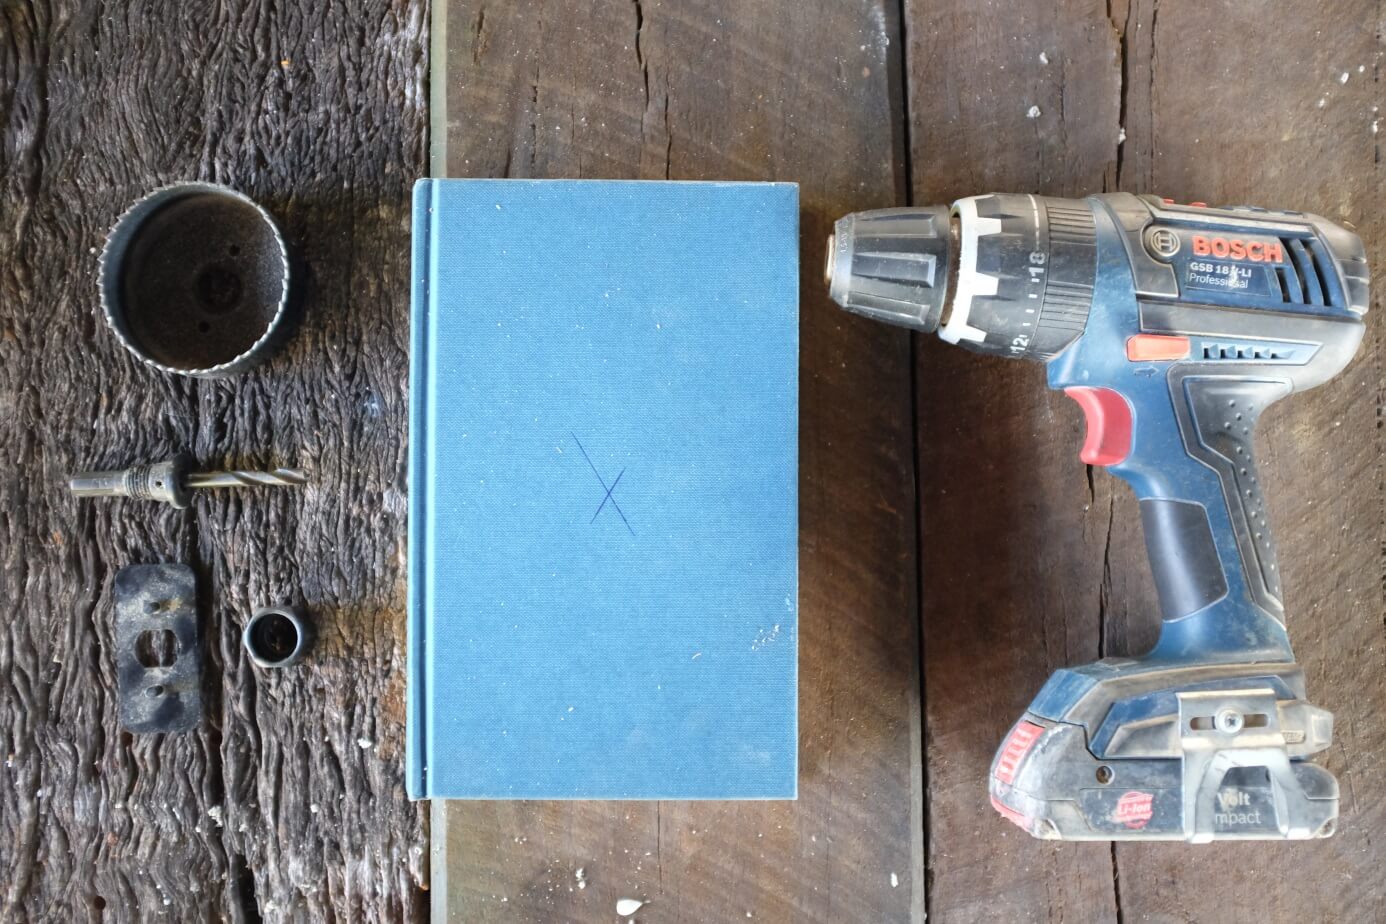
Depending on the title or shape of the book, you may want to make the hole slightly off-center. Most of the time it looks best centered, but there’s an option here to place it where you please.
Place a relatively straight object across two diagonal corners and mark only a small section in the center. Repeat this for the other corners. You should have a small cross in the center that will show you where to start drilling, but not large enough that it will extend outside of the cut hole.
Drill The Opening
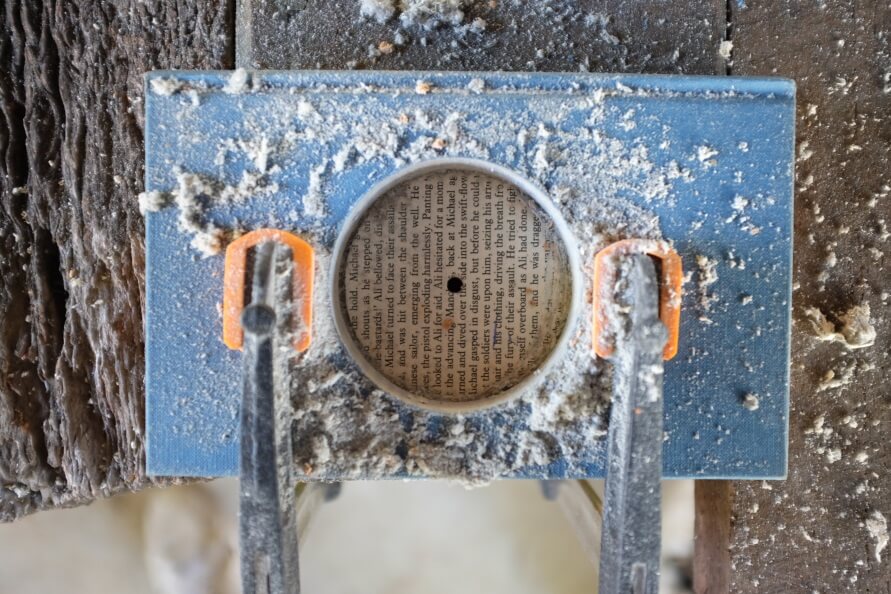
Start drilling on the location you have marked. To make a clean cut, bring the hole saw down as flat as possible to the cover of the book. You will need to firmly apply pressure to drill through a small section, then remove the drill to clean out the pages that have become stuck in the hole saw bit. Repeat this process until you become close to the last few pages, but don’t drill all the way through!
A note on the size of the drill bit: as the hole saw size becomes larger, it can get very difficult for a battery powered drill to cut through—it just won’t have enough power. If doing big books it would be smart to use an electric drill with more power.
Waterproof The Inside
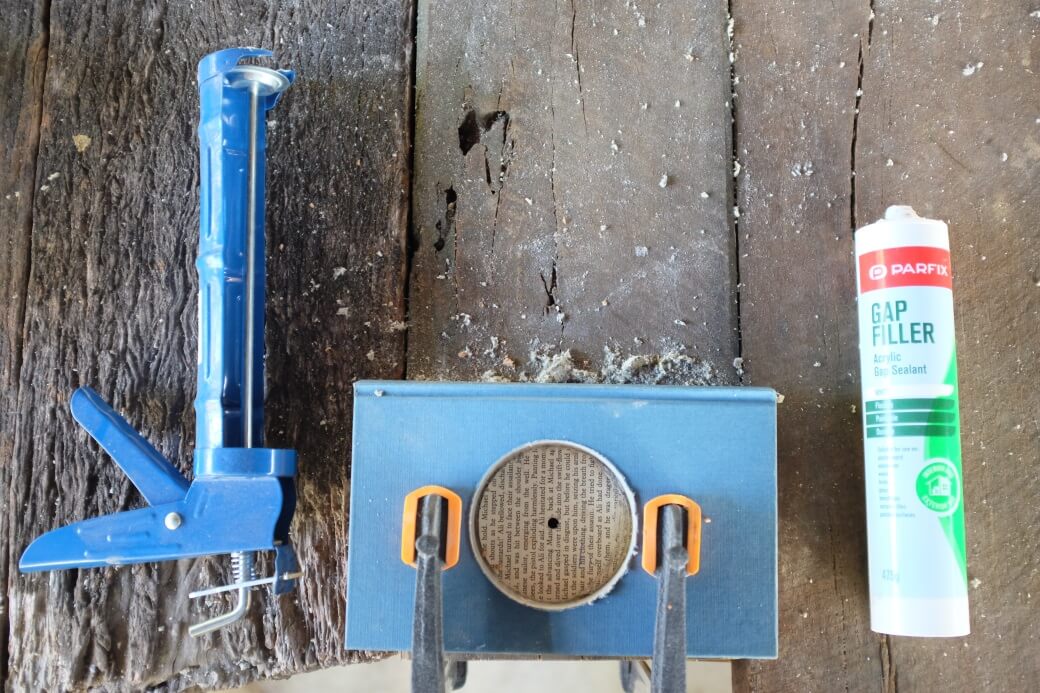
Now you have a few different options when waterproofing the inside of the book. I’ve used gap filler, because it’s the cheapest and easy to apply, but you could use anything else you’re able to find at the hardware store.
Before waterproofing make sure they are no loose, flimsy pages that are half cut through in the base of the opening. This will cause some headaches with the waterproofing. Just reach in and tear them out if you’ve got any.
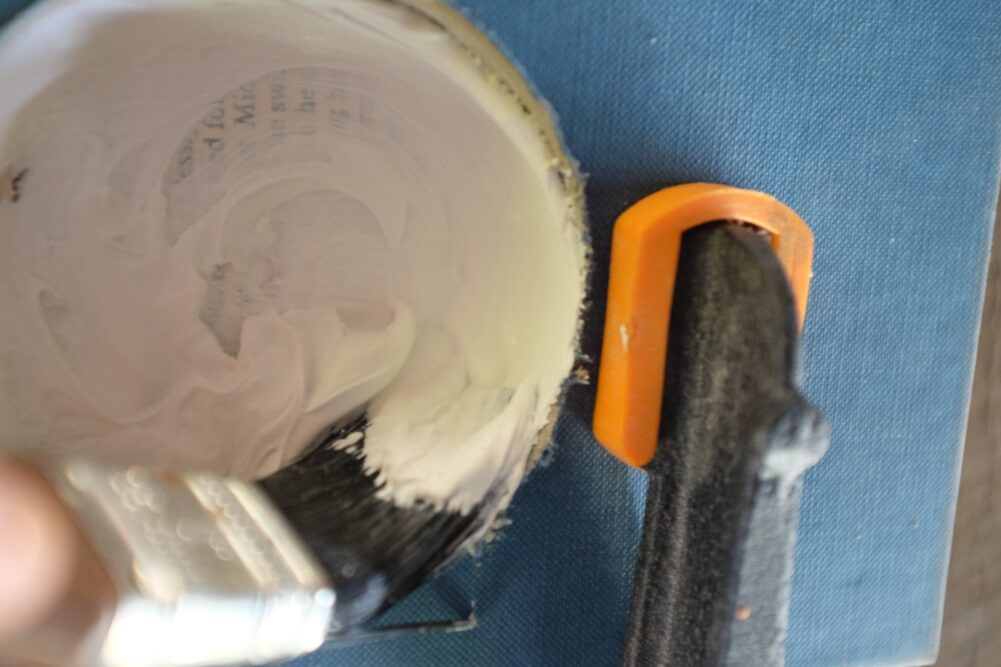
Use the caulking gun to put a decent amount in the opening (plenty will become stuck on your brush). Paint this into the book in a swirling motion—it’s fairly thick stuff so a typical back and forth motion doesn’t work.
Follow the manufacturer’s instructions on letting the sealant dry and set (usually overnight is fine) and get ready to plant your succulent!
Plant Your Succulent
Pot the succulent in some coarse potting mix, then add some pebbles or another ornamental topping to cover the soil.
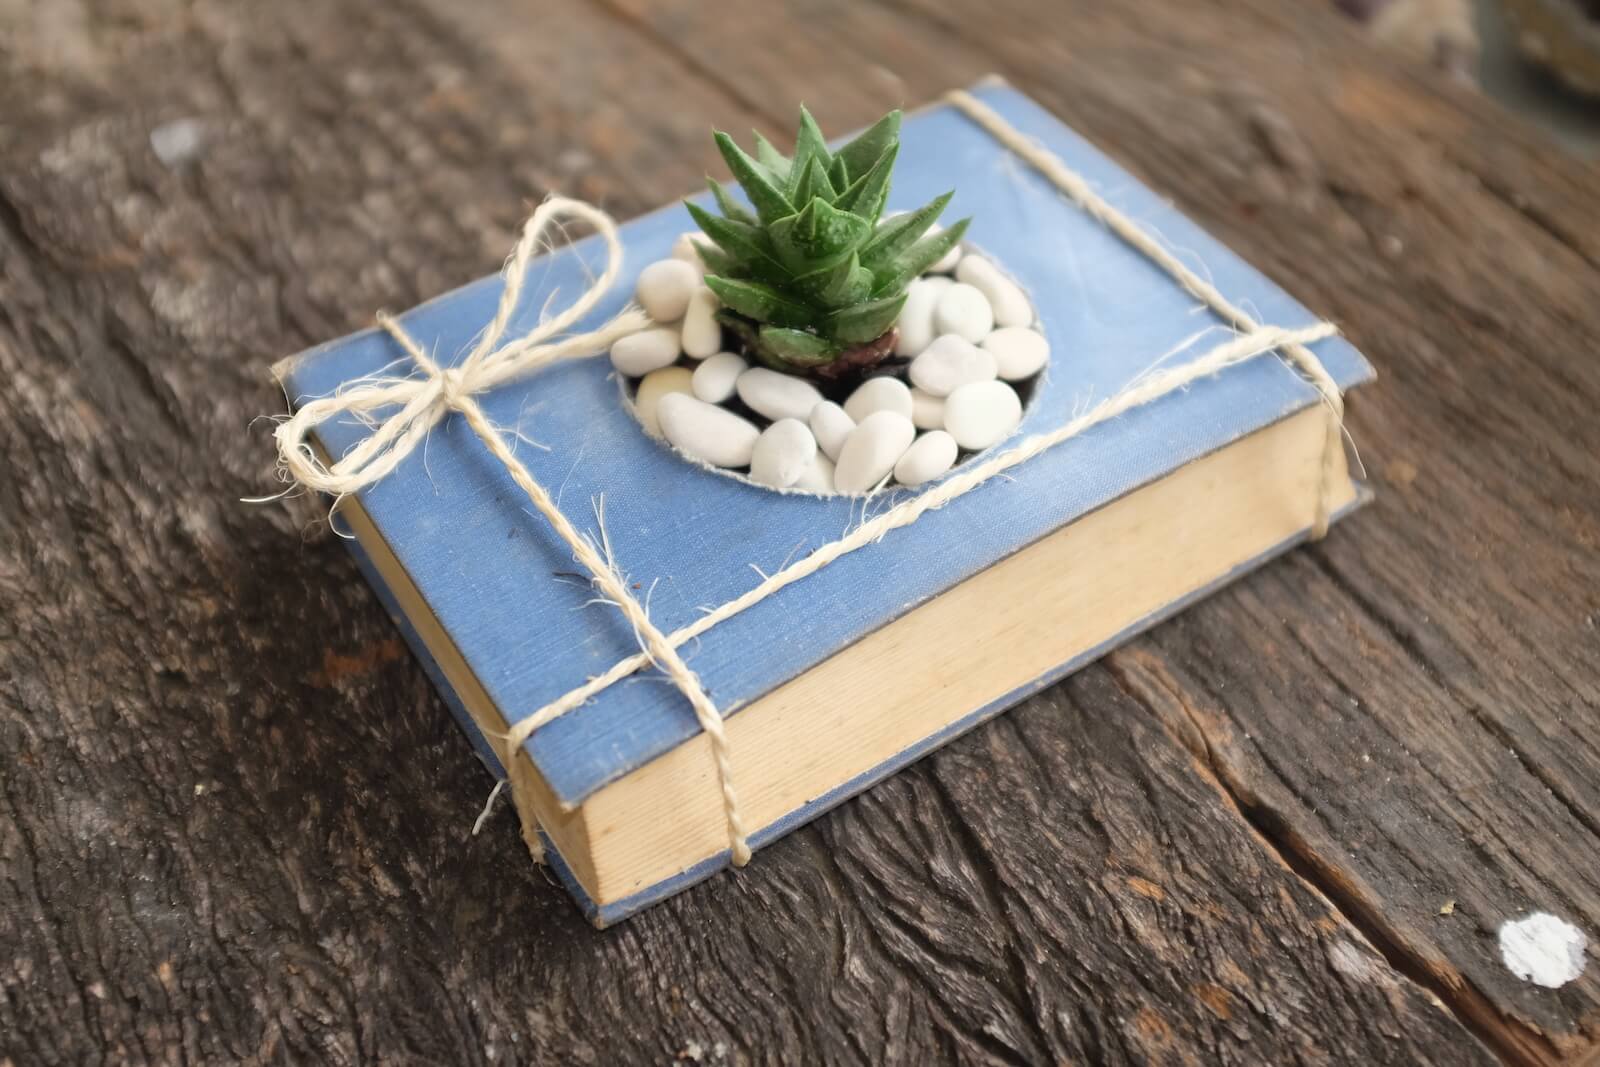
If you want to get fancy, you can also add twine to the arrangement. It’s not there to help the book stay closed (it’s difficult to get a tight enough knot), but for aesthetic purposes. Finishing it off with a wax stamp also adds an impressive element.
This is a memorable and cost effective way to create a beautiful succulent planter.
















Leave a Reply