I started making my own soap out of necessity, but eventually it became one of our farm products. Around 2000, I started having severe rashes. I had combination allergies, which made me allergic to soaps, shampoos, laundry detergent and even toothpaste!
I started out making my soaps with melt-and-pour glycerin, but that proved to be too expensive.
So, I thought to myself, “If my grandmother could cook soap outside all day, I know I can make soap!”
I devised a plan to make an old-fashioned, cold-process soap. I didn’t want the expense that most recipes called for, so I decided to just use what was available to me.
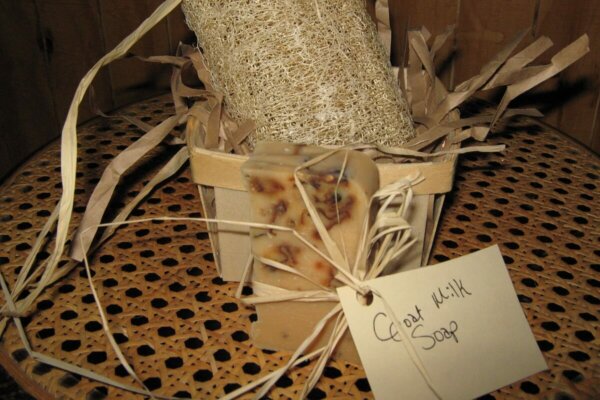
Although, I will admit I did try to make “cooked” soap with wood ash and rain water sieved through bushel gourds. I worked on this soap all day, and it was just too soft. I wanted a firm, but not brittle, soap. So cold-process soap it was!
Cold-Process Soap Basics
The main difference between melt-and-pour soap and cold-process soap is that melt-and-pour is just that: You melt the pre-made cubes, pour them into molds and wait for them to cool. And just like that, they’re ready.
Cold-process soap, on the other hand, requires mixing fixed oils with an alkali to form the oils into a solid. Cold process soap requires more work, but generally, it’s cheaper and can yield more product than melt and pour soap. For more information about cold process soap, check out Brambleberry’s beginners guide to cold process soap making.
Soap Oil
For the soap oil I used hog fat, saved from the hog we had recently killed. We are farmers and homesteaders, so we don’t waste any part of an animal that gives its life for us to sustain ours. You can also use deer tallow. Just render the fat down into liquid.
If you don’t have access to hog fat/lard, you can save any old cooking oil—olive oil, grape seed or vegetable—and strain it to use.
Soap Liquid
For the liquid base, you can use water, tea, infusions, or milk. We have dairy goats, so we freeze any milk that gets old for our soap making.
If I use an infusion or tea I usually don’t use more than 2 cups. You can just use water, but it makes the soap more brittle and it lathers less.
Remember that the lye will heat, so the liquid needs to be frozen and left to get slushy before using. Otherwise, the milk could burn.
Homemade Soap Recipe
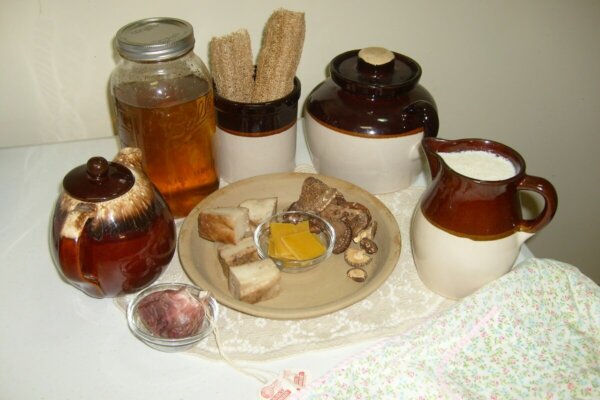
Ingredients
- 6 cups liquid (frozen, but slushy)
- 12 ounces lye (avoid store-bought; it’s not the same. Order it from a soap-making supplier
- 10 cups lard/tallow (I actually use 2-quart jars for my measure)
- Any additional scents Note: If you use a scent, use only essential oil or herbs; do not use fragrance. Color is tricky because it usually won’t be the color you’re looking for—natural herbs and flowers do well. Some people use cinnamon, cocoa, sugar, etc.
Tools
- Stainless steel or aluminium bowl—do not use glass
- Wooden spoon or handmixer
- Vinegar for cleanup
- Dairy or candy thermometer
- Old sheets, blankets, or towels
- Gloves
- Goggles
- Mask
- Apron
NOTE: Any equipment used for soap-making should be ONLY for that purpose and not used on anything you would eat. Make soap in a well-ventilated room or outside.
Directions
- Make sure the area you have your containers on to pour the soap into is covered in sheets or newspaper.
- Put the pot you will be using in the sink—I always do my mixing in the sink.
- Pour your slushy milk into your pot.
- Divide your lye into 2 containers of 6 ounces each and pour it slowly into the liquid. Stir slowly. This process will start to heat up the mixture, changing the color, and you may start smelling the fumes now.
- After you’ve poured all 12 ounces in and stirred well, you will now have to wait for the temperature to drop to between 85-90 Fahrenheit degrees to pour in the lard.
- While you’re waiting for the temperature to drop, you can warm up your lard/tallow. It needs to be liquid and at the same temperature as the lye/milk mix.
- Use your dairy or candy thermometer to check the temperature on the mix and the lard.
- Slowly pour and stir the lard/tallow into the lye/milk mix. If you use the hand mixer, only do a few pulses at a time and make sure not to get it on yourself.
- It can take anywhere from 30 minutes to an hour for the soap to “trace,” that is get to a thick consistency of yogurt. Make sure you have your molds/containers ready to pour the soap into.
- When the soap mixture is thick enough and almost ready to pour, add color, scent and/or herbs. Stir completely, mixing well before pouring into molds.

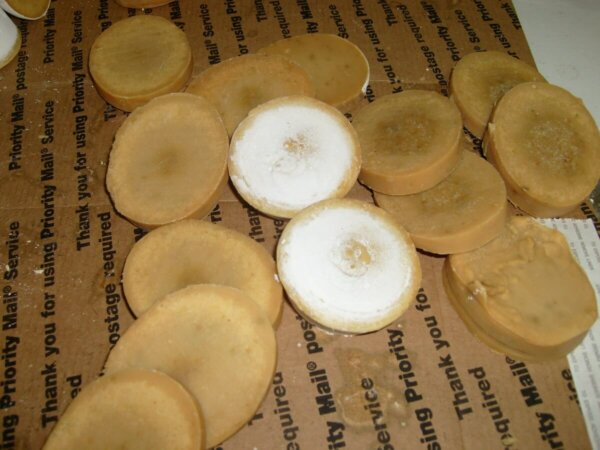
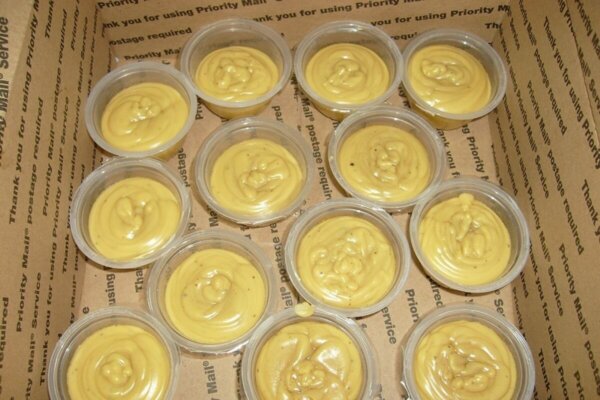
One of our newest batches of soap just poured. Susan Tipton-Fox / Insteading - Pour your soap into molds. Once poured, they will need to stay warm for 24 hours. Cover the molds with blankets, sheets or whatever you have.
- Leave the soap undisturbed for 24 hours.
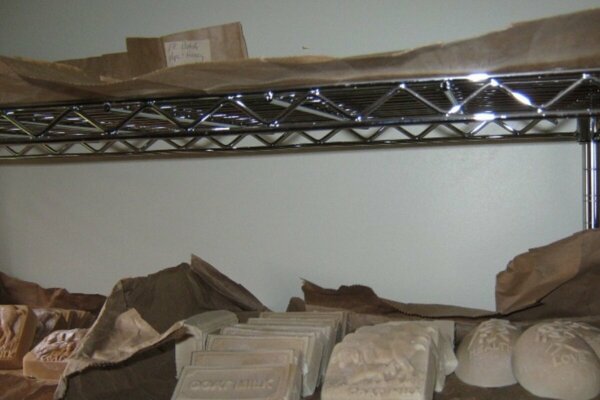
- Remove from the molds or cut into pieces. You can cure/age your soap on brown paper bags or cardboard. The soap is very caustic at this point and can burn you. Use gloves and be aware not to set the soap where it can discolor anything.
- Allow your soap to cure for 4-6 weeks before using.
Curing Your Soap
An ash will appear on the soap, this is natural. You will need to turn your soap to help with curing and keep it from becoming moist. It will take about 4-6 weeks for the soap to cure.
Be aware that sometimes things can go wrong in the soap-making process, and the lye doesn’t get fully incorporated into the soap. This can cause the skin to burn.
To avoid this, always use some method to test your soap, especially your first time making it, to make sure the soap is not ‘lye-heavy’. The method I use is pH paper.
You can pull off a strip of paper, dampen the soap and rub it on the paper. If it reads 9-10, your soap is safe to use. If it is higher, give it a couple more weeks to cure. If it’s still too high, just use it as laundry detergent.
Soap Ingredient Blends To Try
Of all the soaps we make, here are my favorites:
1. Shiitake Mushroom Milk Soap
We grow shiitake mushrooms on logs, and our culls are dried and saved for soaps. This one lathers nicely and is healing to the skin.
To Use: Heat 2 cups of water to boiling. Add dried shiitake mushrooms (about 4-5) and let them steep overnight. Strain and use liquid with the above recipe.
2. Hops And Milk Soap
We also grow hops here on the farm, too. This mixture is anti-bacterial.
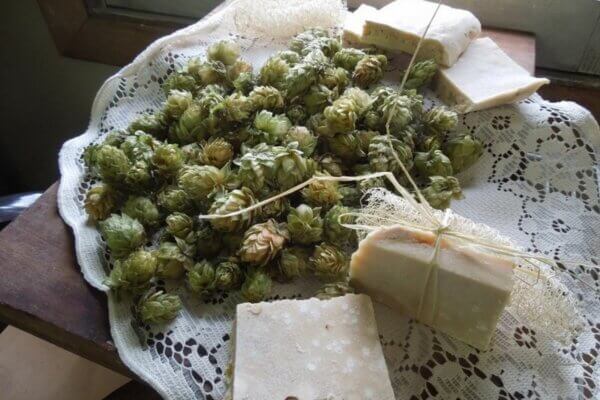
To Use: Same process as above.
3. Beer And Milk Soap
We make our own beer from our hops to brine our cheeses. Any that we have left over goes into soap. I use 6 cups of liquid, usually goats’ milk.






















Leave a Reply