It’s February in Minnesota, and we’ve already tapped our maple trees!
We typically do this in March, when the temperatures are above freezing during the day and below freezing at night—this is when maple trees typically begin to fill with sap.
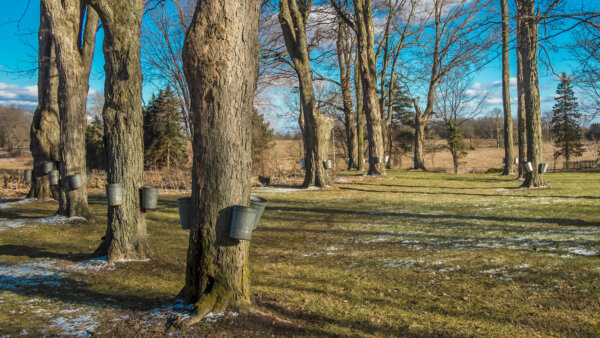
This year we’ve gotten a taste of spring quite early! Hopefully, this will mean lots of maple syrup!
My husband and a good friend of his started harvesting and boiling sap for maple syrup a few years ago. Before that, I hate to admit it, but we bought the fake maple syrup from the store. You know, that stuff that is actually corn syrup with fake maple flavoring. Yuck!
Now that I’ve become used to the real maple syrup, there’s simply no going back.
For those of you who’ve never tried real maple syrup, I pity you. For those of you who have, you know how good it is, but unfortunately, that goodness comes at a cost. Real maple syrup is expensive.
If you or someone you know has maple trees, it’s worth the time and effort to make your own maple syrup, and it’s not very difficult.
Tools You’ll Need For Tree Tapping
You will need some equipment. Head to the hardware store and pick up the following:
- A couple of steel spouts
- 5-gallon buckets with lids
- Clear and flexible plastic tubing
- A drill that can be used on plastic and wood
How To Identify Maple Trees
Hopefully, you’ve identified the maple trees in your yard when they had their leaves, as it will be a bit more difficult to do it in the winter when the trees are bare.
Here in Minnesota, we have a few different varieties of maple trees. The best maple tree to tap for maple syrup is the sugar maple. It’s sap’s sugar ratio is 40-1, meaning that for every 40 gallons of sap, you’ll get 1 gallon of maple syrup.
If you’re still not 100% certain which trees are true maple, check out this helpful guide from the University of Minnesota to help you identify maples used for syrup production.
How To Drill A Taphole
Once you’ve identified your maple trees, you’ll need to drill one or two holes into the tree (for small trees make one hole, for large trees make two). Make sure that your holes are a couple feet high and a couple of inches deep.
Next, you’ll need to carefully hammer your spouts into the drilled hole. I say carefully because it’s relatively easy to split the wood and lose precious sap!
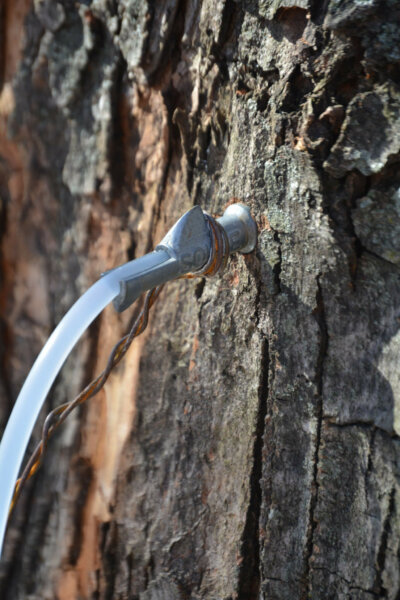
Once your spout is in, take a section of tubing and insert it into the spout, and then into the hole that you’ve drilled in the upper side of your bucket. Simple as that!
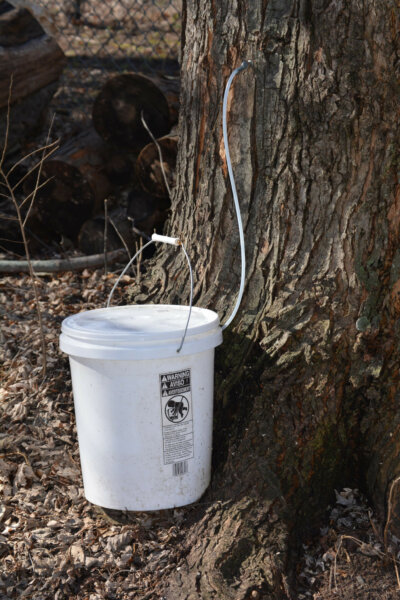
Keep an eye on your bucket. You’ll be surprised how quickly they can fill up with sap. Once a bucket is full, set it in a cool shady place until you’re ready to boil. Be sure to do so within a few days of the extraction.
Best Time For Sap Extraction
Once the weather gets warmer, the sap will begin to slow down and lose its flavor. This is typically when the extraction season ends. What you have is what you get! If you didn’t get much, you’ll have to wait for next year.
Personally, I love maple syrup season because it makes March a much more exciting month by giving you a reason to be outside!
Turning Sap Into Syrup
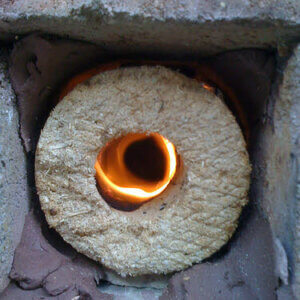
In the past we’ve used a propane heater to boil our sap, however, this wasn’t very cost efficient. Last year my husband acquired an old wood stove which we set up outside. With a little help from a friend, we collected nice firewood and even had a buddy of his make a custom stainless steel boiling pan for the sap.
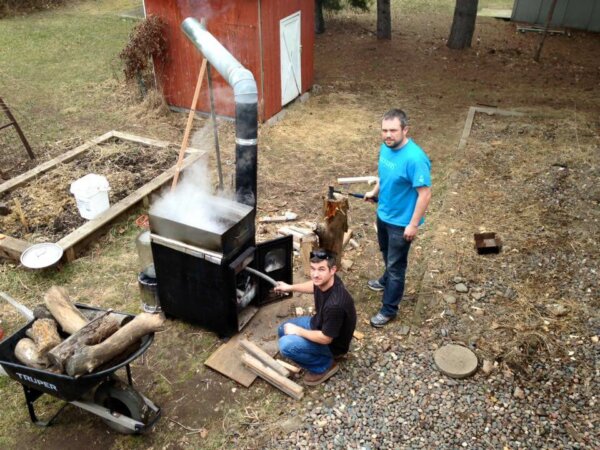
We really enjoyed being outside in the fresh air and sunshine, visiting, and keeping an eye on the sap. It took us a few weekends of boiling and a bit of boiling during the week, done by yours truly, to get all of it finished.
The syrup is ready to be put into sterilized mason jars once it reaches a temperature of 219 degrees. Make sure you strain the syrup through a filter as you pour it into the jars.
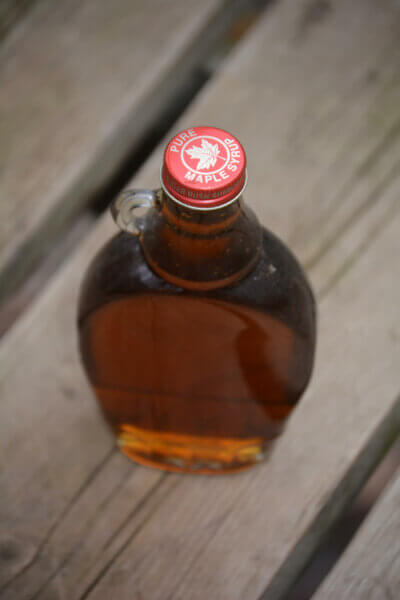
We use a felt filter that’s specifically made for this purpose. You can order them online. As an alternative, you can also use a mesh kitchen strainer. It’s also handy to use a kitchen funnel in the jars, as you pour in your syrup.
The guys tapped at least 20 maple trees, but the majority of our sap came from just a couple of them. This is because some trees tend to flow better than others, any given year. We ended up with roughly 25 quarts of maple syrup. Enough for both of our families of six to last us until next year.
You Too Can Do it!
If you’ve been considering making your own maple syrup, I say go for it! Do it for your health! Yep, that’s right, maple syrup has some important vitamins and minerals (not just sugar). And if it’s consumed in moderation, can be quite beneficial to the body.
If not for your health, or its deliciousness, do it for the experience! It really is fun for the whole family!
Melissa Hartner of blacksheepandhoneybees.com lives with her family on a half acre homestead in Minnesota.


















Leave a Reply