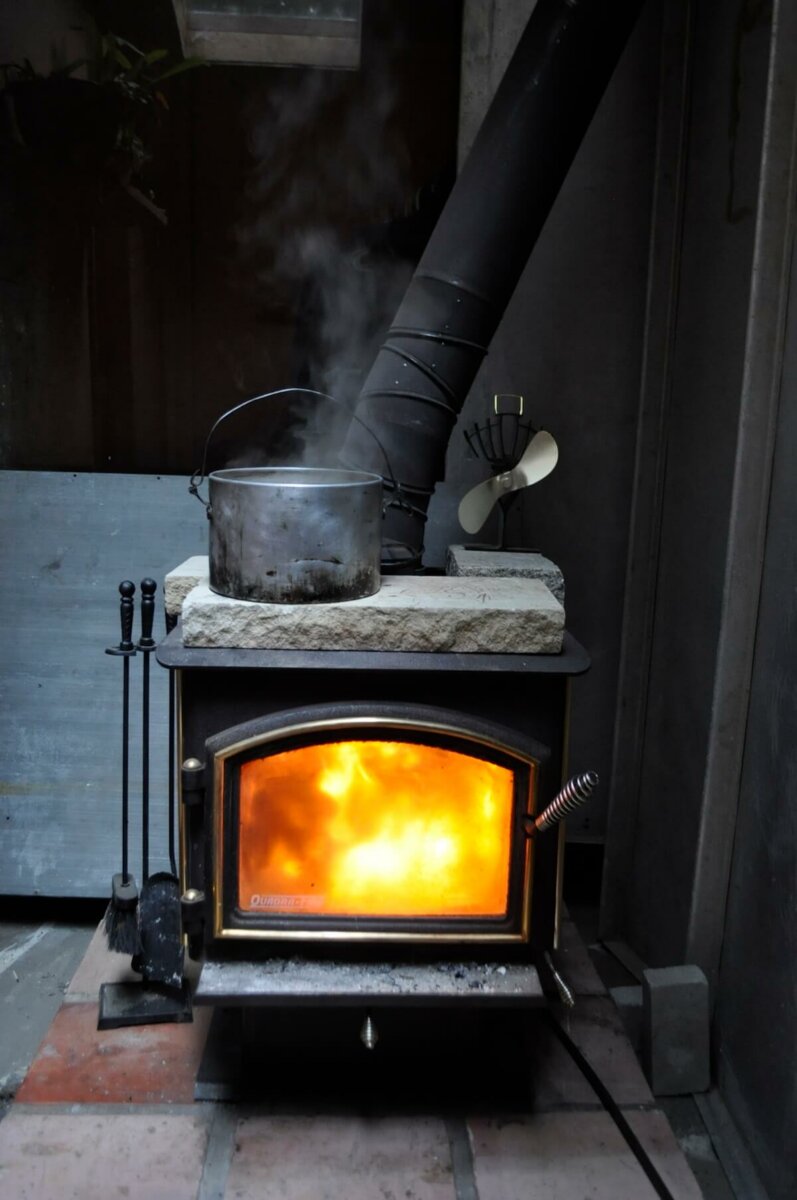
During the summer months, it probably seems strange to be discussing something as out of season as woodstoves. The days of freezing, blizzard-whipped nights and bone-shakingly cold mornings seem a lifetime ago when you’re sweating over your tomato beds. This time of year, however, is an absolutely perfect time to clean and care for your woodstove. You never want to clean a woodstove when it’s hot, but obviously there are no fires burning when the weather is hot. Additionally, maintenance now will prevent the cast iron surface from rusting on those humid summer afternoons. Best of all, a woodstove, beautifully cleaned, will be ready for service once those frosty nights return.
Cleaning the Chimney
The most important step of any wood-burner maintenance is the cleaning of the chimney. This isn’t cleaning for cleaning’s sake. It’s also important for safety’s sake. Over the course of the winter, a material called creosote builds up on the interior of your chimney — and if you’re new to woodstoves and haven’t gotten the knack for building a hot, efficient fire, it can build up quickly.
As smoke rises out of the chimney, the creosote builds on the comparatively cooler walls of the flue, decreasing its diameter and reducing draft. This tarry byproduct of wood combustion isn’t just clogging the chimney like a blocked artery. It is extremely flammable. It doesn’t take much sleuthing to realize that a stray spark and creosote buildup is a bad combination.

Many folks recommend cleaning the chimney before wood burning season begins in the fall. You can prepare the stove for use, and make sure you have cleared out any nests made in chimney while the fires were dormant. But if you’re in a cleaning mood, there’s no reason you can’t save yourself some time and get it done now, right?
You can hire a chimney sweep, but for the homesteader with a single woodstove, it’s far more practical and economical to learn how to clean the chimney yourself. Essentially, you’re scrubbing out the chimney with the equivalent of a giant bottle brush. You’ll need to purchase some specialized cleaning brushes and to climb up to your roof, but I think we can all agree the investment will pay for itself, especially if it mitigates the risk of a fire.
Cleaning the Glass
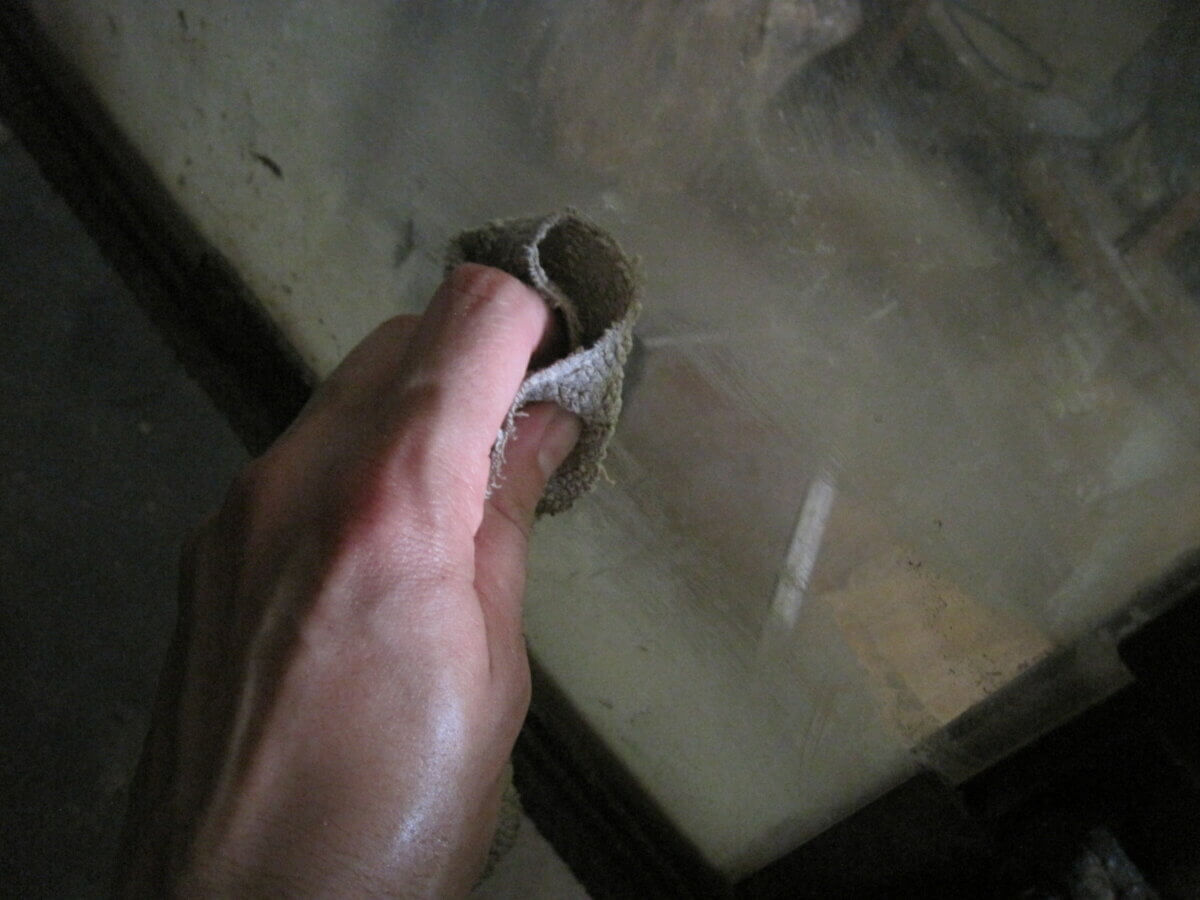
One of the perks of using a woodstove is enjoying the cheery, orange glow of the fire as it gleams through the woodstove door and warms the room. A whole winter of wood-burning can really gunk up the glass, and limit your view.
Cleaning woodstove glass is not the same as cleaning a window. You don’t want to do any damage to the surface of the special glass — any cracks or scratches can become much bigger problems when they get superheated by direct flame. Instead, use a soft, damp rag and some fine, clean ashes from the woodstove itself, to gently polish the window surface to a sparkling finish.
Cleaning the Interior
It goes without saying (I should hope!) that the woodstove should be cool to the touch, both inside and out, before you begin to clean it. A cold stove is why late spring and summer are a great time to get this chore done.
Use your ash scoop to clean out any residual ashes and charcoal, and empty them into a bucket (ashes are great for adding to the compost pile or chicken coop, or using to repel garden pests, by the way). Take your time and move gently and slowly while scooping ashes. Hasty movements and rushing will only make a bigger mess in the long run, and will send the finest of ashes flying all over the room.
Scoop until you get down to bare fire bricks, and with the firebox empty, use a flashlight to inspect the interior for signs of anything amiss, like broken fire bricks. It’s easier to fix things up now than when you need the stove in the winter.
Now is also a good time to clean out the interior sections of the chimney, especially if you have a bend in the flue, rather than a straight pipe. You may need to disassemble the sections and give them a good scrubbing with a wire brush to restore them to a safe, clean surface.
Check the Rope Seal
The rope seal is the braid of fiberglass that acts as a gasket between the door and the wood box proper. It should form a tight seal when the door is closed to create efficient fires.
Realhomes.com recommends this trick to see if the rope seal is still functioning well. Close all the doors and windows, build a small fire, and hold a lit candle around the perimeter of the door. If the flame is drawn toward the door, it indicates an incomplete seal and lets you know that the rope seal likely needs to be replaced.
Cleaning the Exterior
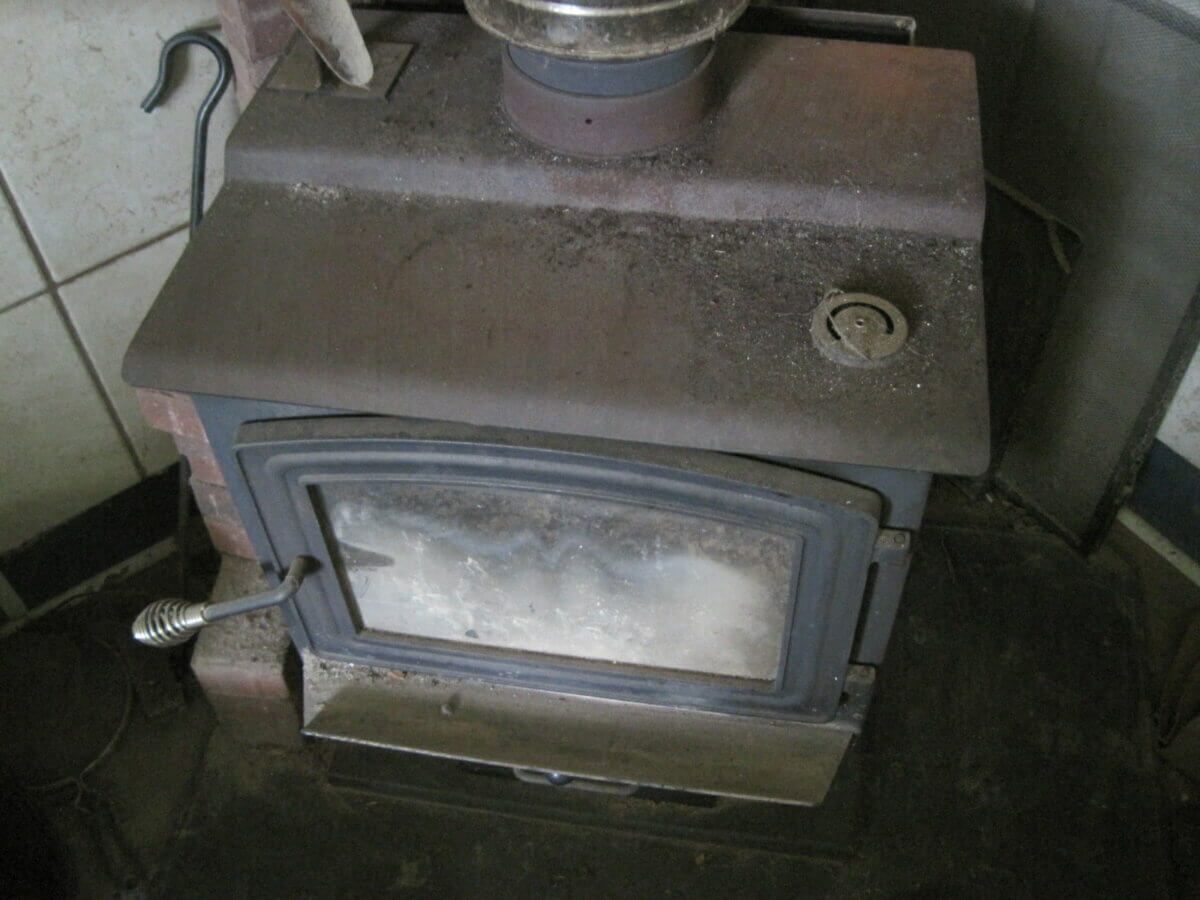
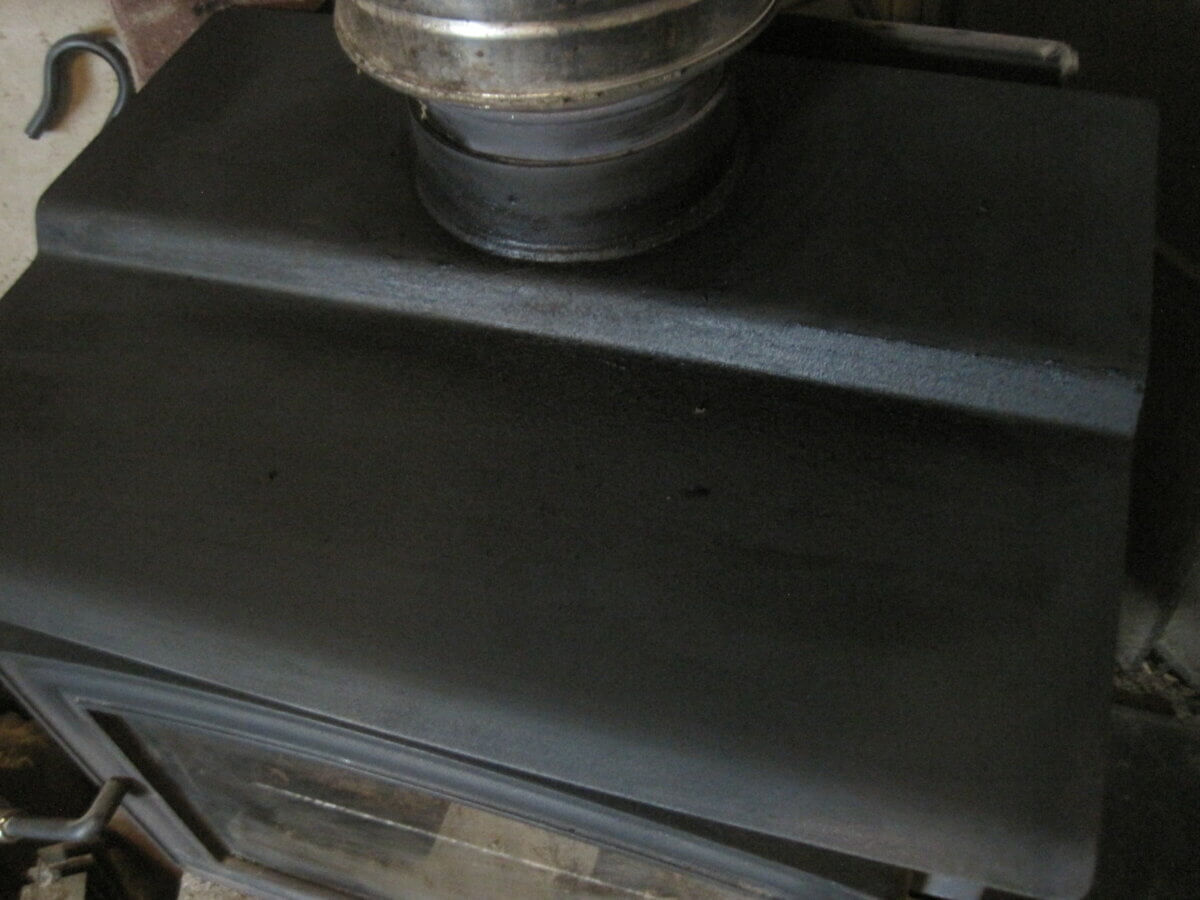
The cast iron surface of the woodstove exterior should be a nice, solid black. But if the poor thing’s survived a winter full of fire, spilled snow, and boiled-over teapots, it’s likely it will start showing signs of rust.
Start with cleaning all the ashes, dust, and cobwebs from around the stove. Use a vacuum with a brush attachment to get as much loose material off the surface as possible.
Then, attend to any rusted spots with a good scrub using medium-grade steel wool. Use circular motions until the rust has been buffed off and the surface is smooth.
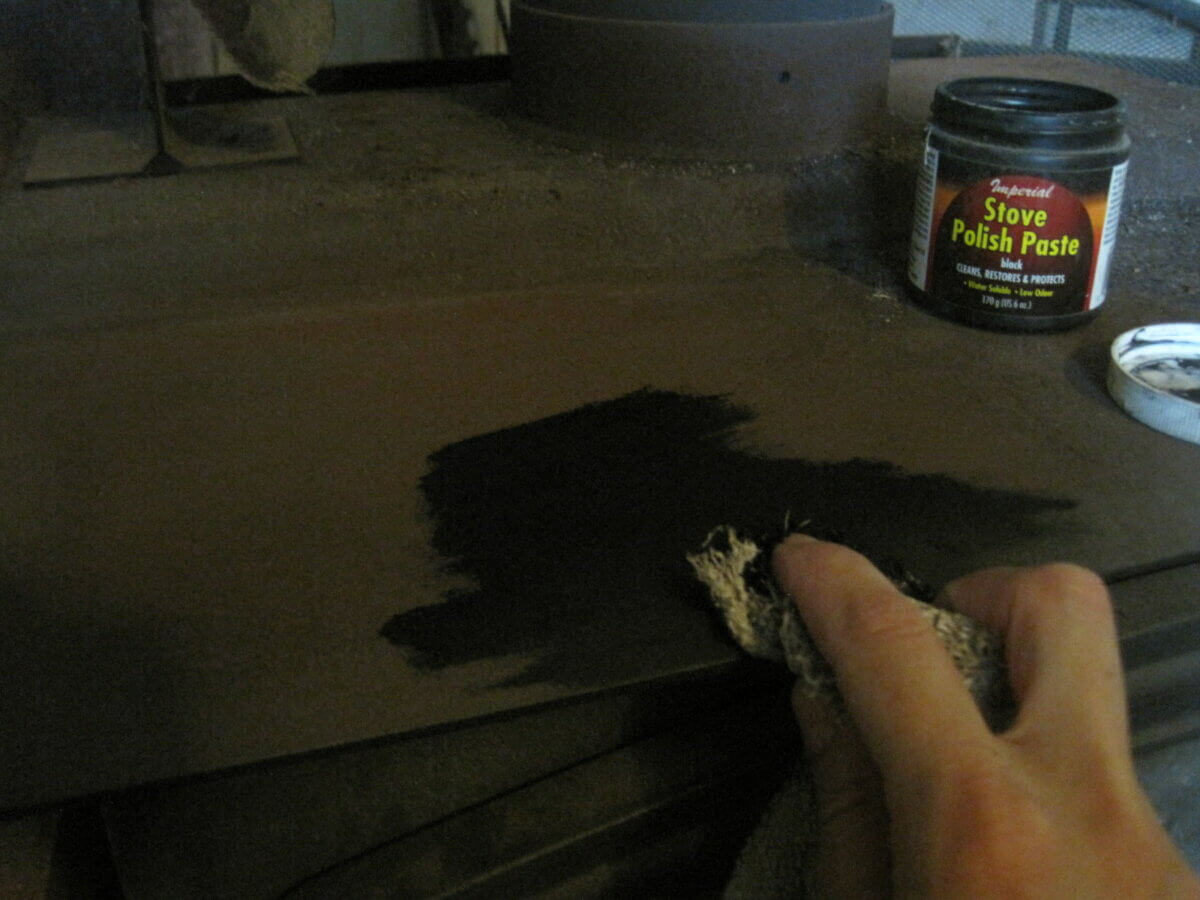
I like to reseal my stove at the end of the winter with a layer of stove polish. This helps condition the metal and restores its nice, black color. It does have a bit of an odor, so be sure to open the windows and have good ventilation while it dries.
If the damage is more extensive, you may want to apply a new layer of specialized paint such as this heat-resistant formula.
Cleaning the Room
After all that scrubbing and sweeping and dusting, the rest of the room is inevitably going to be a bit dusty. And if you heated the room with wood heat all winter, now is the time to clean up after that process as well. I have written an earlier article about how to accept the mess of woodstove season, and if the woodstove is active for the winter, this is finally the chance to get things good and clean.
Clean behind woodstove
Usually, this space is blazing-hot when the stove is in use, making it both unsafe and rather impossible to get clean. If your woodstove is in a corner of a room or against a wall, that renders the area behind it a cleaning no-man’s-land for much of the winter. But come summer, it’s finally time to get rid of the dust and cobwebs in earnest.
Clean floor
You had to come to terms with the unrelenting tide of floor-gritting stuff throughout the winter. No matter how much you sweep or mop, another load of wood is going to come in a few hours and undo all that work. After fighting all winter to maintain some semblance of order around your woodstove floor, it’s time to sweep and mop and have it stay clean for more than an hour. What wonder!
Clean windows
You may not realize how dingy your windows are until you wash them, so be warned. Once you clean one window in the room with the woodstove, you’re going to need to deep-clean all of them — when you realize how much brighter the room can be.
Dust, dust, dust and dust some more
Dust is a four-letter word, and you’ll certainly feel like using it as a euphemism after a winter with a woodstove. No matter how carefully you work, all this cleaning around the woodstove is going to set ashes adrift. Give the room an hour to settle, and then come back to dust again.
Pack tools away … for now
Once your cleaning rampage has settled, make sure that all your woodstove paraphernalia is put away for the next season. Empty the ash bucket, set the poker, ash scoop, and ash sifter in their holders, and put the cover back on the hand maul. Get any extra fatwood packed in a box, and put it neatly aside. After keeping you warm all winter, the tools have earned their rest.
For now, anyway. As hot as it feels during summer, we all know the warm weather will run its course, and we’ll be glad to gather around that cheery, warm glow once again.





























Leave a Reply