I love beeswax. It’s all-natural, versatile, and smells amazing. I used to use soy wax for everything I did, but after switching to beeswax, I have no idea why I ever used soy!
I’m big into DIY projects, anything that can help me be a little more self-reliant while also saving money … I’m all over it. In each of these projects, I’m making multiples, not just one product, so I’m really saving money with these.
I find my beeswax on eBay, it’s generally a lot cheaper than buying it from a craft store. I also buy the beeswax pastilles because I find that the pastilles are much easier to work with than a big ol’ block of beeswax. It also melts a lot more quickly. But you’re welcome to buy whichever one you’d like.
Here are my top five favorite DIY projects to make with beeswax.
Project 1: Salve
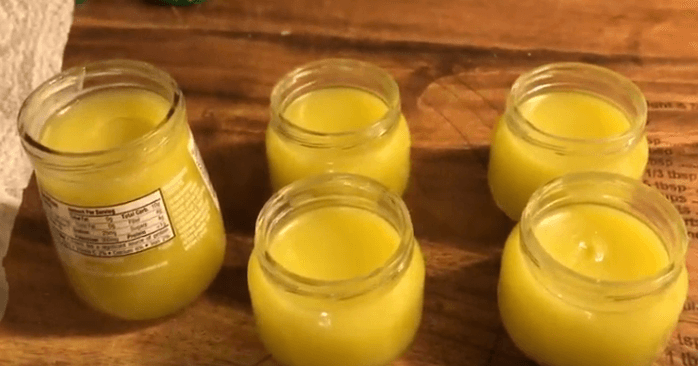
In my opinion, I think that homemade salves work just as well, if not better than Neosporin. Plus, it’s all-natural and incredibly easy to make. This salve can be used for topical cuts and burns. That being said, it’s important to mention that it cannot be ingested.
There are a ton of recipes online, but this is my favorite recipe that I’ve found works best for my needs. You’re welcome to use whatever essential oils that you choose, as each essential oil will serve a different purpose and have a different overall smell.
Ingredients and Supplies
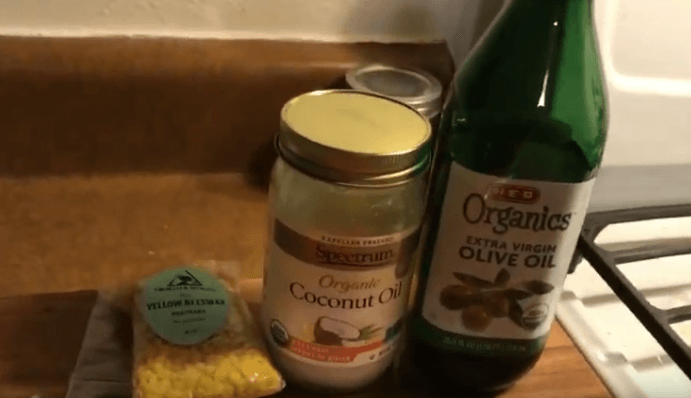
- 5 tablespoons beeswax
- 1 cup coconut oil
- 1 cup olive oil
- 5-10 drops comfrey essential oil
- 5-10 drops lavender essential oil
- 5-10 drops peppermint essential oil
- 5-10 drops lemon essential oil
- 5-10 drops tea tree essential oil
- a double boiler set up*
- containers (either tin or glass)
*I’ll be using a mason jar and a pot of water
Directions:
1. Combine Your Waxes
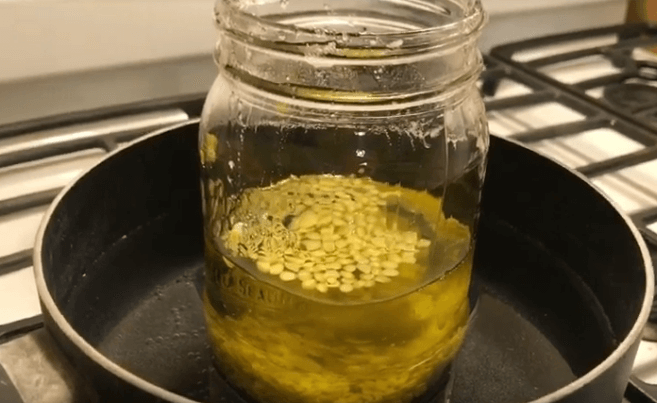
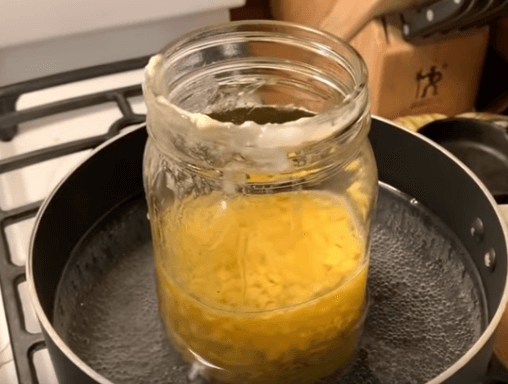
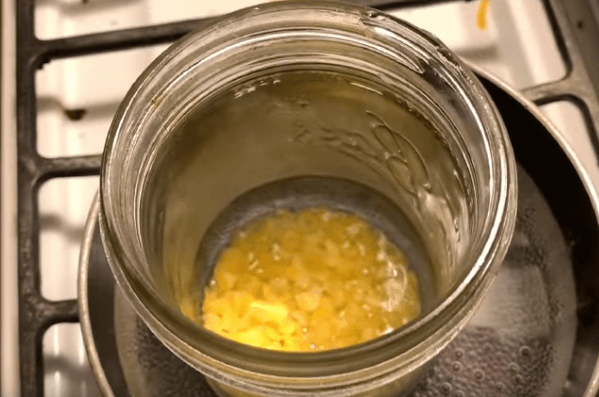
Combine the coconut oil, beeswax and olive oil in the mason jar that sits in water within a pot, as seen in the picture below. This is the double-boiler method and should always be used when working with oils and waxes.
2. Melt the Oils
Let the mixture melt on medium-high heat, stirring occasionally.
3. Add Essential Oils (Optional)
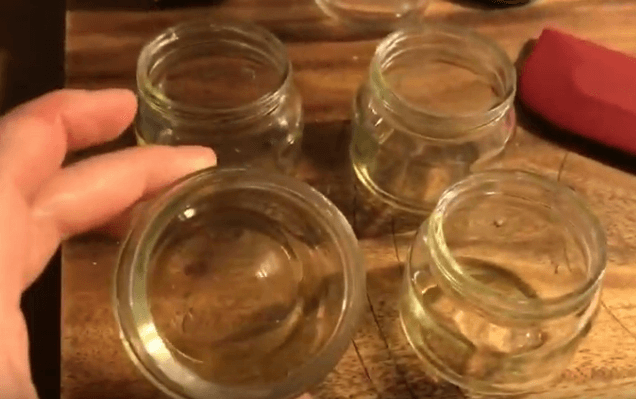
As your mixture melts, add the essential oils to each container. Alternatively, you can wait to add it to the container mixture after you’ve poured it. Either way, you’ll be mixing it all together within each container.
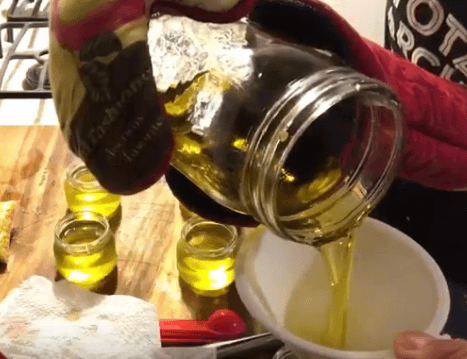
4. Pour Into Containers
Once the mixture has melted, carefully pour it into each container. Stir your mixture to combine the essential oils and let it harden.
Project 2: Beeswax Lip Balm
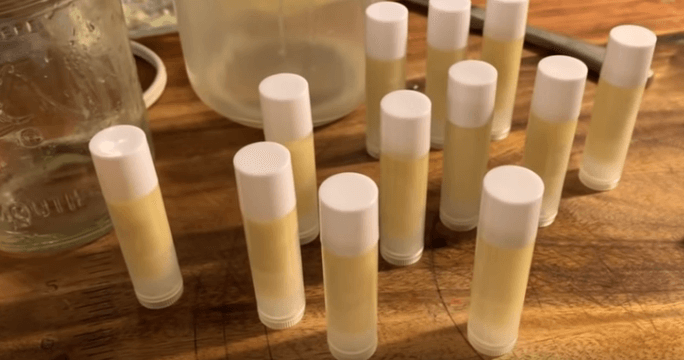
I love making my own lip balm. It’s so easy! There are many varieties of lip balms, but I like to keep it as simple as possible. This one uses peppermint essential oil, making it sort of an imitation Burts Bees.
Ingredients and Supplies:
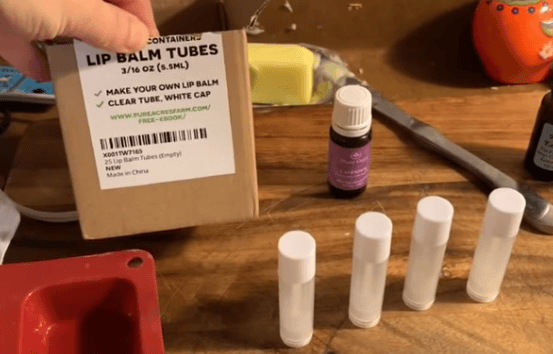
- 2 tablespoons beeswax
- 2 tablespoons shea butter
- 2 tablespoons coconut oil (add more coconut oil if you want it a bit softer)
- 30+ drops of peppermint essential oil
- lip balm tubes
- a double-boiler setup
Directions:
1. Melt Your Waxes
Melt the beeswax, shea butter, and coconut oil in a double boiler method.
2. Add Essential Oils
Once melted, add peppermint essential oils into the mixture before pouring.
3. Pour and Set
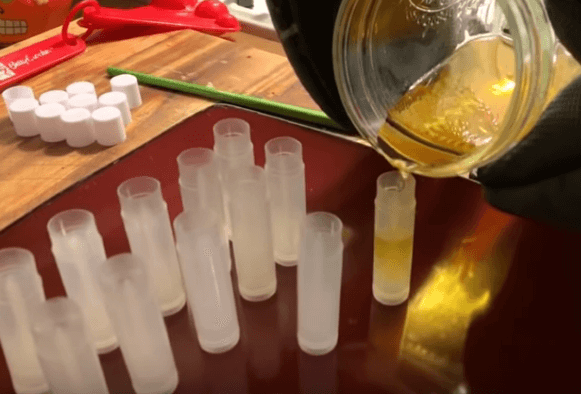
Mix it up, then slowly and gently pour the mixture into each tube. Let the tubes sit at room temperature to harden.
Project 3: Lotion Bars
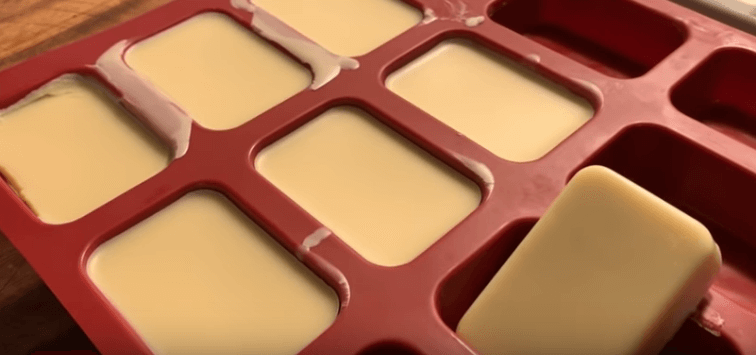
I’ve never made traditional lotion, but I was intrigued when I discovered these lotion bars. They effortlessly melt onto your hands just by rubbing the bar onto your skin. It’s pretty ingenious.
You can add any essential oils to these lotion bars. You’ll want to add a lot of essential oils for the scent to come out. Personally, I added a little bit of lavender, but I won’t add that as an essential ingredient, as you can use these bars perfectly fine without any essential oils.
Ingredients and Supplies:
- 1 cup coconut oil
- 1 cup shea butter
- 4 cups beeswax
- essential oils of your choice (optional)
- a double-boiler setup
- soap mold
Directions:
1. Combine & Melt Your Ingredients
Add all ingredients except the essential oils to your mason jar/double-boiler method. Melt all the ingredients.
2. Add Essential Oils and Stir
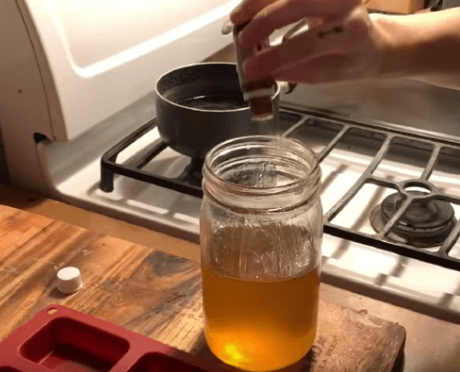
Once melted, remove from heat and add any essential oils and stir.
3. Pour Your Mixture Into Molds
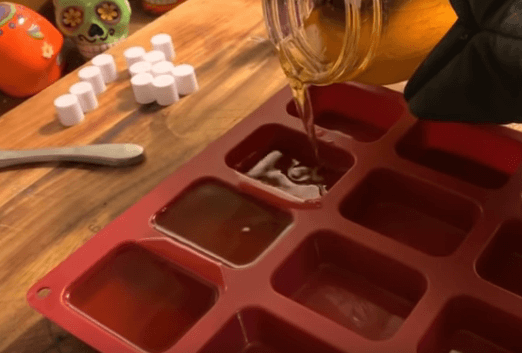
Pour into molds and let the bars sit at room temperature. To speed up the process, allow your bars to set in the fridge.
Project 4: Fix’n Wax
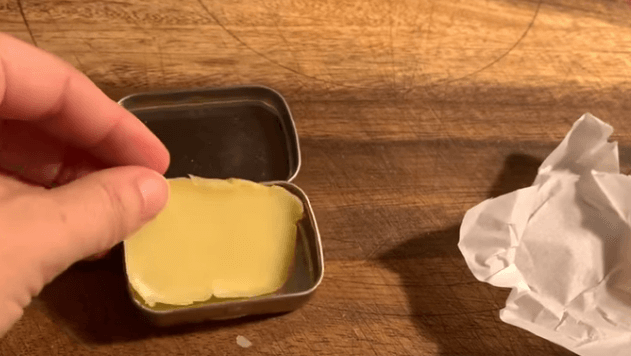
What is fix’n wax you might be asking? Essentially, it’s a wax that was originally intended to be used for waterproofing needs. However, it can also be used to refresh leather and lube tools, amongst other things!
Many people will make this with lard or other animal fat, but I would highly caution against that as animal fat can go rancid.
Ingredients and Supplies:
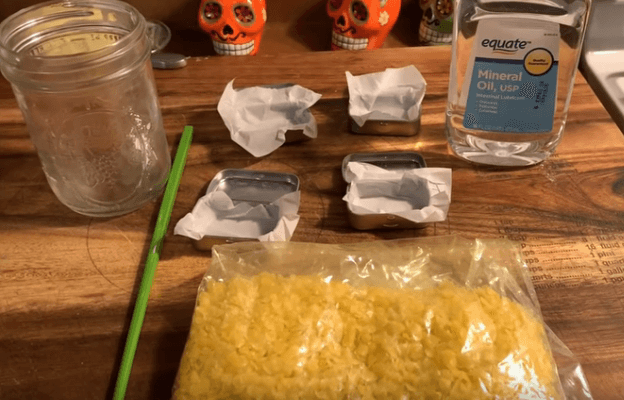
- 2 tablespoons mineral oil
- 3 tablespoons beeswax
- a double-boiler setup
- container (such as tins)
- parchment paper
Directions:
1. Melt Your Ingredients
Melt the mineral oil and wax in your double boiler method.
2. Add Parchment Paper to Your Container
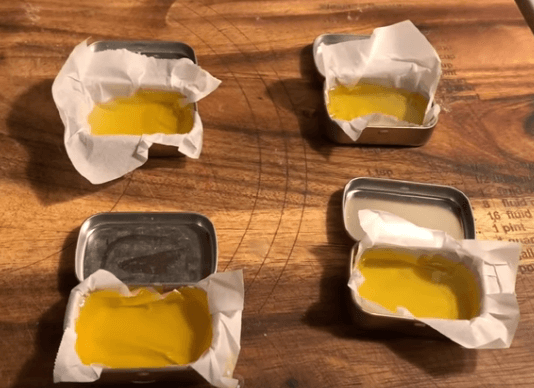
While that’s melting, cut up parchment paper and place it inside of your container/tins. I don’t want the fix’n wax to be permanently inside of the container, so I’m using the parchment paper as a way to easily remove it once hardened.
3. Pour Your Mixture Into Containers
Once melted, pour the mixture over the parchment paper and into the containers.
4. Let Your Mixture Set
Let it set at room temperature or you can put into the fridge to set quicker. Once set, remove the fix’n wax from the parchment paper and place in the container. You can also wrap the wax in the parchment paper and then place it back in the container. Either way works.
Project 5: Beeswax Candles
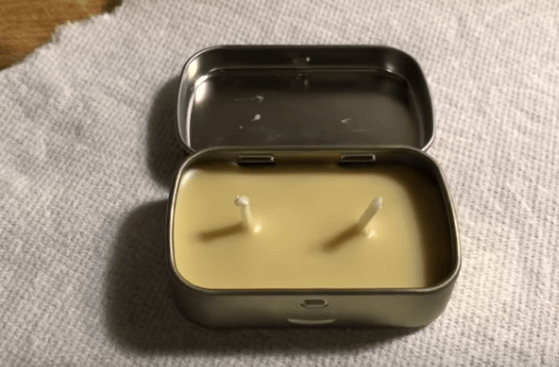
This is a no-brainer use for beeswax, right? That’s why I left it for last! I absolutely love making beeswax candles. You can make candles in so many different ways by adding scents and even colors, but I like to just make good ol’ simple candles.
Ingredients and Supplies:
- beeswax*
- containers
- essential oils (optional)
- a double-boiler setup
- candle wicks
*The amount will vary depending on the size and number of containers you have. For four small Altoids tins, I used about 3 tablespoons of beeswax.
Directions:
1. Melt the Beeswax
Melt the beeswax in the double-boiler method.
2. Add the Wicks
Secure the wicks into your containers.
3. Pour the Beeswax and Set
Once melted, pour the beeswax into the containers, making sure to keep the wicks upright. Let them set at room temperature.
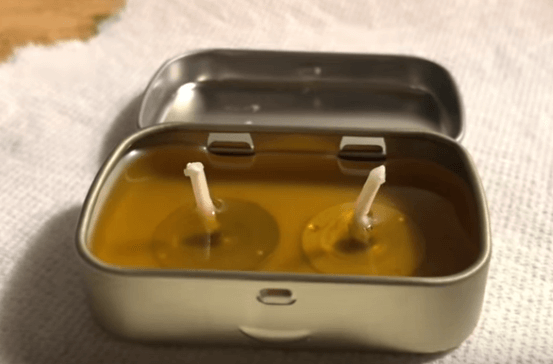
As you can see, many of these projects use similar ingredients, so you can get a bunch of these things in bulk and just re-use them over and over again! What’re your favorite ways to use beeswax? Let us know in the comments below. Enjoy!
Morgan is a wife, mother, and preparedness advocate. She’s the founder of Rogue Preparedness where she teaches people how to be prepared through her website, YouTube, social media and local classes. She loves to spend time outdoors and learning to be more self-reliant.
















Leave a Reply