On any given day, normal people are concerned with the temperature of the air. If you have to walk a few blocks to the subway, or you want to plan a barbecue, the ambient air temperature can affect whether you go out in a t-shirt or hunker down inside. But us gardening folk are a little different from the normies.
We care not only about the air temperature but the temperature of the soil. We may even obsess about it, particularly when winter runs its course, and our green thumbs get to itching.
Soil temperature can dictate the success or failure of a planting. It is the key for tomatoes to emerge from their tiny seeds or parsnips to develop their delectable sugary sweetness. It may be our greatest asset or most grievous bane, depending on what we’re trying to raise in the garden. Knowing what soil temperature is and how to work with it is a huge part of managing your food plot.
Soil Temperature Versus Air Temperature
The temperature of the soil is as much an element of garden planning as air temperature — though you won’t hear about it on the Weather Channel. For a gardener, however, knowledge of the daily fluctuations in soil temperature is key to garden success during the wildly varying temperatures of spring and fall.
The top 6 inches of soil is probably the most important to a gardener. It is where the majority of your plants will be sown, grown, and harvested. Much like the air, the soil has daily highs and lows, but they act somewhat independently of the surface temperature. If you’ve ever been in a root cellar, you’re familiar with the insulative power of earth.
Your garden is similar. The soil will retain heat longer than the air does during some parts of the year, whereas in other seasons, it will stay frozen even if the air feels positively balmy. Being able to understand and work with these seasonal changes will help you advance your garden game from newbie gardener to an experienced green thumb.
How To Measure Soil Temperature
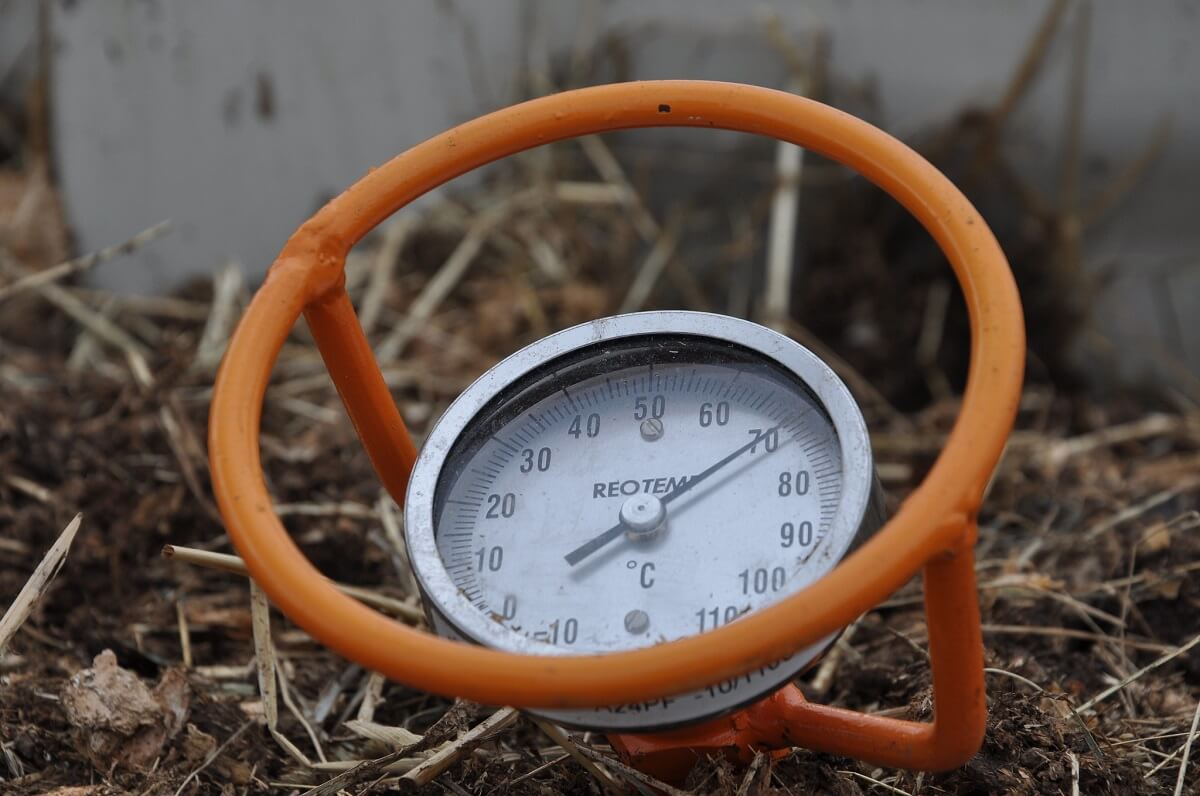
Finding the temperature of the top layer of soil is as easy as using a soil thermometer — a tool that you can find in an online store or garden center. Don’t just indiscriminately jam this rather expensive piece of equipment into the soil, however. Using a screwdriver to make a pilot hole first will help protect the thermometer’s probe for years to come.
Then, depending on the type of thermometer you’re using, allow several minutes for it to obtain an accurate reading. You know you have to be patient for your first tomatoes. Surely you can wait the few minutes required for the thermometer to fully register the temperature.
The thermometer should take a reading that is around 5 to 6-inches deep. The visible surface of the soil will sometimes be drastically different than the actual soil around your (hopefully) germinating seeds, so that depth is important. Also, make sure you shade the tool with your hand as you take a reading. Bright sunlight could accidentally mess with your results.
Related Post: Soil Testing
Finally, take several readings around the garden. The part shaded by the big oak tree may take longer to warm up in the spring than the area in direct sunlight, so plan your plantings accordingly. Also, take measurements in the morning to get the lows and measurements in the late afternoon to determine your soil’s highs.
The average of these numbers should give you a temperature for deciding what’s going in the garden next. Bear in mind, however, if temperatures are too cold at night, sensitive seeds like tomatoes and eggplants may not germinate even if the average is ideal.
If you keep a garden record book or journal (a recommended activity), jot down the values you get along with the date. Though the seasonal soil temperature of your USDA growing zone is somewhat predictable, the actual conditions of your garden’s specific microclimate may be different enough to make an impact.
Knowing the history of how your property warms or cools will give you the heads-up if there’s a warmer or cooler-than-usual year, and hopefully, spare you some unnecessary frustration.
What’s The Optimal Temperature For Planting Vegetables?
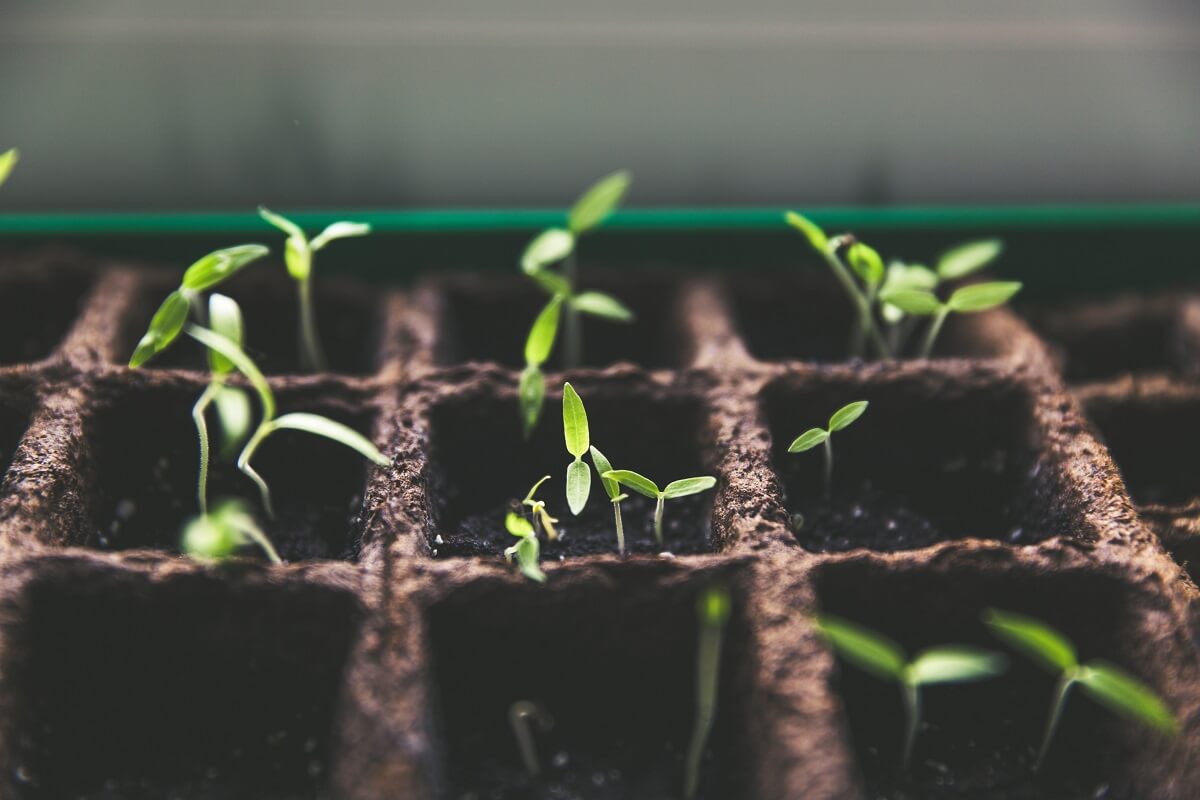
Seeds can be tricky little stinkers. While an established plant can sometimes handle a cold snap or heatwave with little damage, germinating sprouts are much more finicky. The majority of leafy greens prefer cooler temperatures and either won’t germinate if it’s too hot or will bolt almost immediately. Lots of annual garden crops, however, prefer it warmer and won’t germinate if it’s too cold.
The cold and wet of early spring can often rot seeds that are sluggish to germinate, making you wish you’d waited. Don’t let the array of uncontrollable factors make your head spin, though. The balancing act of seeds, soil, and timing is an art form that takes a lifetime to master and enjoy. Just learn from every success and failure, and make the necessary changes next year.
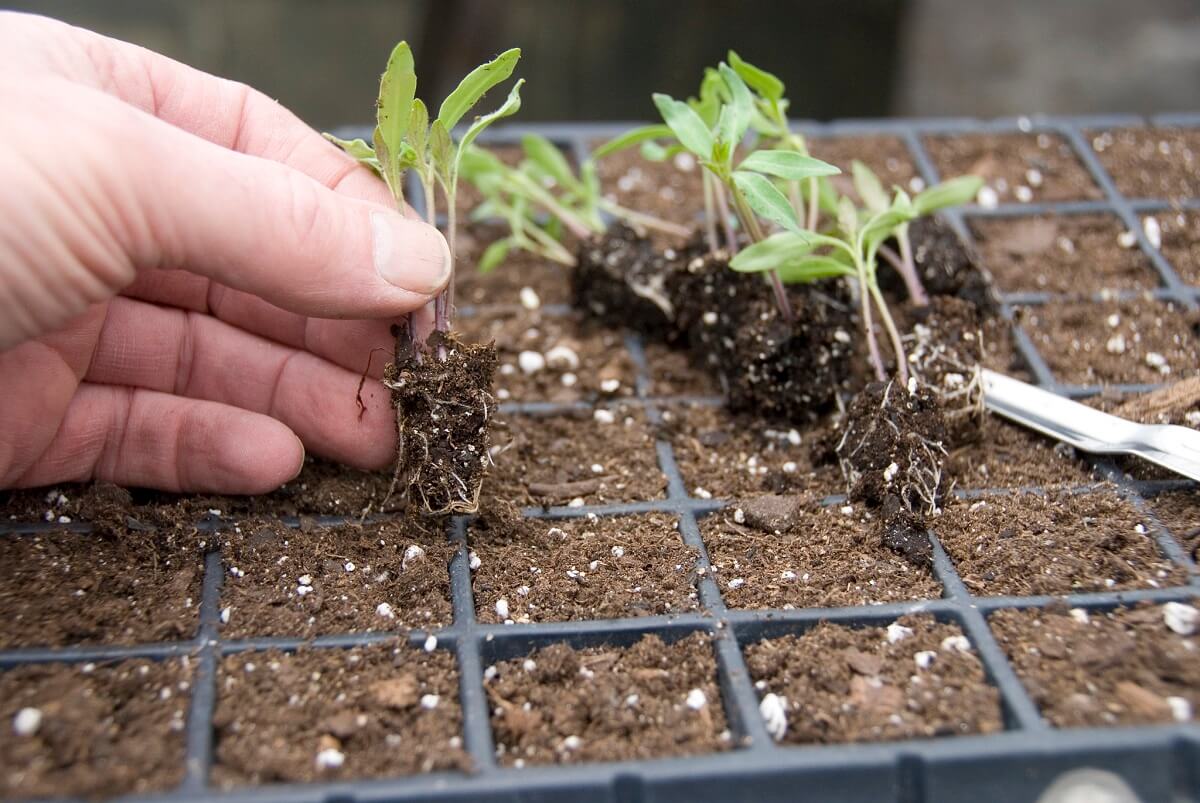
Some gardeners overcome the needy baby stage of their garden by starting seeds indoors under ideal circumstances. Once the seedlings have been hardened, they can be transplanted when the weather outside and the soil temperature are milder.
Deciding exactly when to transplant is one of the bigger gambles every gardener is forced to take. I prefer direct sowing my seeds once the soil is warmed, but living in my zone 6 climate does give me some longer growing opportunities to compensate for any delays.
Related Post: Cover Crops
Here’s the general range for some common vegetables, taken from one of my favorite organic gardening books, Burpee’s The Complete Vegetable & Herb Gardener. Note the range for successful germination is pretty wide with every category, but a plant does have a smaller, ideal range, usually printed on its seed packet.
Additionally, some cultivars of crops have been specifically bred to handle higher or lower temperatures than their counterparts, so don’t despair if your climate isn’t ideal for your favorite vegetables. Maybe the right variety is still out there, and waiting for you to plant it in climatically correct success.
- 50-85 degrees Fahrenheit: Beet, cabbage, carrot, cauliflower, celery, Swiss chard, lettuce, onions, parsley, parsnip, peas, radish, spinach
- 60-85 degrees Fahrenheit: Asparagus, some bean varieties, celery, corn, cucumbers, tomatoes
- 70-85 degrees Fahrenheit: Lima beans, okra, pumpkins, watermelons, peppers
- 80-95 degrees Fahrenheit: Eggplant, melons
My final advice for direct sowing or transplanting seedlings is to not rush things with your enthusiasm for getting back into the spring garden. Take a lesson from my first year of planting okra. My planting of the round, pearly seeds was at the very brink of their cold-tolerance early in the year. I had a pathetic 20% germination rate, and those that did break ground grew at a snail’s pace.
Taking a cue from my sad results, I waited a month and replanted. The second planting of okra had ideal warm soil, germinated in a fraction of the time, and grew with so much vigor it was astounding. The second generation of okra grew taller than my clothesline and produced pods like mad.
Those earlier survivors of my overambition never grew past my waist and made a total of four pods each. You could hear a sad violin playing in the background whenever you looked at them.
The lesson being, even if a seed can germinate, that doesn’t mean it necessarily should. Getting plants in the ground in their ideal soil temperature — even if it means waiting for a month — will give them a much stronger start and will allow them to grow with better vigor. This more than makes up for any time you lost in waiting.
How To Manipulate Soil Temperature
There are many strategies for working with soil temperature to make it more appropriate for your designs. Of course, unless you live in some sort of bio-dome, there’s no fighting the weather or changing the reality that exists outside your window. The following methods may help you achieve your planting goals faster, extend the harvest, or protect your seedling garden in the event of extreme weather shifts.
Your growing zone will determine how drastic the measures you need to take — southern growers past zone 6 may benefit from little more than thoughtful management of mulch or cold frames. Northern growers may need to employ a whole host of covered tunnels and greenhouses to help their plants produce through the extremes of their climate.
Related Post: Greenhouse Plans
I highly recommend Eliot Coleman’s book Four-Season Harvest for any grower, but specifically those in growing zones 2 through 5. His Maine garden is remarkably productive year-round. If he can pick a fresh salad and make a just-harvested roasted root vegetable soup in the middle of February, so can you! His write-up on the construction and use of cold frames is particularly insightful for the winter gardener.
Utilizing Southern Slopes And Ados
If you live in the northern hemisphere, simply placing your garden on a south-facing slope can warm the soil considerably faster than the north-facing alternative. Watch your land in the winter. The snow on southern slopes will always melt first.
If you live on flat land, however, you can purposely slope the soil in your garden in a southerly orientation to take advantage of the sun’s winter angle. This is called ados in France, and there’s usually a slope that’s 4 inches of rise for every foot of garden (a 15-degree angle). You can add a bonus to the warming effect by placing these sloped garden beds against a stone or brick wall. The wall will absorb the day’s heat and help warm the ground through the cold of the night.
Applying Mulch
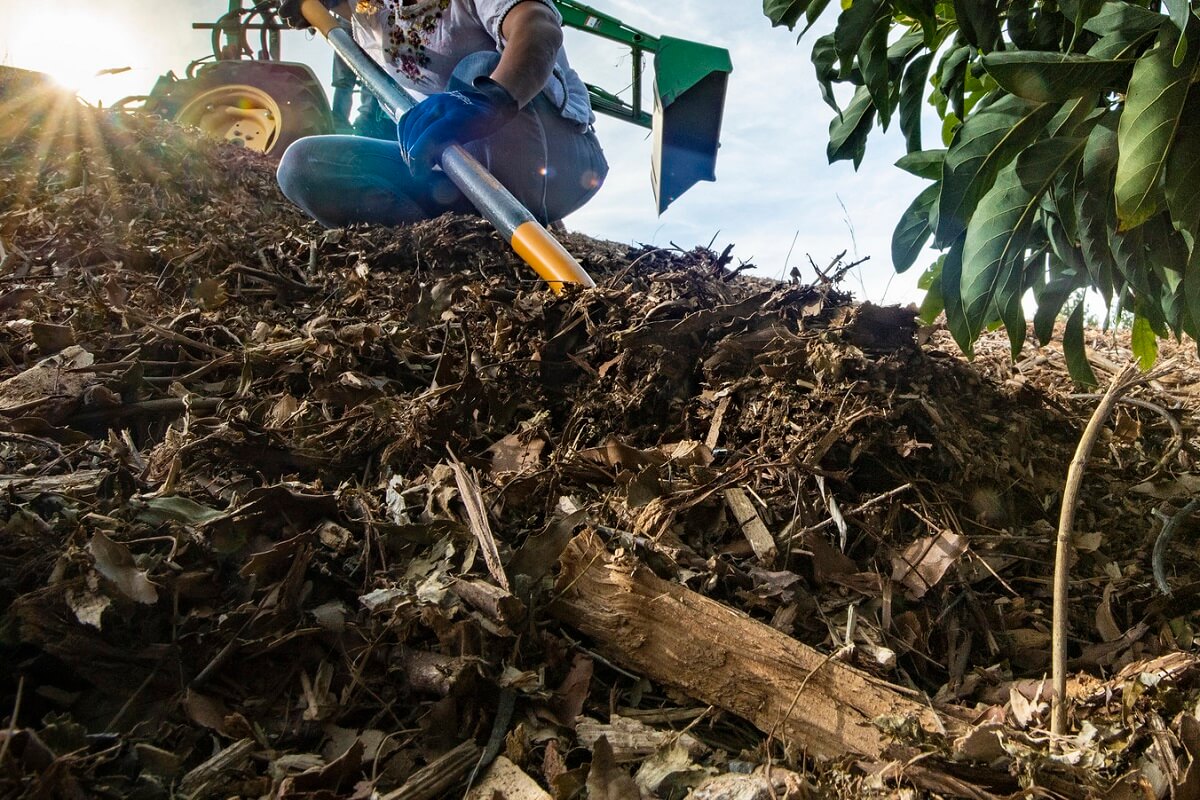
This thick blanket of organic material can both warm or cool the soil, depending on the conditions of your garden. Mulching seedlings too soon in the spring will slow the soil’s ability to warm with the growing daylight hours. This same insulative protection, however, can protect plants during the worst of summer’s blazing heat by helping retain the morning’s cool soil moisture throughout the day.
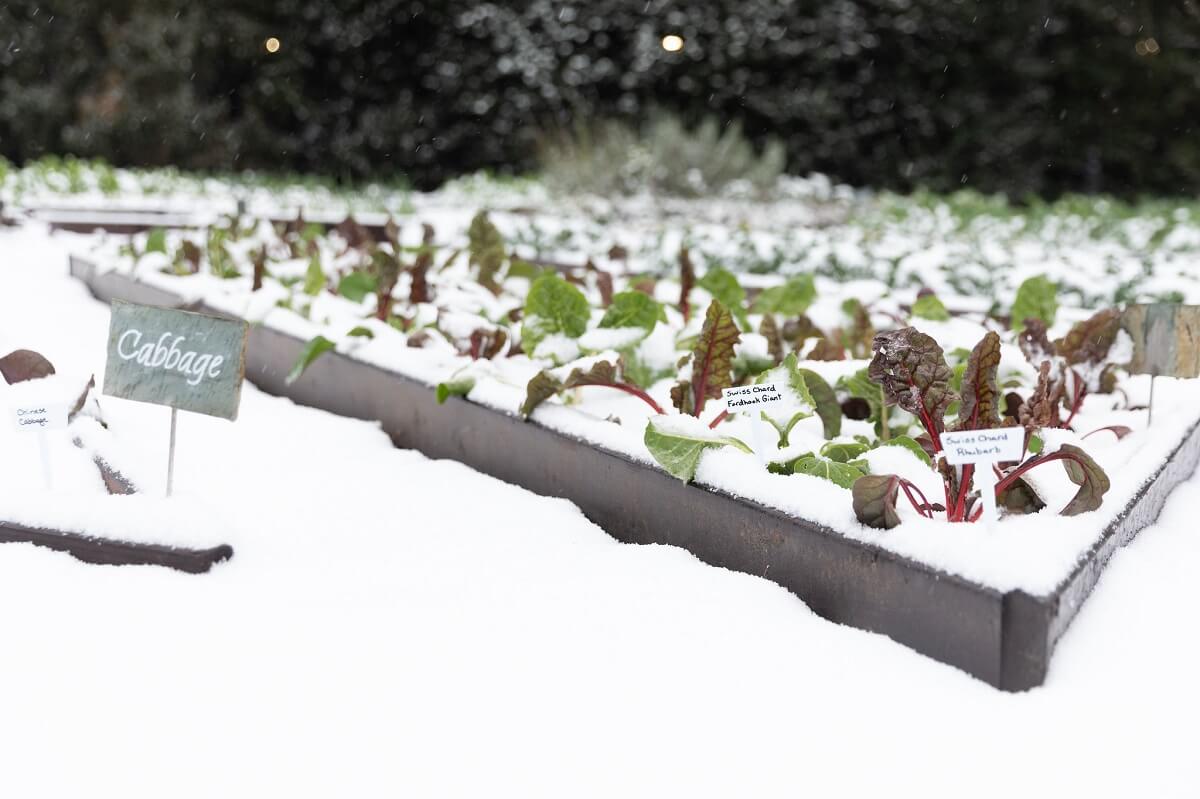
By the same token, a thick layer of mulch in the fall can retain the soil’s warmth longer, and allow you to extend your fall harvest until the first killing frost. Even then, massive amounts of mulch applied over “heeled-in” vegetables can turn your garden into an outside larder, allowing you to successfully dig up cabbages, carrots, and parsnips in the middle of a blizzard.
Related Post: How To Mulch For A Beautiful, Weed-Free Garden
Plastic coverings are also used as mulch, but I always feel funny recommending any single-use plastic product. When organic material does the same job while simultaneously enriching the soil and not contributing to any landfill, the short-term convenience of plastic mulch seems wasteful in comparison.
Cold Frames
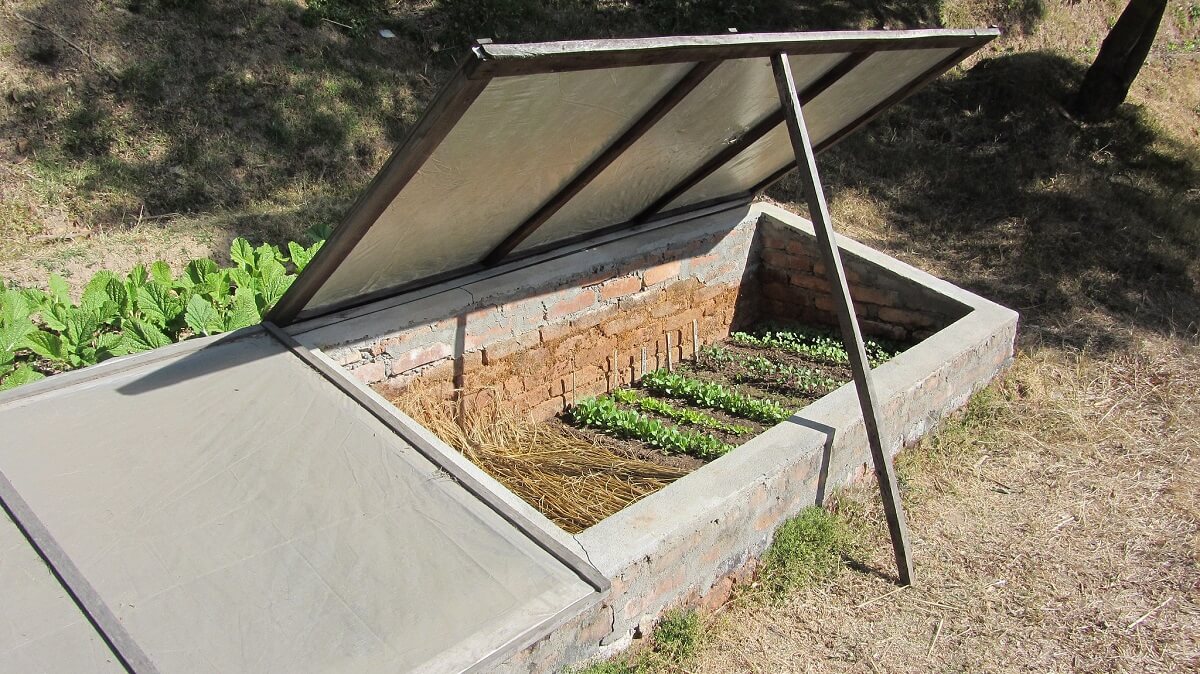
These simple tools can be immensely helpful moderating soil temperature. They are essentially, bottomless glass-covered boxes placed over a space in the garden. The boxes can make the climate inside as much as 20 degrees warmer on a bright day, though a difference of 10 degrees is more typical.
With some careful venting during sunny days, these frames make it possible to harvest frost-free food year-round. The best part? They are easily made from recycled materials — an old window mounted on some scrap wood serves the purpose as well as a store-bought model.
Soil Solarization
Sometimes, warming the soil isn’t only to help plants. If you find that you have a massive garden problem, such as an unconquerable population of over-wintered insect pests, or fungal-sourced fusarium wilt that steals every tomato before you can harvest, solarizing the soil is a natural way to give your garden a new start.
This process takes place during the hottest part of your summer — either July or August in the northern hemisphere — and involves covering selected areas of cleared, watered garden beds with a close layer of plastic. Left in place for at least six weeks, this super-intense covering will heat the top 6 inches of soil to deadly levels (around 150 degrees Fahrenheit). Unless you take a summer gardening pause for the treatment, you’ll have to treat the garden in sections.
High Tunnels And Greenhouses
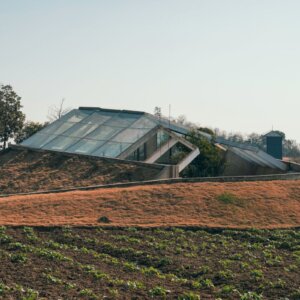
Of course, to really fight the wild variations in your climate, you can install structures like high tunnels or a greenhouse. These require ample space in many circumstances, so they’re probably more functional on a homestead than a suburban backyard.
Gardeners have been both fighting and embracing the soil temperature of their cultivated plot for generations. These methods are merely a selection of the many ideas out there. From cloches to chenilles to low tunnels to buried greenhouses (yes, that’s a thing), there are many more ways to both understand and manipulate growing conditions. So what have you done to measure your soil temperature, and how do you manage it? Let me know in the comments below!



















Leave a Reply