Originally titled “How to Save Brassica oleracea Seeds (Cabbage, Kale, Collards, Broccoli, Cauliflower, Kohlrabi, Brussels Sprouts, Gai Lan).” I know it’s a mouthful, so you can see why the title was shortened, but I feel it would be repetitive to write an article on how to save seeds from every one of those vegetables independently. And why is that? Well … botanically speaking, cabbage, collards, kale, broccoli, cauliflower, kohlrabi, Brussels sprouts, and the Chinese vegetable gai lan are all the same species. Yes, just one wild plant, the estimable B. oleracea, that is, wild cabbage, was the progenitor for all of those seemingly distinct vegetables.

I always thought the huge range of dog breeds was the most extreme example of selective breeding (pugs and German shepherds are the same species?) but the hugely variable forms of domesticated B. oleracea have got to be the most extreme vegetable example of natural human intervention. You can clearly see which plants were selected for huge leaves (hello, kale), which were selected for huge flower buds (high-five, broccoli) and which ones were selected for forming heads (of course, cabbage). Whichever ones you choose to grow in your garden, however, you can be sure that they pack a delicious and nutritious punch, no matter what shape they take.
If you’re interested in growing your own B. oleracea plants, and also saving seeds for the next year, here’s our guide on how to make your cabbage garden self-sufficient.
Step One: Grow Your Plant

I consider saving cabbage-family seeds to be a more challenging endeavor for the beginning seed-saver. Unlike tomato seeds, which are offered freely from the ripe fruit, some patience and sacrifices are required to get a packet of homegrown cabbage or kale seeds.
First off, you’ll have to grow your own plant. The cabbages, broccoli, and Brussels sprouts bought at the grocery or farmers market are not finished fruits, but leaves and flower buds — there’s no chance of getting seeds from these cut, vegetative bits.
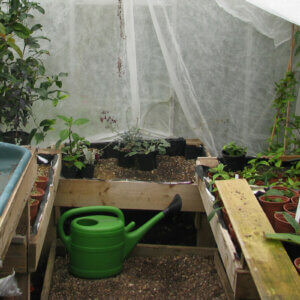
Growing a cabbage-family plant to maturity is only half the battle because all cultivars of B. oleracea are biennials, which means they’ll need to survive a winter in order to trigger bolting and flowering. Folks in more temperate climates can do this by letting their plants overwinter directly in the ground or in a cold frame, but folks in colder climes will need to use a root cellar, clamp, greenhouse, unheated basement, or other method for keeping their veggies alive through the coldest of winter.

Finally, though you’ll be able to harvest some extra leaves from your selected seed plants, you won’t be able to eat the majority of them — the broccoli flower buds will need to bloom, the cabbage heads will need to split, and the kale will need to bolt. For a good genetic mix, you’ll need to set aside at least six plants, but the more you can spare, the better for good, long-term seed genetics.
Step Two: Keep Things Separate

Once you successfully get your living plant through the winter, the challenges continue. Every plant descended from B. oleracea can cross-pollinate with another plant descended from B. oleracea, which means that your overwintered kale and cauliflower will produce mixed offspring if you let them flower freely. Unless you want caulikale or kaleoflower, you’ll have to isolate the blossoms from them somehow.
You have three options.
The simplest approach to ensure pure seed is to save one cultivar’s worth of seeds at a time. This approach limits your ability to save many different types of seeds, of course, but it will take the guesswork out of the process. A nice thing about it, is you can grow first-years at the same time — they’ll give you tasty green goods while their overwintered older siblings take their sweet time to flower.
A second approach is to isolate varieties by distance, though for most of us, this isn’t practical. While plants like tomatoes need to be spaced 35 feet from a different variety, Brassica genus plants are less forgiving. To ensure seed purity, it is recommended to separate different varieties by one-eighth of a mile!
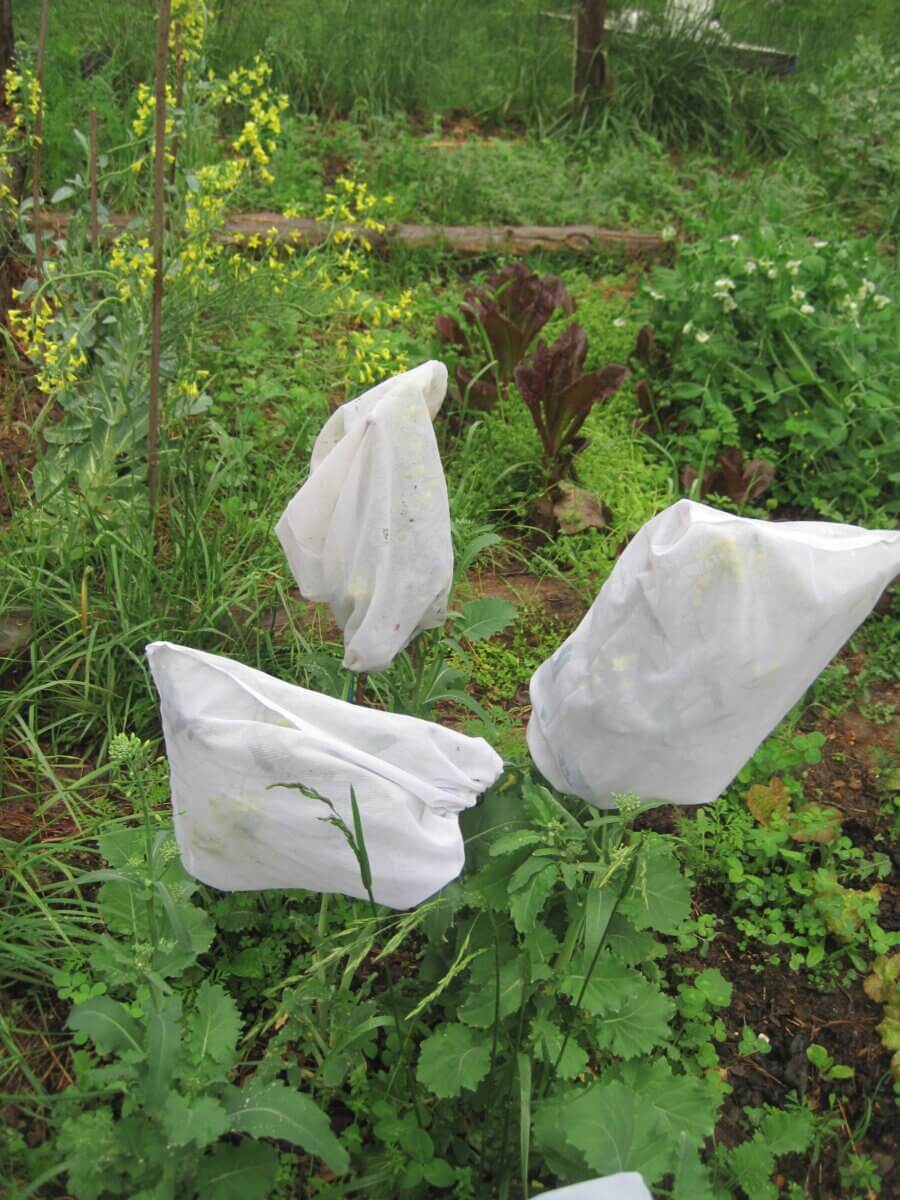
The third option is to use some sort of isolation screen and practice alternate-day isolation. Let’s say you want to save kale and cabbage seeds as I am doing in the photo here. I used mesh bags and covered all the kale blossoms on day A, allowing the cabbage blossoms to be freely pollinated by insects. On day B, I covered the cabbage blossoms with mesh bags, allowing the kale to get their insect visitors. By flip-flopping the isolation bags or screens every day until the seed pods begin to form, the plants get pollinated, but not cross-pollinated.
Step Three: Be Patient but Present

Cabbage family plants grow their seeds in long, thin pods borne along a tall stalk. When ripe, a pod dries to a straw-yellow and shatters apart to release its many round, black-brown seeds. You can’t rush this process — pick the pods too early, and the seeds will be unripe and unviable, wasting more than a year of effort.
You don’t want to wait too long, either. Once fully dry, cabbage-family seed pods can shatter apart in anything more than a gentle breeze, scattering all your seeds at random through the garden before you can collect them.
So you need to be patient, and then jump into action once seeds are ready. When I see seed pods starting to yellow, I’ll give them a gentle test squeeze, right along the seam between the halves. If the pod doesn’t budge, then I let it dry longer. If the pod cracks open, I grab a 5-gallon bucket, gently bend the whole seed stalk into it, and run my hands down its length, freeing the pods from the stem. Many of the seed pods will burst, and you’ll end up with a big bucket of whole pods, pod halves, and bitty, round seeds.
There’s a chance that some seed pods will still be green and unopened. If you were gentle enough with the seed stalk, you can leave them to ripen and get a second harvest from the same plant.
Step Four: Stomp, Shake, and Winnow
If you’ve followed all these steps, you now probably have a 5-gallon bucket full of seed pods, stems, seeds, and maybe a few harlequin bugs who got in the way while you were harvesting. We’ve got to get this mess sorted and cleaned.
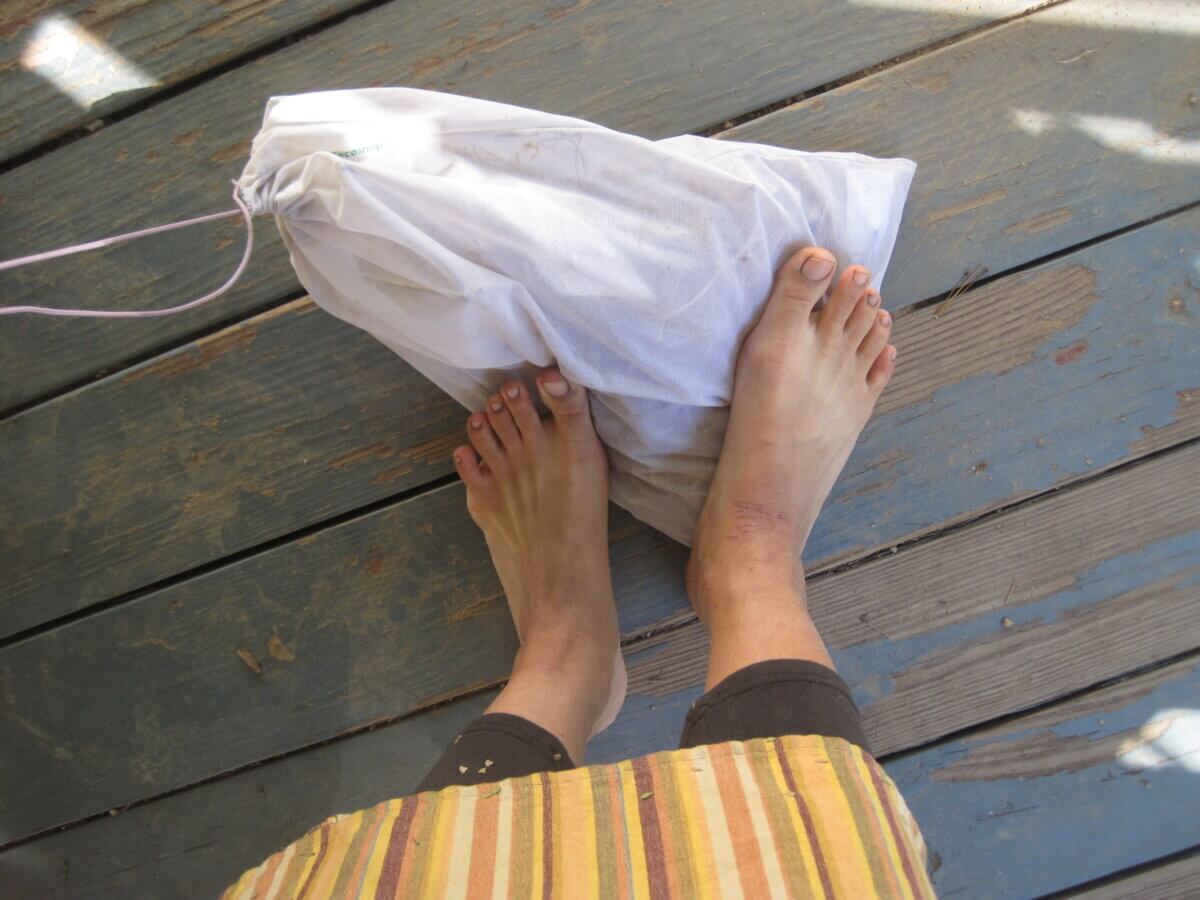
The first order of business is to get all the seed pods cracked open. If you’re working with a small amount of material, you could do it by hand, I suppose. But if you’re working with any more than a handful of seed pods, it’s more time-efficient to throw the whole kit and kaboodle into a tightly-woven bag and either stomp on them or crackle and wring it with your hands until every pod has shattered.
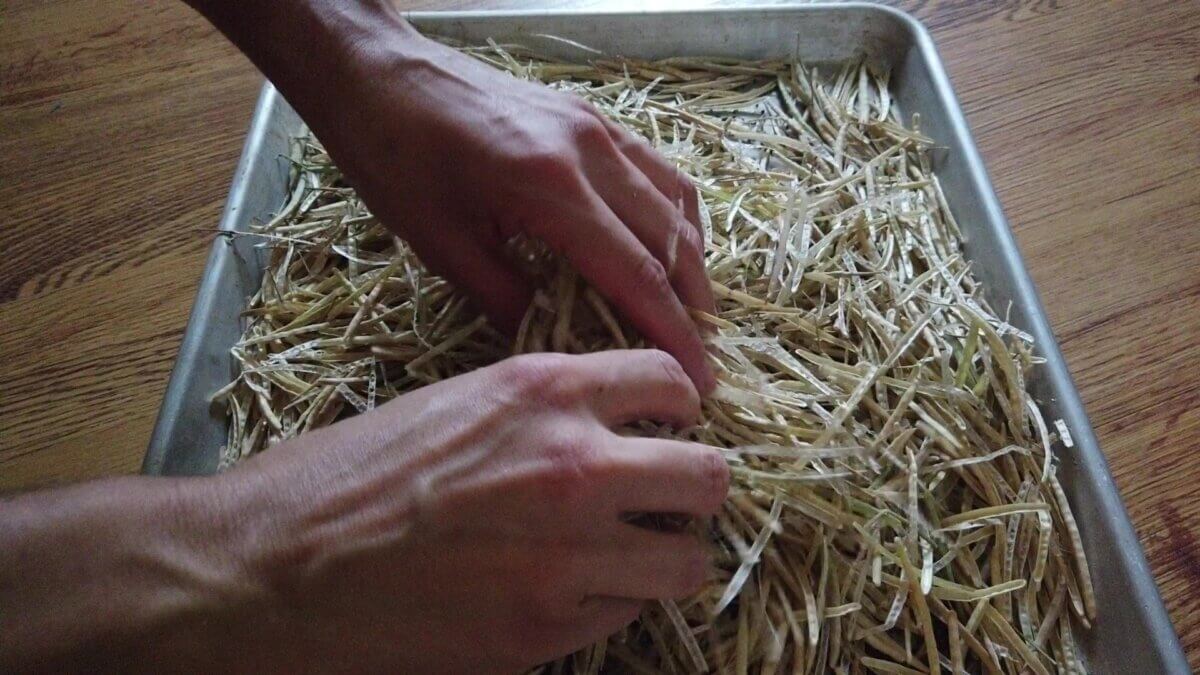
Now, it’s time to winnow the chaff from the seeds. I use a baking sheet for this purpose, lacking an old-timey winnowing basket. (Anyone know where I can get a real one that’s not just decorative?) Dump the contents of your stompy-bag on a tray and shake back and forth (not too hard, of course, you don’t want to send your hard work flying). As you’ll see, the seeds tend to congregate at the bottom of the tray, and the dried pods at the top. Remove what seed pods you can by hand, then continue to shake and remove pods until you have more seeds than pods. I usually do this outdoors on the porch and make a proper mess of my porch in the process.
If you’re careful, you’ll end up with a tray full of tiny, round, dark seeds. Let them sit out in a protected place for a week to make sure they’re perfectly dry, then transfer to the storage container of your choice.
Step Five: Label and Store
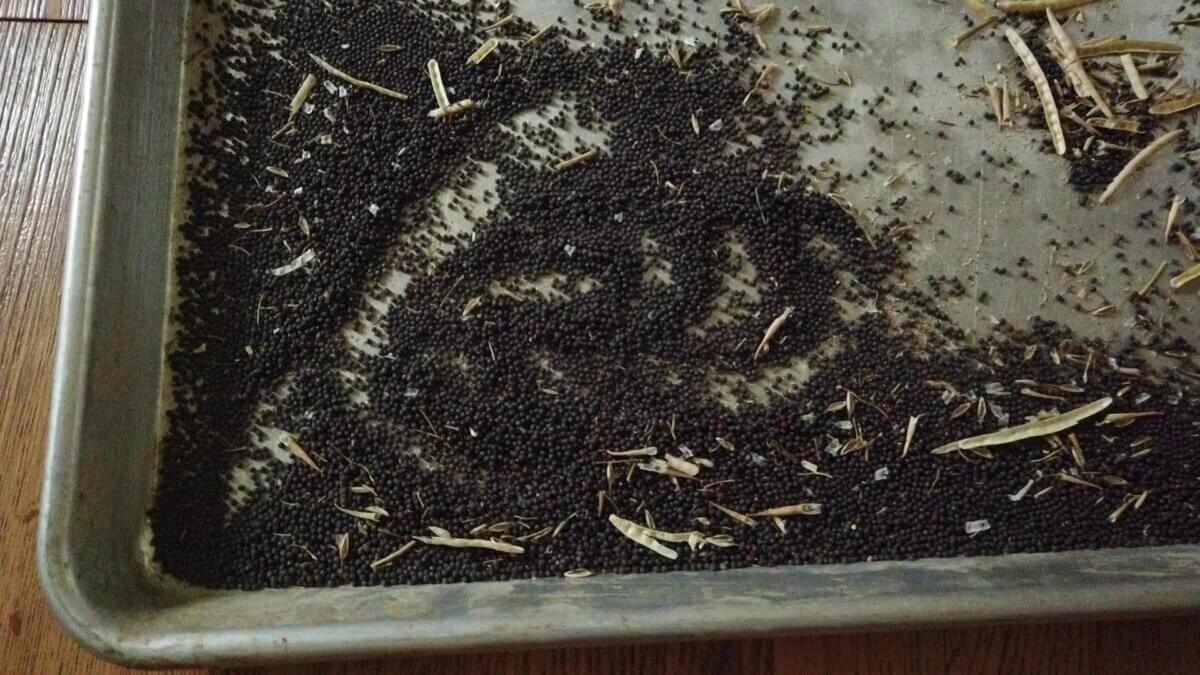
All Brassica seeds look EXACTLY the same, so if you’re working with more than one variety a season, prompt and proper labeling is critical. I recommend working with one cultivar at a time to prevent mix-ups.
Once seeds are perfectly dry, load them in an envelope or baggie and label with the variety and date saved. Store in a cool, dry place until it’s time to get the garden growing again.
Step Six: Grow Again
The whole point of saving your own Brassica seeds is to become self-sufficient with your cabbage garden, so be sure to plant come spring and fall. And keep in mind that the more you grow and save your own seeds, the more site-adapted your personal plants will become.
Step Seven: Inevitable Extras
Even if you only save seeds from six good plants, you’re going to wind up with tons of seeds — far more than you’re likely to use for the next growing season. Cabbage family plants seem to be extra-extra generous on this front, and a surplus is something you’ll have to contend with. Here are three ideas on what to do with them.
Use them for growing microgreens. Tiny cabbage-family sprouts are a wonderful mid-winter treat when grown on the windowsill, and if you grow them in a clean tray, you can wow your guests and family by serving them on the table with a pair of scissors. Cut your own dinner.
Save a small sample of them as backup seeds. Though you should always grow out your seeds to keep them as fresh as possible, keeping a set in reserve is a good idea with biennials in case something goes awry during the winter wait.
Share them with others. See if your local library has a seed library. They welcome donations. Additionally, you can use extra seeds for trade at a seed swap. And if you’re in a generous mood, see if your neighbors and friends want some free seeds.
Do you save your own cabbage-family seeds? What are your best ideas for overwintering your precious seed plants? Give us your tips and stories below!

















Leave a Reply