DIY beeswax candle making is a great way to add a festive flair to your home. Not only do beeswax candles provide a warm and inviting light, but their fresh fragrance is also appealing this time of year.
Professional candlemakers spend years honing their craft and use specialized tools to make high-quality products. But that doesn’t mean you can’t have fun making simple beeswax candles at home.
Lucky for you, we have all the tips and tricks you need to learn how to make beeswax candles yourself. Keep in mind that the process is messy and requires a high level of care to ensure it’s done correctly. Let’s dive in!
The Supplies You’ll Need
Let’s start by gathering the tools and supplies you’ll need to learn how to make beeswax candles at home.
Bulk Beeswax
Ensure that you’re purchasing 100% pure bulk beeswax. We recommend buying beeswax blocks that can be cut apart, pre-melted, and divided for future use. You may find beeswax pellets online (which look like little beads), but be careful. We’ve found that beeswax pellets are often cut with fillers like paraffin. Your candles will come out less than desirable if any sort of filler is present.
Cotton Wicks
Although there are other wicks available on the market, cotton wicks are the only material strong enough to withstand the candle-making process. Plus, remember that beeswax has a long burn time. You want to use a high-quality wick to match.
Double Boiler and Thermometer
As we will detail below, a double boiler is an essential part of the beeswax candle-making process. Do not substitute a microwave or oven. Additionally, we recommend using a candy thermometer to keep the temperature of your wax controlled.
Candle Molds or Jars
If you choose to go the route of creating your candles via molds, you will need to gather candle molds in your desired heights and shapes. Be sure the molds are specifically designed to withstand high heat and will not drip or break apart during the process.
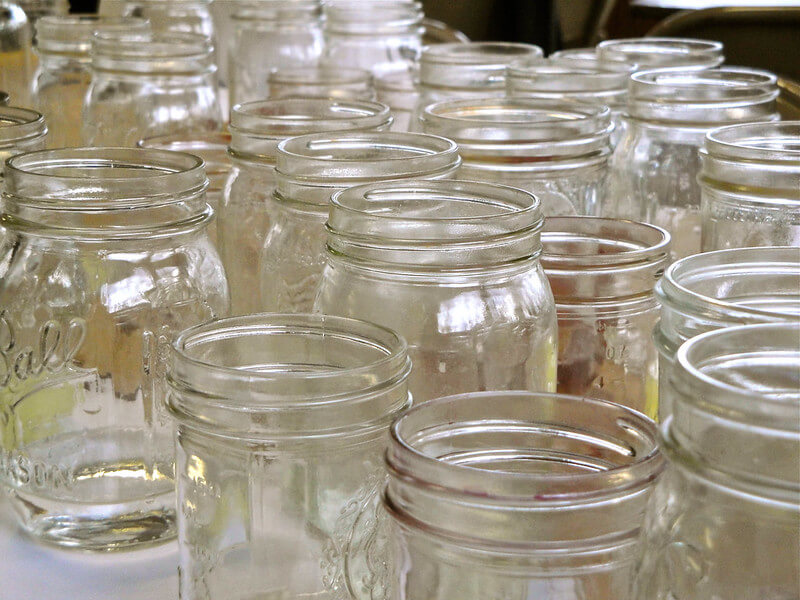
If you want to create candles that will remain in jars, choose glass containers like mason jars that are manufactured for high-heat canning purposes.
Wick-Stickers
These little metal discs will keep your wicks in place as you pour the wax into the jars or molds.
Bamboo Skewers
We recommend using bamboo skewers as your wax-stirrer of choice but in a pinch, you can use another utensil to stir the wax.
Directions
Now that you’ve gathered all your tools and supplies, it’s time to start making your candles. Here are the basic steps for how to make beeswax candles.
Step 1: Set up a Double Boiler
First thing’s first. You’ll need to melt the wax using your double boiler.
If you’ve ever melted chocolate using a double boiler, you’re already familiar with the process. Beeswax should be melted in the same gentle way to avoid scorching.
You can purchase a double boiler for this specific purpose, or you could craft one yourself by using a standard kitchen pot or large saucepan and a stainless steel or heat-safe glass bowl or measuring cup.
Related Post: 5 DIY Beeswax Projects
Do note, however, that the bowl that holds the melted wax should be dedicated to beeswax melting. You will not be able to easily clean it for other purposes.
The bowl should rest on the rim of the pot/saucepan with only the bottom portion sitting in a couple inches of water to boil below it.
Step 2: Melt the Wax
Once the double boiler is assembled — with water added to the pot/saucepan and the wax added to the bowl on top — turn up the heat on your stove to allow the water to boil gently. The temperature of the wax should not get any higher than 175 degrees Fahrenheit (a candy thermometer is handy for that purpose).
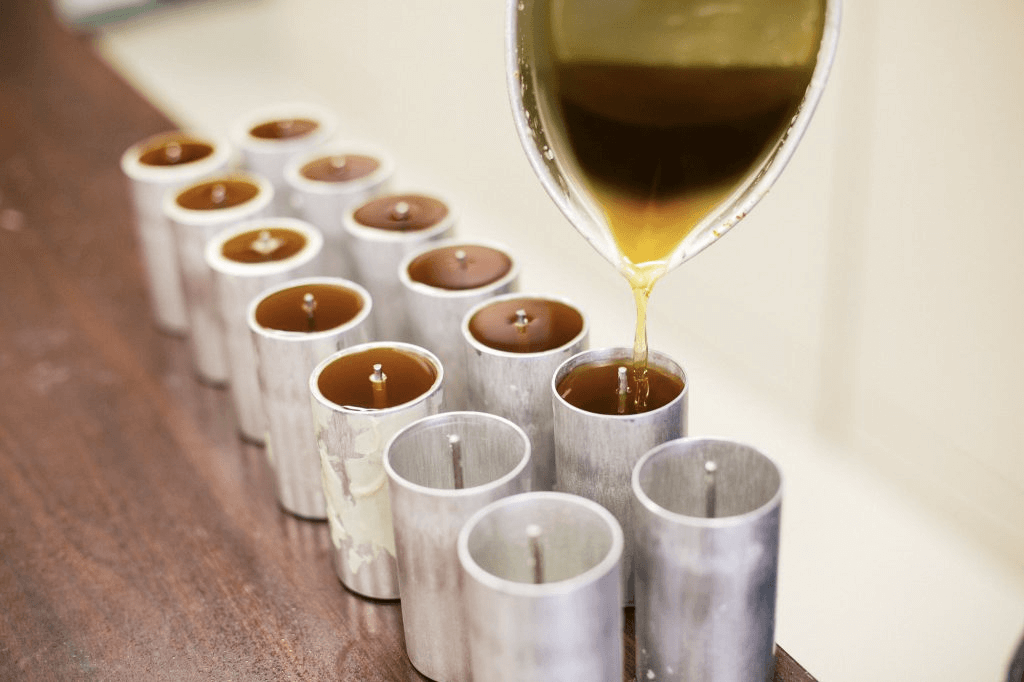
Occasionally stir the wax with your wooden utensil and make sure that no smoke starts to form. Keep in mind that beeswax can be flammable. Smoke is a sign that your wax is getting too hot and could combust.
Step 3: Prepare Your Molds or Jars
Whether you’re using candle molds or glass jars, take a wick sticker and place it at the bottom of the container. Cut a wick longer than you’ll need, and tie or fasten the excess end to a bamboo skewer laid across the top of the mold to keep the wick in an upright position.
Step 3: Pour (or Dip) Your Candles
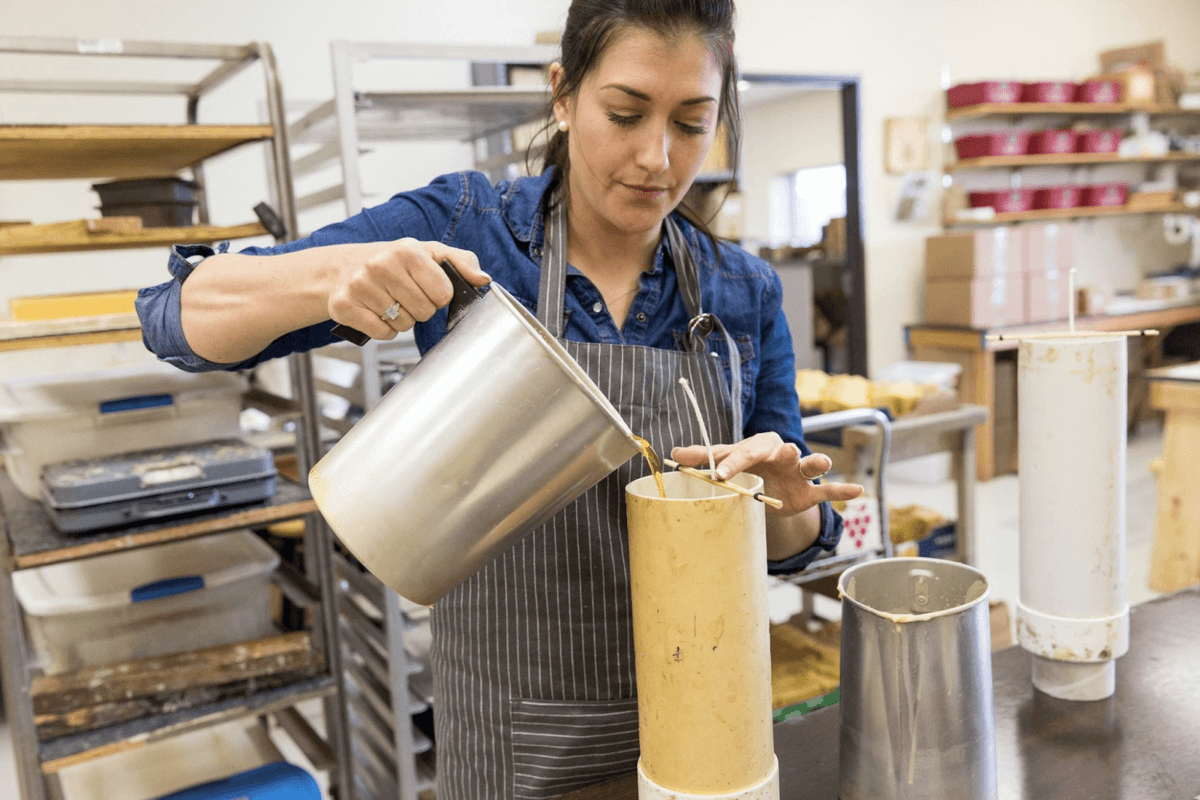
You’ll then be able to pour your melted beeswax into the molds or jars. Let it cure completely (about two days) before removing it from the mold (if using a mold) and trimming the wick to about one-quarter inch.
An alternative to pouring candles is to dip them. This requires taking a long, weighted wick and repeatedly dipping it into the wax to build up the candle. Traditionally, a wick should be dipped on both ends so you can create two candles at a time. The process is as follows.
- Hold the weighted wick at the middle point, so there are two ends to dip.
- Dip both ends of the wick into the melted wax. Wait four seconds for the wax to harden.
- After waiting for the four seconds, dip the waxed wick into cold water.
- Repeat the process until the candle is as thick as you would like.
- Let candles harden by hanging for at least a day, ensuring they don’t touch each other or another surface.
- Trim the excess wick to one-half inch in length for easy burning.
How to Choose Between Candle-Making Methods
We mentioned three different candle-making methods above: molds, jars, and dipping. The method you choose entirely depends on how you want your candles to look and how much of an investment you’re willing to make for the supplies.
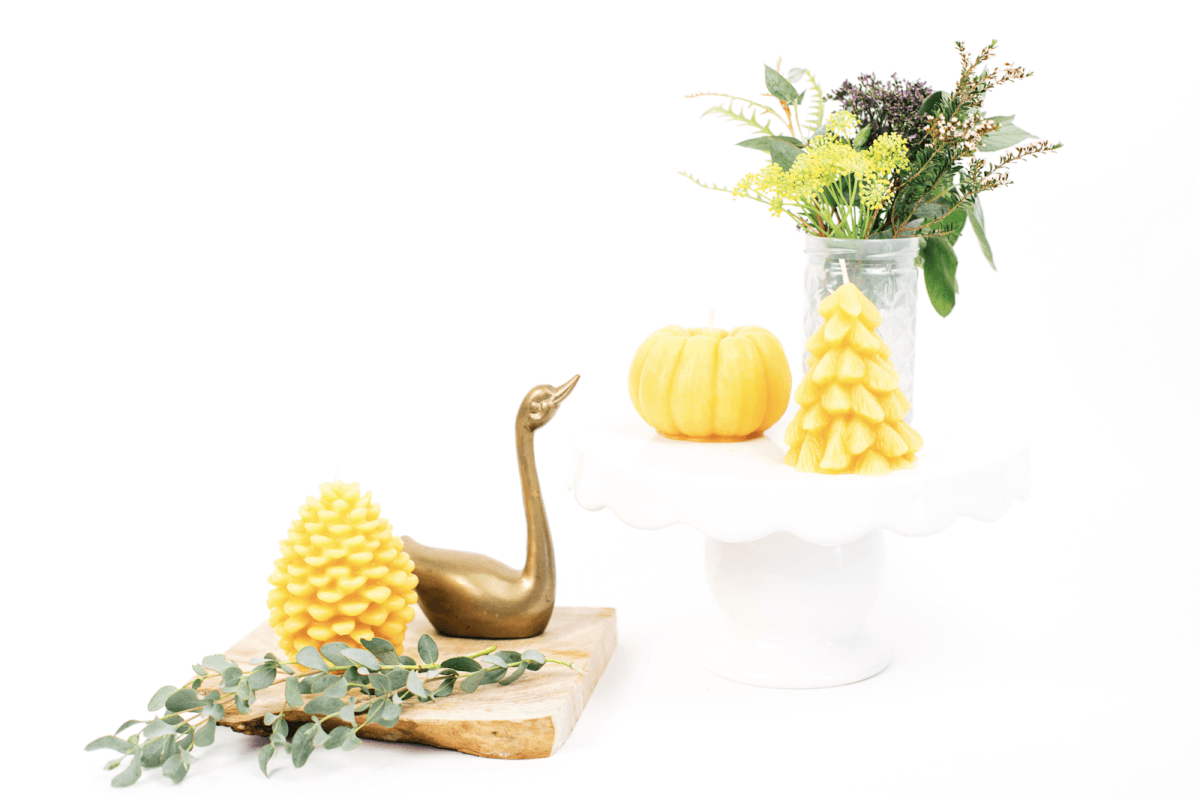
For beginners, we recommend starting with jars. It’s the easiest way to learn how to make beeswax candles and makes great use of extra containers you may have around the home. Once you’ve mastered beeswax pouring, consider investing in candle molds. Seasonal molded candles like pumpkins or Christmas trees make great gifts.
Candle dipping is usually reserved for tapered candles and can be more time consuming and tricky to master than the other methods.
DIY candle-making enthusiasts often alternate between the various candle-making methods depending on the type of candle they want to make. With votives, pillars, tealights, and tapers to choose from, the possibilities are endless.
Troubleshooting
It’s unlikely you’ll have a perfect beeswax candle the first, or even second and third times you make your candles. Instead, you’ll likely notice candle tunneling, over-melting of the candle wax, and cracking.
Most of these issues can be resolved with the most common resolution being a different-sized wick. In conjunction with the pouring or dipping methods, experiment with both small and large wicks. Soon you’ll find the perfect formula for your preferred candle-making method.
Common Questions and Answers
Can You Scent Beeswax Candles?
Though some tutorials might mention adding essential oils to your candles, we recommend leaving them as-is. The subtle, naturally sweet honey scent is very pleasant on its own.
Do Beeswax Candles Really Clean the Air?
Yes! Through a process called ionization, beeswax candles purify the air, making them a candle that smells wonderful and is good for you, too.
Should You Add Coconut Oil to Beeswax Candles?
Pure beeswax makes the perfect candle consistency. Adding different oils will make the wax softer, and it could cause excess leaking or spillage.
While some beeswax candles contain fillers, they’re usually added to save cost and for no other reason. Not to mention, adding other oils can dilute the healthful, burning properties of pure beeswax candles.
Why Did My Beeswax Candles Crack?
It’s likely your candle cooled too quickly. Have patience. Don’t blow on your
candle as it cools, and don’t place it in a fridge or colder-than-normal location to
speed up the cooling process. Beeswax does contract as it cools, so small
amounts of cracking isn’t a big problem.
At What Temperature Do You Make Beeswax Candles?
Be sure to heat beeswax using the double-boiler method. The beeswax
should be maintained at or below 175 degrees Fahrenheit.
Why Choose Beeswax?
With so many waxes that can be used for candles — including paraffin and soy — why choose beeswax?
The benefits of beeswax are endless.
- The burn time of beeswax candles is significantly longer than their paraffin and soy candle counterparts.
- Paraffin releases toxins while beeswax emits negative ions that clean the air and invigorate the body.
- In contrast to paraffin, which is a petroleum-based product, pure beeswax is a renewable resource that’s 100% natural.
- The natural scent of beeswax is a divine mixture of flowers and honey — no need to add toxic, artificial scents.
- Soy candles aren’t as healthy as their marketing will have you believe. Their environmental impact can be substantial, they’re commonly associated with GMOs, pesticides, and chemical processing, and even the glow that soy candles emit on the light spectrum isn’t as warm as beeswax candles.
While paraffin candles may be cheaper and soy candles are all the rage, you may find the long-term effects they have on your body or the environment aren’t worth the risk. On top of having short burn times and being excessively drippy (since paraffin candles are made from petroleum), they can give off fumes as toxic as car exhaust.
Beeswax candles are the perfect way to warm up a home. Learning how to make beeswax candles can be a fun, but messy undertaking. It’s harder to master than it looks, but don’t be discouraged. If you’re determined and patient in following our tips above, you’ll be able to make your own beeswax candles in no time.


















Thank you for sharing this valuable knowledge!