So, you’ve just gotten back from sweating in a friend’s sauna and you’ve decided you gotta have one too. Just how realistic is this goal? Well, it’s definitely going to take some time and effort, but as someone who has been helping a friend build a traditional yurt sauna, I’ve learned saunas are a surprisingly simple luxury to create.
The biggest obstacle is just making yourself get started.
This article will explain the basics of what every sauna needs, and then give you some tools to improvise a design for your specific situation. Toward the end I will talk about my personal experience with building a yurt sauna, but the majority of this article will cover the basics skeleton of any sauna project. Let’s get started, from the ground up!
Decide Where To Put Your Sauna
The spot you pick for your sauna is a multi-faceted decision and is fundamentally situational to each person. Are you building an off-grid sauna? Will it be connected to anything? How many people do you want it to hold? There’s also the ‘cozy’ factor—to achieve maximum relaxation, you may want to pick a tucked-away spot with some special view. You’ll have to address the unique characteristics of any location, so this guide is meant to be the connective tissue that brings together the issues of any design.
The most important factor is that you pick as flat of a spot as you can—because you’re going to have to level the ground next.
Build A Foundation
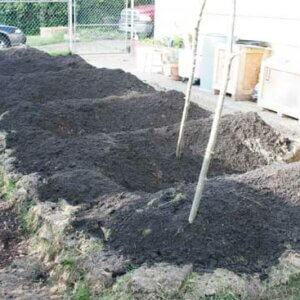
Once you have your spot, it’s time to level the ground and build a foundation.
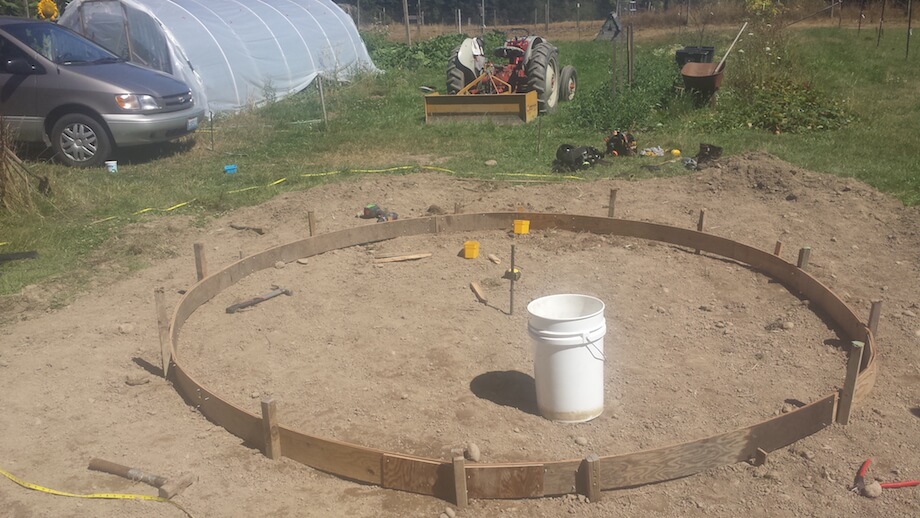
You have several options for the foundation. The best choices are concrete, wood, or gravel.
Concrete is durable, rot-resistant, and is easy to get. It’s hard to remove though. And expensive. A good variant of a concrete foundation is a pier foundation; these foundations don’t use as much concrete, and just require a few holes filled with cement.
Wood is a good option, since it can be moved. It is considered a temporary structure so you won’t have building code inspectors knocking on your door.
Gravel requires only very simple prep, is easy to level, and will shed water run-off. Class 5 gravel is ideal for saunas. I strongly recommend getting a truck to haul in a large load, instead of trying to haul smaller loads back and forth in your car.
Get Your Equipment
You’ll need a way to fasten boards together, such as a hammer and nails, an air compressor and a nail gun, or screws and a drill motor. All will work. A nail gun will be faster, but is probably not worth buying just for this project—and if you don’t have experience using one, you may split the wood. You will definitely need a jig saw, ideally a table saw too. A skill saw wouldn’t hurt either.

Install Insulation
To prevent mold, insulate your sauna in this order.
- Exterior of your choice.
- Tyvek or some other breathable vapor barrier.
- OSB or plywood to act as an inner siding
- 2X6 studs with no less than R-19 insulation
- interior cedar interior finish.
The idea behind this arrangement of materials is that while moisture will pass through the walls, droplets won’t form. Cheaper insulation like foam board will block the passage of moisture through the walls, and your sauna will get moldy. Your walls need both insulation and a vapor barrier. Fiberglass insulation is a common solution. But it is not a joy to work with. You have to protect your body head to toe, and you can’t enter your house until you’ve been thoroughly cleaned. It gets everywhere. Recycled cotton insulation is an environmentally-friendly alternative. It is only slightly more expensive than fiberglass, and instead of being composed of glass shards, it’s just shredded blue jeans.
Install Your Heating Element
A smoke sauna is the time-honored method. It’s low-maintenance and follows the ancestral type of sauna culture that many traditionalists pine for. The good ol days before chimneys were invented, and the only way to heat a building was to light a fire in a stove, let the fire burn out, let the smoke out, and get inside. Considered superior by connoisseurs as the purest way of enjoying a sauna, as it only stays warm for ideal half hour timespan, and how the smoke with the interior wood siding produces essential aromas.

‘Wood-heated’ saunas were the next evolution in saunas. If you have a good source of wood, it’s going to be the cheapest way to go, even more so if you are truly off-grid. If you choose wood heat you’ll need to build a chimney or flue, which will require to you to research your county building code for the respective regulations. The best types of wood to burn for sauna stoves are: White Aspen, Western Red Cedar, White Cedar, Hemlock and Finnish spruce. But your choices will vary with location.
The electric sauna heaters are the kind you see in hotels all across America. Clean and cheap to run, the electric heater heats up stones just like the oven method and nothing is really lost. They are much easier to set a specific heat for a sustained period of time. No need to tend to a fire that ebbs and flows. You won’t have to build a chimney, or worry about a part of the sauna that has an open flame in it. Electric heaters can be wall-mounted or freestanding, with a range of sizes.
The other options—such as geo-thermal heating or boiler power—require specialized knowledge and equipment.
Install Lighting
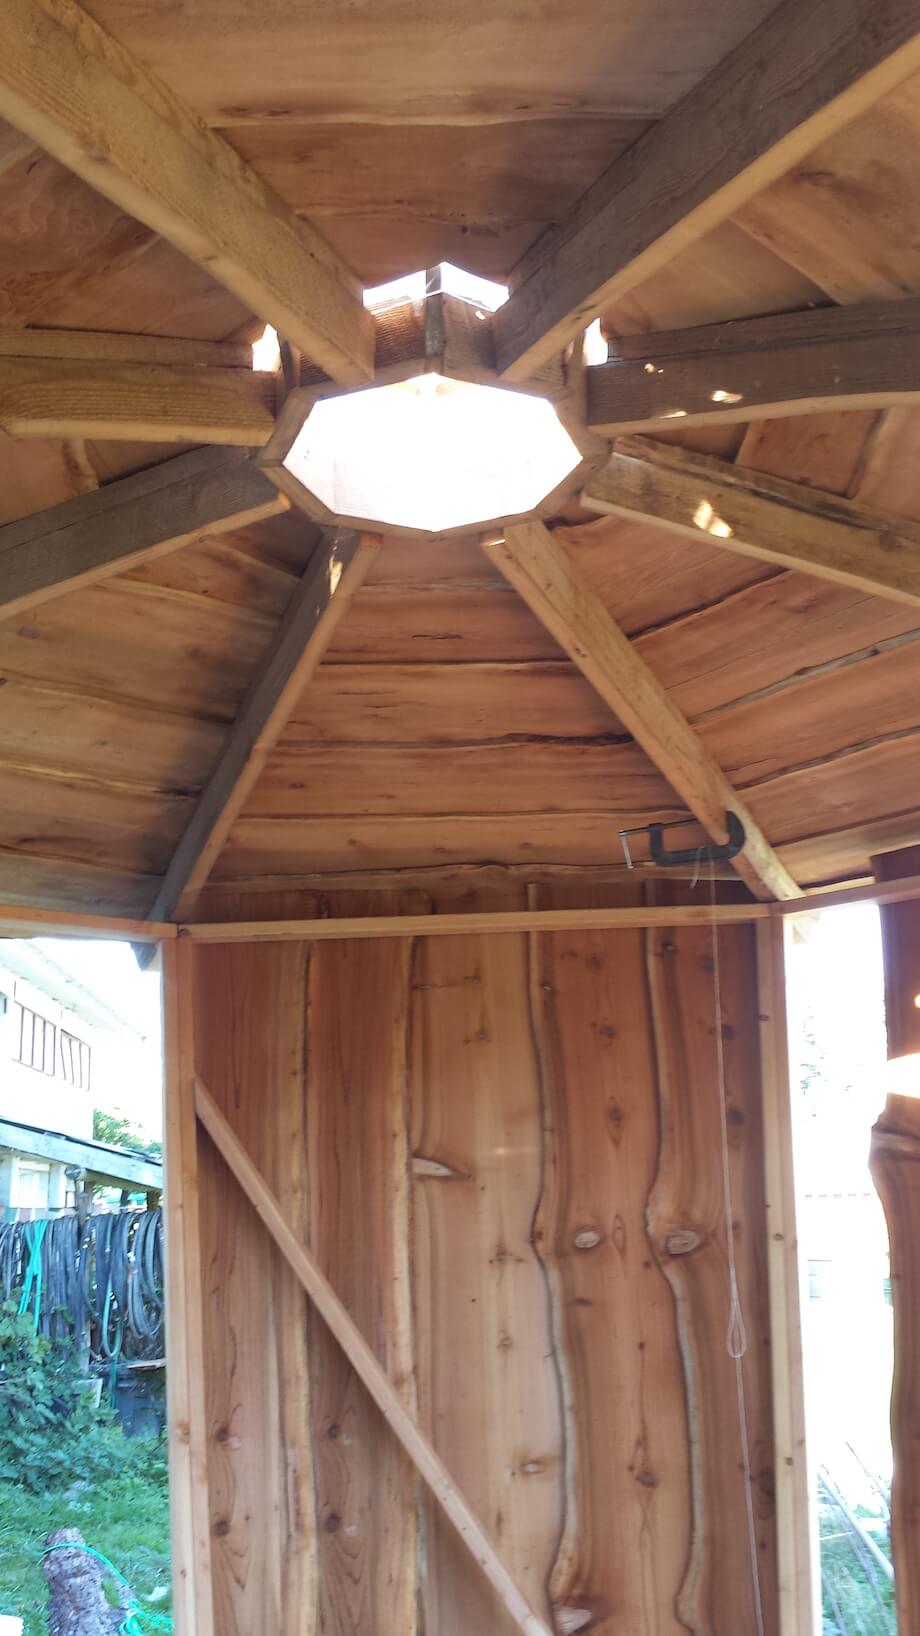
Unless you are planning on going with a sensory-deprivation-themed sauna, you will want to have lights. Although I do recommend turning them off sometimes. If you wire your sauna for an electrical heating element, it will be easy to also wire the lights. Installing basic lighting is not nearly as hard as it seems. If you’re off-grid, solar led lights are a valid option. For a truly ancient experience, leave a sky light at the top for moon rays to cast themselves into the sauna.

Install A Water Source
All saunas need drains. This could be as basic as a pipe that leads water away from the foundation. But the water used for the steam can be brought in with buckets from any nearby water source. If you want anything beyond that, your unique situation will lead to different considerations. Some of the most important things to think about are:
- How far is the nearest empty plumbing hookup?
- Are you willing to find a way to hook it up to your sauna?
- Do you need a shower or a bath?
Let me know in the comments what your situation is and we can work something out.
That is the basic foundation of what you need to consider when building a sauna. There are limitless ways of building a sauna—from the 4,000-year-old stone sauna unearthed in Scotland to the portable saunas of British Columbia. Don’t let tradition stop you from experimenting!
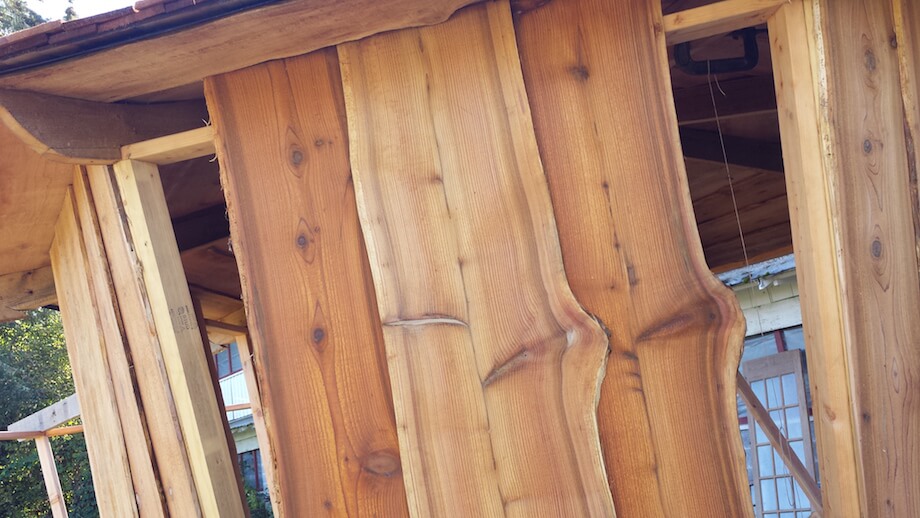
All photos via Christopher Sean Wiliams.














What was the cost of building your sauna?
Christopher, I can see why the heating element would be one of the the most important elements of your sauna. My wife and I have been wanting to make a nice relaxing area in our backyard. I feel like a sauna would definitely make a nice touch.
Congrats on having your own sauna. The design is really cool and unique. I use my twice a week– how about you?
Hello
I have some questions. Ale you online?