Store-bought flour can leave a lot to be desired. Have you ever researched exactly what happens to turn whole wheat grain into the pale, satin-smooth dust that you buy in those paper cuboids? Nutritionally speaking, it ain’t pretty.
After being smashed, heated, sifted, bleached, oxidized, sprayed with government-approved approximations of the nutrients that were removed during the process, and stored for weeks on end, white flour doesn’t have much to offer in terms of food value. For those looking to improve their diets and get some consumer waste out of their lifestyles, a grain mill may be just the ticket to better bakery, healthier meals, and generating less waste.
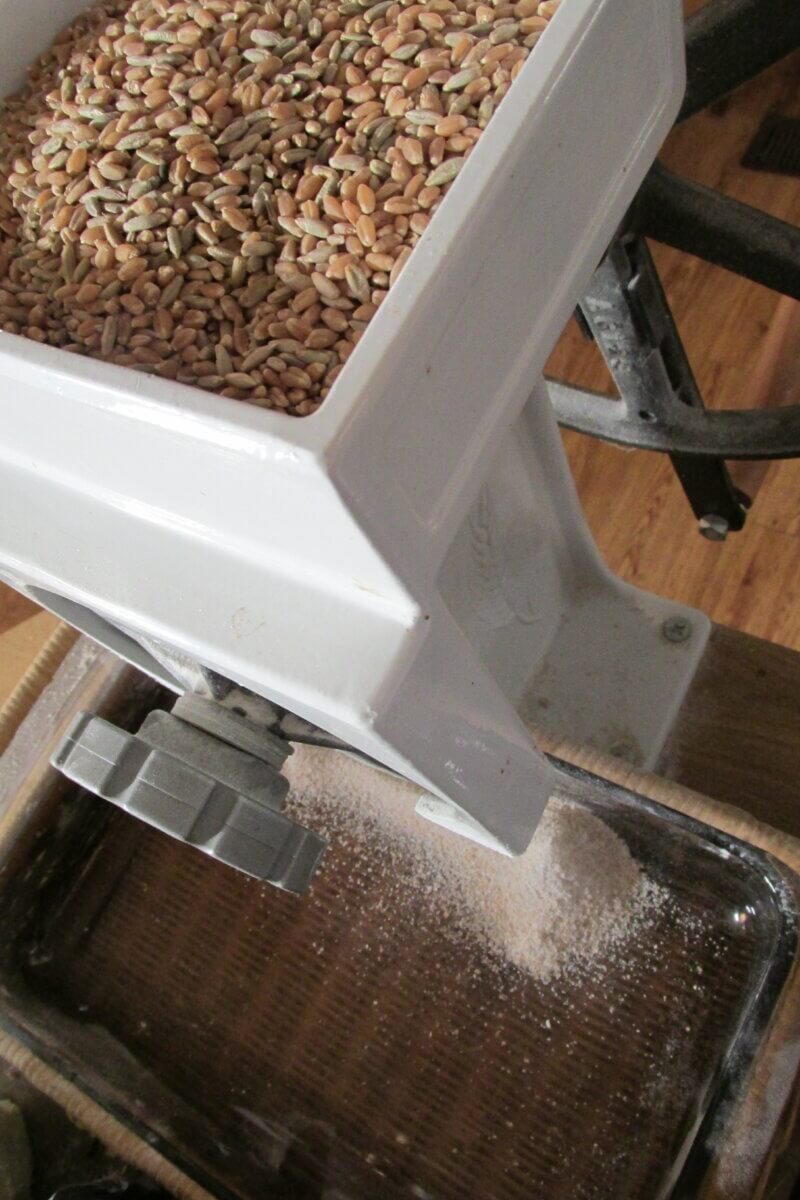
We have an earlier article that goes much deeper into why you should consider grinding your own flour, and you can read it here. But what happens when you get that mill, manual or otherwise, and are ready to go about making flour happen? I realized that talking about the “how” is as important as the “why” in this regard, and would like to share the tips and tricks I’ve learned from five years of grinding my own flour.
The facts about the following grains are my own conclusions for specific grains I’ve milled. I suspect they are universal, but there’s a chance the results may vary if you use a different mill than the Country Living Manual Grain Mill that I use. Regardless, I will describe what it feels like to grind each grain (an important detail when things are done by arm power alone), what kind of flour results, and the characteristics of the end product.
For the few out there who have their own Luddite sort of bent and also grind their own flour, I hope this article helps with your own experimentation and discovery.
The Milling Process
Milling wheat (or other grains) is a primitively simple process. Take seeds, smash in some way, collect resulting powder. Though we dress it up in various housings of increased modernity, grain mills accomplish the same goal as the manos and metates, plumping mills, or querns of centuries past.
My manual mill crushes seeds between two milling plates: one static and one rotated by arm power. Based on the proximity of the plates, the resulting powder can be silky fine, as coarse as cornmeal, or so chunky the seeds are just fractured. That level of customization allows you to make any range of bakery from toothsomely tender cupcakes to, hearty chewy Vollkornbrot.
And if you find achieving a fine grind to be challenging on the first processing, you can send the flour through the mill a second time on a finer level.
In some older homesteading books I’ve read, you’ll often be instructed to sift and discard the heavier bran and germ, resulting in flour that is the closest approximation to home-ground white flour. I personally don’t understand why you would go through the trouble of grinding your own flour, only to strip it of the most healthful elements. I think these steps are vestiges of inherited expectations, and best ignored. Therefore, I strongly recommend omitting this step and consuming the flour as whole grain, retaining the beneficial oils and nutrients that come from fresh-ground grains in their entirety. The more you work with whole grain flour, the more you’ll understand its nuances, and the less of an “issue” the texture will be in the long run. Your good health will thank you.
7 Types of Whole Grains to Try
So all that said, let’s explore some nuances of different whole grains that you might load into your hopper.
Hard Red Wheat
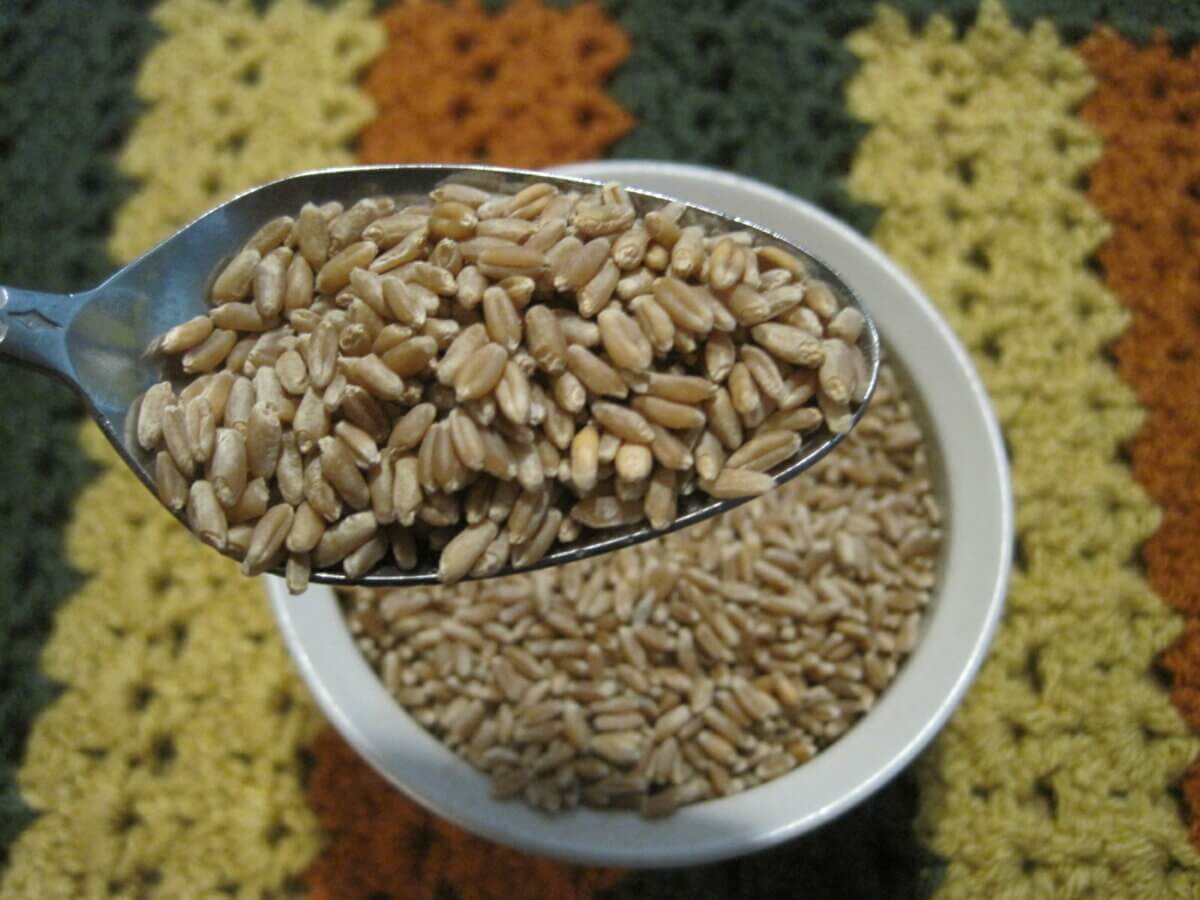
This is the grain that I grind the most. It is the backbone for the majority of my bakery and is the bulk of the daily sourdough loaves I make through winter. The grains are a rich, caramel brown with a hint of red, and they often have a matte sort of sheen to them.
In the mill, hard red wheat grits through the milling plates with a satisfying grip. Since the seeds are so hard, they feel like they’re fracturing.
Hard red wheat flour contains ample protein, so it can form a springy bread dough all on its own. I prefer this wheat for making leavened bread, various types of flatbread, whole-wheat pasta, and dumpling dough.
Soft White Wheat
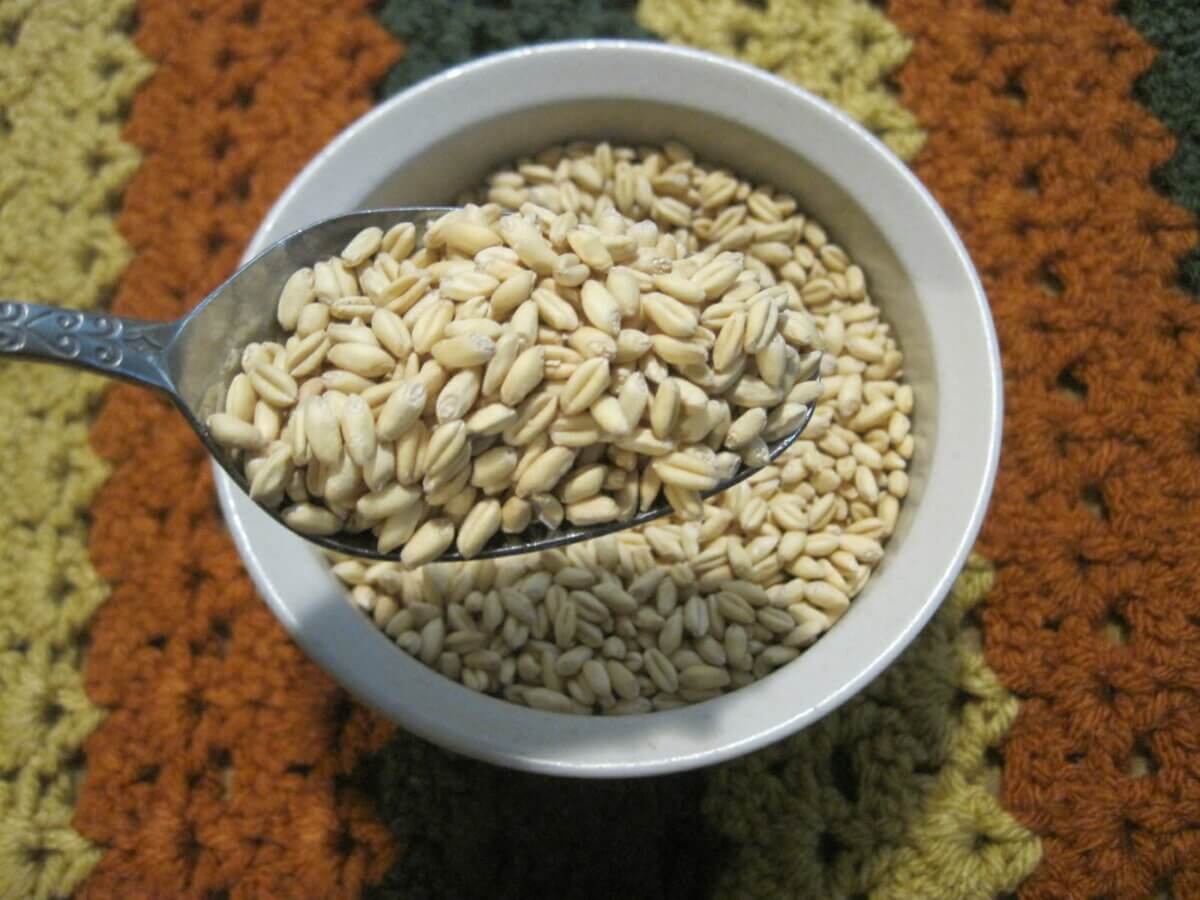
Soft white wheat looks positively marshmallowy when compared to hard red wheat. The grains are pale tan, plump, and lack any shine whatsoever.
In the mill, soft white wheat whispers and slithers past the plates with an almost oily feeling. The seeds feel like they’re being smushed, rather than fractured, and the flour output is much slower than with harder grains. You’ll have to do a lot more turns with the flywheel to get flour to flow.
Soft white wheat contains less protein, resulting in a tender, refined crumb. Though I find grinding this wheat to be frustrating, once I finally put my nose to the literal grindstone and power through a few cups, I find it superior for pastries and treats. It makes for good pie crusts, flaky biscuits, and tender pancakes. Take note, though: If you try to use it for stronger doughs such as noodles, you’ll be disappointed.
Rye
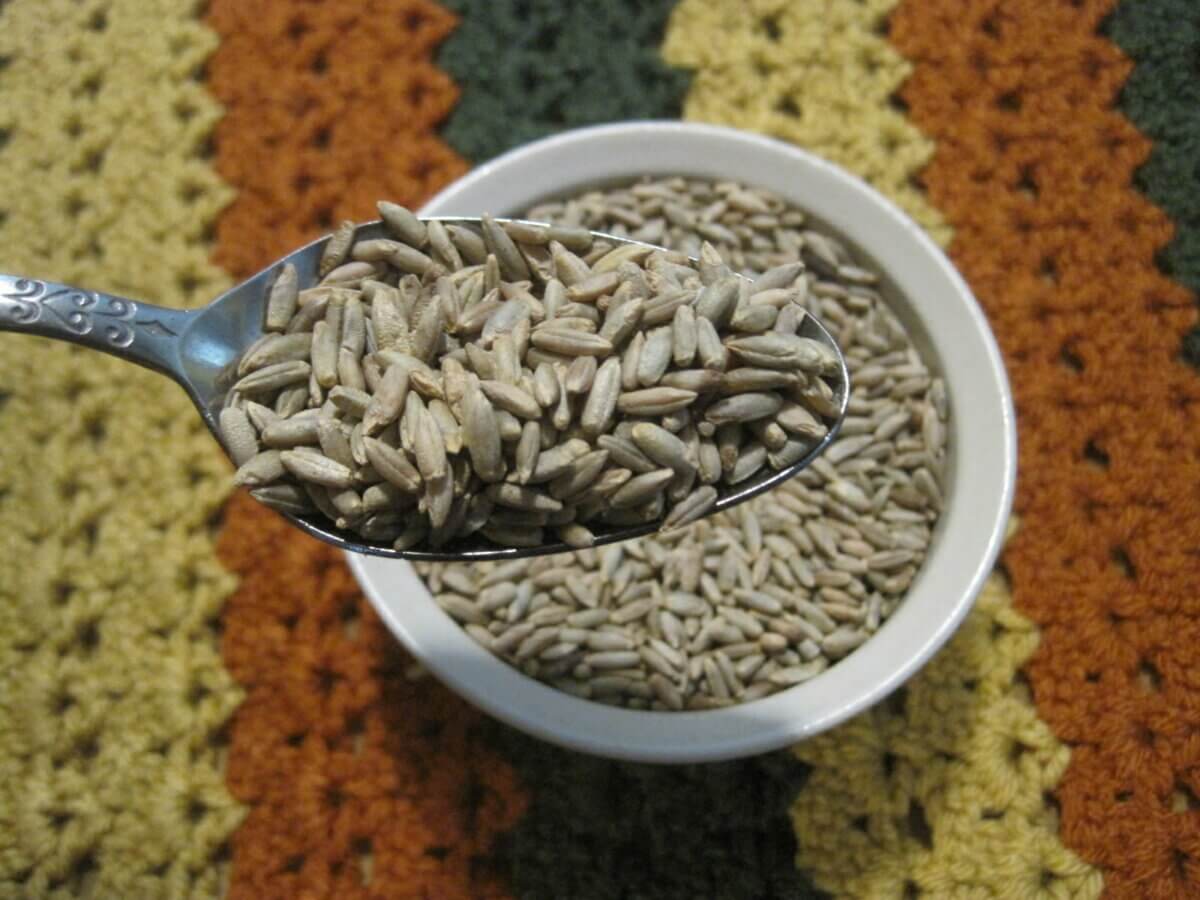
Rye grain is a grayish-brown seed, more elongated than wheat, with pointed ends and a slightly malty aroma. It results in bakery that has a distinctively grayish-brown color, often emphasized by the addition of molasses, or in less honest baking, food coloring.
In the mill, rye is incredibly slow grinding. It is as slow, if not slower, than soft white wheat, meaning you’ll feel like you’re turning the wheel 10 times more than you would for hard red wheat. The purple-gray powder usually comes out silky smooth, however.
Rye flour acts completely different from wheat flour, resulting in extremely moist, sticky dough. If ever you’ve tried to knead a 100% rye loaf, you’ll understand why most traditional rye breads call for long fermentation and little to no kneading. It clings, cloyingly to skin.
Rye flour makes amazing bakery when the baker understands its nuances. To put it simply, the chemical makeup of rye flour allows it to gelatinize once baked — something that distinguishes it from wheat flour. For those interested, a far more scientific explanation is offered on page 34 of Daniel Wing and Alan Scott’s excellent book “The Bread Builders”). Because of this characteristic, rye adds a moist chewiness to breads. I confess that soaked rye flour is my secret ingredient for chewy, low sugar, whole-grain brownies. Before I made them with rye flour, they always came out chokingly dry. With rye, they are nearly as chewy as their over sugared “normal” counterparts.
Barley
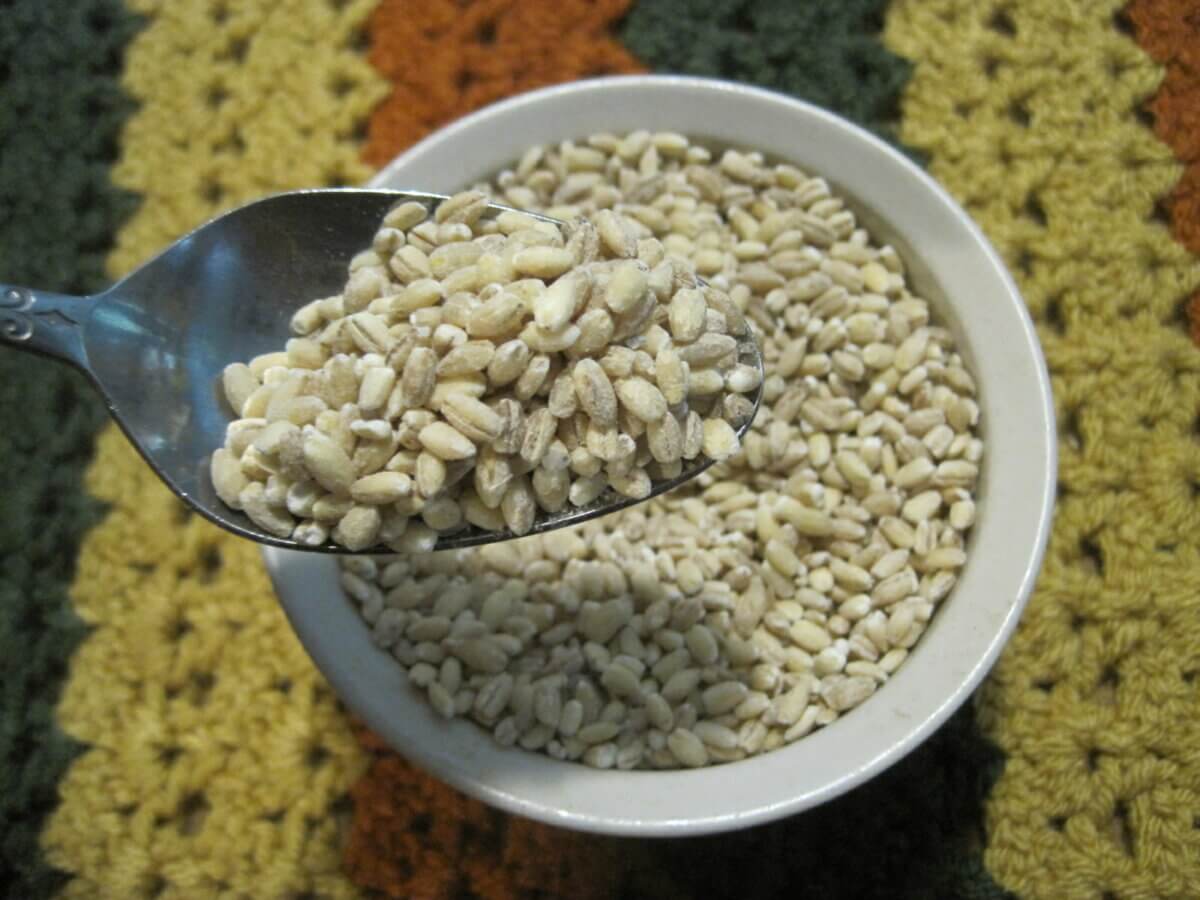
Barley is a pale tan grain, similar in appearance to soft, white wheat. Like white wheat, it slips through the mill. I typically blend a 50:50 mix of barley and hard red wheat when using it for bread flour or any other dough, giving me the health benefits of a multigrain mix without the frustration of slow grinding.
Brown Rice
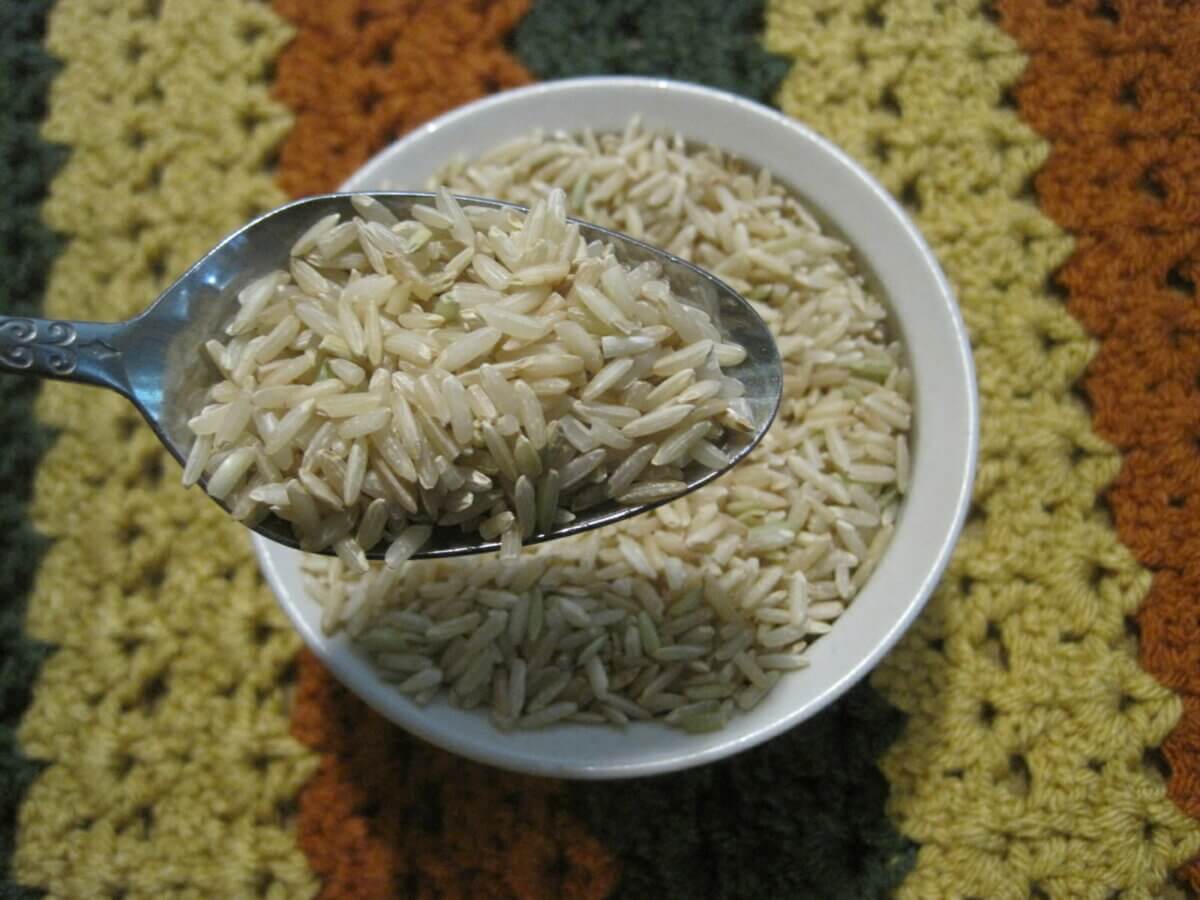
Brown rice grinds crisply through a mill, cracking apart with the same satisfying snap as hard red wheat. It results in a gritty powder that is excellent for porridge mixes. And if you’re finding yourself shelling out the big bucks for gluten-free brown rice flour, you can grind your own for pennies on the dollar.
Millet
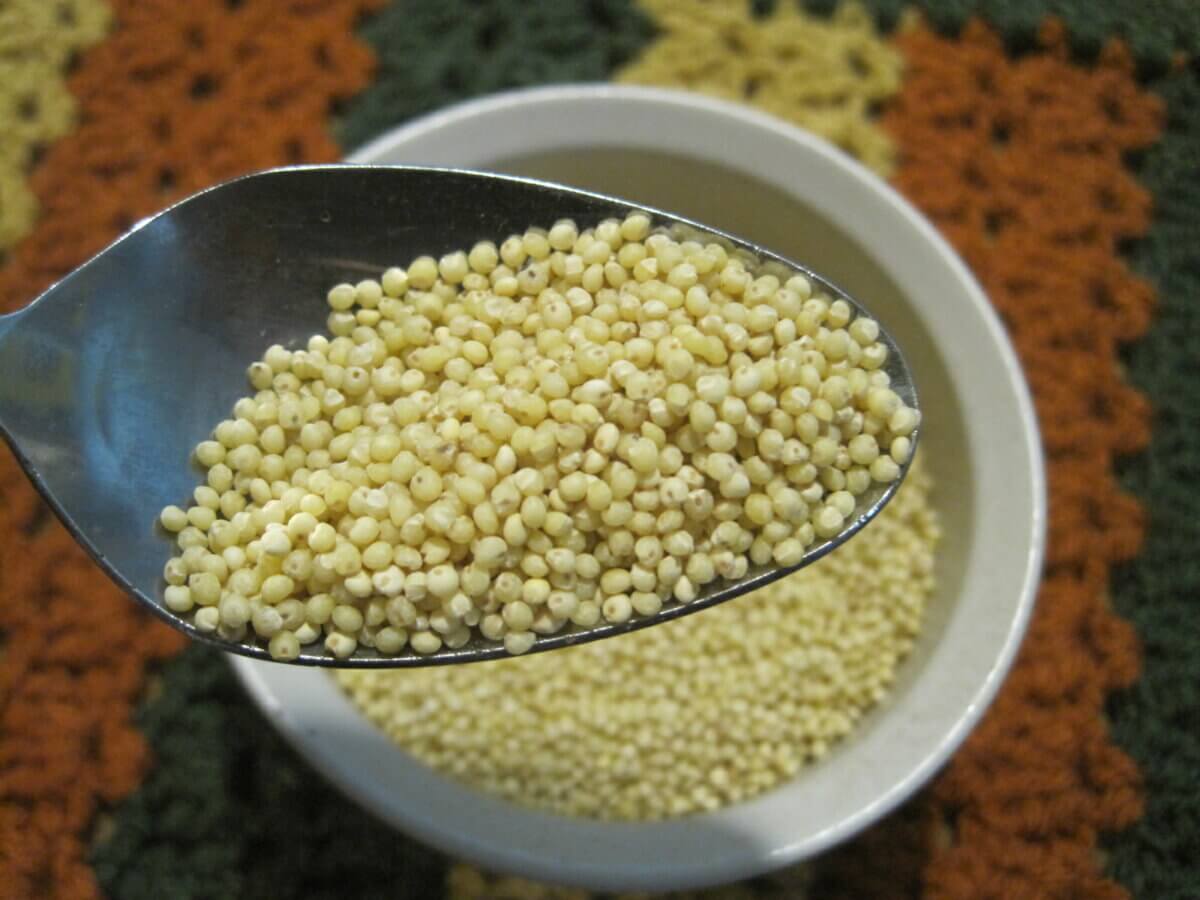
Though it’s probably consumed more by birds than humans in the United States, millet is a nutritious and delicious seed that should see more dinner plates. Millet seeds are smaller than most other grains you’ll run through your mill, so you’ll have to make sure the plates are tightened more closely than usual. That said, they run on the harder end of the spectrum, and pass through the mill easily.
Millet flour contains no gluten, so you’ll need to either add a binder (such as eggs) to your batters and doughs, or mix it with a gluten-containing flour. I personally enjoy adding millet flour to bakery — it caramelizes crusts to a honey-brown and adds a pleasant nuttiness.
Sorghum
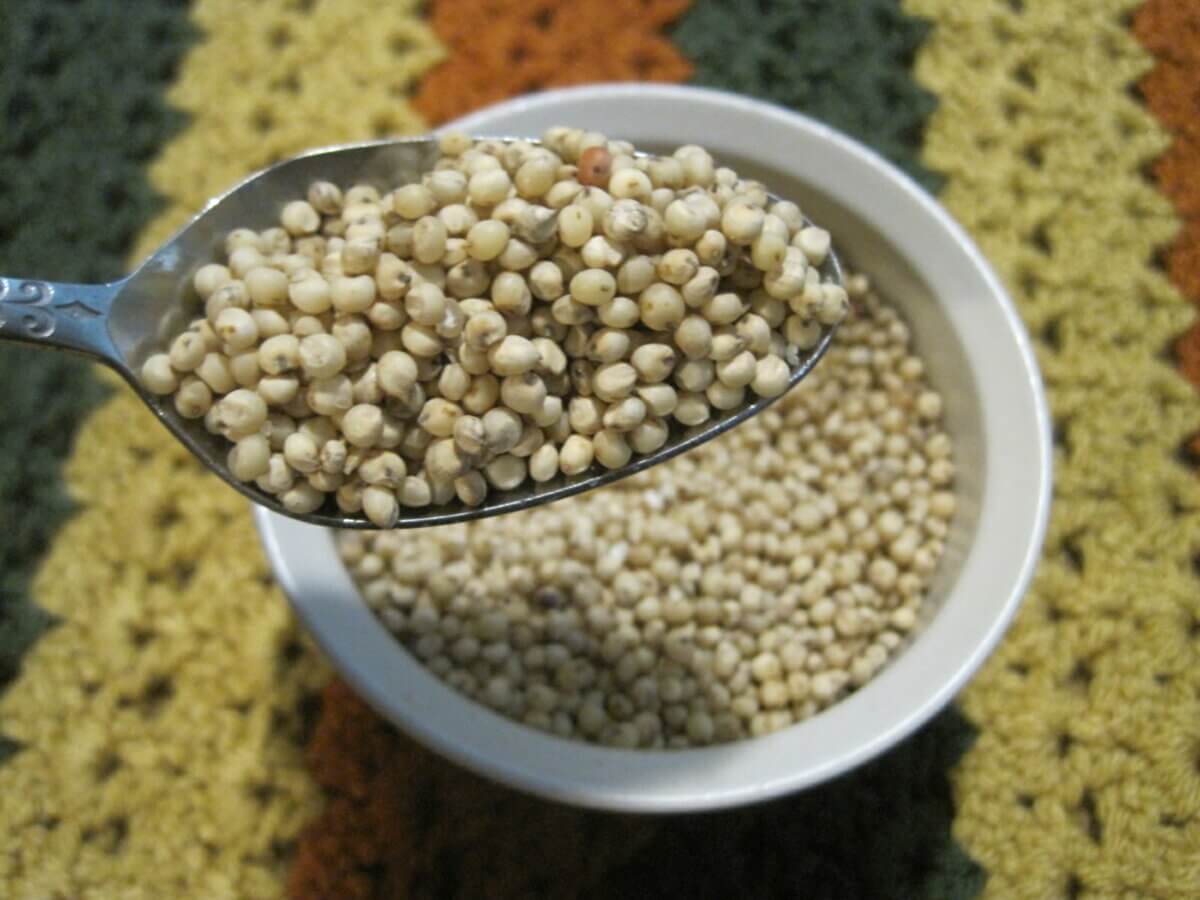
Sorghum is a grain that deserves a lot more attention than it gets. Usually labeled as “milo” and used as birdseed or livestock feed (though my chickens seem to hate it), it rarely makes it indoors. But when ground and added to a recipe, it contributes a special sweetness and malt that adds a special something to your finished goods.
Sorghum contains no gluten, so you’ll need to treat it like cornmeal in terms of bread production. Either mix it with a gluten-containing flour, or use eggs as a binder. I’ve also noticed that sorghum has a unique “stickiness” when included in porridge. No matter how gently I cook it, any porridge containing sorghum flour seems to burn to the bottom of the pan. Some traditional African sorghum porridge recipes compensate for this by fermenting the seeds, cooking them whole, then grinding the cooked, hot seeds into a porridge consistency.
General Tips for Grinding Flour
Here are some best practices when it comes to grinding your grains into flour.
Always Give Your Grain a Once-Over Before Filling the Hopper
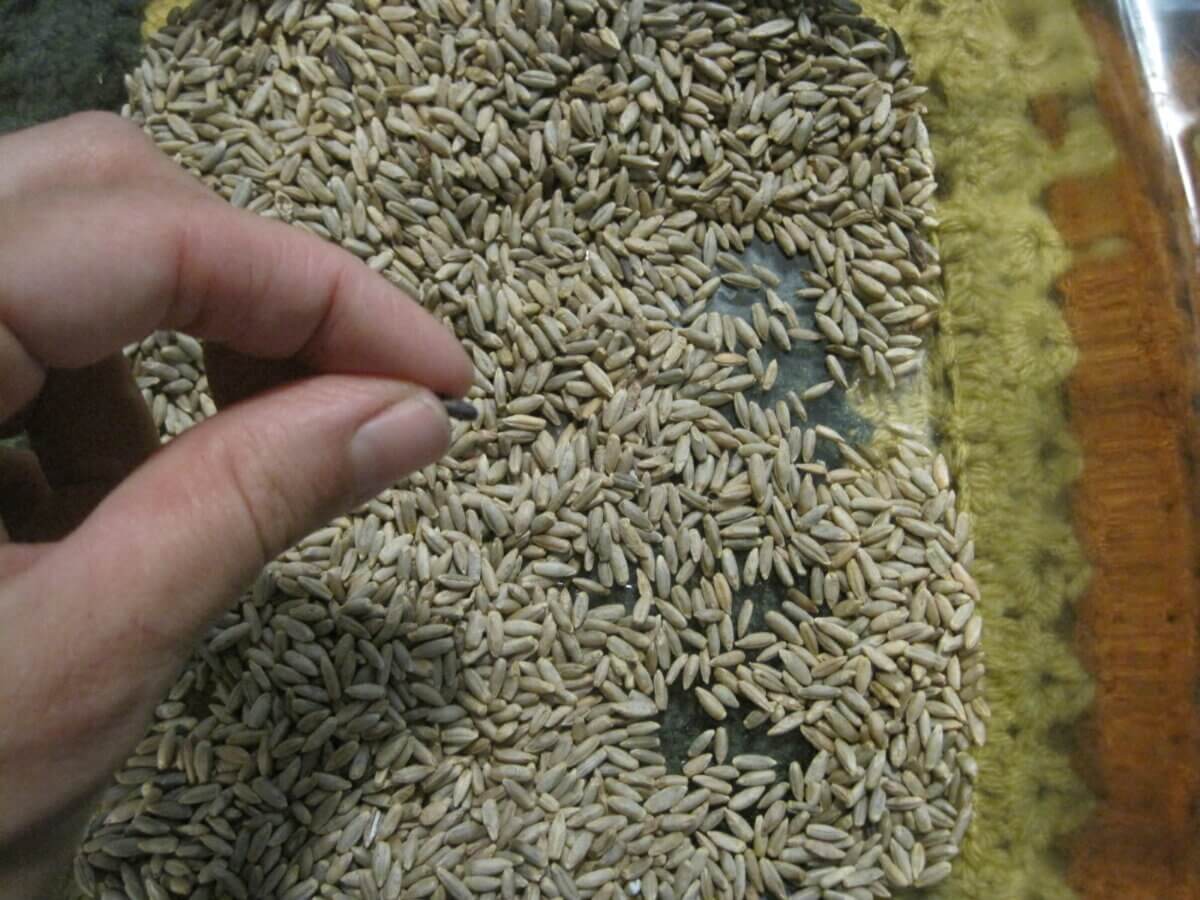
I assume that most folks grinding their own grain are buying it in bulk, and as with all bulk goods, it is easy for foreign material to ride along with the grains: weed seeds, gravel, or bits of sticks or insects. Of all those possibilities, gravel is the most likely and worst ingredient to accidentally send through the grinder. It makes a horrible gritting sound through the milling plates, may damage the mill, and sends sandy bits into the flour you were processing. After you’ve experienced a very gritty loaf or super sandy pancake, you’ll never want to repeat the ordeal.
Thankfully, it’s easy to screen your grain. Simply measure out the amount you need for the day on a baking sheet one cup at a time. Shake the sheet while scanning, and any alien bits will immediately become apparent. Sorting 4 cups of wheat sounds like a big task, but can be accomplished quickly if you can inspect them in a single layer.
Soak Your Flour the Night Before Baking
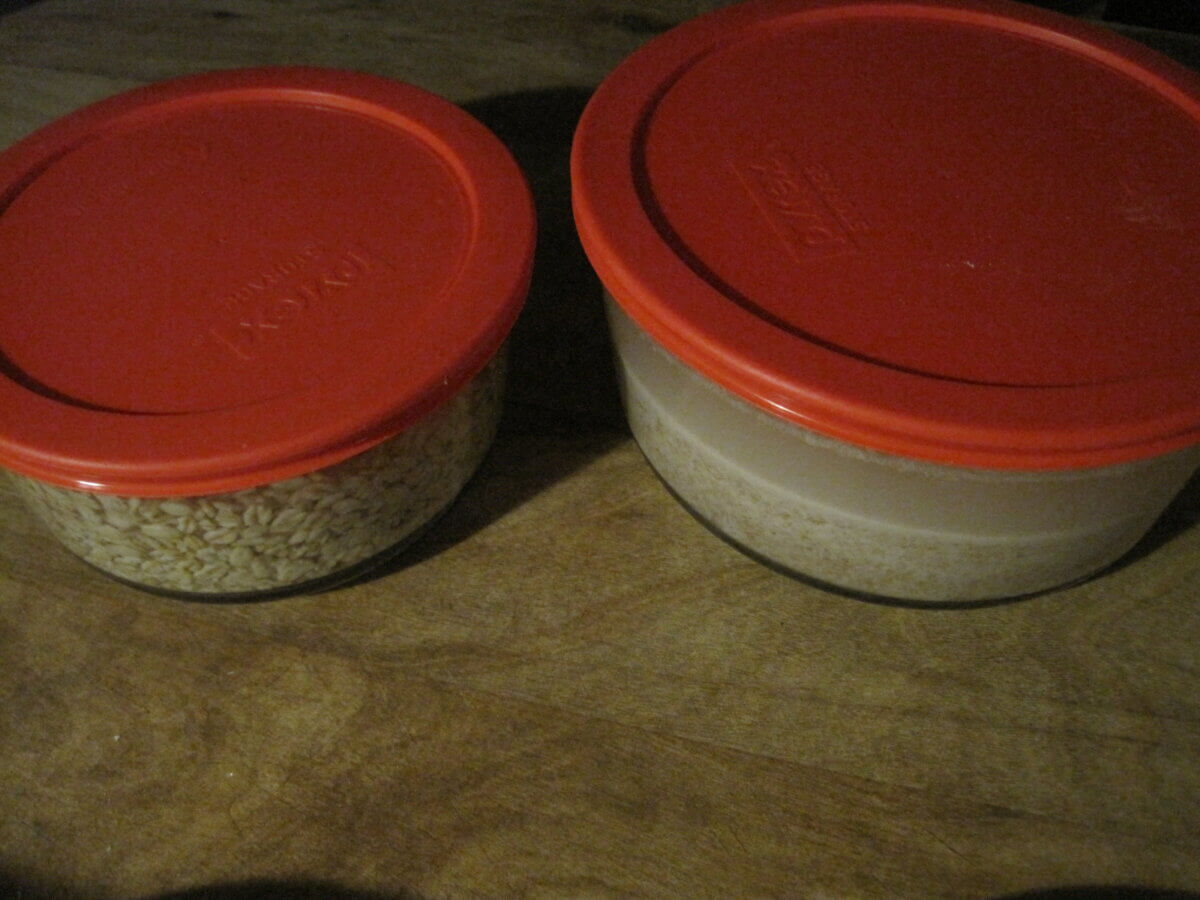
Whole grains generally soak up water in far greater amounts than white flour, but at a much slower rate. This means, if you follow a traditional white flour recipe with your home-ground flour, it may seem fine as you mix it but will be far too dry by the time you bake it.
So, if you’re looking to make pancakes, porridge, or any other moist-type bakery, I highly recommend soaking the grain in water the night before. Not only does this ferment the grains, making for greater digestibility and improved flavor, but it completely hydrates the flour, making for a much better-textured end product. Simply pour off the extra water, and continue on with your recipe. You may need to mess around with the proportions, reduce added liquid, or add a little more fresh flour to get it right, but keep at it — soon, you’ll have your own secret tips.
If you don’t have time for an overnight soak, let the dough or batter rest for 15 minutes before cooking or baking it. Then, give it a stir. You’ll likely find that it needs more milk or water to be the right consistency.
Store the Bulk Grain in Food Grade 5-Gallon Buckets With Gamma Seal Lids for Easy Access
I’ve mentioned these lids a few times in my articles, and it’s because I find them so useful. Keeping bulk grains in the paper bags they were shipped in is asking for accidental spills and rodent infestations. Instead, transfer them to a well-labeled fortress made from a food grade 5-gallon bucket that’s fitted with a moisture proof, pest-proof lid. Store your buckets in a convenient back room or closet, and you’ll always have what you need to keep that hopper filled and the gears-a-turning.
Only Grind What You Need for the Day
Freshly ground, whole grain flours are full of healthful oils from the germ of their seeds. These elements are precious, but short-lived. Once ground, they can go rancid in as little as a week, particularly in higher fat seeds such as rye. Though some folks freeze and refrigerate their fresh flour, I find it far more sensible to put my figurative nose to the literal grindstone and go through the “daily grind” for my bakery needs.
Actually Use Your Mill
I know this sounds like a ridiculous note to end on, but I have met four different families who have admitted to owning a manual mill, and only one of them uses it. The mill that I use was bought on eBay at a super discounted price because it was previously owned, but when it arrived, it was in pristine condition and still packaged in Styrofoam. I imagine that a lot of folks buy a mill with excellent intentions, but end up putting it in storage when the reality of grinding the entirety of a family’s flour stops being fun.
The truth is, grinding all the flour you need is a big task. It takes time every day, and some days it can feel like a real drag when there’s too much to do. But it’s also true that it doesn’t have to be a big deal. Once you expect that it’s going to take roughly 15 minutes to grind the 4 cups needed for a loaf of bread, it stops being a chore and becomes normal. And as things become normal, they begin fitting into your life in natural ways. I found that grinding flour during the calm of the night before, greatly reduced busy morning stress, and as a bonus, gave me a perfect opportunity to remember overnight flour soaking.
Now, if there are any other peasant-minded folks (like me) who also grind their own flour, I’ll bet you’ve got your own tips, tricks, and experiences to share. Please enrich our community and either share your advice or drop your questions below. We’d love to hear from you.



















You didn’t mention mesquite or acorn flours, which are free. They are gluten free. Mesquite pods can be ground whole after drying in the sun. Acorns must be dried in the sun, shelled, ground and then rinsed and soaked many times, then dried and finely ground. It’s a lot of work, but one large oak can generate 1 ton of acorns in a single harvest, so it’s worth mechanized because of the scale. Unshelled acorns keep for years in a cedar chest or if packed in bay leaves.
Thanks for all this helpful information! For someone who is starting out and trying to determine how much grain to purchase, how many cups of flour would you say you’re able to mill from 1lb of each type of grain you’ve listed?