There are many things in this strange world with names that don’t suit them. Jerusalem artichokes are actually a sunflower. The peacock mantis shrimp is neither peacock, mantis, nor shrimp. The blindworm is a legless lizard that can see just fine. And don’t even get me started with the lesser broomrape. I don’t know what such a decent, lovely flower did to deserve a name like that.
In the breakfast food department, there’s the rather poorly-titled English muffin. It’s more a crumpet than a muffin, and it was actually invented in New York (though the baker in question was admittedly a Brit named Samuel Bath Thomas).
We can all agree, though, that those chewy-crisp circles are delicious even if the name is misleading. And you can make some at home that taste as good (better, I contest) than the ones wrapped in plastic at the store. Surprisingly simple to whip up, the secret to these little cranny-loaded loaves is that they are cooked on the stovetop, not the oven! Adding these English muffins to your baking repertoire means that you have one less thing to buy, and if you use sourdough, yet another way to use that fermented, bubbly goodness.
Related Post: 25 Delicious Sourdough Recipes for Your Home Starter
Homemade English Muffins
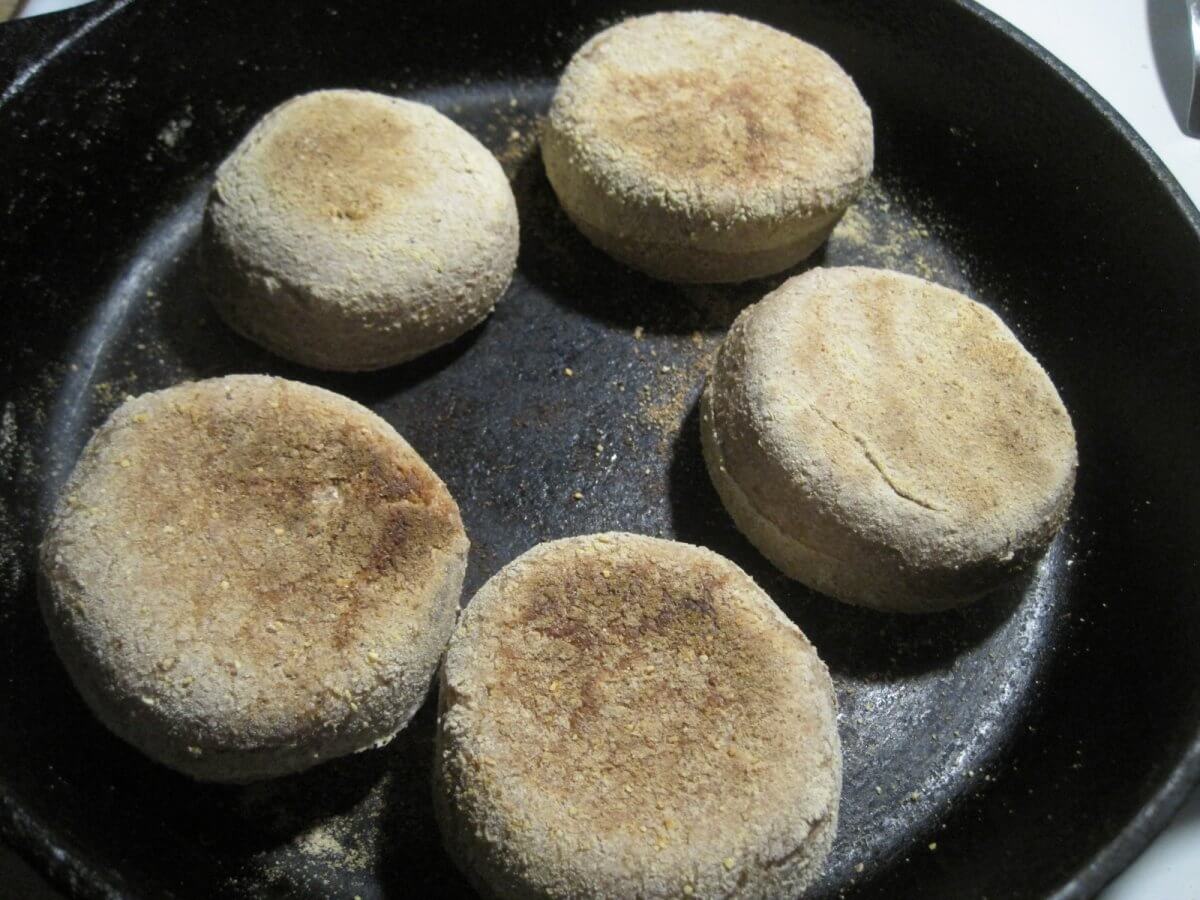
I used to think that English muffins needed some mysterious process to come into being, and settled on hunting for the rare appearance of the organic, whole-wheat ones at the store. But one rainy morning, we decided it was time to figure it out, and we learned the process is neither difficult nor mysterious.
Once we “cracked the code” of English muffins in our kitchen, these tasty little breads have become a staple item. They even give us a chance to have sourdough-leavened goodness in the heat of summer. As you will see, they can be cooked outdoors over a low fire or on an electric skillet, leaving the oven blissfully off.
Using a sourdough starter will result in chewier, better textured, more authentic-tasting English muffins. But if you’re in a hurry, or you don’t have a sourdough starter, you can turn out soda-raised ones that are still mighty tasty. Just know that the soda-leavened will be a little denser and lack that distinctive tang.
Here’s our homestead’s recipe for infinitely customizable, wonderfully whole wheat, and naturally leavened breakfast goodness.
Ingredients
- 3½ cups whole wheat flour
- 1/2 cup sour milk product: homemade yogurt, buttermilk, kefir, whey leftover from cheesemaking, or milk with 1 tablespoon apple cider vinegar added
- 1/2 cup sourdough starter OR 1 teaspoon baking soda
- 3 tablespoons melted butter or oil
- 1 tablespoon raw sugar
- 1/2 teaspoon salt
- Water
- Cornmeal for dusting
- 1 tablespoon cinnamon and 3/4 cup raisins (optional)
Process
- Add flour, sour milk product, starter, oil, sugar, and salt into a large bowl, and mix well.
2. Add water a little bit at a time until it forms a soft dough. Knead for a minute or so. It should yield easily to your hands, but not be unworkably sticky.
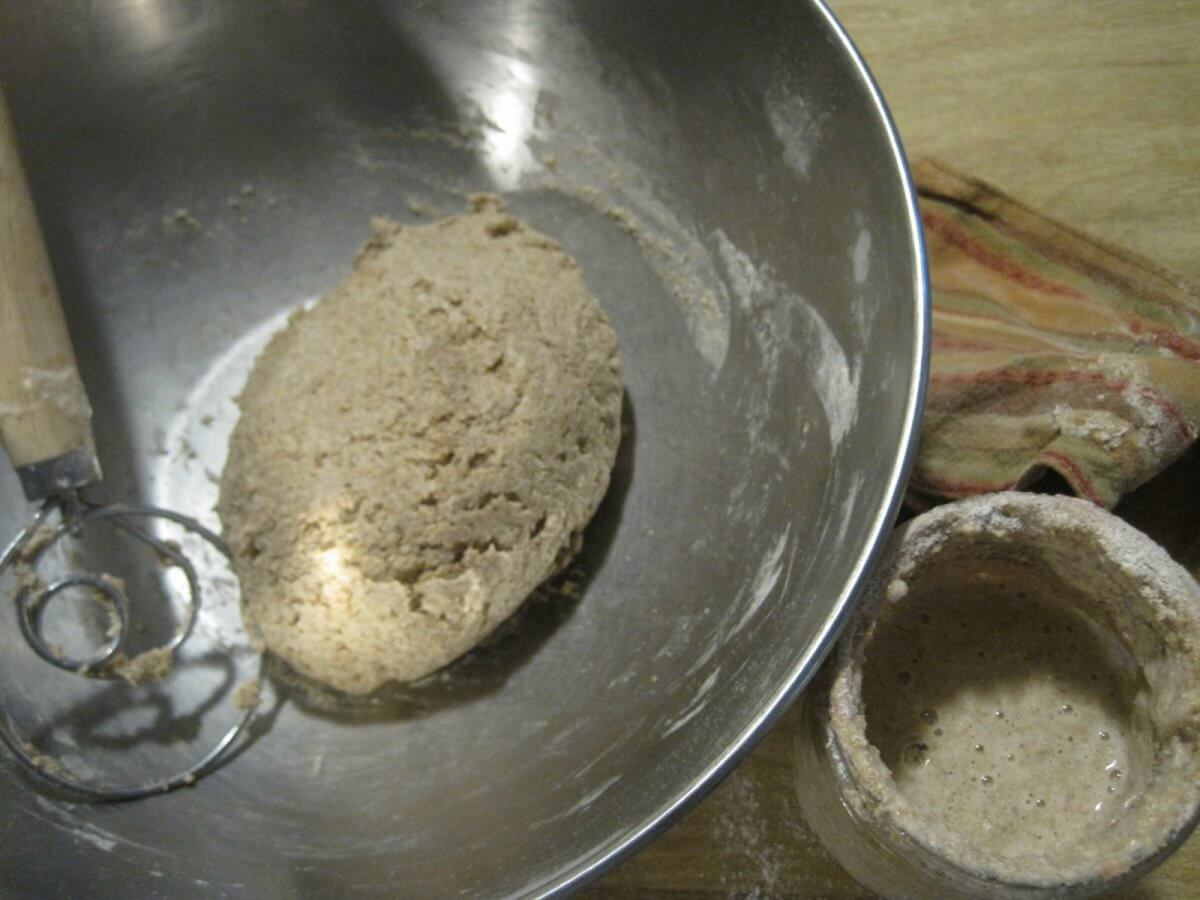
3. Allow dough to rest 10 minutes.
4. Turn dough onto a surface liberally dusted with cornmeal. Pat flat until the mass is about three-quarters inch thick.
5. Using a biscuit cutter (I like using one about 2½ inches in diameter), cut as many rounds as you can from the dough. Collect the scraps, press together until solid, then pat flat, and cut again. Continue until all the dough has been cut into rounds.
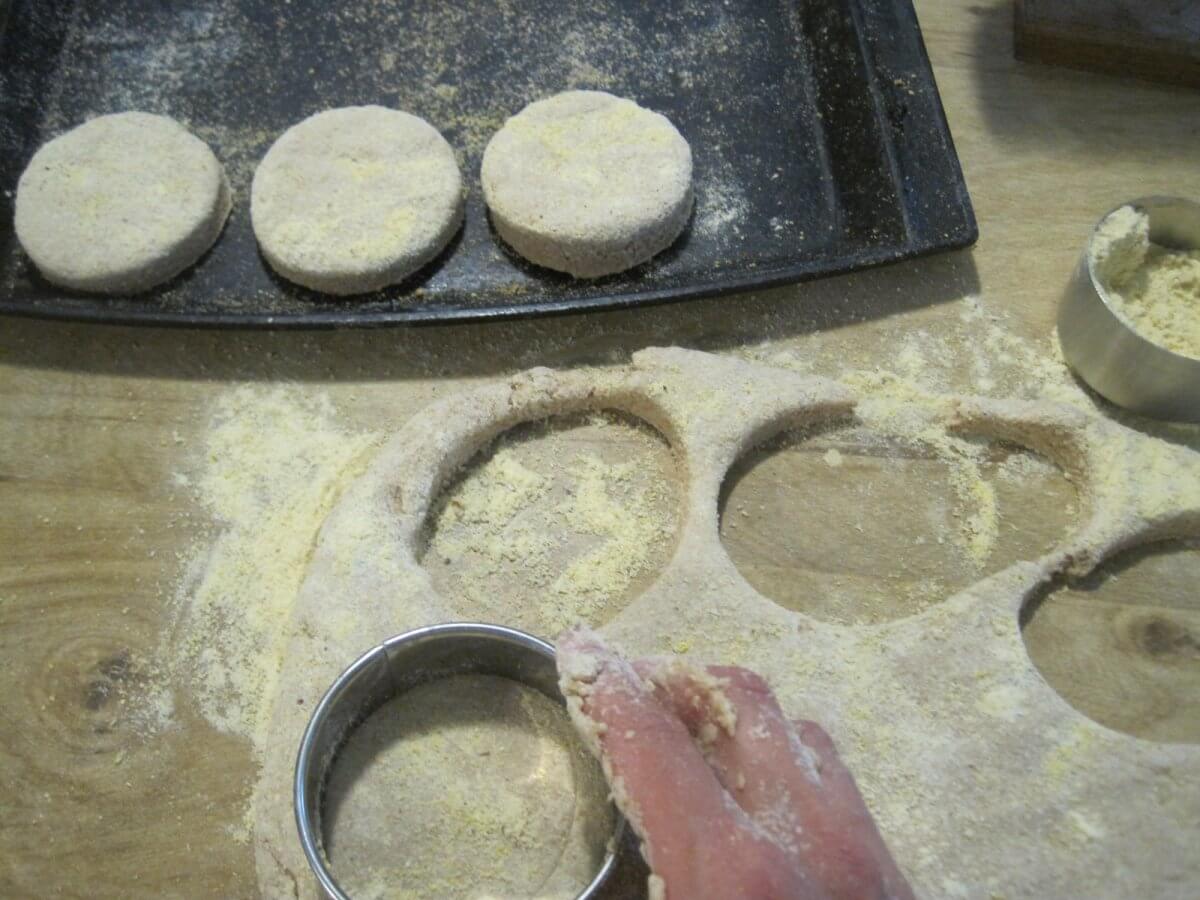
6. If using sourdough, place the cornmeal-dusted rounds onto a baking pan and allow to rise in a warm place for anywhere from 4 to 8 hours.
If using baking soda, allow to rest for 5 to 8 minutes.
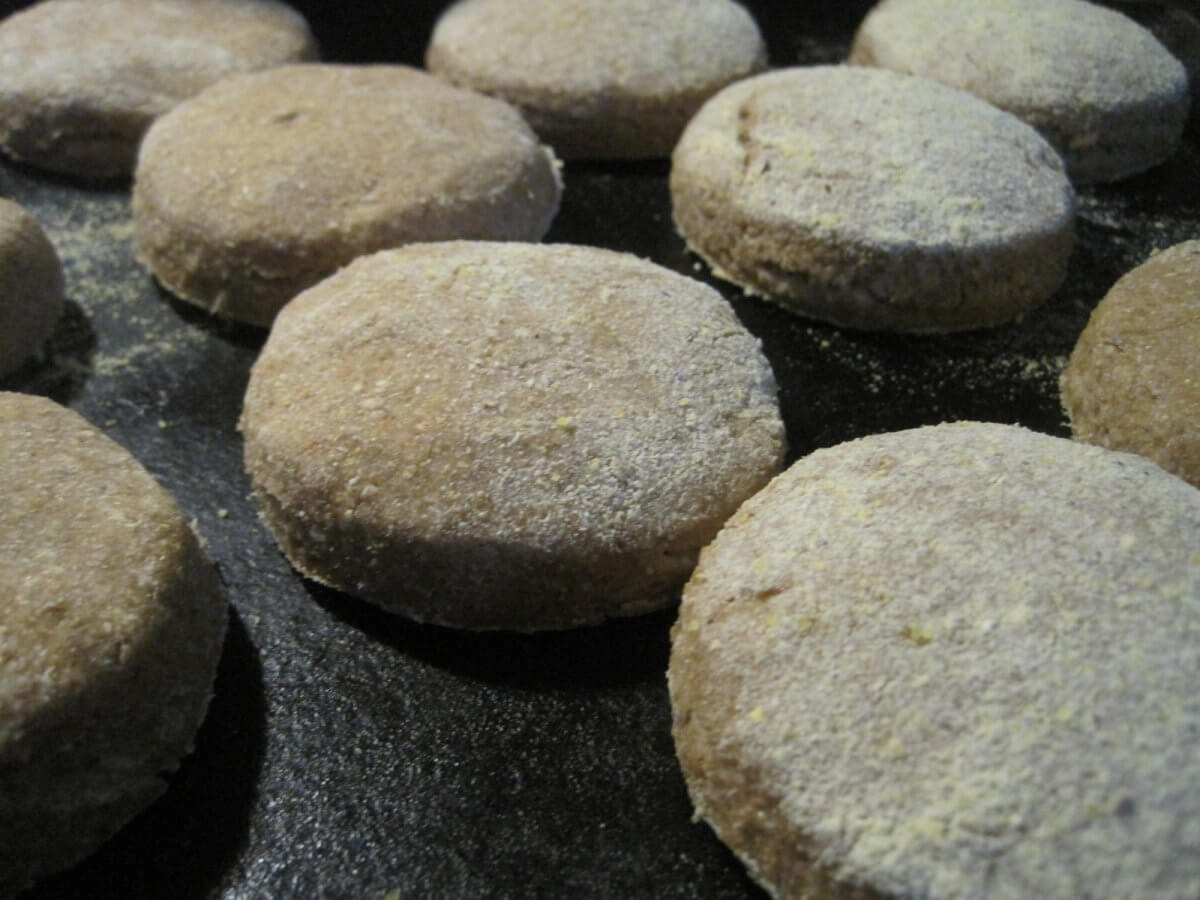
7. Heat up a DRY (that’s important!) cast iron skillet on medium or medium-low heat
NOTE: Finding the ideal burner heat may take some adjustment, so err on the side of cooking too slowly as you figure it out. The cooking of the first side should take a few minutes. Resist the urge to turn up the heat or you’ll end up with burned outsides and raw middles.
8. Carefully place the rounds in the hot pan. If cooking with sourdough, flip them so the dry side that was facing up while they were rising, is now the surface facing down to cook (this will result in more regular-shaped muffins).
9. Once the muffins have poofed, check their bottoms. They should be very toasted with the brown getting close to chocolate brown (but not burned, of course). Flip the muffins and allow the other side to also toast brown. When cooked, the outer edges should be dry, yet soft and springy. Split a few of your first muffins to ensure they’re done.
10. Carry on until all the dough is cooked.
Grab a muffin, grab a fork, and split it along that soft, edge seam. Cackle in delight as you see all those nooks and crannies revealed. Then toast your homemade muffins, slather them in good butter and jam, or top with a fresh fried egg and mustard.
Yield: RougHly 10 Standard-Size English Muffins
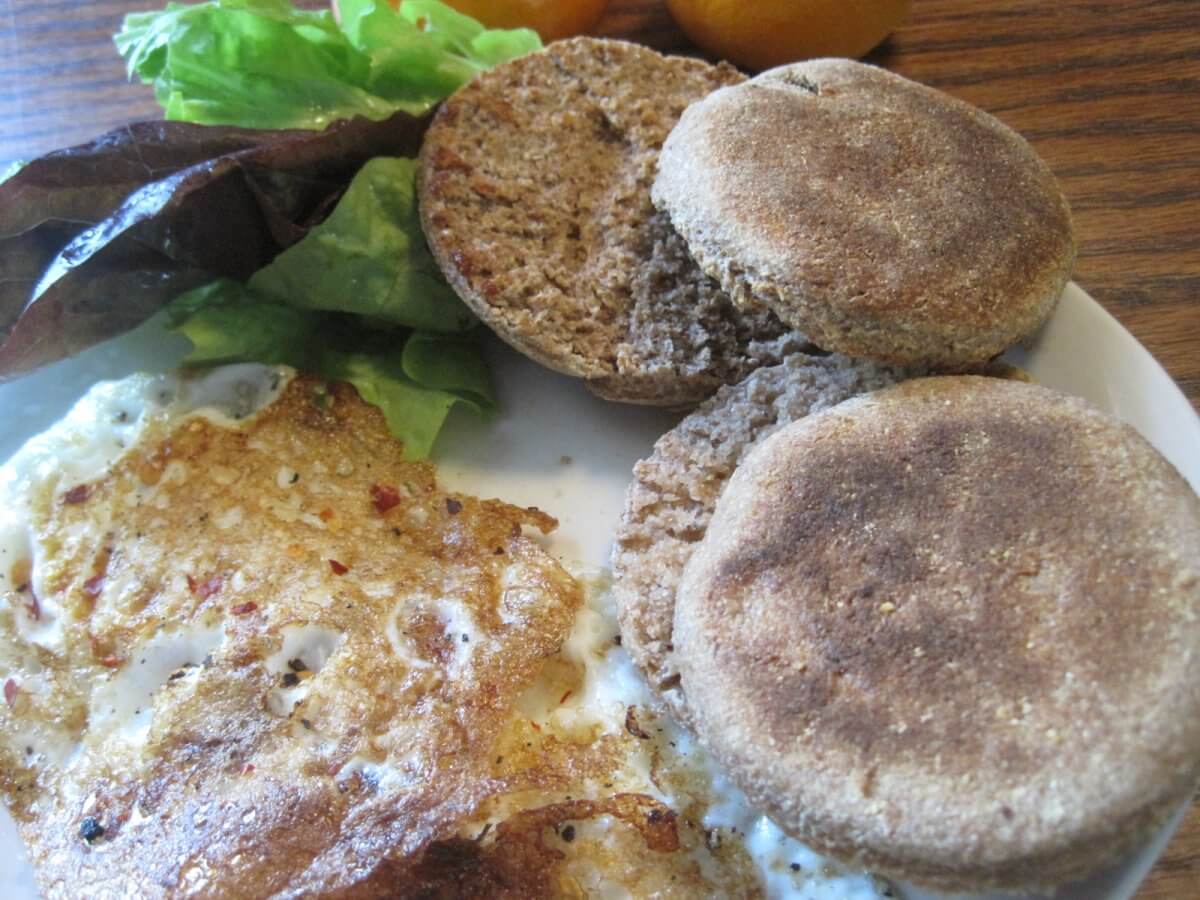
Breakfast for dinner, anyone?



































Leave a Reply