If you’re accustomed to planting simple annual seeds where all you need to do is open a packet, put seeds in dirt, and then wait for them to sprout, the process of more difficult seed germination seems bizarre in comparison.
For years, I avoided certain plants because their germination requirements were to my (at the time) limited experience, intimidating. I’m sure some of you have felt the same as you read the words stratify or scarify and moved on to easier seeds.
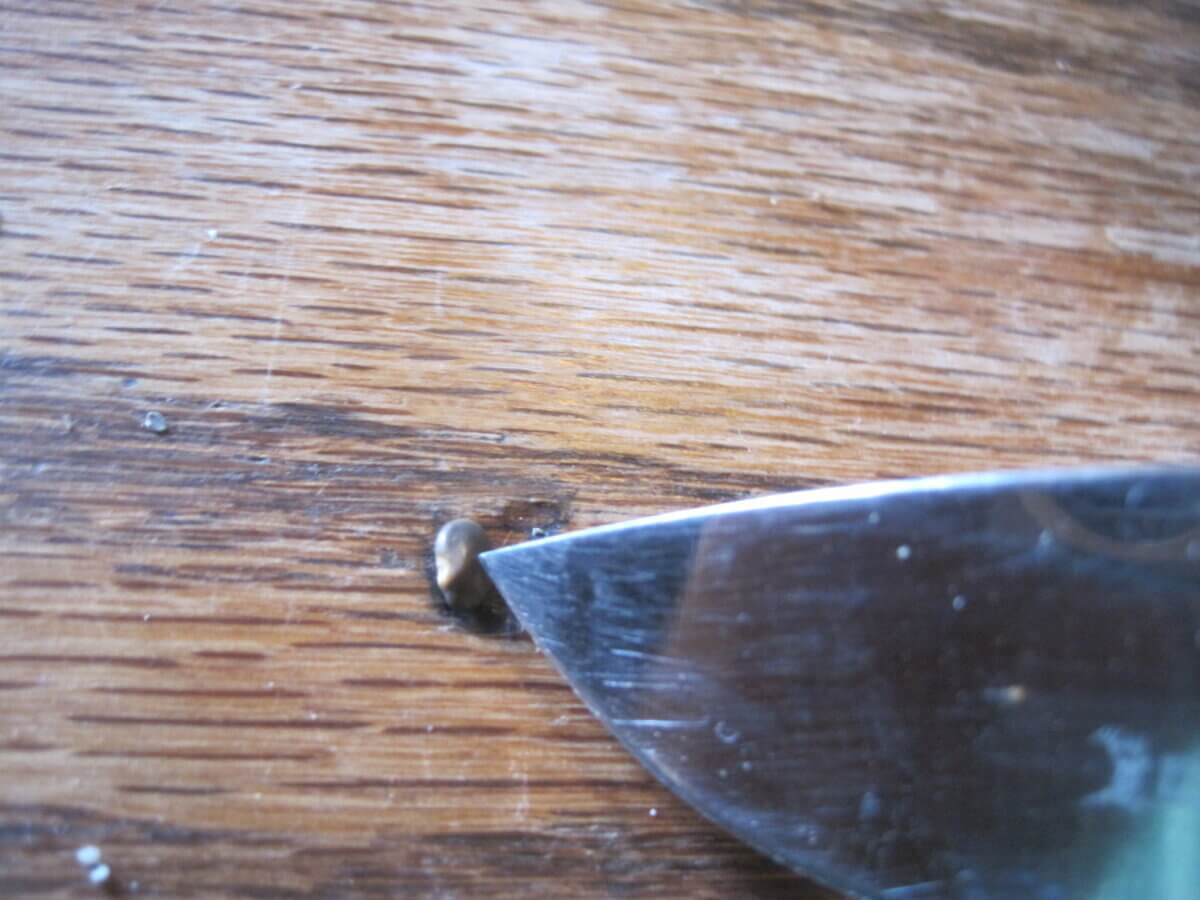
Eventually, I decided to give it a go. Now I pour boiling water on some seeds, scrape others against sandpaper, throw still others in a wet towel and banish them to the cooler for two months, and take a knife to the rest. Once process is complete, the reward is a chance to grow some truly, fascinatingly, wonderful plants.
Are you weirded out by the thought of having to do seemingly strange acts to germinate seeds? Maybe this guide can help you learn the ropes.
Why Do Some Seeds Need Treatment?

All seeds are beautifully designed plant propagation packets. If you look inside a seed, you’ll see variations on the same theme; an embryo with its cotyledons (the infant plant), the endosperm (a starchy portion that provides nutrition to the seedling before it really gets going with photosynthesis), and most pertinent to this discussion, the seed coat.
The seed coat is the hard surface that surrounds and protects the seed prior to germination. With most of our normal garden seeds, all that’s needed to get sprouting started is a little bit of water, soil, and sunlight, and the seed coat will give way. But with some seeds, the seed coat is meant to protect the seed through the entirety of a long, cold, wet winter, which is why we see weed seeds emerge from dead-looking soil in the spring.
The seed coat of certain plants won’t always give way to sun and water. It needs a serious wake-up call to let down its defenses. With some plants, this comes in the form of fire and smoke (such as pyrophytic plants like lodgepole pines or the volatile-seeded flowers of the Cistus genus). With others, a certain period of freezing and thawing is necessary. With still others, extensive soaking or even mechanical breaking of the seed coat is required to start germination.
Though it may be annoying or challenging for the home grower to get these specialized seeds started, bear in mind that these seeds are often amazingly perfectly adapted to their native habitats. If they were growing on their home turf, they’d do these processes naturally. When we start these seeds in our human ways, we are basically doing our best to mimic winter or a brushfire.
What Kinds of Treatments Do Some Seeds Require?
Soaking
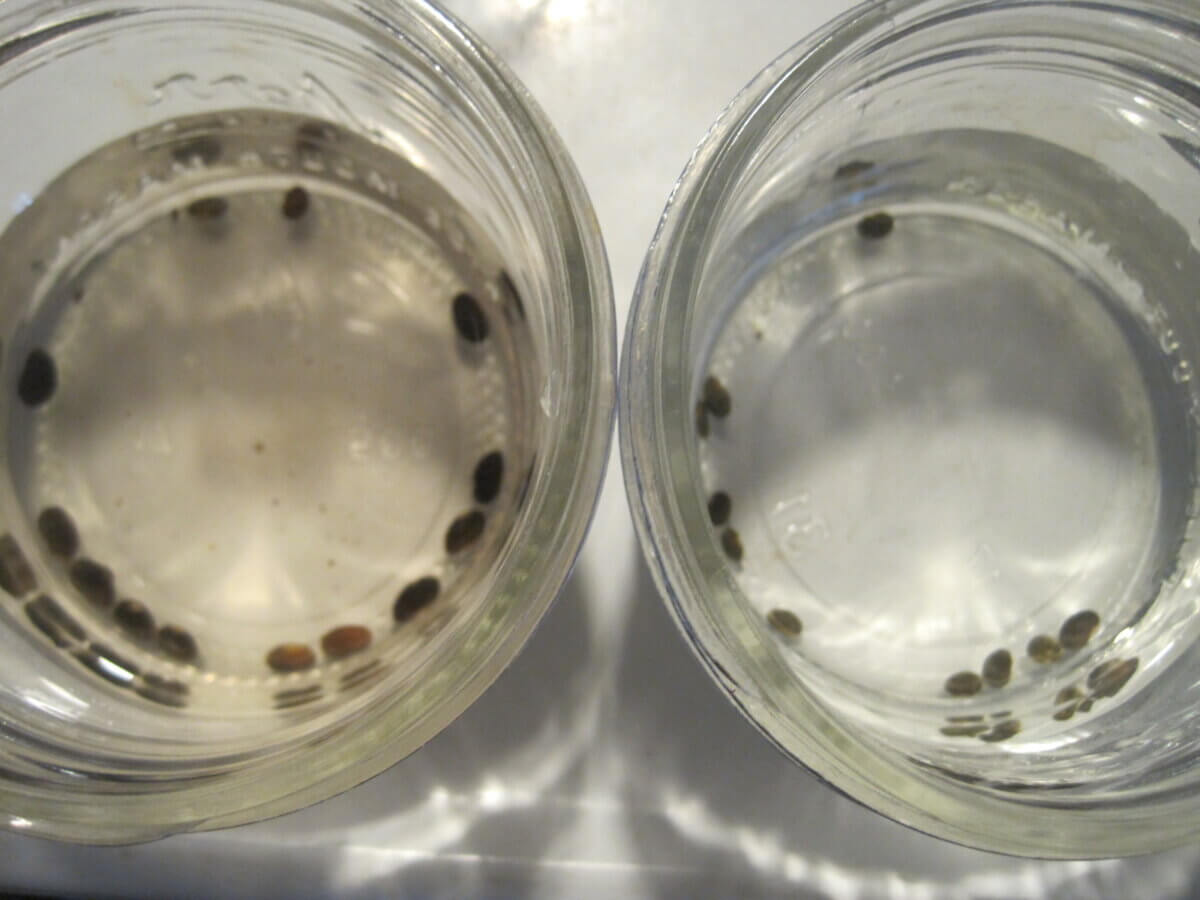
Soaking is as simple as it sounds: Placing the seeds in water until they have increased in size — typically 24 hours. Sometimes, seeds require room-temperature water, while others do better with an application of boiling water that is allowed to cool over the 24-hour soaking period.
Scarification
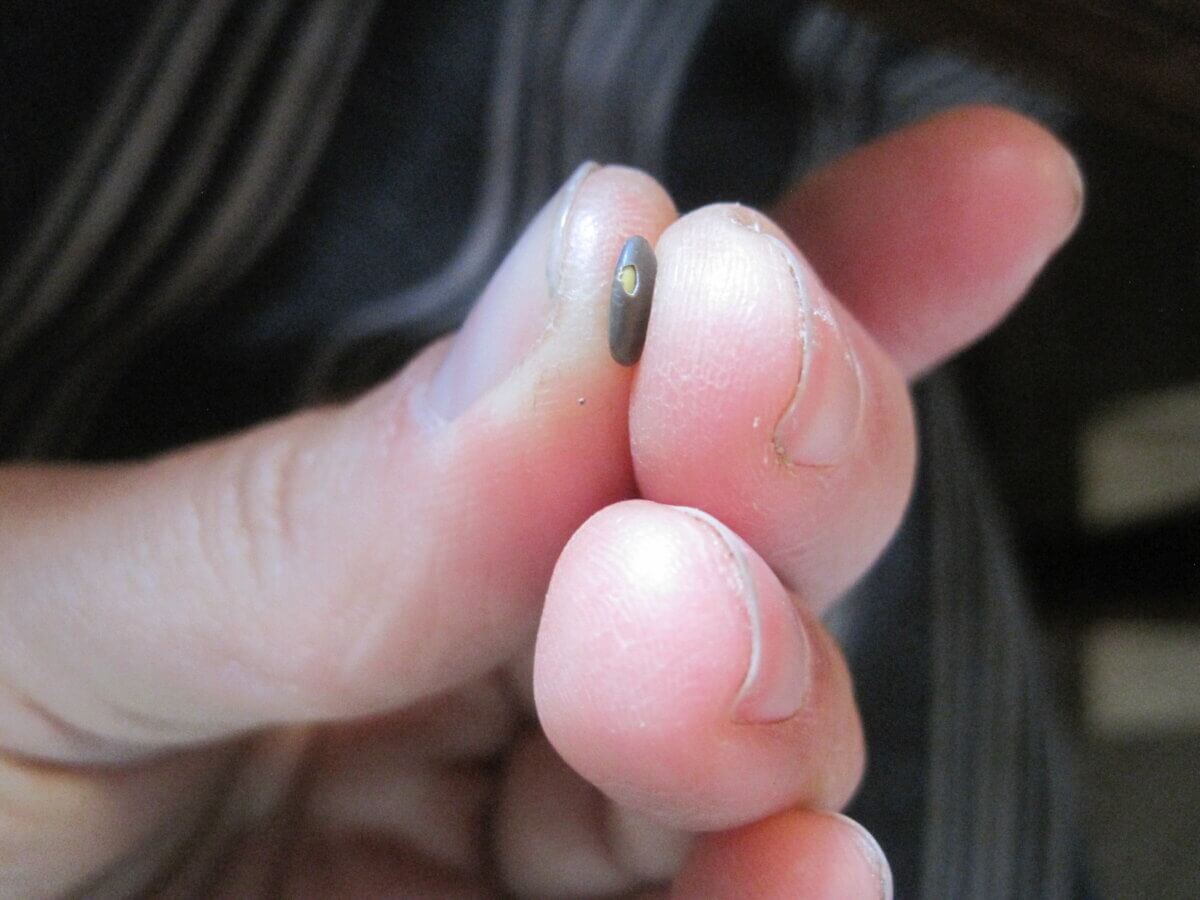
Scarification is the process of physically scraping or cutting the seed coat until the inner seed is revealed. This allows water to infiltrate and stimulate the seed embryo and swell the starches of the cotyledon, allowing the seed to finally stretch its little sprouts and emerge. Sometimes scarification is necessary before soaking.
A good idea is to use sandpaper. The reason sandpaper is often used for scarification is it allows you to slowly abrade the surface of the seed until you have just broken through the seed coat. Holding a tiny seed steady enough to gently scrape a small section can be fiddly, and I confess I often scrape away as much of my finger tips and fingernails as I do seeds. Call it the seed-starter manicure, and wear it with pride.
You often want to make sure you are wearing away the seed coat opposite to the embryo. With bean-type seeds, this means working on the side opposite the hilum (eye). With other seeds, you’ll have to do a bit more research to know exactly where the embryo is situated.
Stratification
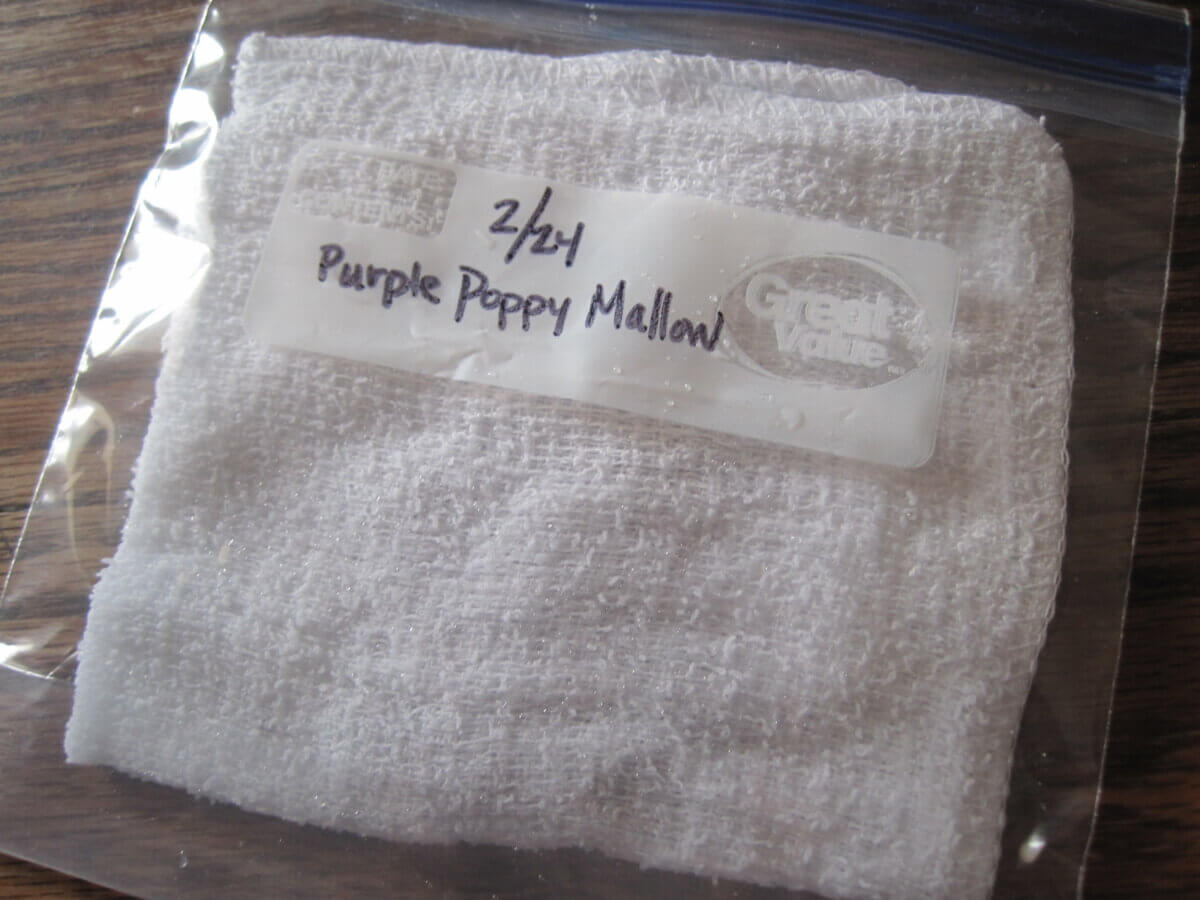
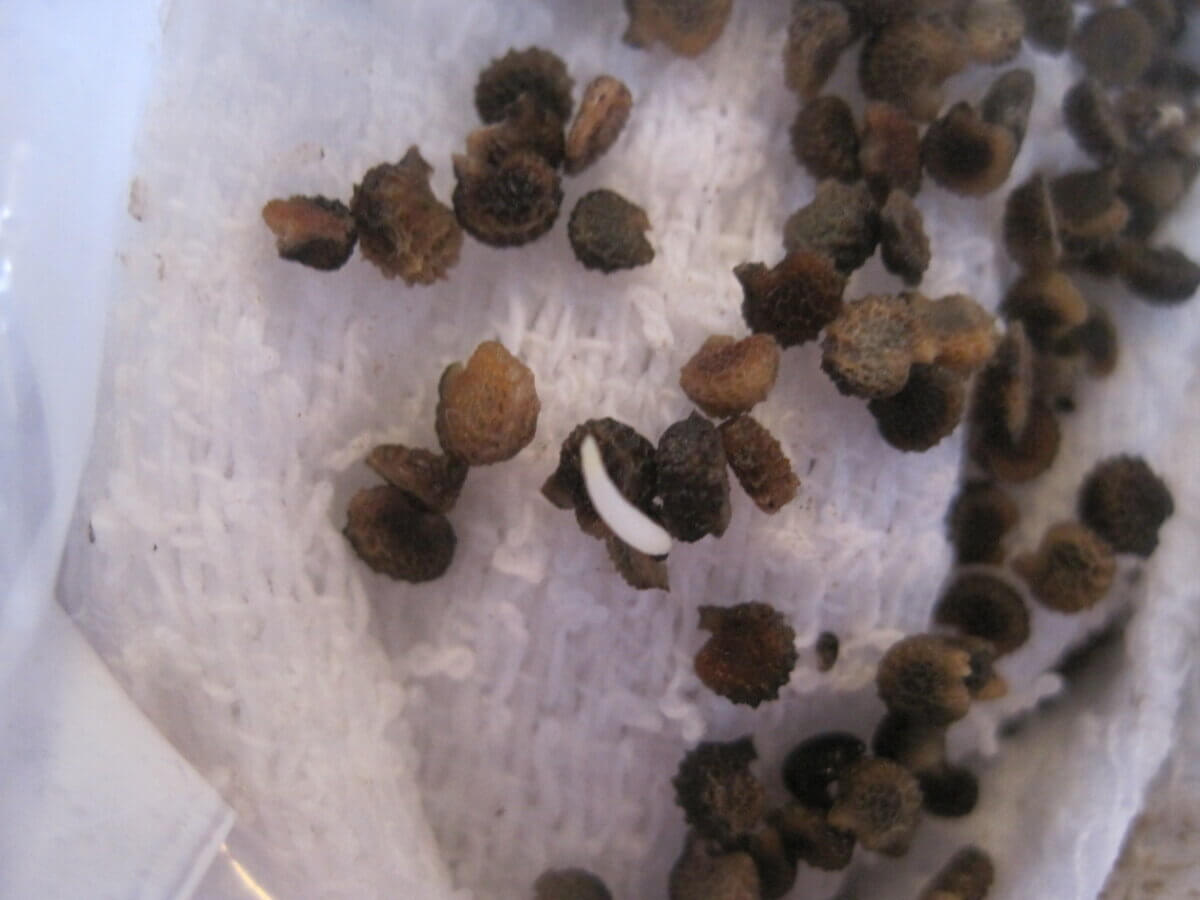
Stratification refers to simulating winter’s rest artificially (usually in a refrigerator). Some seeds will only sprout if they’ve been soaked, then kept in a chilly, near-freezing state while wet for a certain number of days — usually somewhere between 30 and 60 days. Some seeds need a certain chill/warm/chill/warm pattern. Soaking seeds, then storing them in a damp paper towel inside a plastic bag in the cool dark of the refrigerator (or my off-grid cooler) is usually enough of a “winter” to get them to let down their defenses and begin sprouting.
The biggest challenge with stratification is remembering to check your seeds on a regular basis. Labeling the bag with the date started, then checking the seeds on a weekly basis is a good habit. If you forget and the cloth or paper towel gets moldy or dried out, your efforts may be in vain. Finally, if you notice any seeds germinating before their big chill is finished, plant them immediately.
Smoking
For full disclosure, I have no experience with using the smoke treatment on any of my own seeds. That said, however, if you are looking to establish any of the near 400 different plant species that require or are greatly aided by smoke for germination, here’s an Australian website that can get you started with creating your own smoke-infused water or monitoring a bushfire in miniature.
Examples of Seed-Sprouting Success
As you’ll see in the examples below, I’ve been working to reestablish some native, perennial, edible plants on my homestead. I want to re-naturalize plants that were here before cattle grazed them away, as well as introduce new wild plants to forage, and add to my perennial outdoor larder.
Since these plants are all specifically-adapted natives, they needed some of my somewhat bumbling human interference to make the transition from their seed packet to my hill (where I hope they take care of propagating themselves in the future).
American Lotus (Nelumbo lutea)
I’ve been wanting to reestablish this native edible in my pond for ages. With edible leaves, roots, and seeds, as well as the benefit of habitat-creation for my pond critters, I’m looking forward to seeing these huge white blooms someday.
(Author’s note: Before anyone comments, I’m aware that American Lotus is considered invasive in some states, even though it is a native plant. I want this valuable plant to invade my isolated pond so I can manage it as a perennial food source. If you really hate Lotus, maybe “fight” it by learning how to eat it.)
Lotus seeds are tiny, impenetrable tanks, and can lie dormant in the pond muck for years — or decades — before they sprout. In order to get them going, they need to be scarified, then soaked.
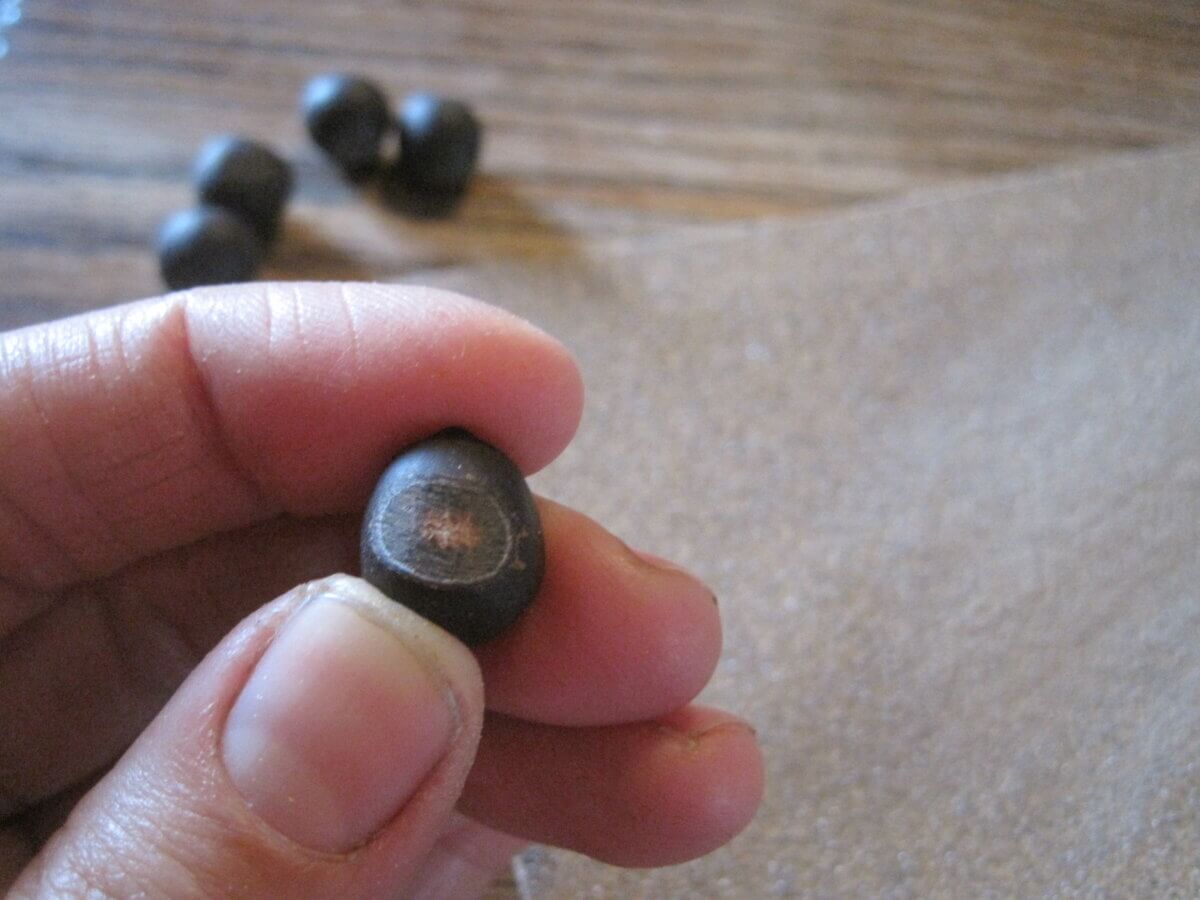
I used sandpaper to work through the thick seed coat, then soaked the seeds overnight.
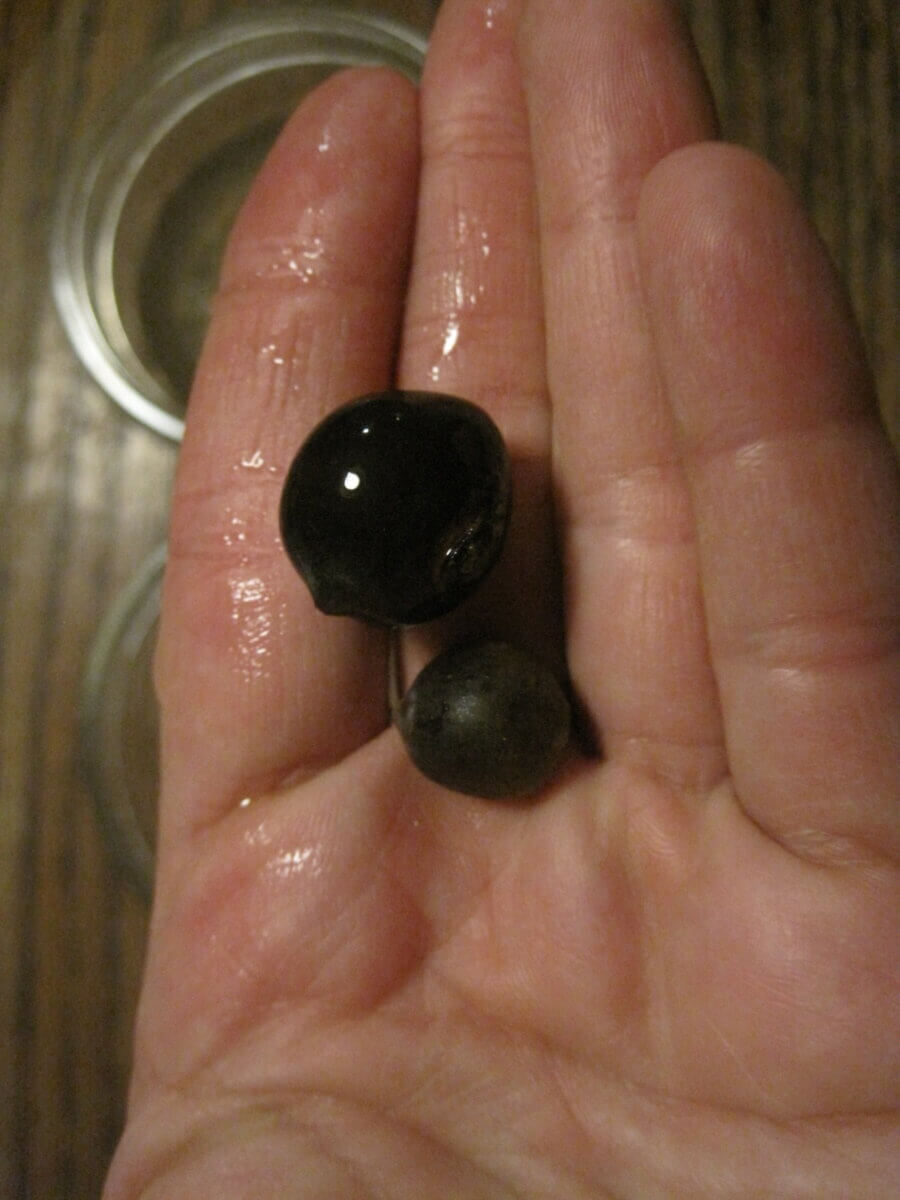
Once water could start infiltrating the seed, the coats softened and the seed swelled. I took a steak knife to the seed’s circumference, carefully avoiding the little “belly button” where the embryo was attached. The seeds then went into a jar of room-temperature water and left in the sun.
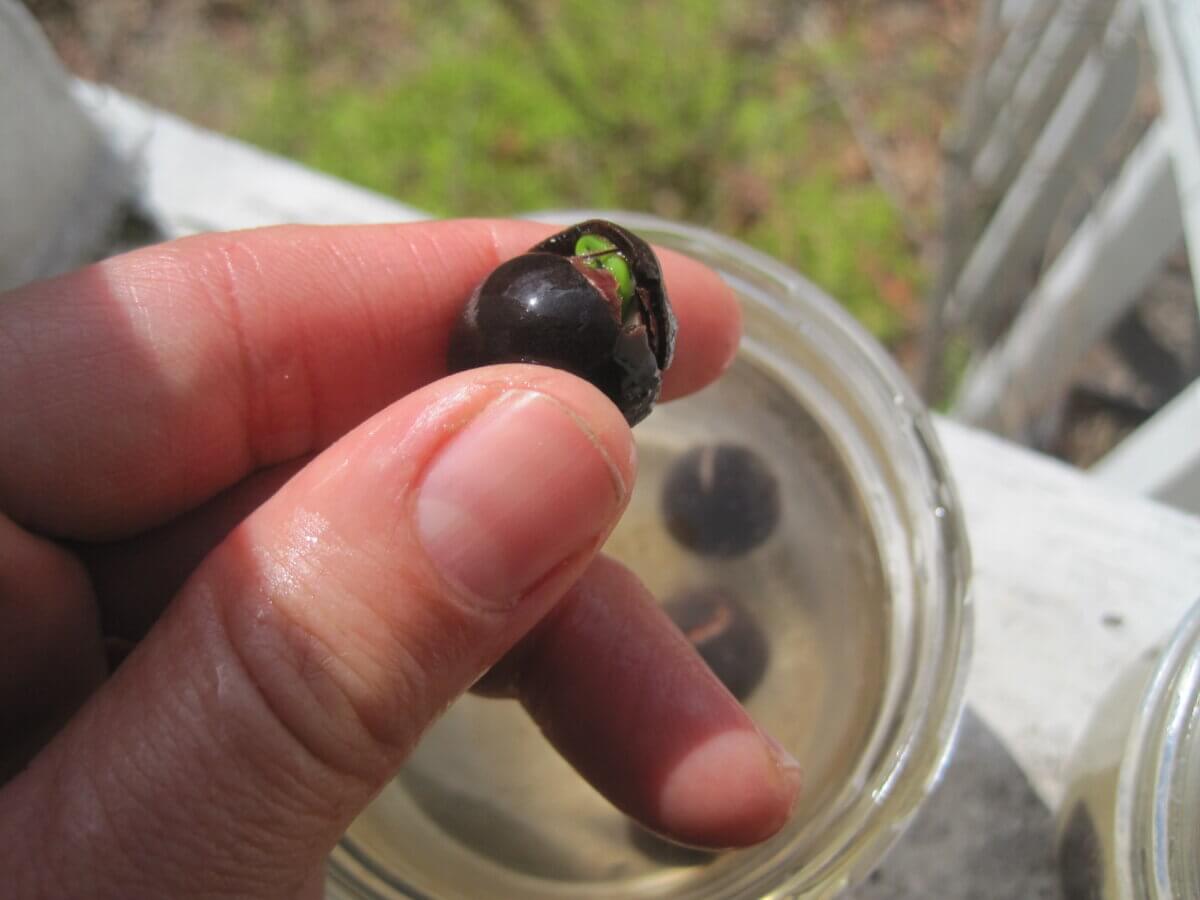
The green embryo began pushing the seed apart. Some emerged after a week, others took nearly a month, emerging to the waking world where my pond is happily waiting.
Prairie Turnip (Pediomelum esculentum)
This starchy-rooted prairie native was and is used as a traditional food for indigenous American nations like the Lakota, and once grew all across the Great Plains. The plant is native to the Ozarks, but rather scarce, as it is one of the plants that disappears when land is grazed by livestock. I wanted to reintroduce it to my hill, and see if I could make it an important food source here once again.
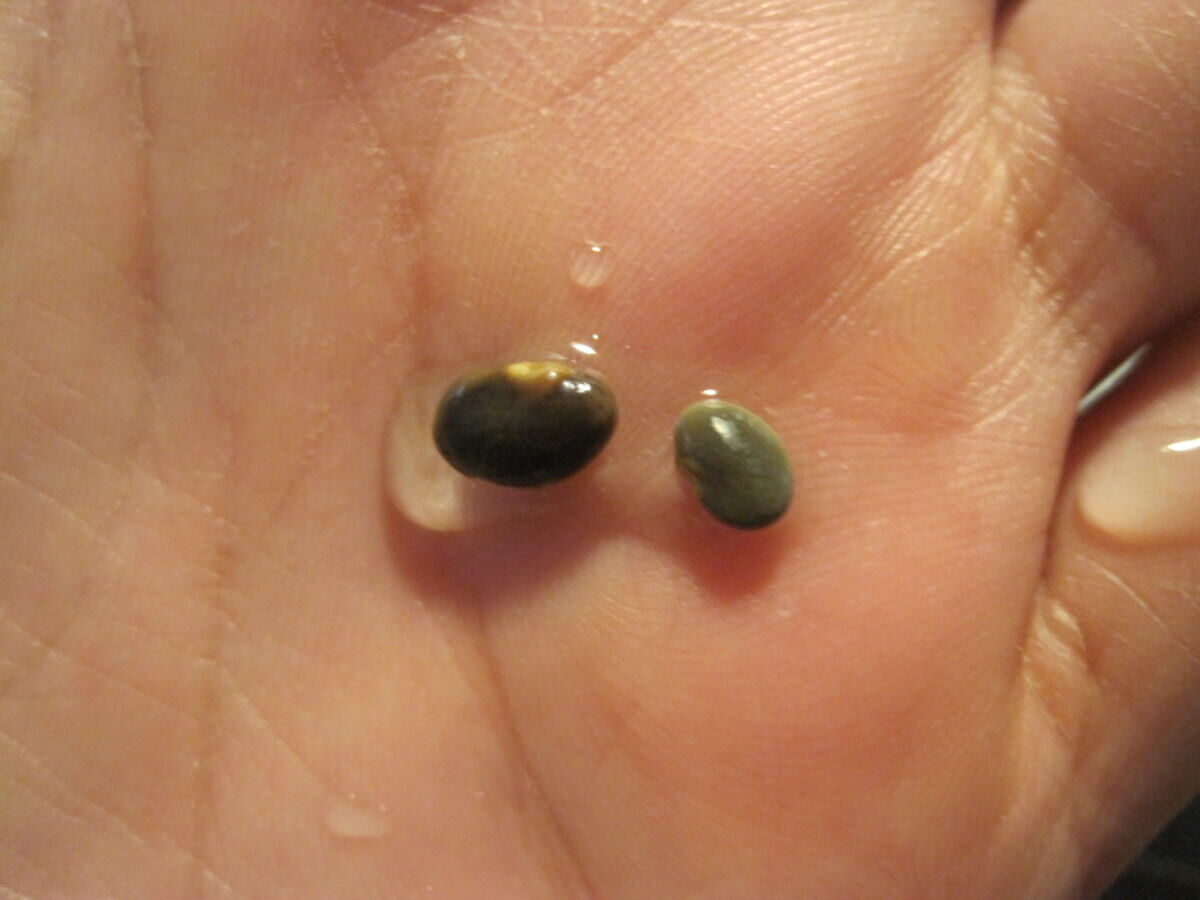
The seeds needed to be scarified, then soaked in boiled water, then planted.
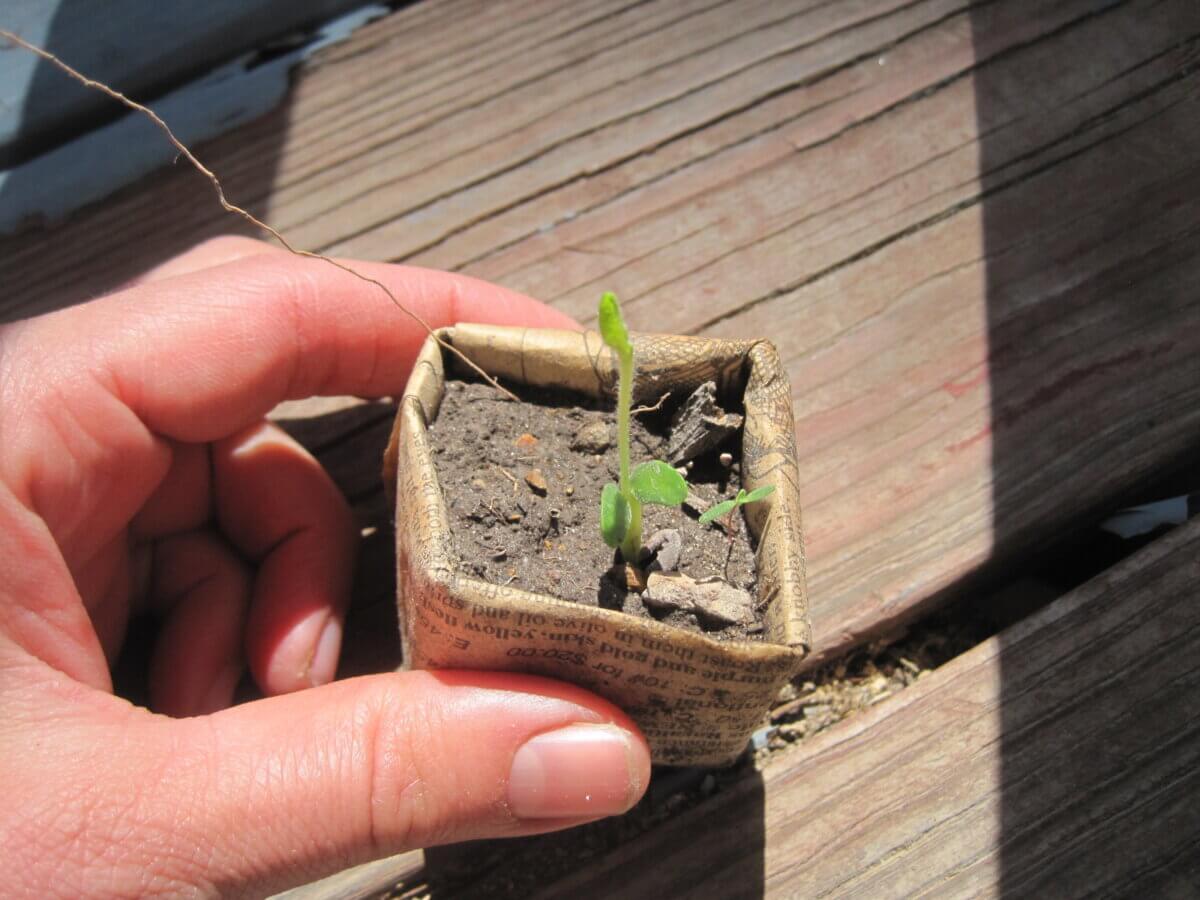
After all that seeming abuse, it was wonderful to see them emerge from the soil into the sunlight.
Purple Poppy Mallow (Callirhoe involucrata)
This beautiful flower (also called “wine cups” or “buffalo rose”) is both a drought-tolerant prairie plant and a source of a rather large, starchy, edible root. I couldn’t wait to get it growing on our dry hill.
The seeds need the boiling water treatment, then are stratified for 30 days. After their overnight soak, they went into a clean, damp cloth that went into a cooler.
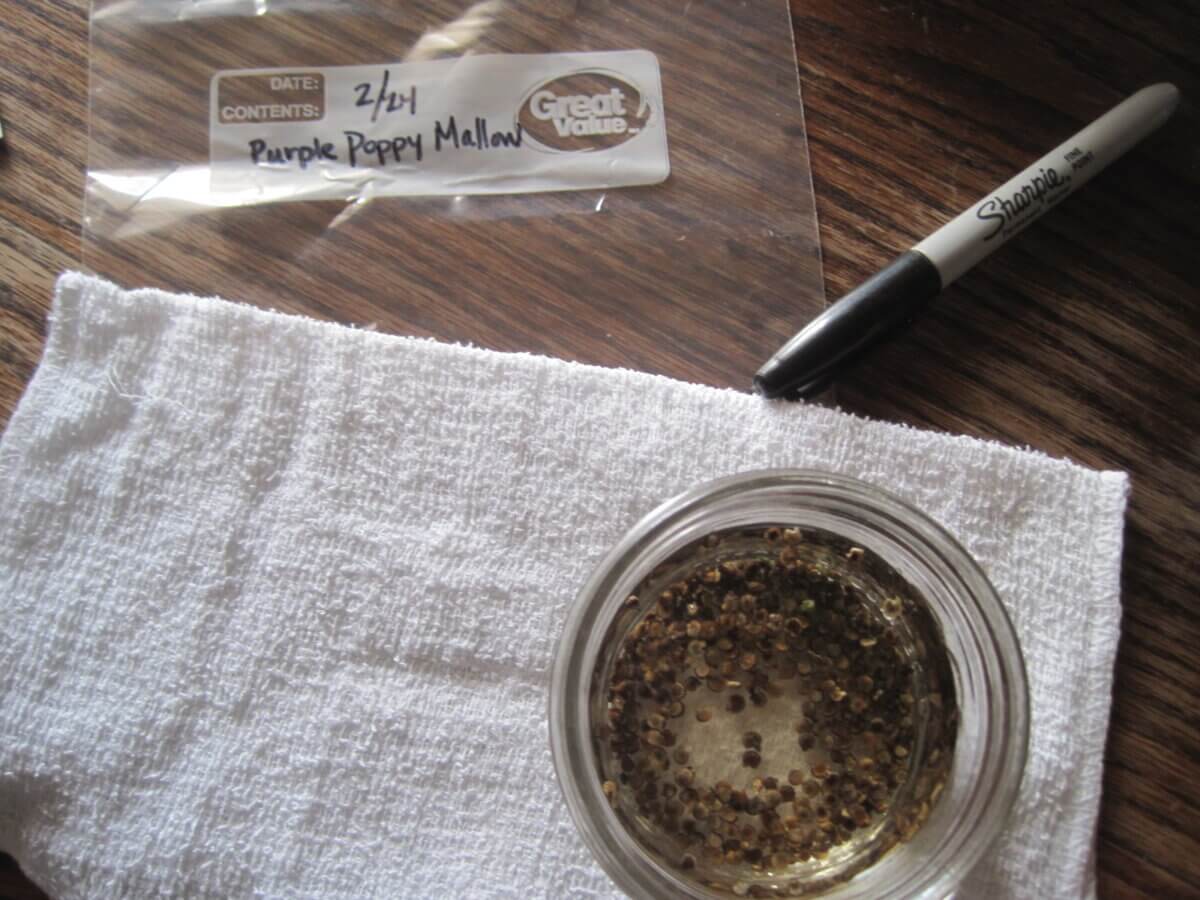
After about 30 days, sure enough, the seeds woke up in the cooler and were beginning to send their little white roots out to the world. I planted them everywhere, hoping to see vibrant, wine-pink blooms soon.
Though they seem to take a bit more work, I encourage you to give the more difficult seeds a try, whether you need to soak, scar, smoke, or stratify them. I was intimidated by the prospect for years, but now that I’ve given it a go, I can tell you … it was an amazing process that served to increase my appreciation for the wonders hidden in the tiniest of seeds.

















Leave a Reply