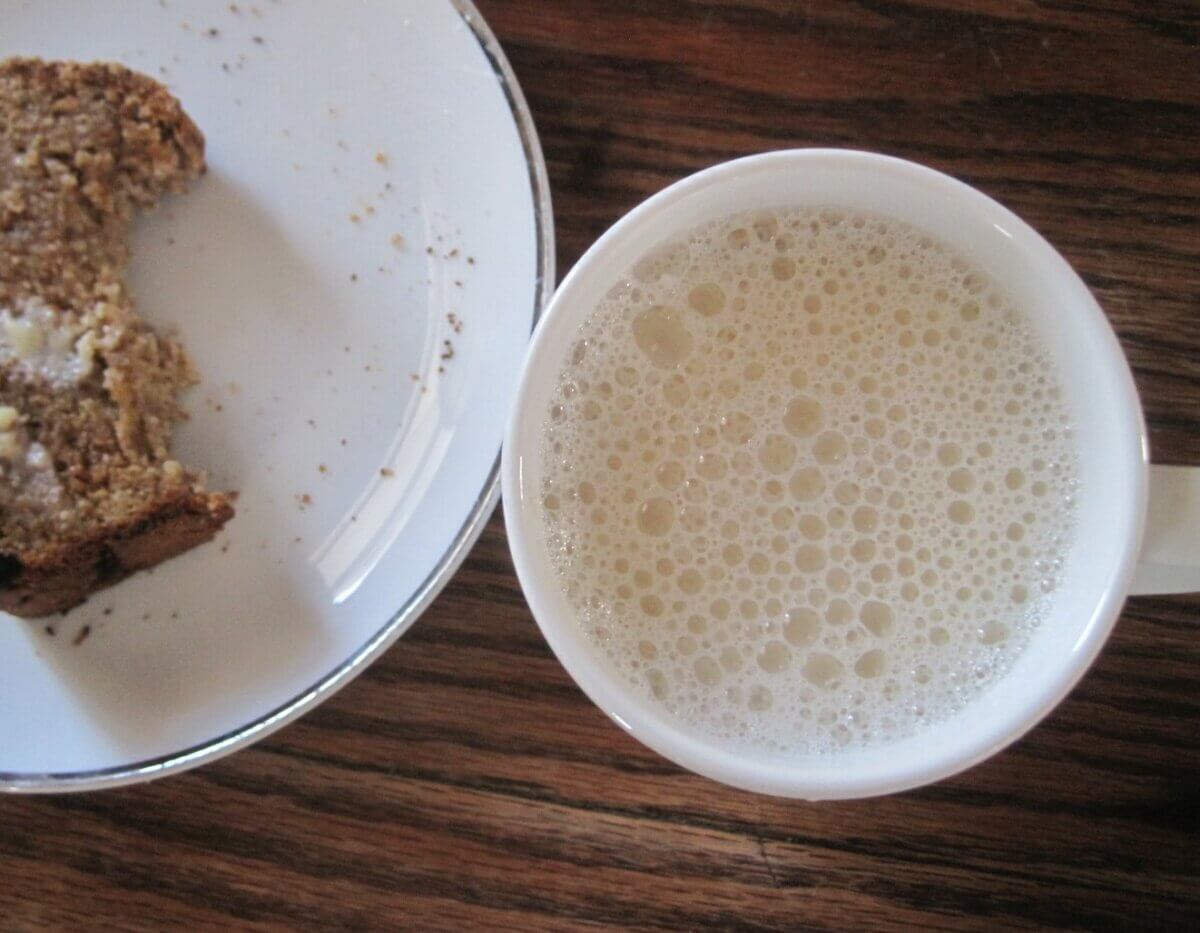
Back when I lived in the city, well before there were dairy goats in my barn, I had an automatic soy milk maker. I lived in an area where raw milk was (frustratingly) illegal, organic milk was really expensive, and store-bought soy milk had too many additives, so the machine gave me some sense of being able to “make do” on my own terms.
All there was to making it was to load dry beans into the container, add water, press a button, and stand back as the cat ran and hid from the scary machine sounds. Then, after a few years, the machine died (as all machines are wont to do). After unscrewing the whole thing and failing to fix it, I had a revelation: The process it had automatically completed in its silver bowels wasn’t difficult or mysterious. In fact, smashing, cooking, and straining soybeans was so simple, I could do it with tools I already had.
With one less appliance crowding the counter (huzzah!), I whipped up a batch that was creamier than the machine made. Better yet, having the whole process at my fingertips gave me infinite opportunities for customization.
Related Post: Plant Based Protein: The Definitive Guide
So if you’re looking for an easy way to remove a purchase from your grocery list, you’ll likely find yourself similarly surprised by how easy it is to make your own soy milk.
Tools Needed
- Large stock pot
- Blender
- Large bowl
- Piece of high-quality cheesecloth big enough to line the large bowl
Ingredients
- 1 cup of organic dry soybeans
- Fresh water
How to Make Soy Milk
1. Soak the Soybeans
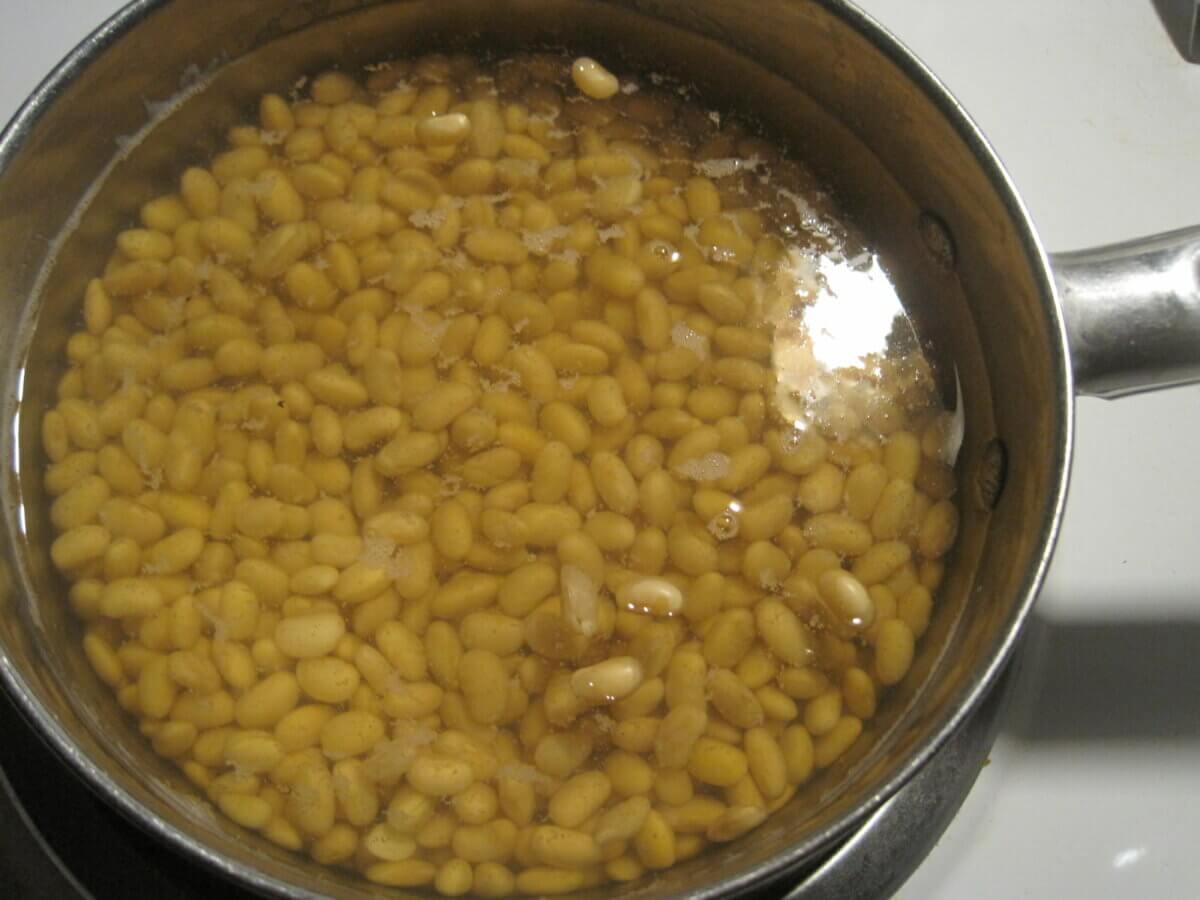
Soak soybeans in freshwater for at least 10 hours. I usually do this the night before so I can make fresh soy milk in the morning for breakfast. Keep in mind, the beans will make little snapping and popping sounds as they sit on the counter. If you don’t realize it’s the beans, you’ll feel a bit crazy trying to find the source of the noise during your otherwise quiet evening.
2. Drain the Beans
The next morning, drain the beans and rinse them with more freshwater. Heat a teakettle of water on the stove.
3. Blend the Beans
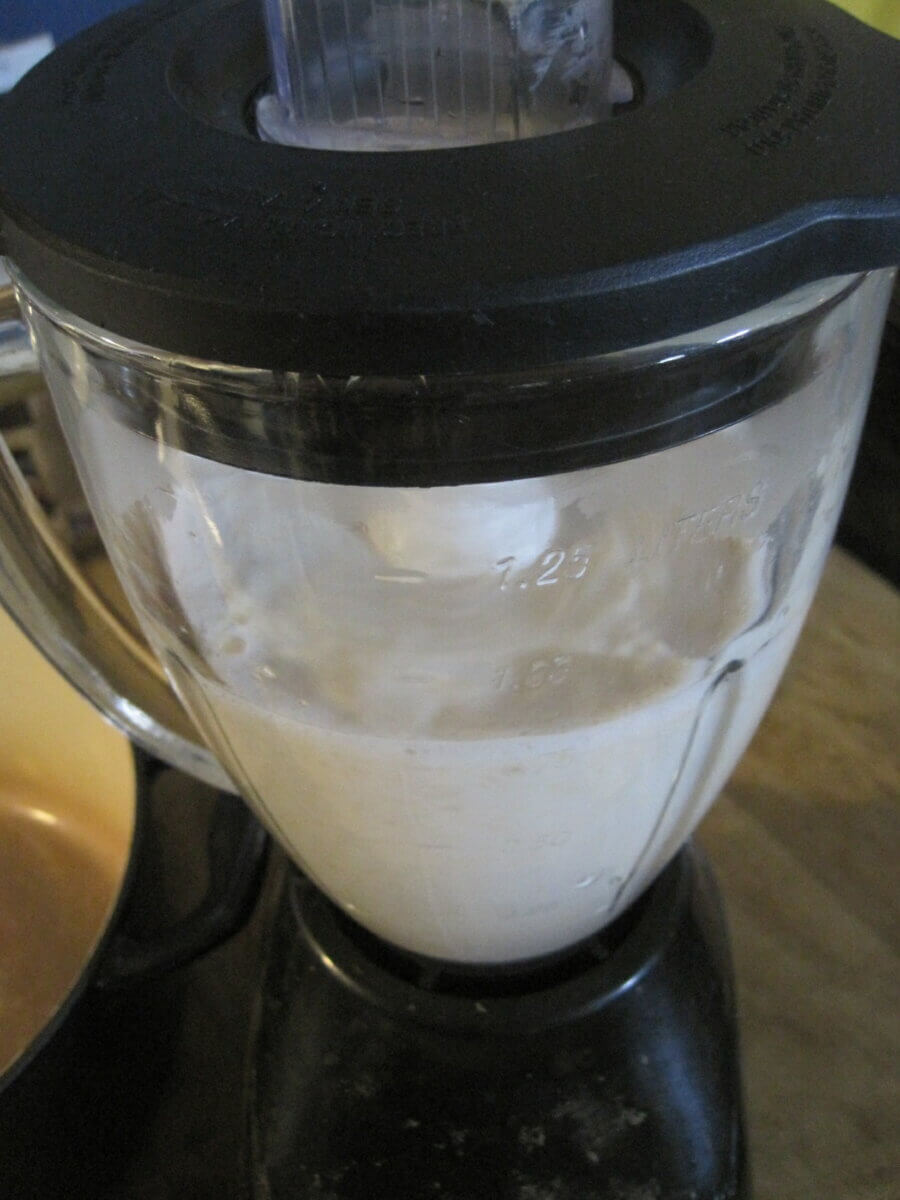
Place half the beans in a blender. If your blender can handle boiling water, pour enough hot water to cover them, then blend on high speed until they have formed a uniform, white paste, as smooth as you can get it. If the blender is plastic, use water as warm as your finger can stand instead. Add a bit more water if the mix seems too thick. Then, empty the raw soybean paste into the large pot.
4. Repeat With Other Half of Beans
Repeat step 3 with the other half of the beans.
5. Add More Water
Now, add 3 cups of boiling water to the pot and slowly bring to a simmer.
6. Keep an Eye on the Pot
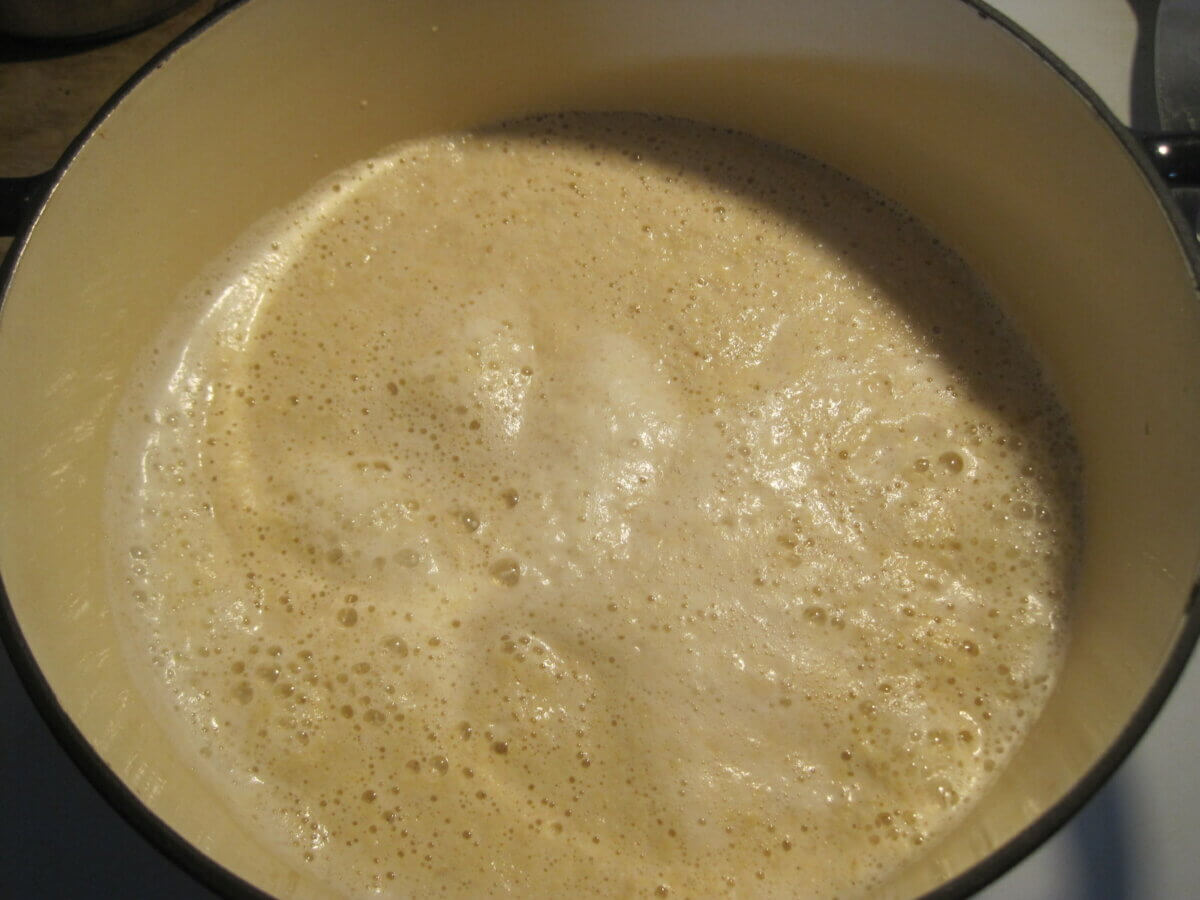
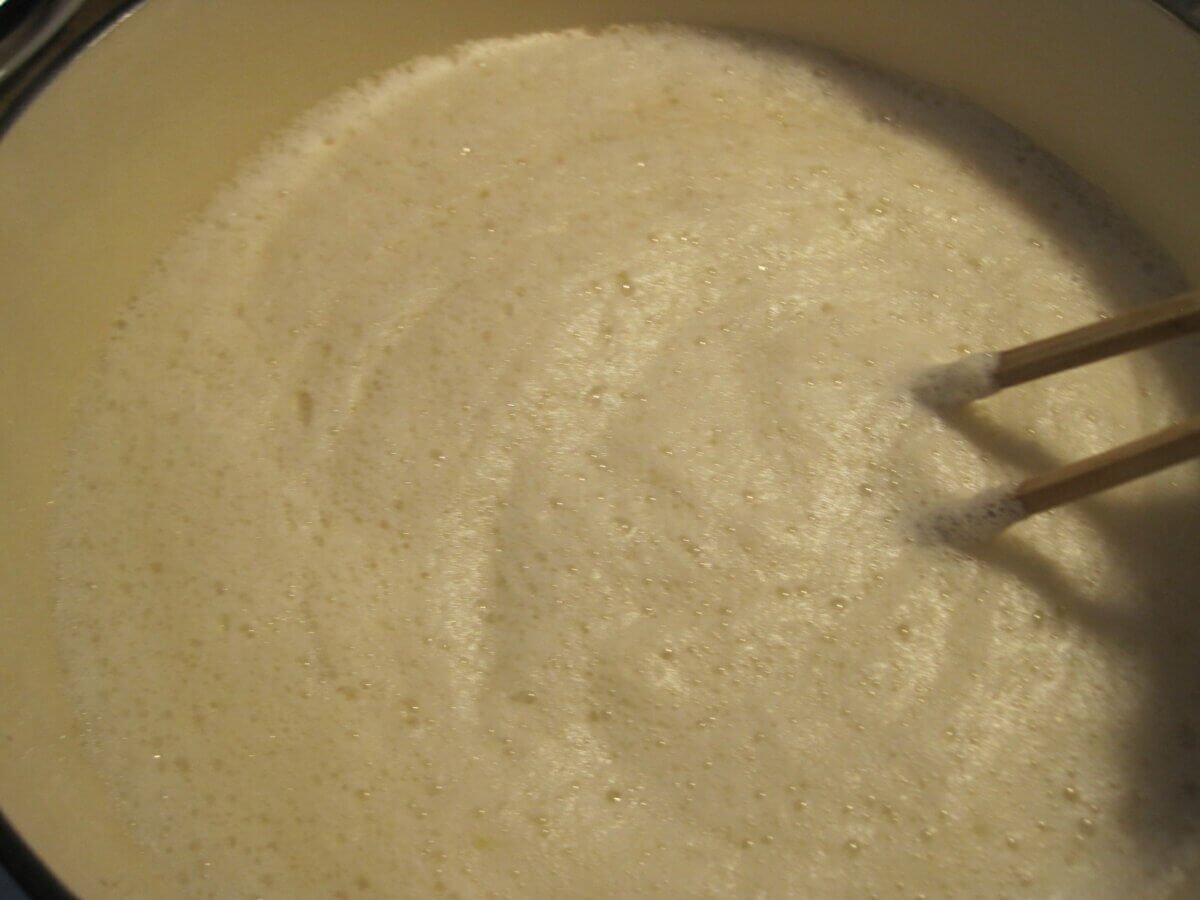
Watch the pot. Do not walk away. As soon as the raw soy milk is near boiling, it will start to foam and froth. You’ll need to keep it at a low simmer by stirring and lowering the temperature. Otherwise, it will boil over onto your stovetop and maybe, to the floor and your feet! Not that I’m writing from experience or anything. Nope.
7. Continue Cooking at Least 10 Minutes
Once the heating situation is under control, gently cook for 10 minutes or longer, if necessary. Scrape the bottom of the pot to prevent scorching. You’ll know that it’s cooked enough once the beans have lost their raw flavor and smell, and taste nutty and sweet.
8. Remove From Heat
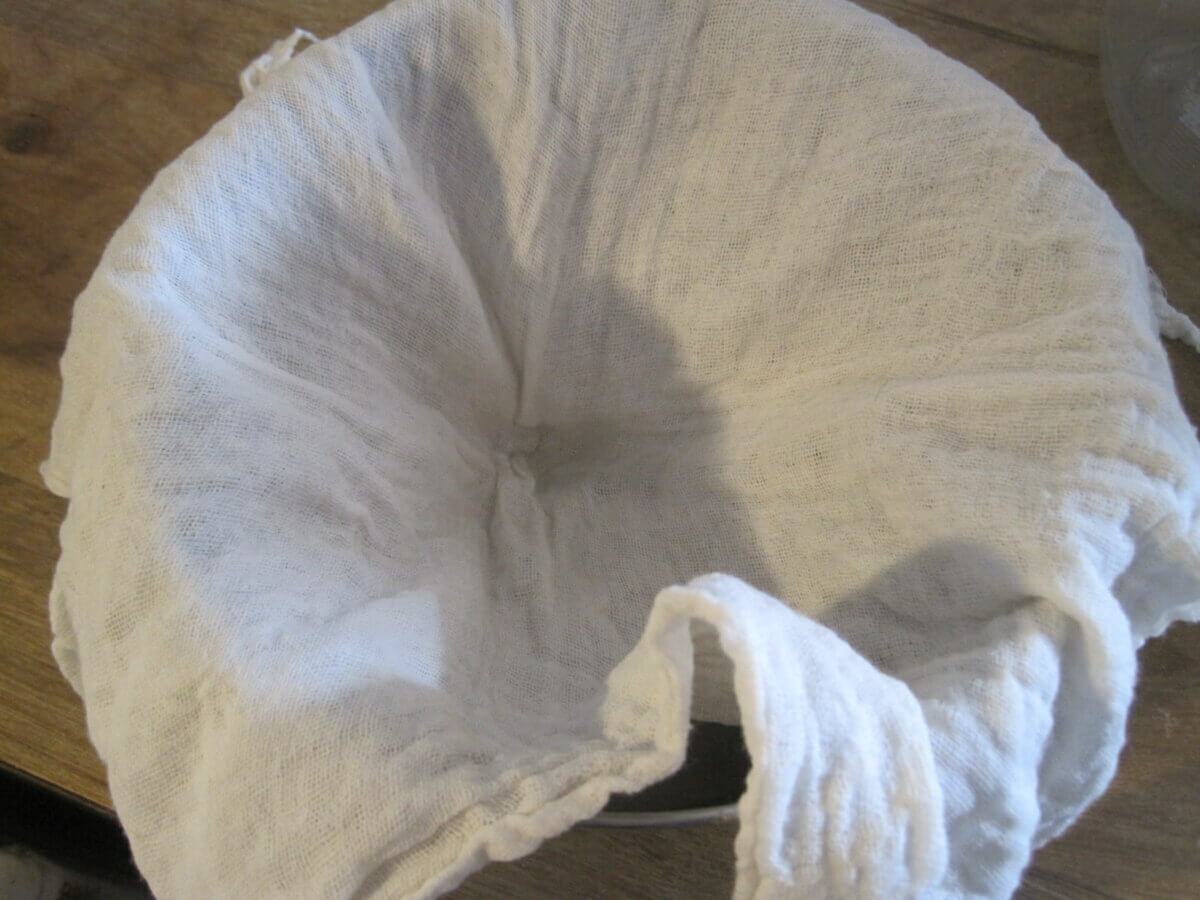
Now, turn off the heat and set up your straining bowl. You’ll want to line a large bowl with a good quality, tightly-woven piece of cheesecloth. Use two layers if the cheesecloth weave is too open.
9. Move Soy Milk Into Bowl With a Cheesecloth
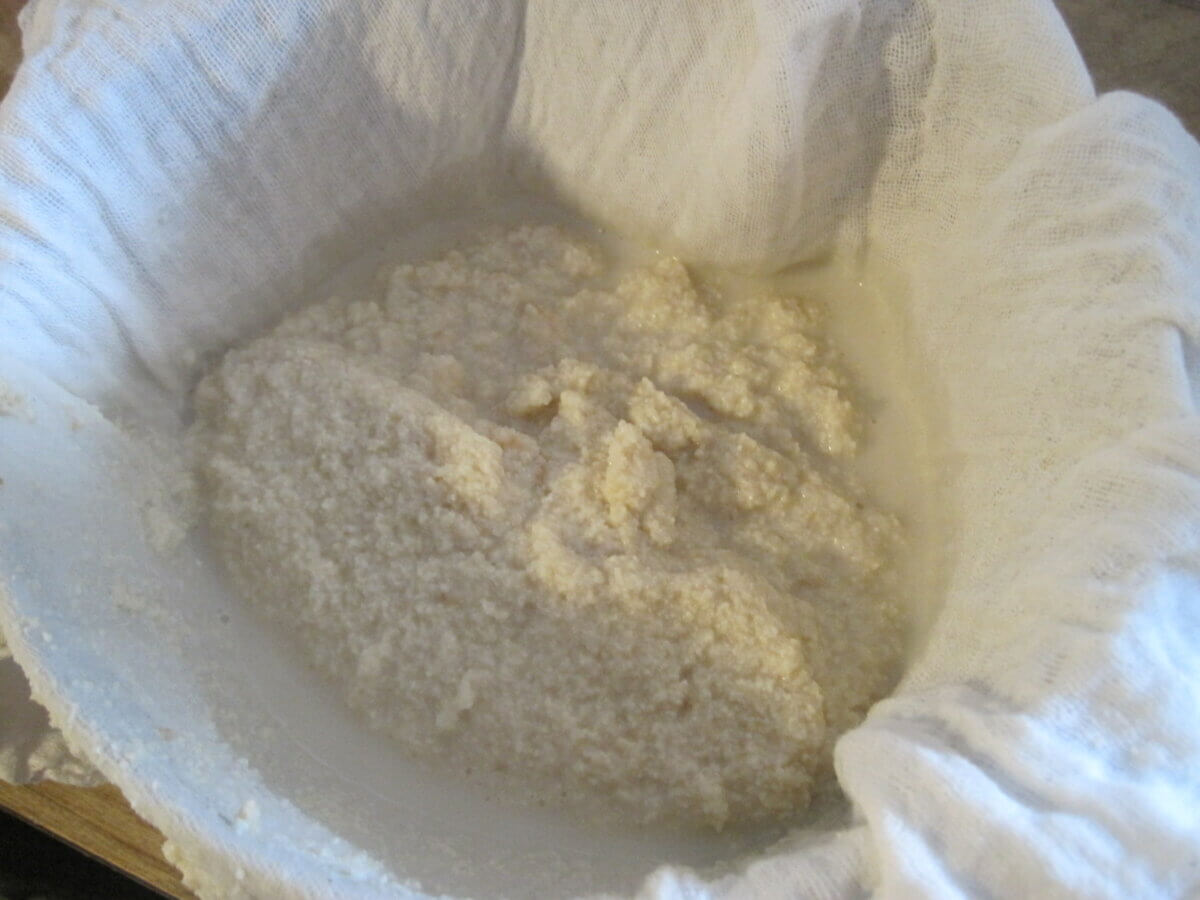
Ladle half the soy milk into the bowl, and lift the four corners of the cheesecloth to catch the solids. Twist the cloth closed. Once the steaming soy milk stops dripping, carefully squeeze as much extra liquid as you can from the bean solids. Set those aside in another container.
10. Repeat With Other Half of Soy Milk
Repeat step 10 with the other half of the soy milk, and please don’t discard those bean solids. We’ll get back to them in a minute.
11. Enjoy Your New Batch of Soy Milk
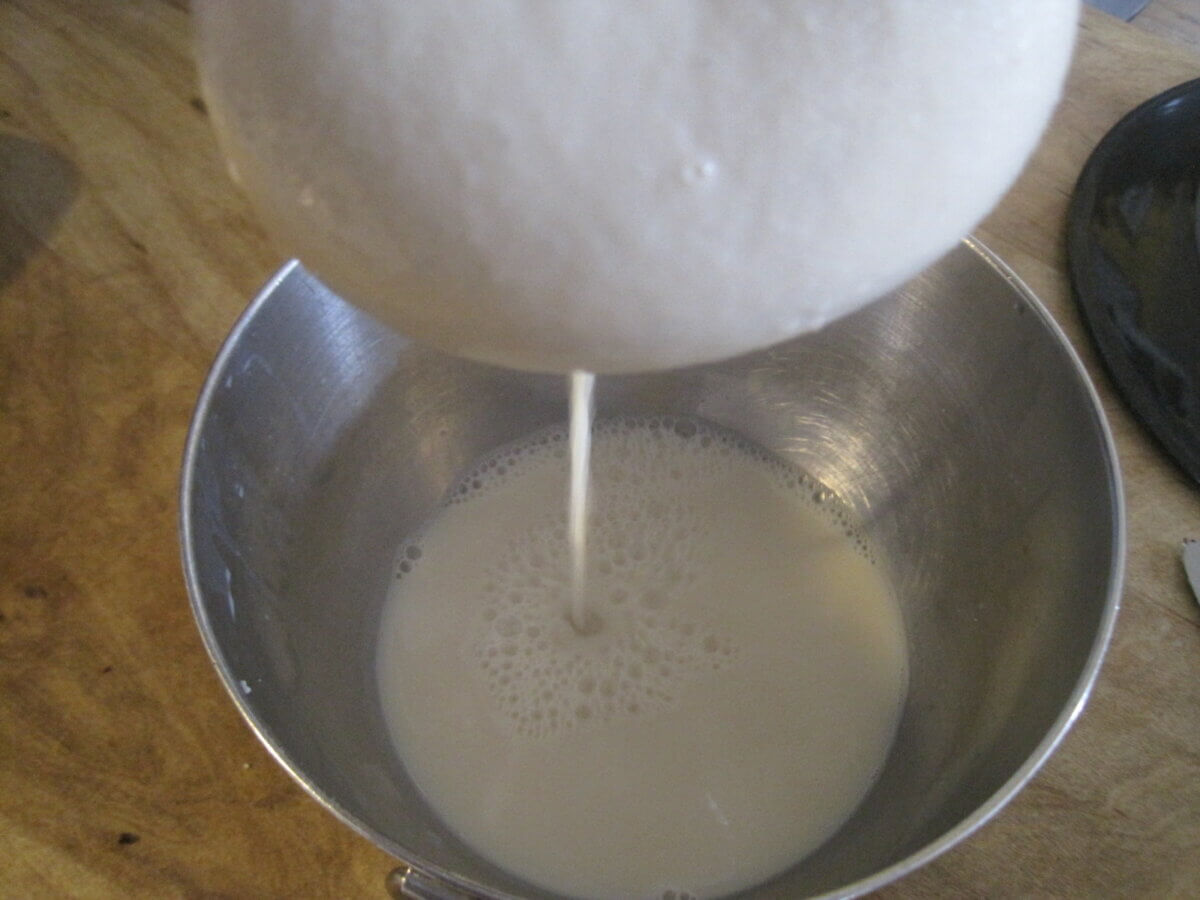
You can enjoy your fresh soy milk immediately — as it is very pleasant when hot. If desired, add a dash of salt and a bit of honey or sugar to make the flavor more milk-like. You can also transfer to a jar and cool in the refrigerator. Use it within three days.
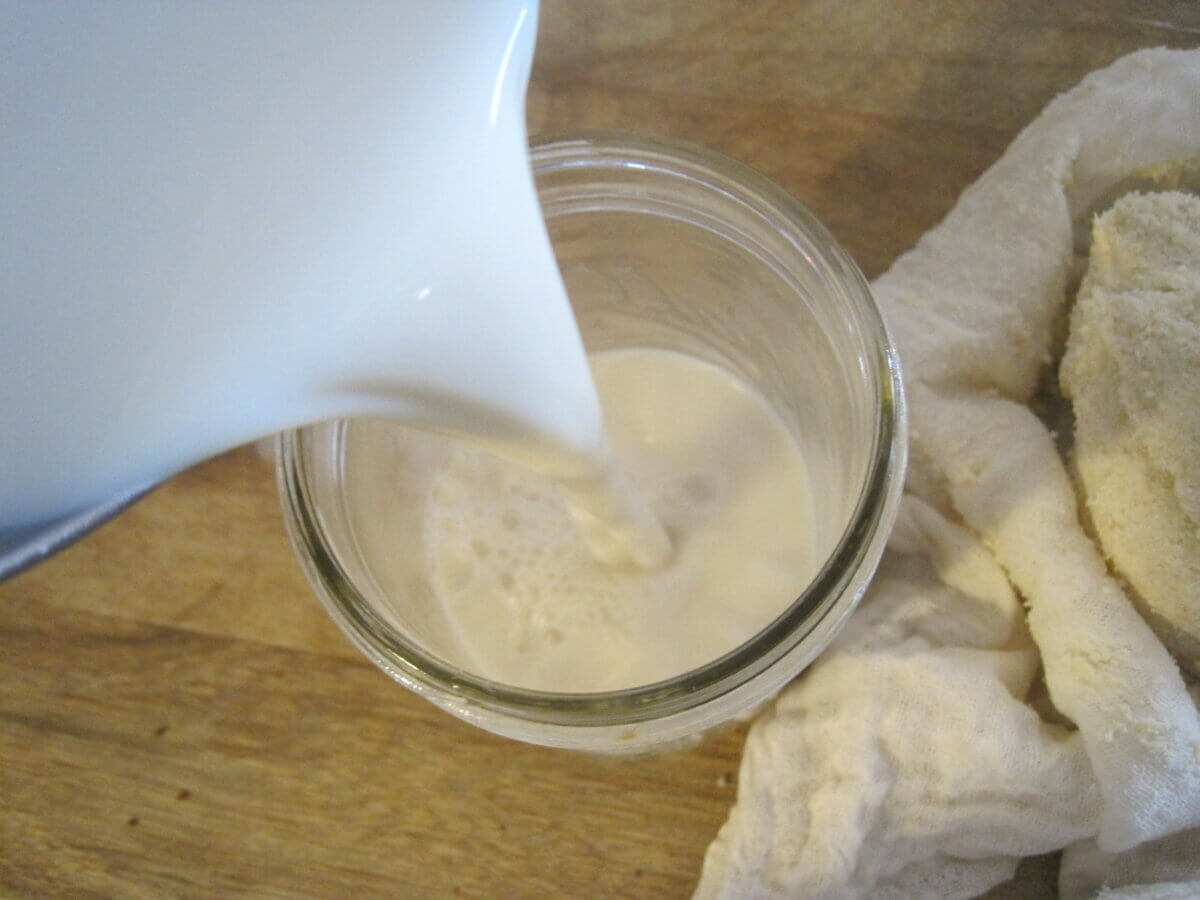
Now that you have the ability to make real, simple soy milk, you can also use it to curdle and press your own homemade tofu or culture your own soy yogurt.
Bonus Product: Okara
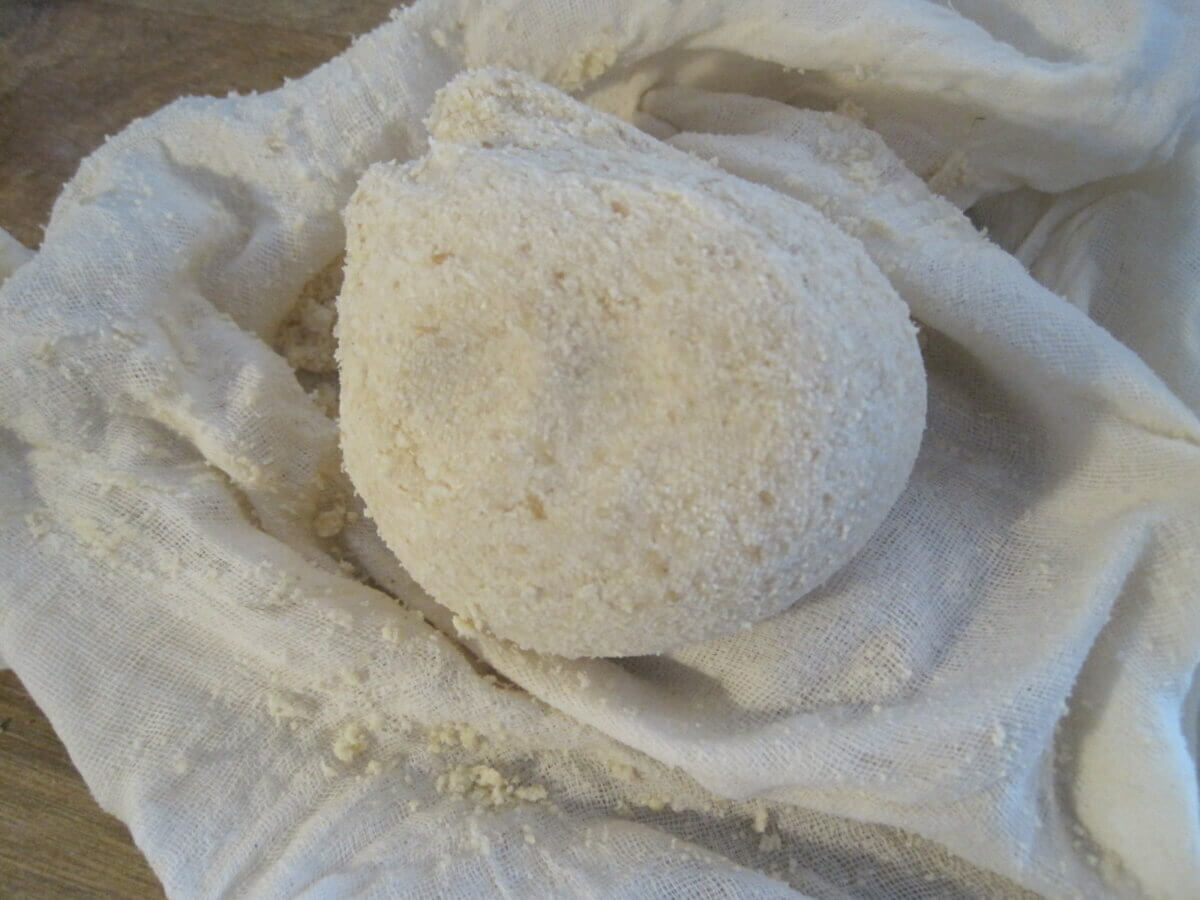
Okara is the name for the bean solids left over after pressing out the soy milk. Though it’s packed with soybean nutrients and protein, it is often considered a waste product in the soy milk industry. Sometimes, it’s composted into fertilizer or blended into various animal feeds. But for the home cook who wants to make the most of their food and purchases, wasting okara is wasting a good opportunity.
Okara’s neutral flavor and texture can blend seamlessly into many bread recipes, boosting the nutrition and imparting a nice chew. When baking my daily sourdough loaf, I throw a cup of okara into the dough, add less water, and end up with a caramel-brown loaf as a result. A few spoonfuls of okara also mix well in a breakfast porridge or pancake batter.
And if you find yourself tired of baking (and still have okara left over, you can spread it in a single layer on a baking sheet and dry it. When ground after drying, you’ll have some easy-to-use soy flour that can be mixed into a whole host of baking mixes.
For those dedicated to making soy milk for the long haul, I’ve found an entire blog dedicated to inventive recipes for okara.
Further Reading
If you’re curious about other ways to make soy-based products, check out the classic “Book of Tofu” by William Shurtleff and Akiko Aoyagi. Of course, the 1970s text is a little dated, but (to me) that lends more charm to this heartfelt exploration of the humble soybean.
It’s available for free on archive.org and is loaded with recipes, lore, firsthand observation of traditional soy preparation methods, and new ideas. Their process for making soy milk is a little different than mine, as they squeeze the raw soy milk from the uncooked beans and cook it afterward. I found their process more of a mess than the one I’ve presented above. Give both a try and see which one works best for you.
Soy milk has been given a weird reputation in much of the Western world, but I’ve come to deeply value the way it can transform an easy-to-grow bean into a satisfyingly nutritious drink and food. It’s filled in the gaps during the time of year my dairy goats are dry, and it offers yet another piece of the ever growing toolkit for the homesteader seeking self-sufficiency.
Related Post: Soy — Devil-fruit, or Bean? (Hint: Bean)
Do any of you make your own soy milk? Your own tofu? Or do you absolutely loathe the stuff? Share your stories and sound off in the comments below!
















Leave a Reply