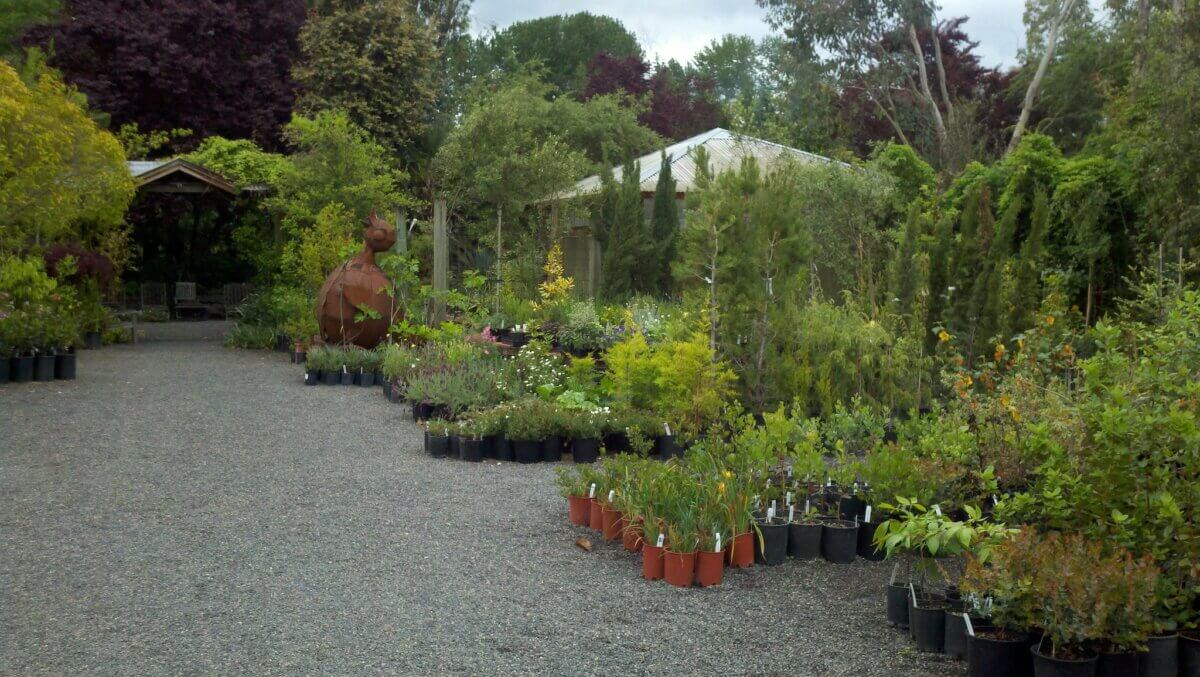
A tree nursery is a designated area where young trees are cultivated and grown. They are made to grow vigorous, healthy, young trees. Tree nurseries help support young trees by protecting them from outside dangers (i.e., weather, animals) and competition from other vegetation. Think of it as a preschool; a place small children go before they get older and are sent to larger schools. Young trees grow up in these safety zones before moving out to larger orchards, plantations, etc.
Basic Tree Nursery Requirements
1. Partial shade and sun
2. Tree seeds from species of choice
3. Healthy soil
You may need to amend depending on local conditions.
4. Grow bags (cloth or plastic)
New grow bags may be purchased, however, you can often recycle items to make grow bags (for example, old/used sandwich bags). Ensure you poke a few holes in the bottom of recycled grow bags to allow excess water to drain. Old socks can be used in the same way and don’t need to have holes poked in the bottom. Some people prefer plastic pots instead — this is purely a personal preference. Plastic pots take up more room and are more expensive, but they’re generally reusable.
5. Automatic or manual water unit
Manual is recommended as it’s easier to check if tree sacks have been thoroughly watered.
Related Post: Planting, Growing, and Maintaining Chestnut Trees
Tree Nursery Considerations
Seed Size Matters
The size of the seeds you are planting will dictate the size of the grow bags you use (for example, avocado seeds will need a much larger grow bag than pine seeds). Seed size also indicates whether you will need to notch or presoak your seeds before planting — we’ll come back to this step.
Know Your Goals
Knowing what you intend to do with your trees after they’ve outgrown the tree nursery will dictate the amount of grow sacks that need to be filled/seeded, and likewise, the number of seedlings that will need to be out-planted. This decision will also influence what species you grow.
Presoaking or Notching Seeds
If the seeds have a hard, protective coating on the outside, and if the seeds are larger than a watermelon seed, they will benefit from notching/presoaking.
Why Notch or Presoak Seeds?
Small, dainty seeds will grow easily without being presoaked or notched, but larger, thicker seeds can sit dormant in the soil for a long time, waiting to be activated. Generally, larger seeds show this behavior as it takes longer for natural conditions to affect the embryo inside. Heat and water have a harder time reaching the middle. In order to help them germinate and sprout faster, notching and or presoaking seeds can act as a catalyst to make them grow.
How to Presoak Seeds
Completely submerge seeds in clean water in a clean container for 24 to 36 hours, depending on the size of the seeds (the larger the seeds, the longer they should soak).
How to Notch Seeds (Seed Scarification)
Notching seeds should be done with a clean tool, and the tool can differ from a nail clipper to scissor to a knife. The tool will depend on seed size and personal preference. After choosing the best tool, make a shallow notch on the seed. The depth should be just deep enough to cut through the seed coat, but not so deep as to penetrate the embryo inside the seed. If you cut too deep, it will damage the embryo and could prevent the seed from sprouting. Most seeds have a hilum (the scar left from where the seed was attached to the ovary inside the fruit or nut). Try to cut opposite and as far away from the hilum as possible to avoid damage to the seed.
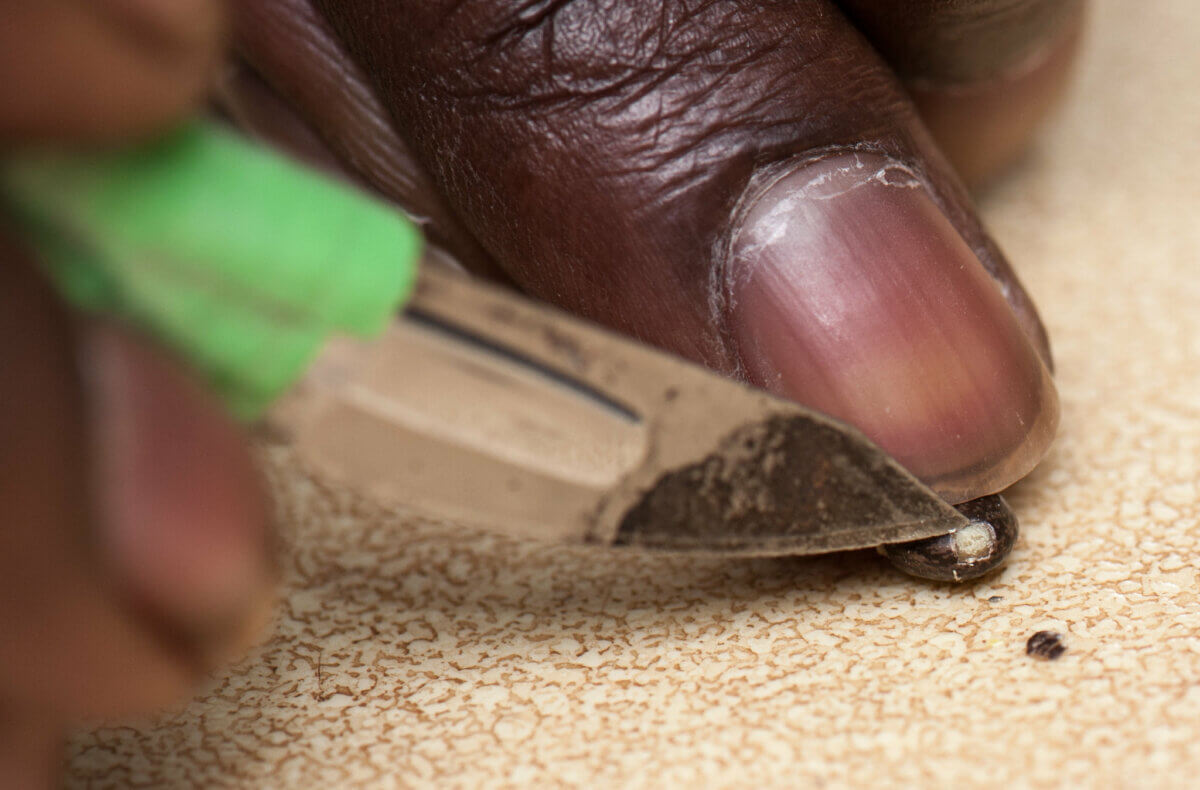
Seeds that are especially large and have extremely hard coatings benefit from being both scarified and presoaked.
Steps to Creating a Tree Nursery
These steps can dramatically differ depending on the resources you have available on your homestead. For example, if you have healthy soil at your disposal, you will not need to amend the soil or buy more. If the soil you have available is not healthy (arid, dry, nutrient-deficient), it is highly recommended to either amend or buy soil.
1. Locate a flat area
Locate a flat area that has partial shade and sun throughout the day.
2. Dig a shallow trench
Dig a shallow trench (1 to 2 inches) in which the grow bags will be placed after they are filled. Line the edges of the trench with soil that has been dug out to help create a small wall. This step creates a designated area for your tree nursery and helps the tree sacks remain upright once they start growing and become top-heavy.
If you choose to use plastic pots instead, this step can be omitted.

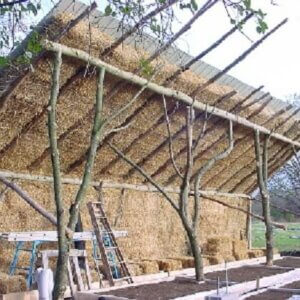
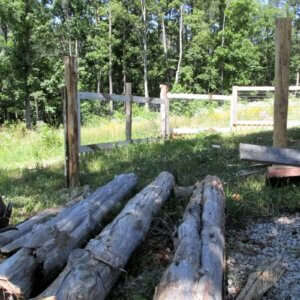
Also note, a shaded area was unavailable, so a partial shade structure was constructed instead
3. Ensure soil is loose before filling grow bags
Ensure the soil you plan to use to fill the grow bags is loose (not clumped together) and moderately moist. A good rule of thumb to know that soil is moist enough is if it sticks to your hand a bit when squeezing it, but does not clump together from excessive wetness.
4. Fill grow bags with soil
Fill your grow bags with soil, making sure the soil is firmly packed in the bag with no air pockets, but not so firm the soil is impenetrable. Compacted soil will make it difficult to plant the seeds, for water to penetrate the soil, and for seeds to sprout and root.
When placing the filled bags into the shallow trench, pack them closely together within the trench to help prevent them from falling over or tilting.
5. Plant the seeds
A good rule of thumb to follow to make sure you are planting the seeds at an appropriate depth is to plant them twice as deep as they are wide. For example, if you are planting avocado seeds, plant them twice the depth of the thickness of the seed.
6. Cover the seeded holes with soil and water your tree nursery
Most tree nurseries (depending on heat and weather conditions) benefit from being watered twice a day: once in the morning and once in the evening. Push your finger into the soil within the grow bag about knuckle deep to see if you have sufficiently watered (it should feel wet that deep if it has been watered enough).
It is valid to note that some people make tree nurseries directly in the ground, not utilizing grow sacks or pots. This makes it more difficult (if not impossible) to control outside factors, such as nutrient competition and weather exposure.
Usually, these trees are not as vigorous or healthy. This is only a useful option if budgets are tight or resources are unavailable. It is also more difficult to out-plant these trees once they are an appropriate size, as removing them from their tree nursery can easily damage the root system by accidentally cutting or ripping the roots as the roots are not confined and will go deeper and wider for more room and nutrients.
If one chooses to create a tree nursery directly into the ground, a deeper trench can be created and lined with a tarp or plastic bag in order to prevent roots from growing too deep or wide. This helps with out-planting later.
When to Out-Plant Seedlings
You will know it is time to out-plant your seedlings when the grow sacks begin bulging from the roots trying to find more room. Usually, the seedlings will be about a foot high (this is not precise because it truly depends on the species you are growing). You do not want the grow sacks to be so compacted from roots that they are too firm or breaking the grow sack open, but firm enough to see the roots are trying to find more room and have begun expanding outward as well as down.
Creating a tree nursery is a relatively straightforward and simple process that can be done with minimal to no experience. This process can take a number of months, depending on species selection and local weather conditions. However, it is rewarding, as you get to raise tree babies and positively impact your environment by planting trees. It can also be a really fun activity to do with children, as it cultivates appreciation and care toward our natural world.


























Very interesting and helpful 👍.