To reduce our reliance on commercially grown produce, we grow as much of our own food as possible and preserve it for the offseason.
Preserving fruits and vegetables is a centuries-old homesteading tradition. Growing up on my grandparents’ farm, I have fond memories of rows of pantry shelves packed full of colorful jars of syrup, jam, jelly, pickles, pie filling, sauce, salsa, fruits, and vegetables.
Home canning preserves the goodness of the garden and the fruits of the harvest throughout the winter. For homesteaders, canning saves money and ensures that the vegetables and fruits you feed your family are organically grown and free of pesticides and other noxious chemicals.
Best Green Bean Varieties For Canning
If you cultivate bush beans in your homestead garden, here are a few varieties that are good for canning:
- Stringless Green Pod
- Refugee
- Blue Lake 274
- Contender
- Tendergreen
- Provider.
If you grow pole beans, some of the best varieties to can include:
- Blue Lake FM-1
- Kentucky Wonder
Fresh from the garden, a bushel of beans weighs approximately 30 pounds: yielding up to 20 quarts. Depending on the size of your family, you may opt to can green beans in either pint or quart-size jars.
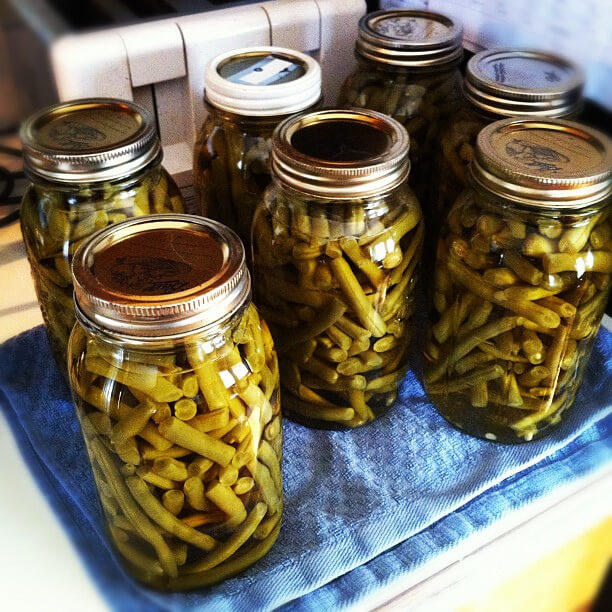
You will need about two pounds of raw beans per quart or a pound of beans for a pint. If your family enjoys hearty soups and stews during the cold days of winter, you will want to put up a good supply of green beans to add to the pot.
Preparing Your Cans
Carefully examine canning jars to make sure there are no chips or cracks in the glass. Wash canning jars in hot, soapy water and rinse well. Sterilize jars with a second rinse in boiling water. Remember to also sterilize the jar bands with boiling water before using.
Preparing Your Green Beans
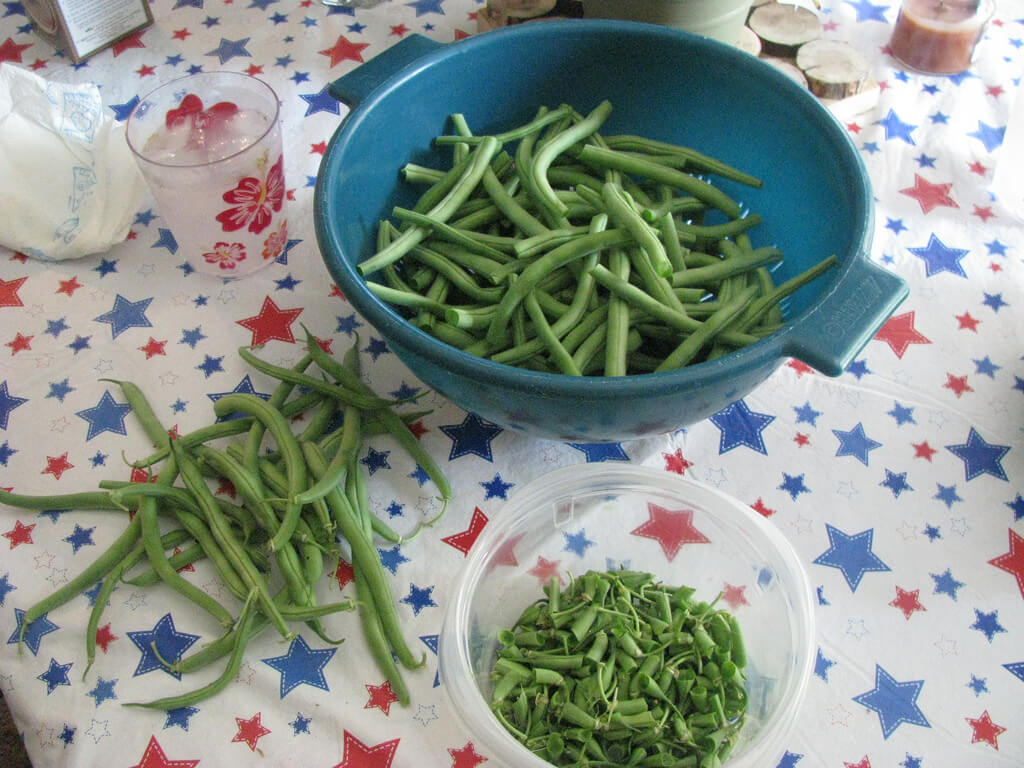
When selecting green beans for canning, choose crisp, tender pods that pass the snap test. Bend a bean in half and if it snaps, it’s fresh and ready for canning. Old, limp beans will not taste good canned, so be sure to sort beans carefully.
Discard any beans with bruising or those showing any sign of wilt, sogginess, spoilage, or insect damage.
Washing Your Green Beans
To ensure that your beans are clean and ready to be canned, follow this washing process:
- Place beans in a large bowl of cool, clean water.
- Allow the beans to soak for 10 minutes. Carefully go over all the beans, rolling them around in the water.
- Keep changing the water and repeat the process until the water runs clear and is free of soil and debris. It’s important that all soil and debris are removed and that the beans are clean before processing.
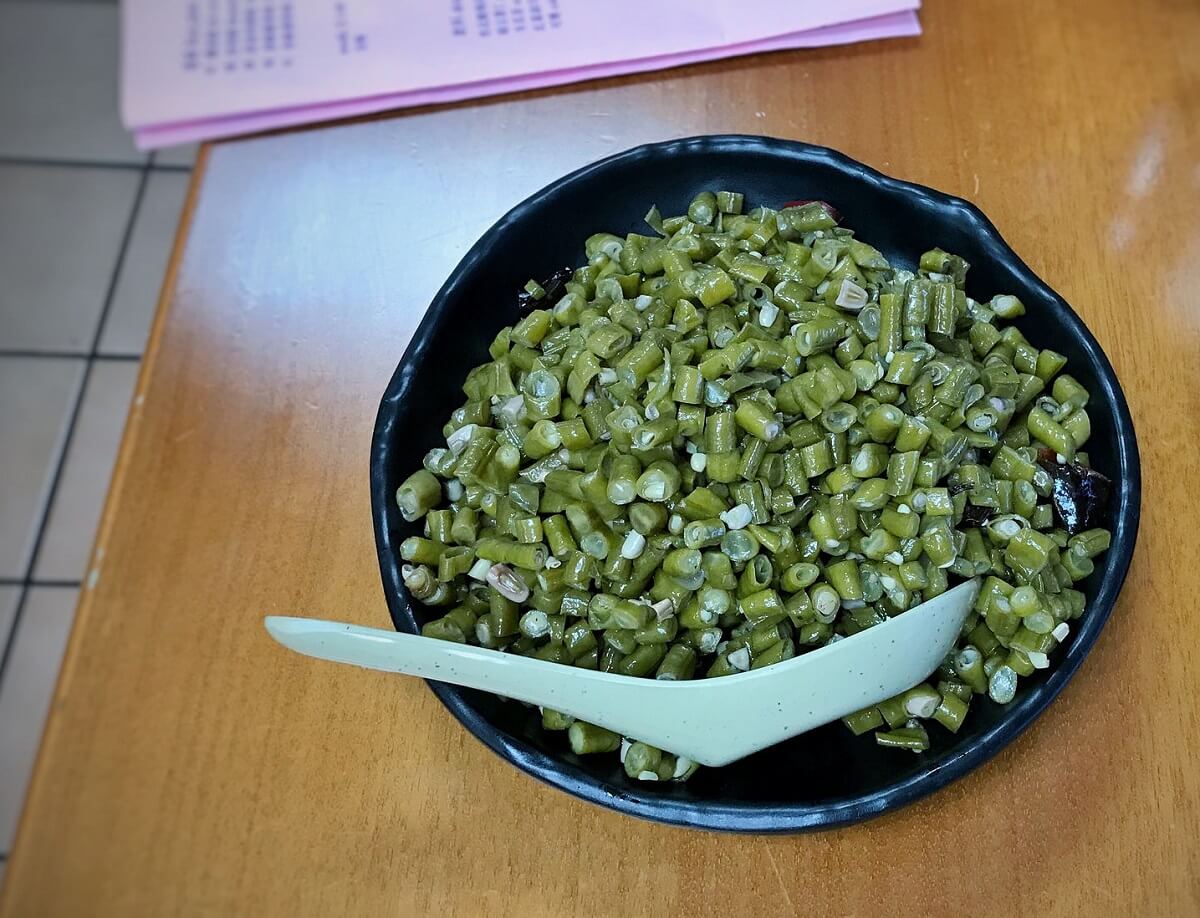
- Rinse the green beans with cool water, trim of the ends, and remove the strings. Disregard rejects. Leave beans whole or snap or cut into 1-inch segments.
How to Raw Pack Green Beans
Tightly pack jars with green beans leaving an inch of headspace. Cover beans with boiling water, and add a small amount of salt if desired.
Run a butter knife down the inside of the jar to remove any trapped air bubbles. Center and adjust the lids, secure the bands finger-tight.
How to Hot Pack Green Beans
In a large saucepan, cover green beans with boiling water and allow them to boil for 5 minutes. Remove your saucepan from the heat and fill sterilized canning jars with green beans, allowing an inch of headspace.
If desired, add one teaspoon of Kosher canning salt per quart jar, or one-half teaspoon per pint. Center lids, securing finger-tight.
Processing Green Bean Jars
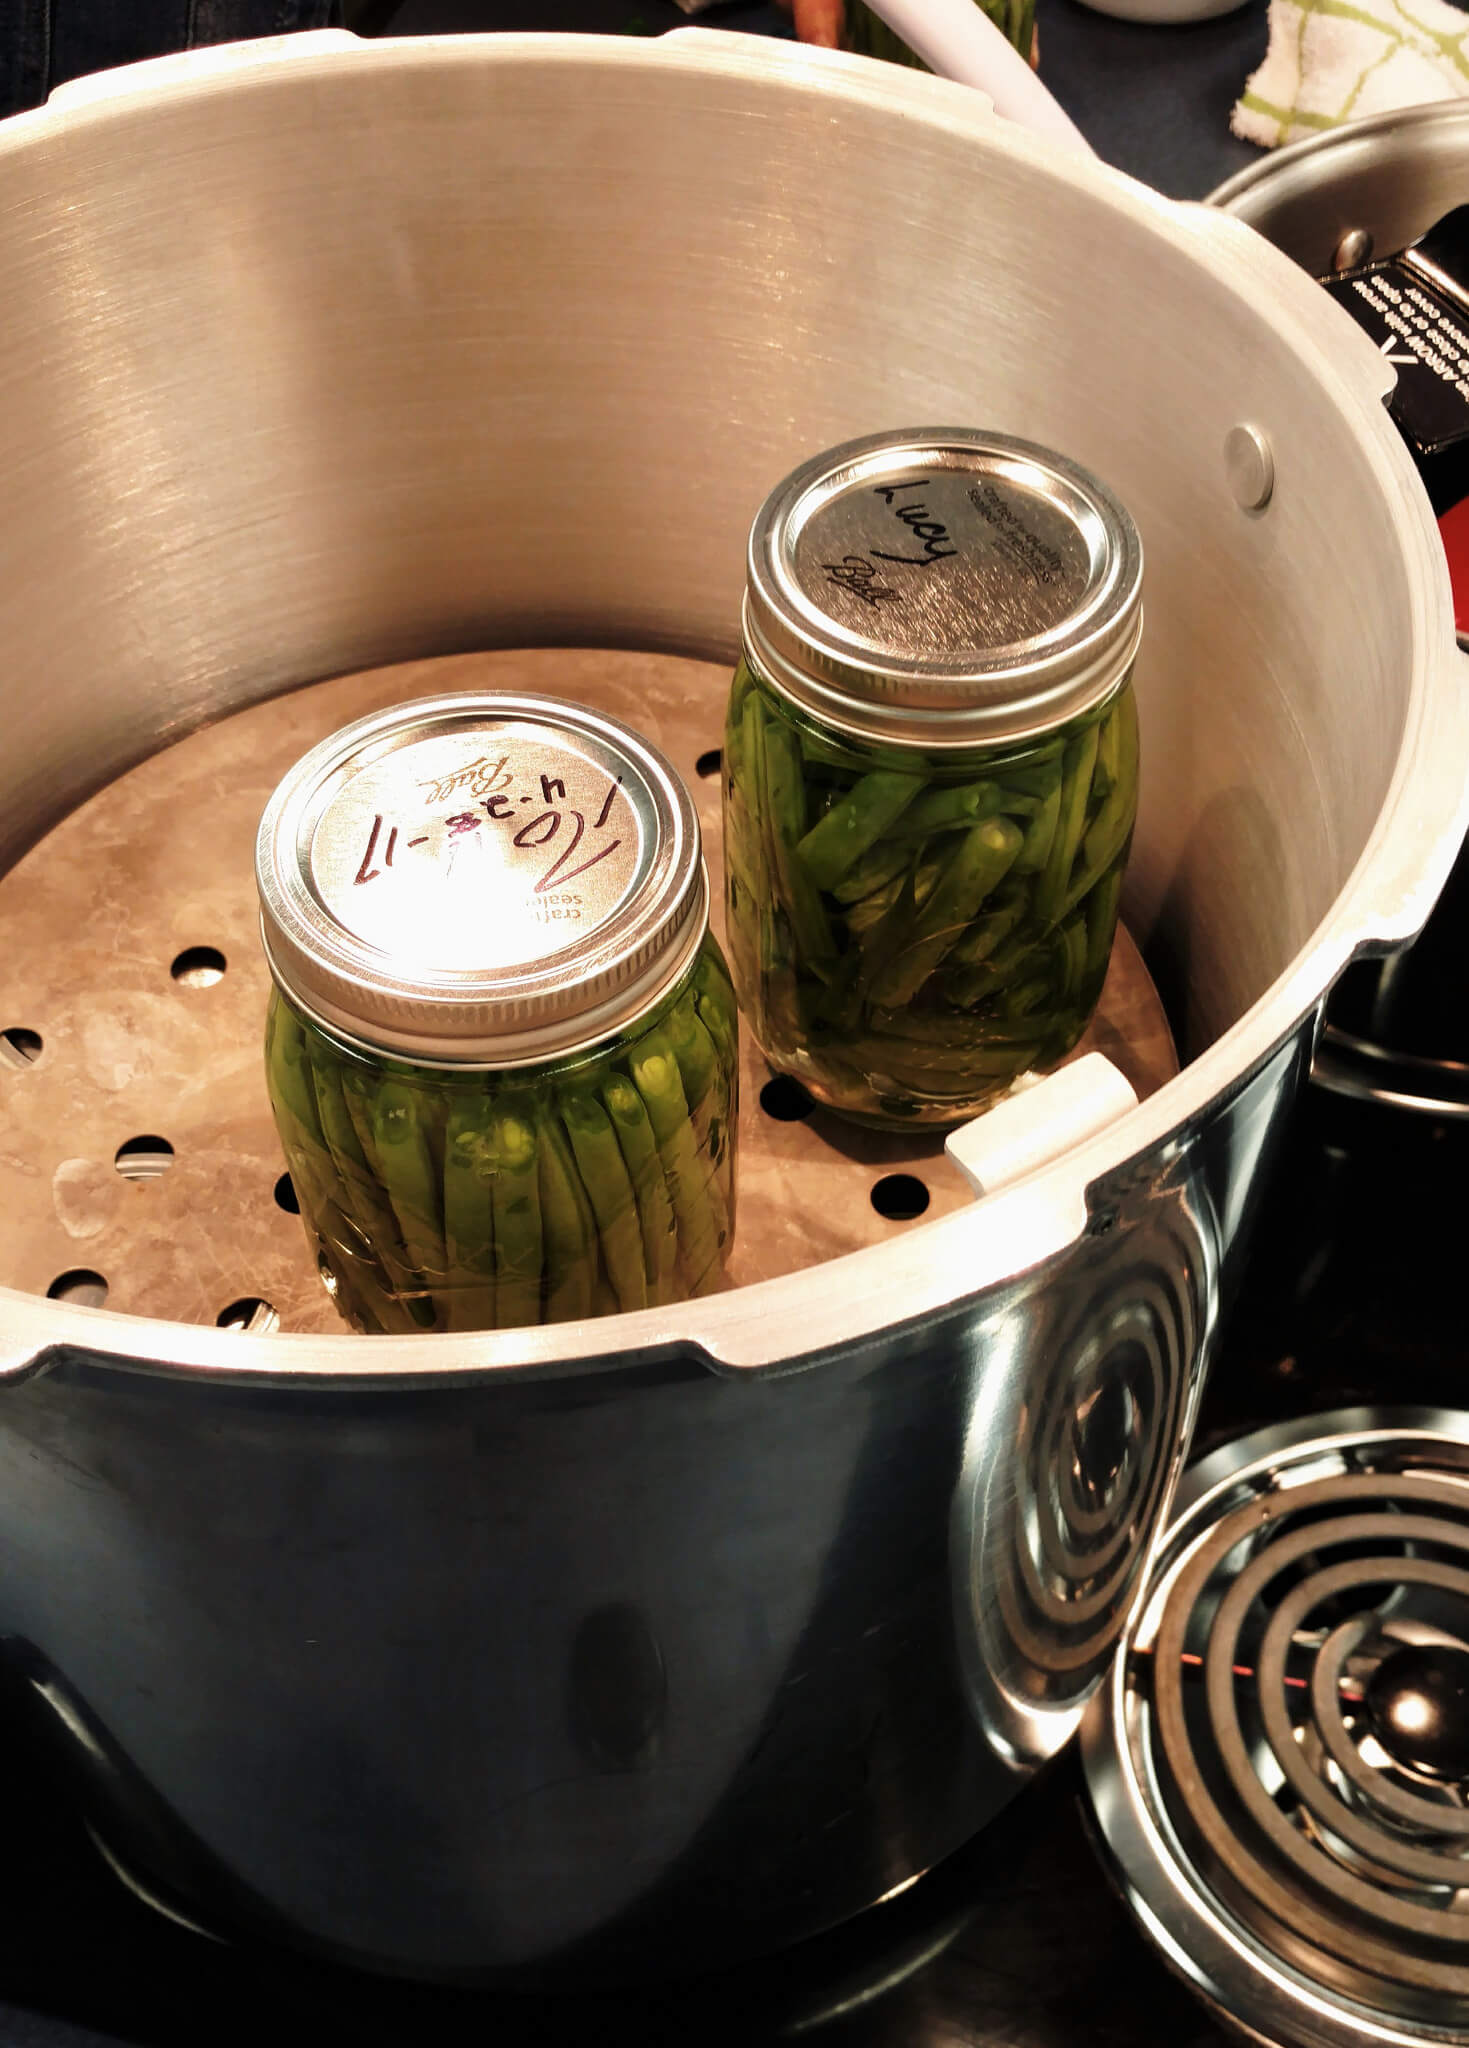
Process jars in 2 to 3 inches of water in a pressure canner. When choosing a pressure cooker to use for canning, select one designed for canning, not one designed for cooking meals. Pressure cookers designed for culinary uses are too small, and using them for canning can result in under processing. Pressure canners are divided into two types: those with a pressure regulator and those with a pressure gauge. Both stovetop and electric models are available for purchase online.
Be safe and follow specified processing times closely. Canning experts recommend processing green beans in a pressure cooker at a temperature of 240 degrees Fahrenheit, maintaining 10 pounds of pressure for 25 minutes for quarts and 20 minutes for pints.
Carefully follow manufacturers recommendations. If you live above 1,000 feet in elevation, be sure to adjust for altitude based on pressure cooker instructions.
Sweet Gingered Pickled Green Bean Medley
Ingredients
- 6 pounds green beans
- 1 cup fresh ginger, peeled and sliced
- 1 pound of baby carrots
- 4 celery stalks
- 1 cup chopped sweet red pepper
- 4 cups cauliflower floret
- 2 cloves of garlic finely minced
- 1/4 cup kosher canning or pickling salt, if desired
- 1 teaspoon cardamom
- 1 teaspoon whole cloves
- 2 tablespoons whole black peppercorns
- 2 cups organic honey
- 1 quart white rice wine vinegar
- 6 cups water
Directions
- Prep green beans and cauliflower. Green beans can be pickled whole or cut into 1-inch segments.
- Slice sweet peppers, celery, and carrots into 1/2-inch slices.
- Mince garlic and cut ginger into thin slices.
- In a large enameled pot, bring water, vinegar, and honey to a slow boil.
- Add spices and vegetables and simmer for 10 minutes. Remove from heat.
- Hot pack sterilized canning jars with vegetable medley and cover with liquid, allowing 1 inch of head space.
- Wipe tops of jars with a clean rag dipped in boiling water.
- Center lids and adjust rings finger-tight. Process jars in a pressure canner based on manufacturer’s guidelines.
- Once the pressure canning process is complete, allow canner to cool before opening. Remove jars from the canner using a jar grabber and hot pad. Place jars on a thick towel to cool. Using a hot pad or towel to make sure the jar lids are firmly sealed.
- As the jars cool, you will hear “pings” confirming that the jars are sealing. After the jars have “rested” undisturbed for 24 hours, test that each jar is sealed by running a finger across the lid to ensure that the center button is indented.
If you find a jar that did not seal properly, place in the refrigerator for immediate use. Sealed jars are now ready for offseason storage.
Pickled Green Beans
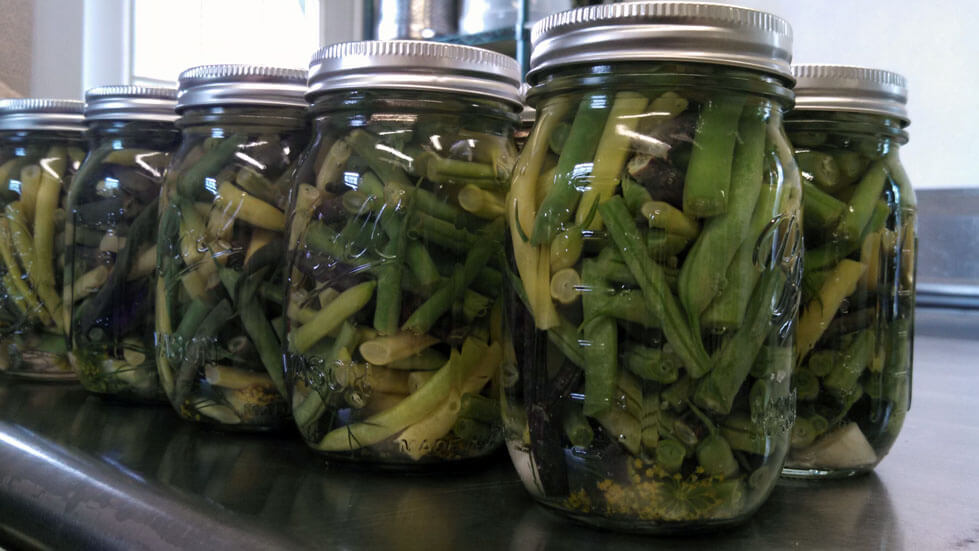
Because I have a small homestead garden, I do not always have enough beans ready to can a large batch. I prefer to pick the beans as they develop, choosing tender young beans at their peak of firmness and flavor, and then can a few jars at a time. At our house, pickled green beans are a family favorite.
We like to use picked green beans sprinkled on salads or as a side dish for pork and seafood, and the kids love them in chicken salad sandwiches.
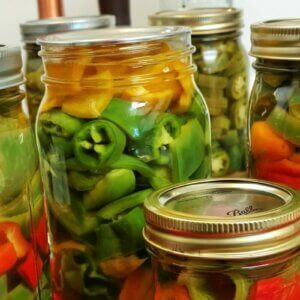
Green beans for pickling are hot packed with vinegar and seasonings instead of boiling water to process them in a pressure canner. It’s easy to adapt seasonings to create your favorite sweet or sour (dill) green bean recipe.
A Note On Canning Safety And Botulism
The necessity of processing green beans and other low acids (pH 4.5) foods (corn, beans, lentils, seafood, poultry, and meat) in a pressure cooker cannot be stressed strongly enough. There is no safe method of canning low acid foods other than processing in a pressure canner.
A potentially lethal toxin, botulism is a rare form of food poisoning linked to improperly canned food. Low acid vegetables such as green beans, lack the acidity required to prevent the growth of spores and bacteria that survive in temperatures above the 212 degrees Fahrenheit of boiling water. The only way to kill the toxin for safe green bean storage is the application of intense heat during the canning process.
Make no mistake, hours of boiling in a water bath does not kill botulism. This means green beans must be processed in a pressure cooker to ensure no bacteria, specifically Clostridium botulinum is alive to breed and poison anyone that consumes the tainted canned product.
Related Post: Growing Black Beans
Canning, when done correctly, is one of a homesteader’s most prized skills, but when canning is attempted without knowledge of how to do it safely, it can make you and others with whom you share the bounty of your garden very sick. A contaminated home canned product can even kill.
Clostridium botulinum found in garden soil, is an invisible killer. You can’t smell, see, or taste it in the canned product, so you have no way of knowing if spoilage has occurred. Even a tiny taste can be deadly.
References
- Can Your Vegetables Safely, National Center for Home Food Preservation
- Let’s Preserve: Basics of Home Canning, Penn State Extension
- Home Canning: Keep Your Family Safe!, Food Safety
- Selecting, Preparing and Canning Vegetables, National Center for Home Food Preservation
- Protect Yourself From Botulism, United States Center for Disease Control















Those sweet gingered green beans sound lovely! I have never tried canning but would love to, your article is extremely helpful and informative!