I come from a large family. Blessed with parents, siblings, children, and grandchildren, I have baked a lot of birthday cakes. Until I discovered the creative world of cake decorating, my attempts were limited to sprinkling a bit of coconut, writing Happy Birthday with purchased decorative icing tubes, and adding a few candles — but no more. As an artist by pursuit and passion, I discovered cake decorating and haven’t looked back since.
If you’re new to the world of cake decorating, you may find all the various techniques and tricks intimidating, but with a little practice, you can be crafting your own sweet works of art in no time. Read on to discover some of my favorite basic cake decorating tips and get started making your own DIY specialty cakes for any occasion!
1. Invest In Some Quality Basic Cake Decorating Tips And Tools
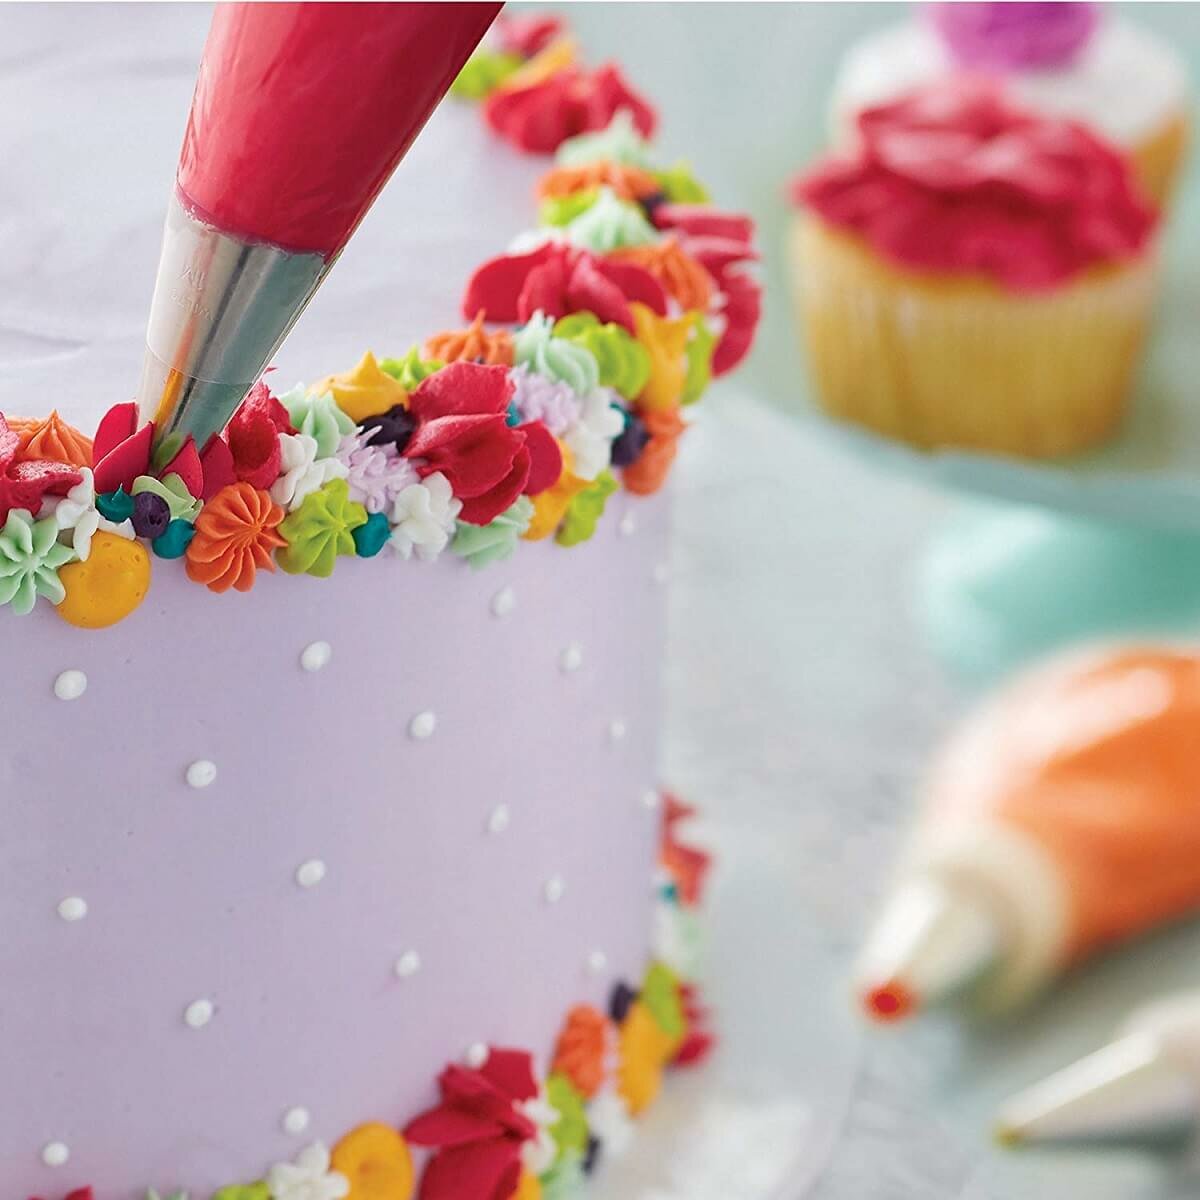
No matter if it is a homestead repair project or decorating a cake, it helps to have the right tools. The basic tools needed for cake decorating include a cake leveler, turntable, cutting board, reusable silicone piping bags, piping tips, couplers, measuring spoons, scrapers, and spatulas.
You will also need mixing bowls and small seal-able containers in which to store leftover frosting. If you make up more frosting than you need for that particular color or flavor, you can freeze it for up to three months to use on another cake decorating project.
2. Start With 10 Or 12-Inch Piping Bags
If you are new to cake decorating, a 10 or 12-inch piping bag will likely prove to be the easiest size to manage. Larger piping bags are cumbersome and somewhat awkward to handle. Choose smaller bags for detail, writing, or to create dots. If you have small hands, you may prefer to use only small piping bags. You will find them much easier to work with than the bigger sizes, but you will have to fill them more often.
Use decorating equipment that is sparkling clean and well maintained. Who wants to deal with a messy, dripping bag? To prevent problems when you purchase a new piping bag, remember to cut the bag to fit the coupler. If you are not confident as to where to trim the bag, start with a small snip, then adjust with an additional trim if needed.
3. Get To Know Your Different Piping Tips
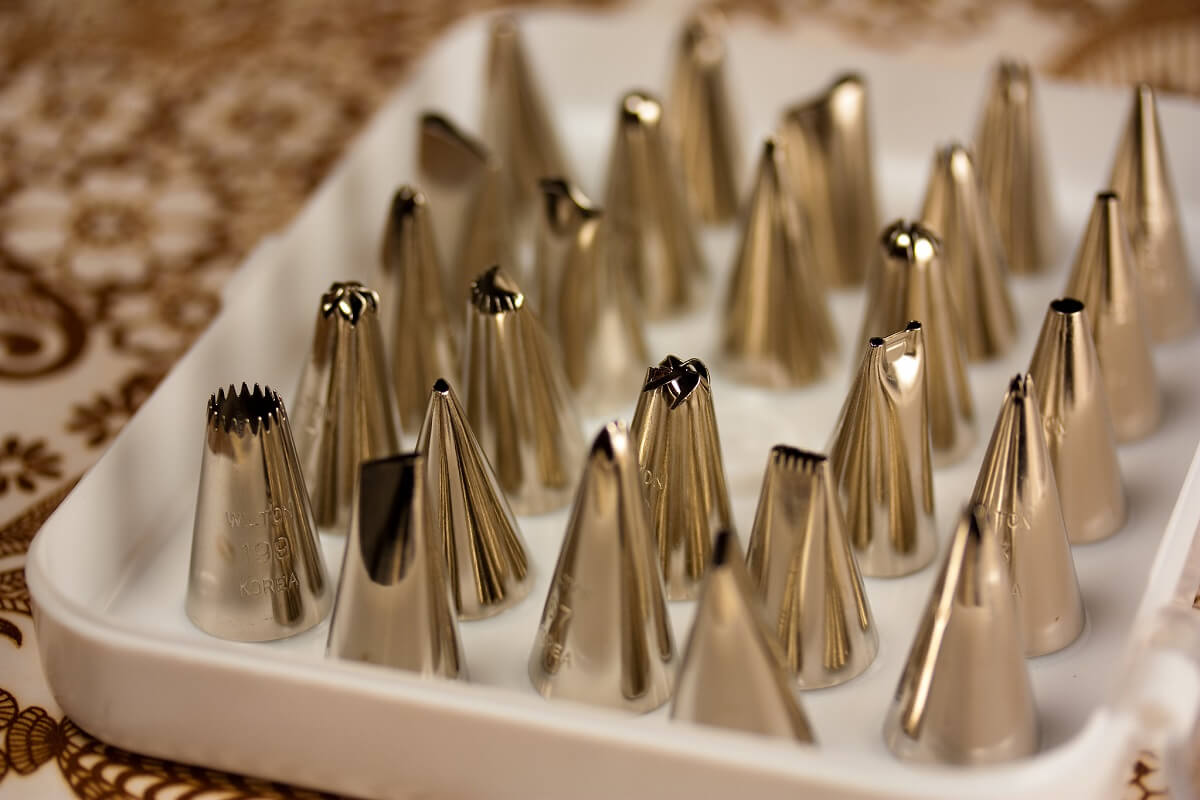
When you are ready to decorate your cookie, cupcakes, or cake creations, first choose the tip. Insert the tip into the coupler ring, making sure it fits snugly in place. You do not want it to pop off in the middle of a decorating project. If the tip is loose, it can be quite a mess and spoil a beautiful creation. Make it a habit to double-check that the tip is tight.
You will likely want an assortment of star, round, leaf, and petal tips as well as a few specialty shapes, couplers, and flower nails. Cake decorating tips and tools are available in both plastic and metal.
When you first get started, you don’t have to purchase all the different size tips available for your piping bags. A half dozen will get you started. Piping tips are sold individually or in sets so you can expand your tool set as you learn. Here’s a dream decorating set.
- Round 1, 2, 2A, 3, 4, 5, 6, 7, 8, 10, 12
- Star 4B, 14, 16, 18, 21, 27, 30, 32, 54, 199, 363
- Leaf 66, 67, 68, 70, 74, 349, 352, 366
- Ruffle 86, 100, 340, 353, 402
- Petal 101, 102, 103, 104, 125, 150
- Drop Flower 2D, 107, 109, 129, 131, 224
- Specialty 2B, 44, 47, 81, 83, 105, 233
4. Utilize A Bench Scraper
A thin scraper to smooth the edges until you achieve the desired thickness, is one of the handiest tools in cake decorating. Using a bench scraper takes a bit of practice, and the biggest trick is to rotate the cake while maintaining an even thickness in the icing.
5. Make The Job Easier With A Cake Decorating Turntable
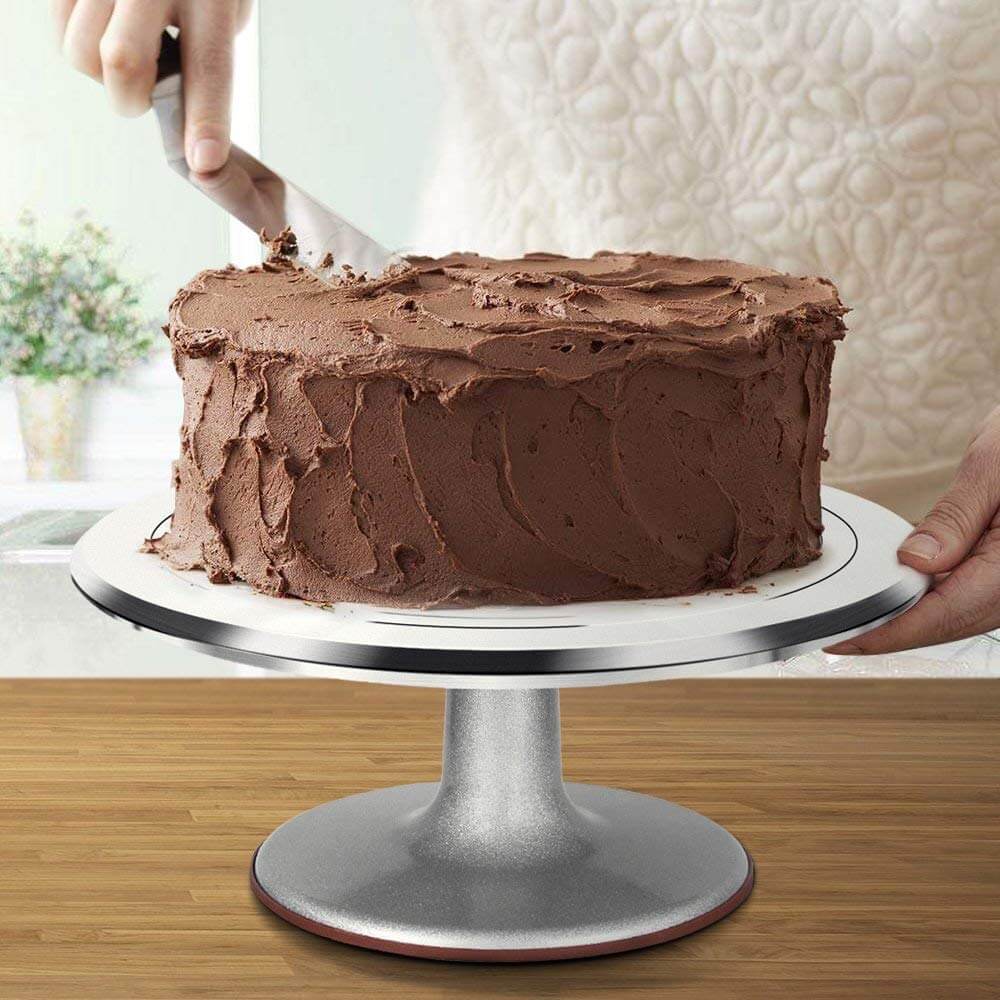
And while we’re on the subject of useful cake decorating equipment, consider investing in a cake decorating turntable. It will allow you to easily rotate your cake without risking an accidental smudge or scrap. Some turntables can even angle the cake and allow you to easily decorate it with a more accessible point of view.
6. Cool Down Your Cake First
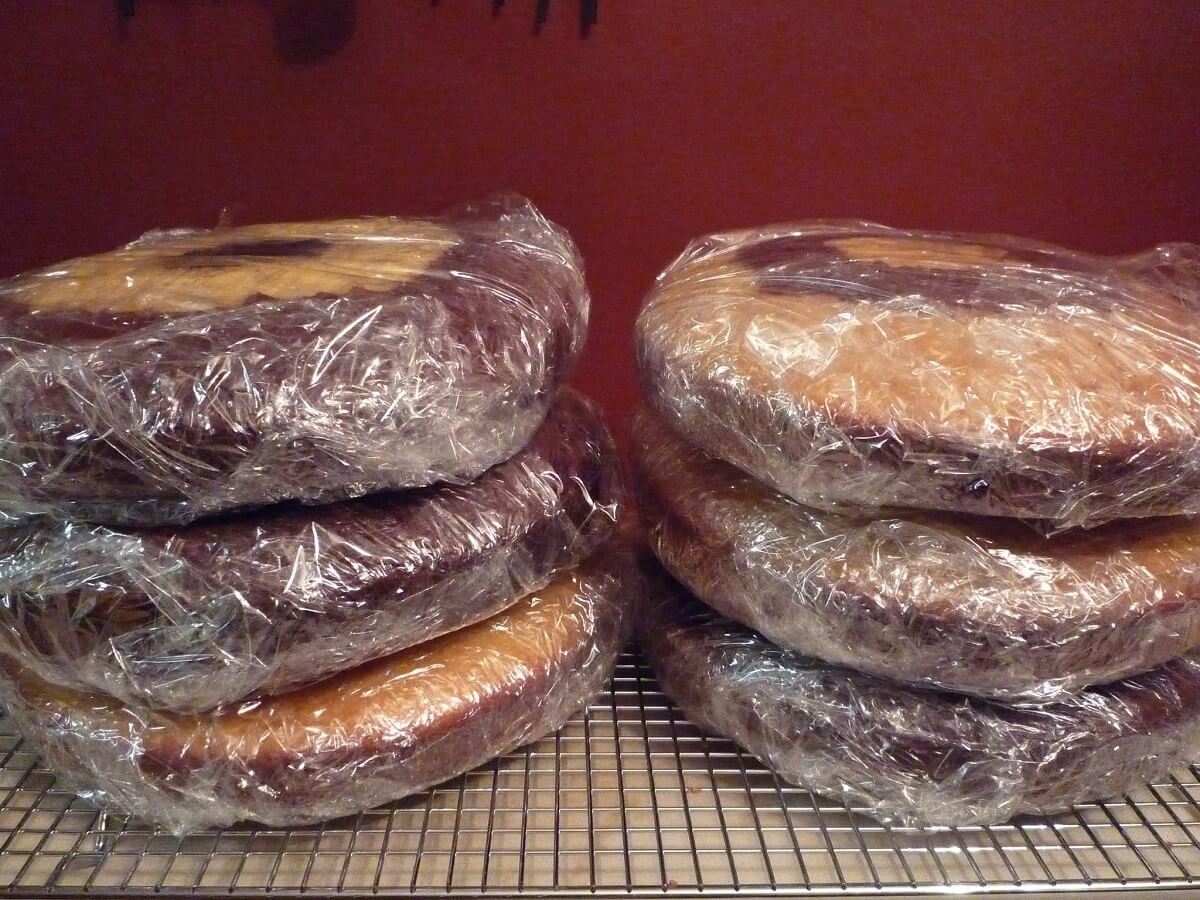
Starting with a cold cake makes frosting it a whole lot easier. If you plan to bake a cake and frost it the same day, placing it in the freezer for at least an hour creates a firmer surface.
I find it useful to bake several cakes, allow them to cool, level them, and then immediately double wrap them in plastic followed by a layer of aluminum foil (to prevent them from absorbing any flavors from the freezer).
Related Post: Root Cellars: The Original Refrigerator
I separate the cake layers with a piece of parchment paper to prevent layers from sticking together. I then use a marker to label every cake with its flavor and the date baked. The cakes can be stored in the freezer for up to a month and still taste like they were baked the same day I frosted them.
7. Apply A Crumb Coat
Cover your cake with a crumb coat — a thin layer of frosting to prevent loose crumbs from sticking while you work. First, stack the layers, and add your desired frosting or filling. Apply the frosting layer using a bench scraper, and then place the cake in the freezer for 30 minutes to firm before applying decorative piping.
8. Consider Your Icing Consistency
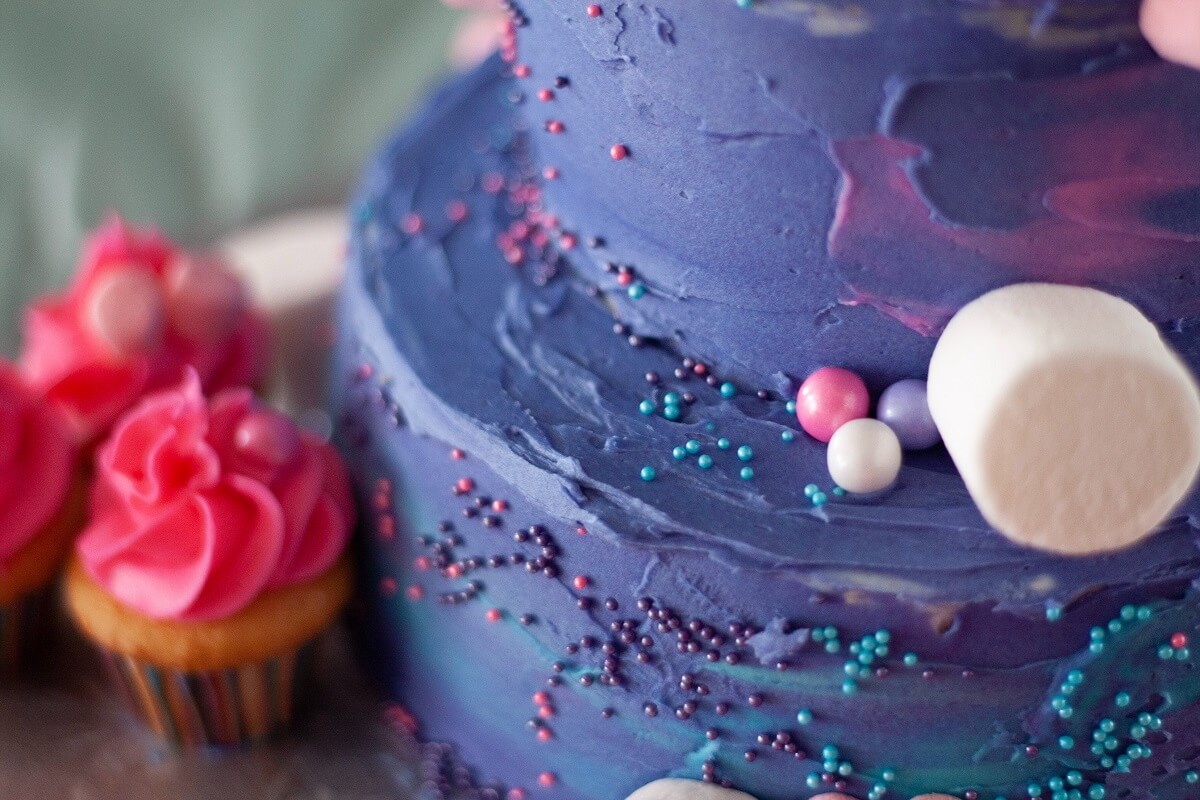
When I first tried my hand at cake decorating, I made a lot of beginner mistakes. I soon realized (one of many realizations) that accessing a correct icing consistency to execute a design was the most difficult task. Too thick or too thin produced disastrous results. I can’t stress it enough: Pay attention to the icing consistency.
Follow cake decorating instruction guides until you gain confidence. Instructions will specify a thin, medium, thick, or stiff consistency. Most beginners start out with a basic buttercream icing.
Related Post: How To Make Yogurt (And Why You Should)
If you want to thin buttercream icing, add a bit of liquid and blend. If you want to thicken the frosting, add a bit of sifted confectioners sugar. When adjusting your icing, do it in small increments, adding a tiny amount of liquid or confectioners sugar at a time until you reach the desired consistency.
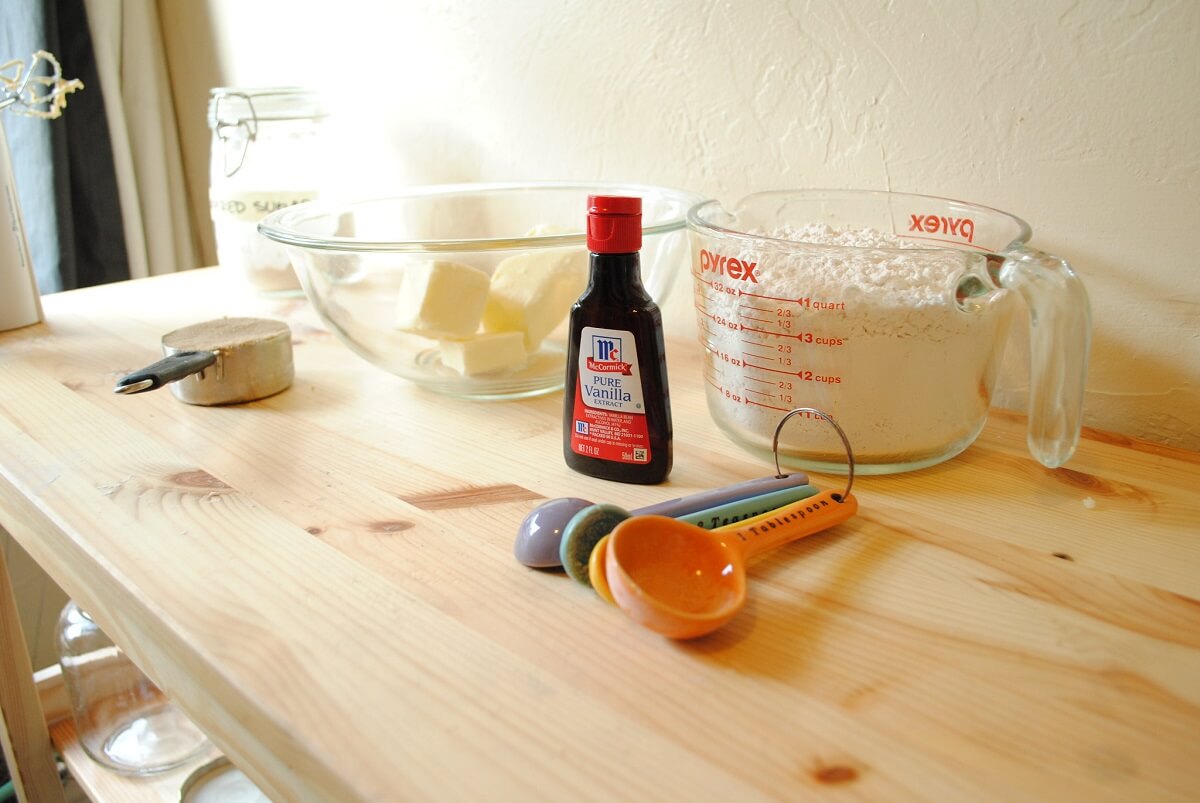
Here’s a basic guide for when you should use different icing consistencies.
- Thin Icing: Use a thin icing for leaves, dots, and writing. A tip with a small opening requires a thin icing. If your icing doesn’t flow smoothly when you do a test squiggle, you can tell it’s too thick.
- Medium Icing: For most piping you will use a medium tip. Icing piped from a thinner tip tends to lose its shape. When testing a medium tip, the icing should flow smoothly but not drip.
- Thick Icing: Best for making flowers and figures, a stiff icing is thick enough to stand straight up.
When filling your piping bag, fill it about halfway or below the fold line. As you unfold the piping bag, firmly push the icing down toward the tip. Use one hand to support the bag and the other to hold the coupler when decorating.
Do a few practice squeezes of frosting on a piece of waxed paper to release air out the end of the piping tip and to determine the amount of pressure required to achieve the effect you desire. A thin consistency icing requires a small amount of pressure. Stiff icing requires a firmer hand.
10. Start With A Basic Buttercream Frosting
While there are many recipes for buttercream frosting, I rely on a recipe for American Buttercream Frosting from the Pioneer Woman, Ree Drummond. The frosting is scrumptious and easy to use. If you like, you can make it beforehand. It will store refrigerated for up to three days or frozen for months. Find the recipe at Pioneer Woman.
Learning some basic cake decorating tips will allow you to become a little more self-sufficient in the kitchen while still crafting beautiful cakes that your friends and family will love. What are some tricks and tips you use when decorating cakes? Let us know in the comments below!
































Leave a Reply