Eggplants are one of my favorite fruits. I feel conflicted admitting that, however, as they’re one of the more challenging plants to grow on my dry Ozark hill. Since I don’t spray plants with chemicals or grow hybrids, any plant grown in my garden is devoured by flea beetles before it reaches maturity.
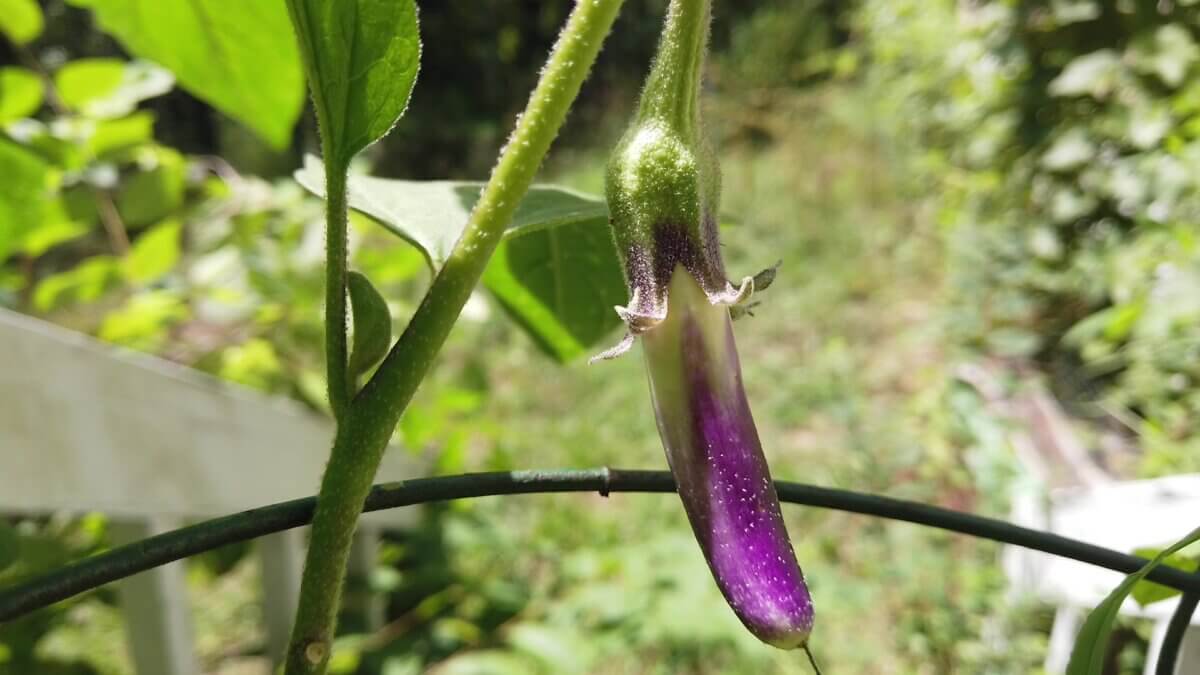
My best chance at eggplant success, then, is to grow them in leaky 5-gallon buckets on the porch, and baby them like the needy, prima donna princesses they are. Even so, whenever I see one of those jewel-toned, pendulous fruits finally emerging from beneath their large, scalloped leaves, I forget all the effort and feel thankful.
But getting eggplant to the table is only half of the porch princesses’ story. Every year, several of my hard-won fruits are never eaten. Instead, they’re allowed to ripen until they’re rock-hard, unpalatable, and a dull, brown shadow of their glossy, bright-colored neighbors. They’ll never be dinner. What they offer are seeds for the next summer.
If you, likewise, want to declare your eggplant seed independence, here’s how to grow, clean, and dry eggplant seeds.
First, Grow an Eggplant

While it’s possible to get viable seeds from many of the foods you eat, eggplants are not one of those foods. The tender, sweet eggplant that we enjoy in curry, stir-fry, and pasta dishes are completely immature with few, if any, seeds to be seen in their white flesh. This means that the eggplants you get at the store or farmers market are no good for saving seed.
The only way to save your own seed is to grow your own eggplants. If you grow one variety, you’ll not need worry about the eggplant cultivars getting promiscuous. If you grow more than one type, be sure to keep the varieties at least 150 feet away from each other to avoid cross-pollination (unless of course, you’re making a landrace and want them to mix it up).
As I briefly mentioned, growing an eggplant is a challenge for some — though these warm weather-loving plants are generally easy keepers, they can be susceptible to insect pests, especially flea beetles.
The organic way to completely protect my plants is to grow them at least 3 feet off the ground — i.e., on my porch in pots. There, they are out of reach from the ravaging little insects.
Allow Eggplants to Completely Ripen
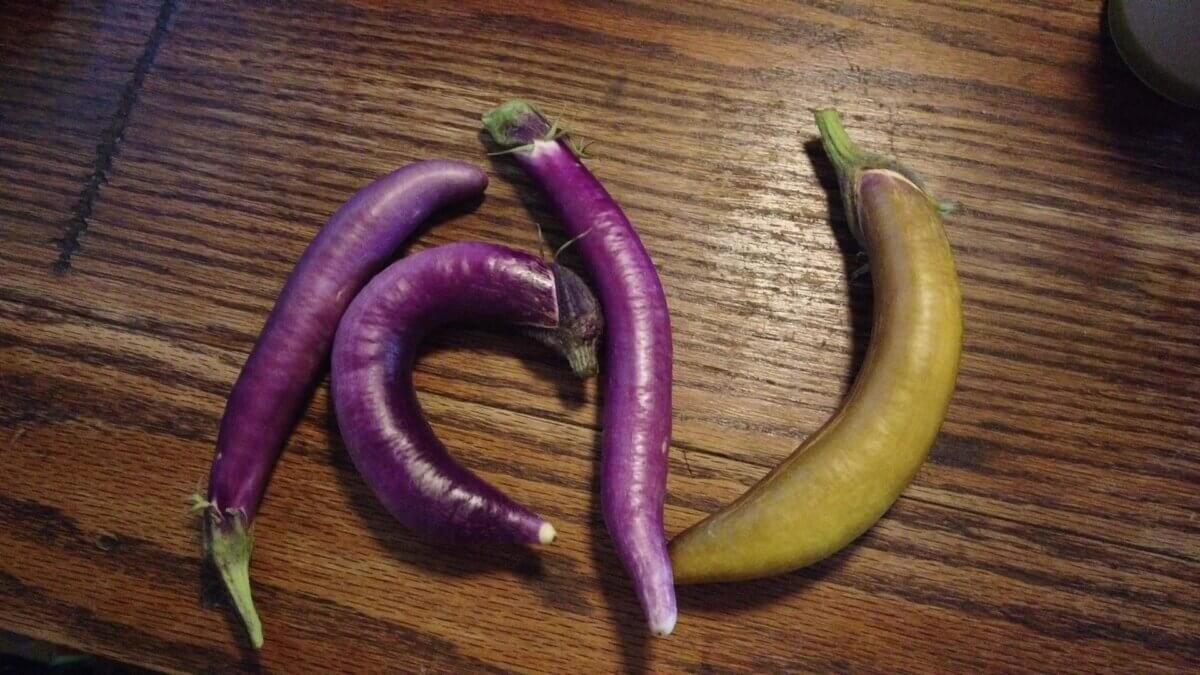
Once you have nice, strong eggplants growing some good-looking fruit, select a few of the best looking and leave them alone (try to save at least six fruits from six different plants, if you can). Mark them with a ribbon if you must, to keep anyone else in the family from accidentally snipping them for lunch. In order to harvest seeds, you have to let these select fruits grow until they are completely mature.
A mature eggplant ain’t pretty. Its skin becomes tough, loses its attractive sheen, and takes on a dull, matte finish. The color fades from its signature purple, green, white, or black and turns yellowish brown. Finally, the fruit loses any pliability and feels hard — as if it were carved out of balsa wood.
Once you’ve got a good, ugly fruit, you can finally snip it from the plant and bring it inside. You have work to do.
Free Seeds From Flesh
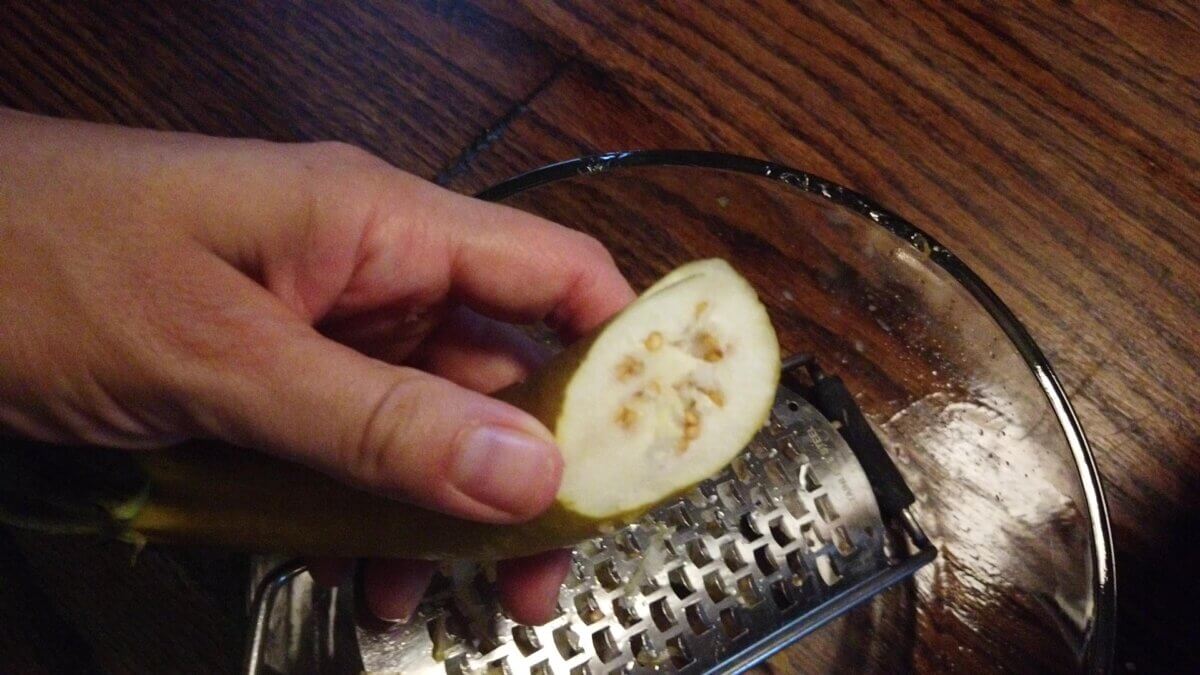
I suppose you could slice a ripe eggplant in half and hand-pick the seeds, but there are much better ways to use your time. My favorite way to separate the seeds from the (admittedly, somewhat nasty smelling) ripe flesh is to grate the entire eggplant into a bowl.
The tough seeds flick into the eggplant mush, nary a nick or scratch to be seen. They do have a tendency to fly a bit farther than intended, so do this activity on a table. That way you can retrieve any errant seeds.
Separate Seeds
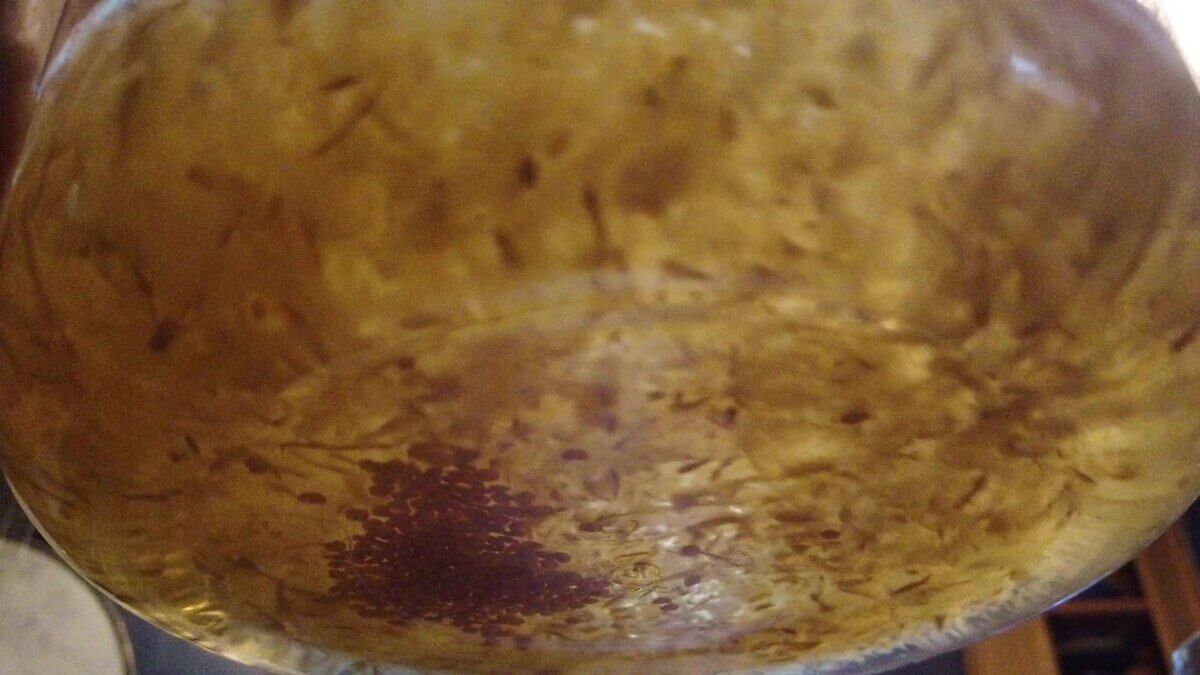
Now you’ve got a heap of eggplant mush in a bowl. If you fill the bowl with water, you’ll see that eggplant seeds — like many seeds — sink when they are ripe. Thankfully, the overripe pulp floats, making separating seeds as easy as skimming off the pulp (and throwing it to the chickens), draining the water, and continuing to rinse until all that remains is your treasure trove of damp eggplant seeds.
Dry Seeds
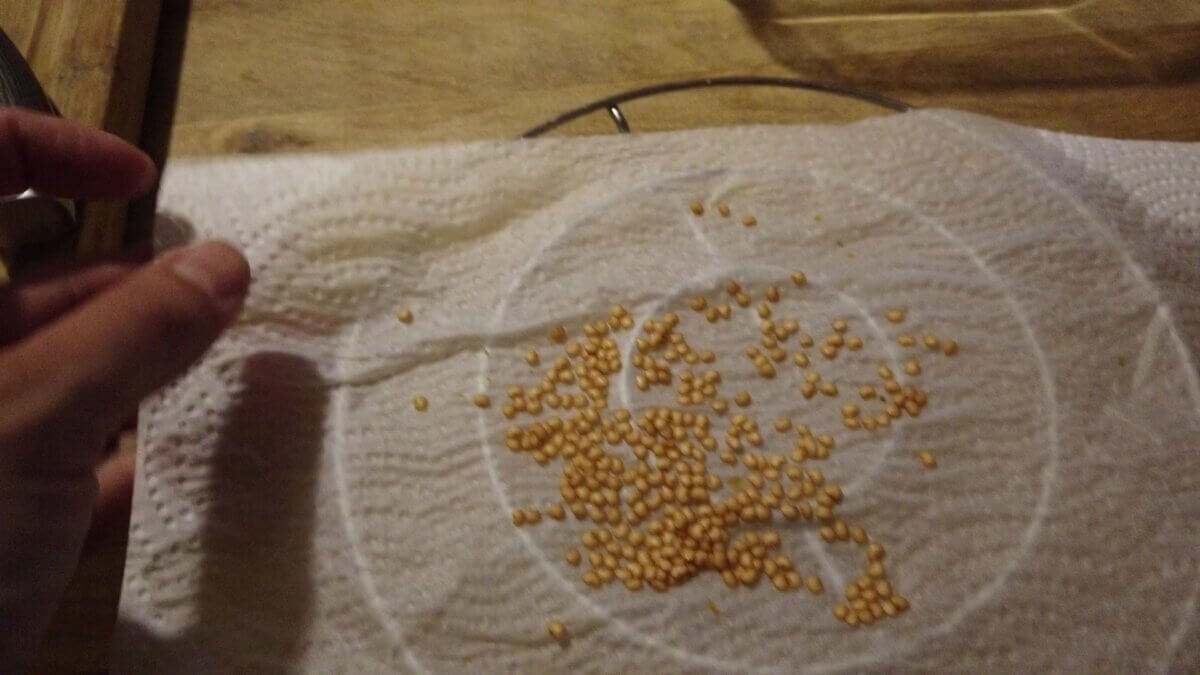
Of course, most gardeners know that seeds and moisture make sprouts, and that’s definitely NOT what we want these seeds to do (well, not yet, anyway). As soon as possible, place the damp seeds on a paper towel, and lay that paper towel on a drying rack to get air circulating.
Allow the seeds to dry for at least a week — though two weeks is better. They may look dry after a day or so, but you’ll want to make sure there is no trace of moisture hidden inside before you put them in storage. Seeds + moisture + a winter in a plastic bag = mold and disappointment.
Label and Store Seeds
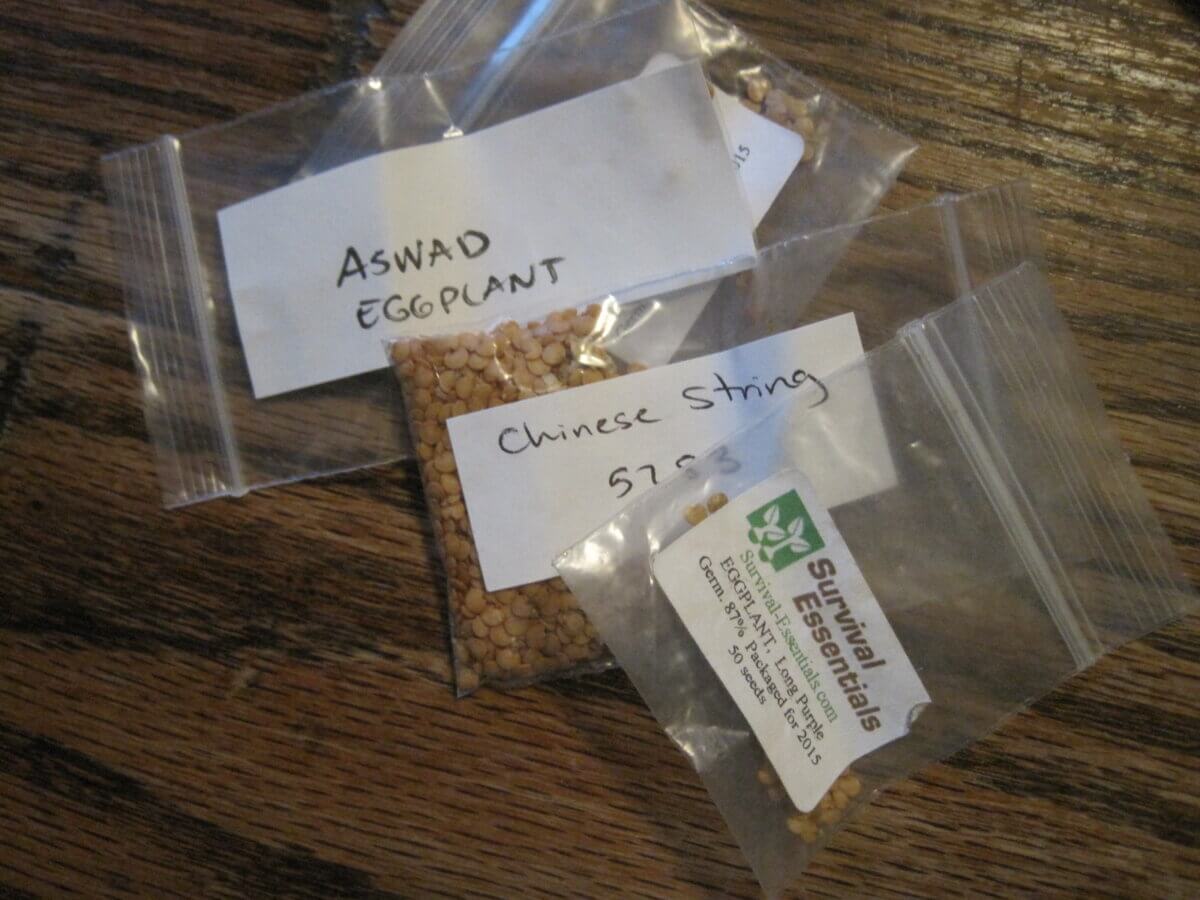
Once they are totally dry, put your seeds in a plastic bag or paper bag that is clearly labeled with the variety and date. Then you can slip them into storage until the winter passes, and it’s time to shake off our frozen doldrums and wake the garden in the spring.
Share Extras
If you saved seeds from six different individual plants (ideal for a good genetic mix), you’re going to have a LOT of seeds — far too many for next year’s garden. This is the secret bonus of seed-saving.
With your extra seeds, you now have “garden friendship currency,” as I like to think of it. For a seed saver, there’s truly nothing like taking your extra seeds and passing them along to someone who can use them. You may be able to share them with a neighbor or family member, make a gift of them to a new gardener, donate them to your local seed library, or as I like to do, use them to trade for other seeds at a seed swap. Whatever you decide to do with the extras, have fun with it!
Plant Seeds Next Year

All this processing and work only makes sense, of course, if those precious saved seeds make it out of their envelope and back to the dirt in the spring. There’s a special chord struck in a gardener’s heart when you take your own seeds (rather than bought), and watch life emerge. I hope you someday enjoy that feeling, now that you know how to save your own eggplant seeds.


























Leave a Reply