Who doesn’t love to admire a gorgeous bunch of flowers in bloom? I’m lucky enough to have a patch of zinnias still going strong in my garden — despite the chilly weather of late. If I could enjoy those flowers all year round, I would jump at the opportunity. Unfortunately, a freeze will soon kill off the remaining colorful button blooms and sap my garden of its vibrancy.
If you’re interested in preserving the beauty of some of your favorite flowers for years to come, pressing is an incredible preservation method that might be worth considering.

It’s an easy, budget-friendly strategy for keeping flowers around past their prime — whether for sentimental reasons or just because you enjoy them aesthetically. Below, you’ll find an overview of how to press flowers a variety of ways, along with suggestions for what to do with your newly pressed blooms.
How To Press Flowers 4 Ways
There are a few different strategies for pressing flowers. All of them involve flattening and drying your blooms. Keep in mind, however, that before you attempt to press any flowers with any of the methods below, the blooms you choose must be totally dry.
Related Post: Flowers From Garden To Canvas
The drying process can take up to a month, so remember this wait time before you need fresh-pressed flowers for your DIY project. Be patient with the drying time, and you’ll be rewarded with more vibrant and colorful pressed flowers than you would if you’d sped up the process.
Wooden Press
Supplies
- Wooden Flower Press
- Tissue or Wax Paper
- Paper Towels
Buy a wooden flower press ready-made or make one yourself to squish your favorite flowers into a 2D version of their former existence. A wooden press is simply two pieces of wood with bolts, wing nuts, and washers that can be tightened to press your flowers.
Use wrapping tissue or wax paper to contain your flowers and also cover the wax paper with something absorbent like paper towels (this sucks up moisture during the process).
You’ll replace the absorbent material regularly until the process is over. The layers are then placed between the press and weighed down. While your flowers will flatten easily, it will take up to a month for them to dry completely.
Microwaving
Supplies
- Unglazed Terracotta Dish
- Paper Towels
- Glass Bowl with a Flat Bottom
For those who aren’t interested in waiting a whole month to have pressed flowers at the ready, consider the microwave method to speed up the process.
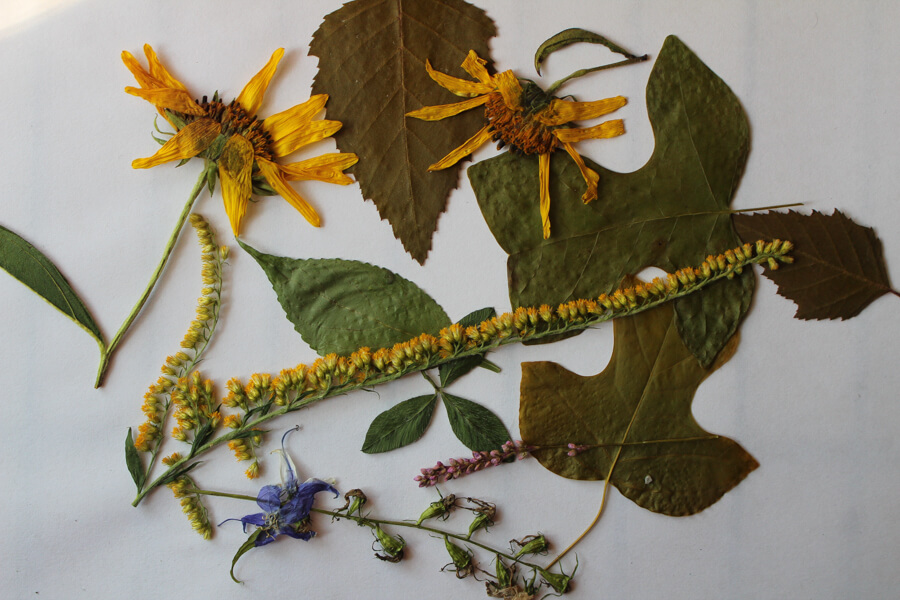
For this method, you’ll need an unglazed terracotta dish, a paper towel, a glass bowl with a flat bottom, and of course, some flowers. Place the paper towel on top of the terracotta dish, and arrange your flowers on the paper towel. Set your glass bowl on top of the arrangement, and microwave in bouts of 30 seconds.
Check to see if your flowers are dry after every 30 seconds before adding more time. Stop the process when your flowers are no longer damp and feel stiff. Don’t dry the flowers in the microwave entirely, though, because you’ll likely end up with burnt results. For more detailed instructions, check out this article from Crafting a Green World.
Ironing
Supplies
- Waxed Paper or Parchment Paper
- Tea Towel
- Iron
Ironing is an easy and efficient method for pressing flowers. Just be careful not to burn yourself! All you need is a roll of waxed paper, a tea towel, and an iron (along with your chosen flowers).
Lay down a sheet of wax paper and arrange your flowers on top. Cover the flowers with another sheet of wax paper, and then the cloth. Iron on a low to moderate setting. Don’t iron directly on the wax paper as your iron may become sticky and covered in residue.
Heavy Objects
Supplies
- Heavy Books
- Parchment Paper
Usually, heavy books are the objects used to press flowers. Most people, after all, have at least one clunky book sitting on a shelf in their homes.
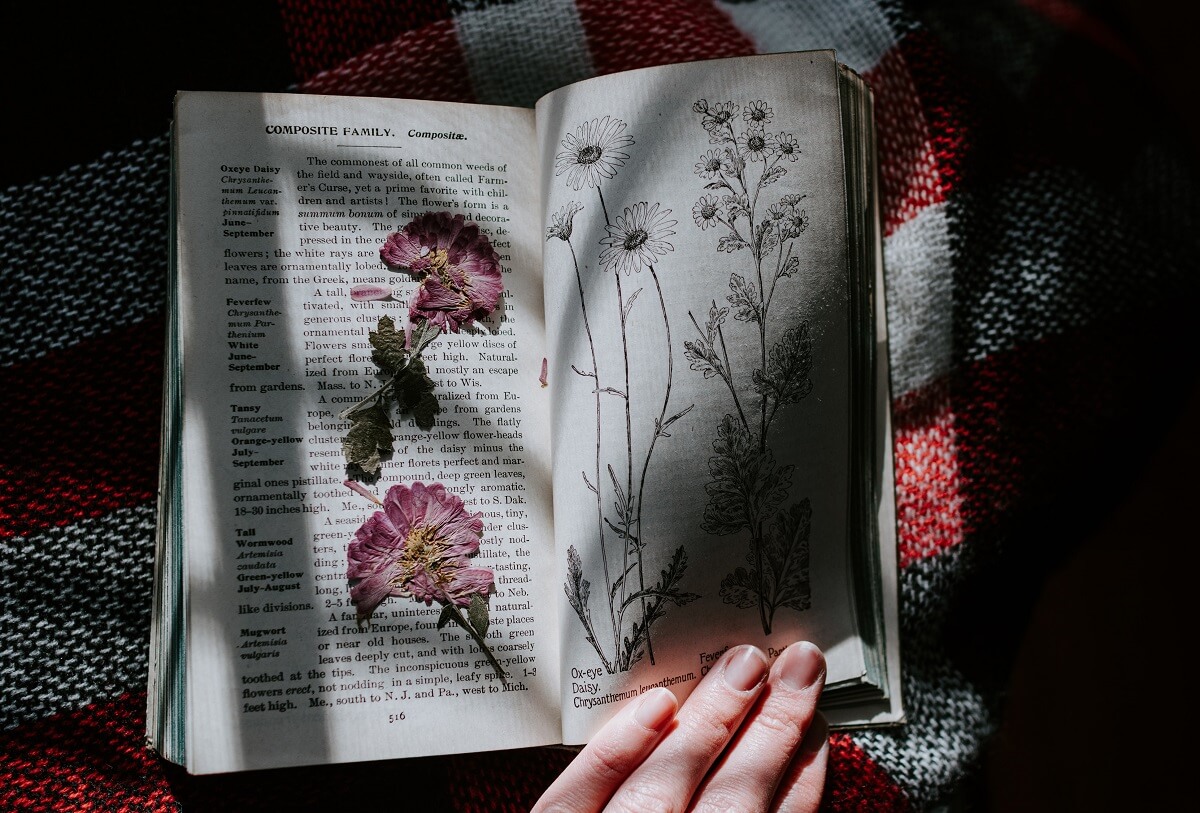
Pressing your flowers with books is largely the same process as using a wood press. As with the wooden press method, you’ll need to wait up to a month until the flowers are totally dry. Open the book somewhere toward the middle of the spine, and put a piece of parchment paper on the page.
Place the flowers on top of the parchment paper and cover them with another piece of parchment. Close the book and stack 2 to 3 more heavy books on top. Leave the books undisturbed for 7 to 10 days, and your flowers will be ready.
Paper Options For Pressing Flowers
Parchment paper or wax paper is often the pressing paper of choice, but any thin paper will work for this purpose. Paper towels can also be lined on top of the parchment to absorb any excess moisture.
How To Store Dried Flowers
Store flowers in airtight containers to prevent degradation. Don’t store in hot locations and keep out of direct sunlight. Sunlight is the enemy of dried flowers — regardless of the preservation method. It fades their color and damages the overall appearance of blooms.
Additionally, make sure that your flowers are completely dry before pressing them. Semi-dry flowers will not store well and degrade prematurely.
How Long Do Pressed Flowers Last?
Thankfully, your careful efforts will be rewarded. Dried flowers typically last up to seven years. Color may begin to fade depending on the flower and storage method, but that usually won’t happen for at least five years. Keep flowers longer by ensuring they’re not exposed to direct sunlight.
It’s almost impossible to preserve flowers forever, especially if they’re being displayed and will no doubt be exposed to varying degrees of sunlight. Freeze drying will keep your flowers the longest, and it’s an oft-used method for preserving wedding flowers. The technique preserves the color quite well.
Related Post: Homestead Stories: Growing Wedding Flowers
Air-drying is another possibility, but it doesn’t keep the original color as well.
The Best Flowers For Drying
Flowers with a naturally flat shape are the easiest to preserve using the pressing method. Thick blossoms are a poor choice for pressing since the petals usually have more moisture, making them difficult to dry and more prone to spoilage.
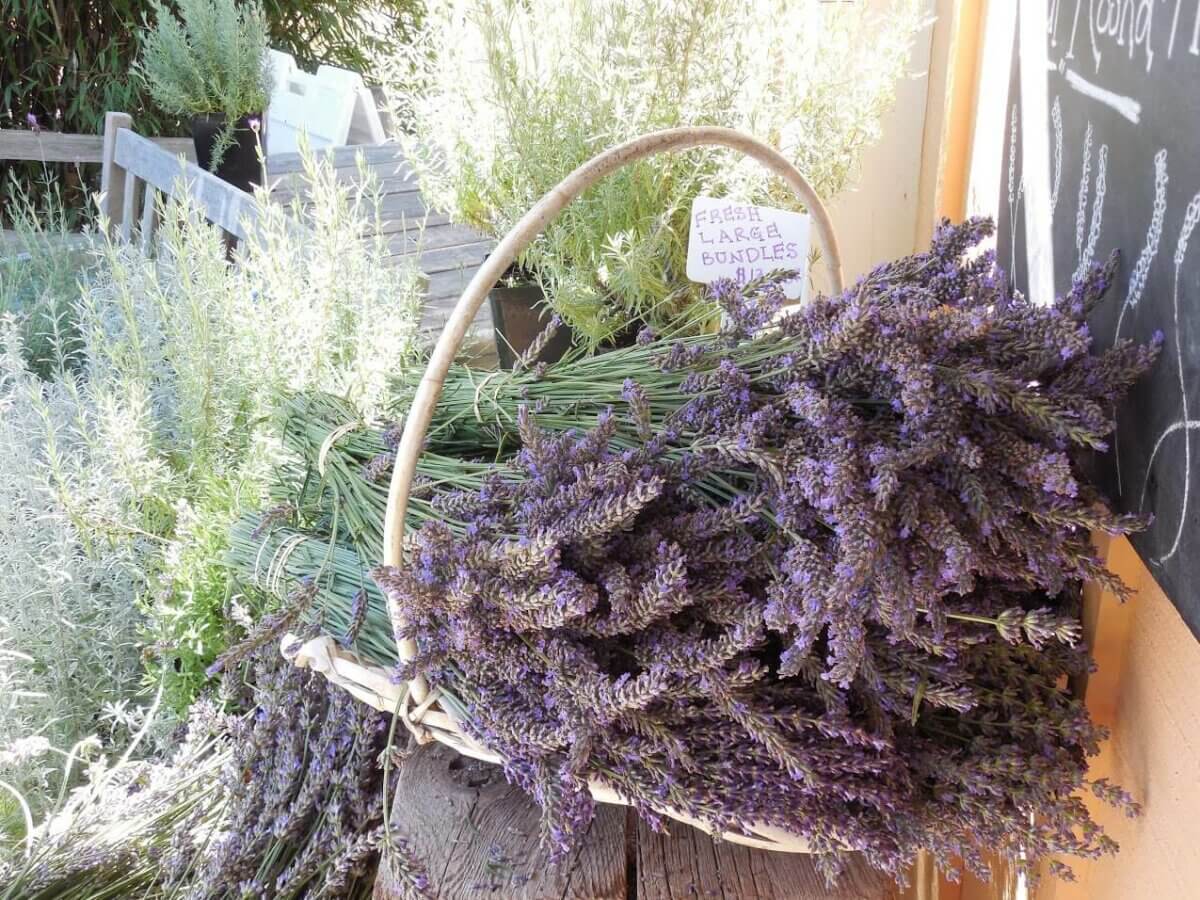
These are examples of flowers suitable for pressing.
- Cosmos
- California poppy
- Violets
- Daisies
- Lilies
- Roses
- Lavender
- Echinacea
How To Use Pressed Flowers
Wondering how to use your bounty of pretty pressed flowers? The options are endless but these ideas may spark your imagination and inspire you.
Framing
Use any of the methods mentioned above to press flowers for framing. All you need to frame pressed flowers are the flowers themselves, a frame of your choice, paper cut to size in a background color you like, white craft glue, and tweezers to help you arrange your flowers.
Crafting
The crafting possibilities for pressed flowers are vast. Use newly pressed flowers in a variety of crafts from candle making to jewelry. Incorporate them into crafts for kids or seasonal decorations (e.g., Thanksgiving table decor).
Scrapbooking
Decorate your scrapbook projects with pressed flowers. Add your favorite flowers to scrapbook pages as a beautiful accent to photos and other memories.
Art
Frame pressed flowers for display. If you’re thinking about building a gallery wall in your living room, why not incorporate a few framed flowers alongside eclectic found art?
Gifting
Use pressed flowers to create beautiful handmade wrapping paper when gifting to friends and family during the holidays. Create personalized birthday and greeting cards using homemade pressed flowers.
Culinary Use
Use edible pressed flowers to decorate dishes or trays of food for guests at your next gathering.
Beauty
Make soap or homemade body lotions and scrubs using pressed flowers to add a natural textural element and color.
Weddings
Use dried, pressed flowers to decorate for your special day. Add them to tables or use them as an eco-friendly alternative to plastic confetti when it’s time to walk down the aisle.
What are your favorite flowers to dry and press? Do you have a favorite pressed flower project you’d like to share? Leave a comment!

















Leave a Reply