Bone broth has recently come into vogue, showing up in health food stores and gourmet restaurants—for a pretty penny. Making your own bone broth is a simple and rewarding practice for a fraction of the price you’ll find on the shelves.
Bone Broth Basics
For homesteaders or hunters, bone broth is a wonderful thing to have on the table. Not only are you honoring the animal by making use of its bones, you’re also reaping the incredible health benefits of the bones themselves. Traditional knowledge tells us that bone broth is excellent for gut, bone, and dental health.
Bones of any livestock or wild game can be used to make broth, however people typically make bone broth with fish, venison, chicken, goats, sheep, or beef. The concept is straightforward: Add the bones to a heavy-bottomed steel or enamel pot, cover with water, add a dash of salt and a splash of vinegar, then simmer your broth for many hours.
Now that you have the basics, let’s get into the details!
Choosing Bones
When choosing the bones, it’s important to consider quality. Did you raise the animal yourself or catch it in the wild? If not, consider buying locally-raised pastured animals whose diet you can verify was free of hormones or antibiotics.
If you don’t have access to high-quality meat, that’s okay too. Bones from the supermarket freezer will still make delicious broth.
It’s worth mentioning that bone broth is not an appropriate place for freezer burnt meat from last season—sadly that flavor will linger on and ruin your hours of work.
I particularly like to include bones that have a lot of marrow in them, as they are the most nutritious and lend a lovely rich flavor to the broth. You can also save bones from spare ribs or other meals with bone-in cuts and use those bones again to create a tasty broth.
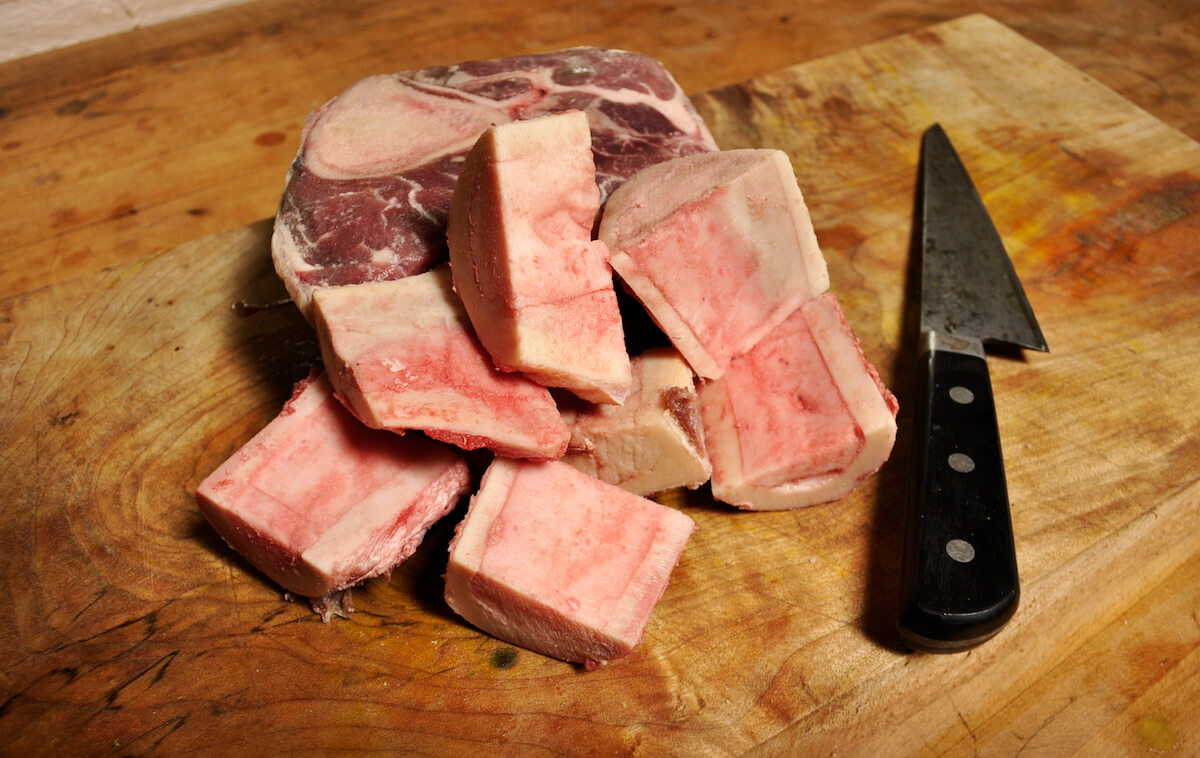
Finding bones is becoming easier in grocery stores, however getting them from your local farmer will fetch a better price and support your local economy. If you are working with an animal you’ve slaughtered, I always make sure to save room for the bones in the freezer as they are a real treat in the middle of a long cold winter.
Making The Broth
For a 4-quart pot, I use 1-3 lbs. of bone. Place these in the bottom of your pot, cover them with cold water, add salt to taste and roughly a tablespoon of apple cider vinegar. The vinegar is crucial because it helps extract more of the nutrients and minerals in the bones themselves.
Bring the pot to a boil and let it simmer covered for anywhere from 4 to 48 hours. For chicken bones, 4 hours is plenty, but for all other bones, simmer for at least 12 hours to extract the full health benefits into your broth.
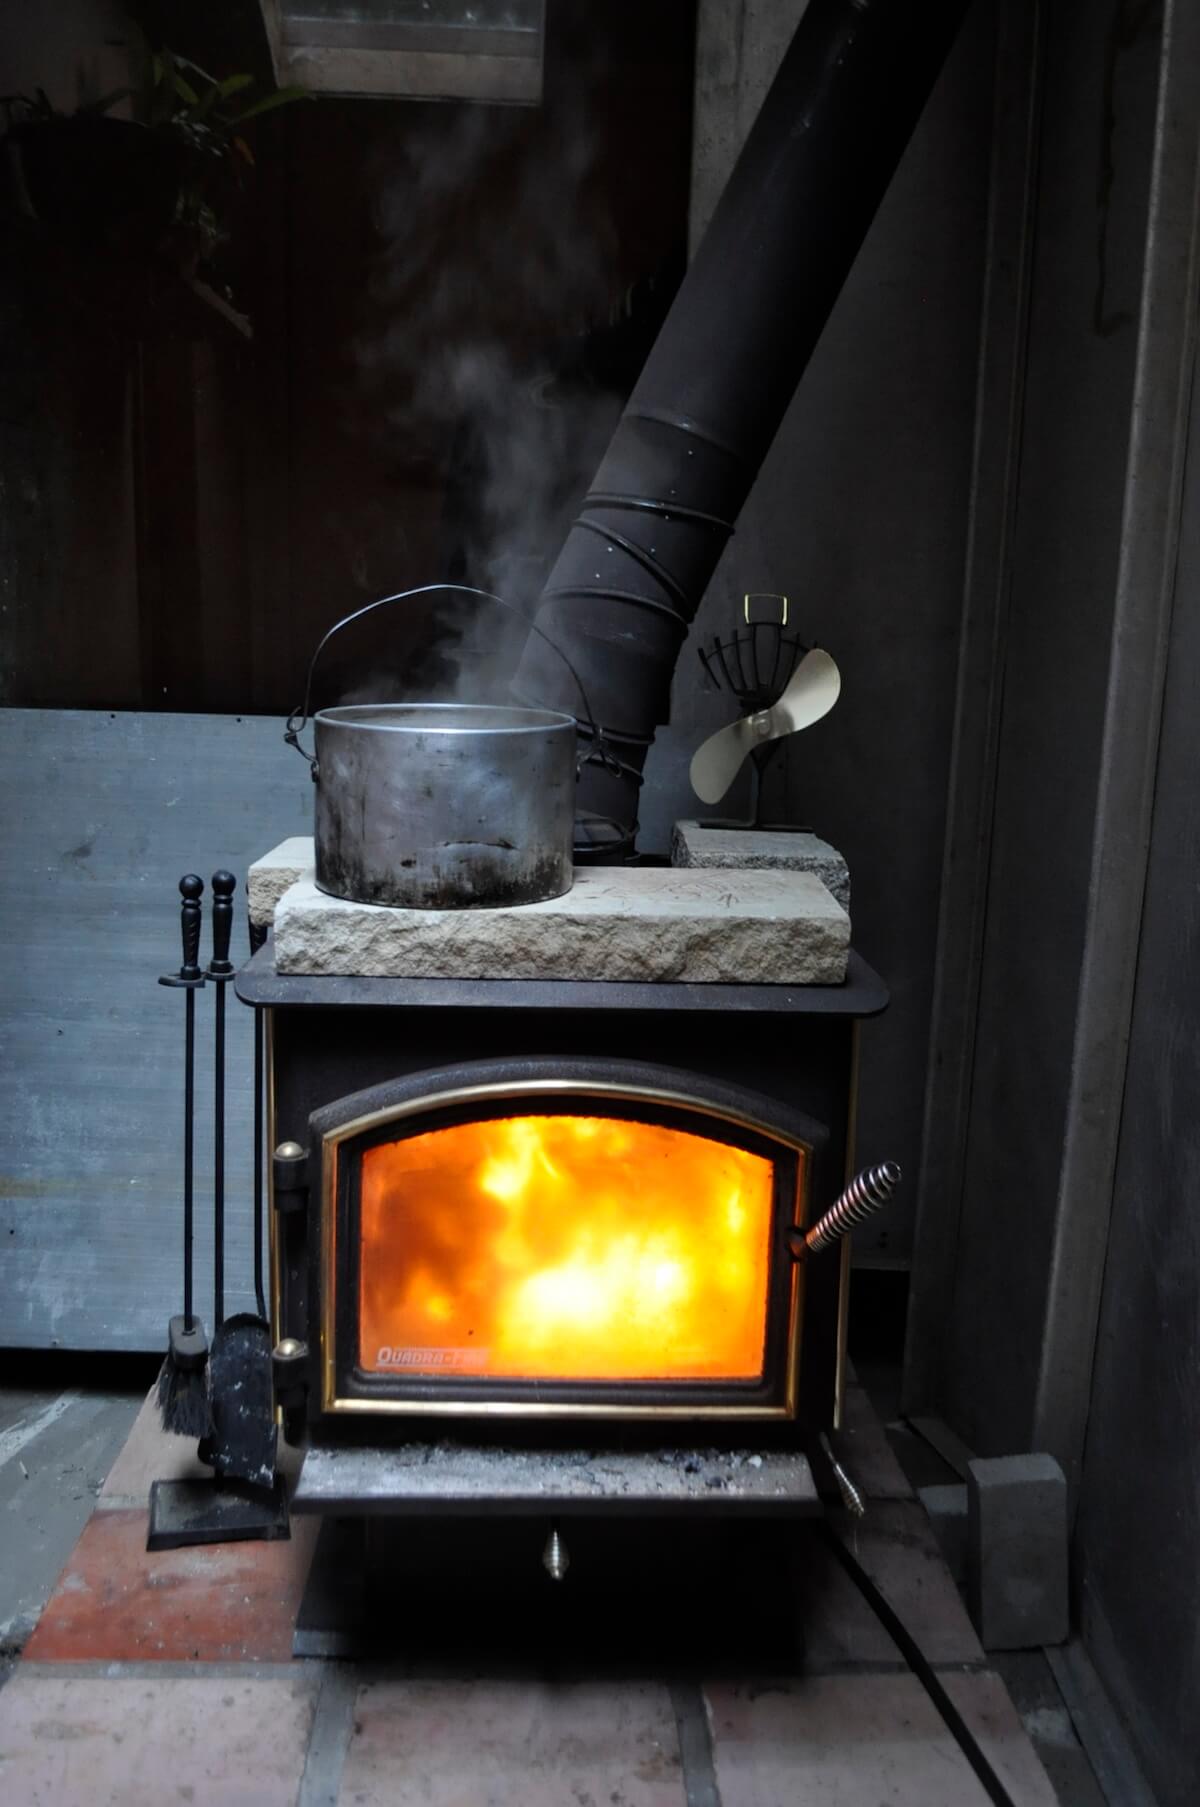
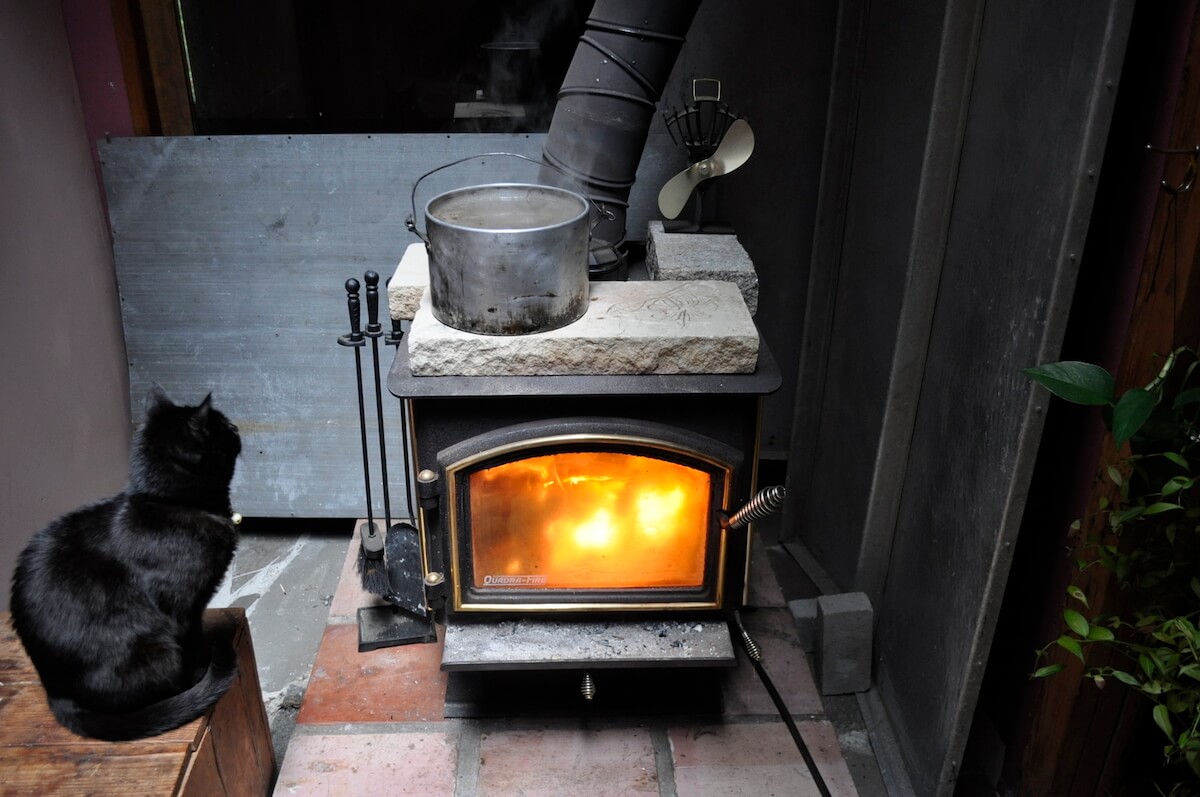
In my home, I bring my broth to a boil on the stove, then transfer it to the woodstove to simmer for about 24 hours . If you have electricity, it’s easiest to use a crock pot to make this delicious concoction, since you can turn it on and walk away without worry. I generally leave it on the low setting the entire time, you can also start it on high for a few hours, then turn it down.
Watching, Waiting, And Skimming
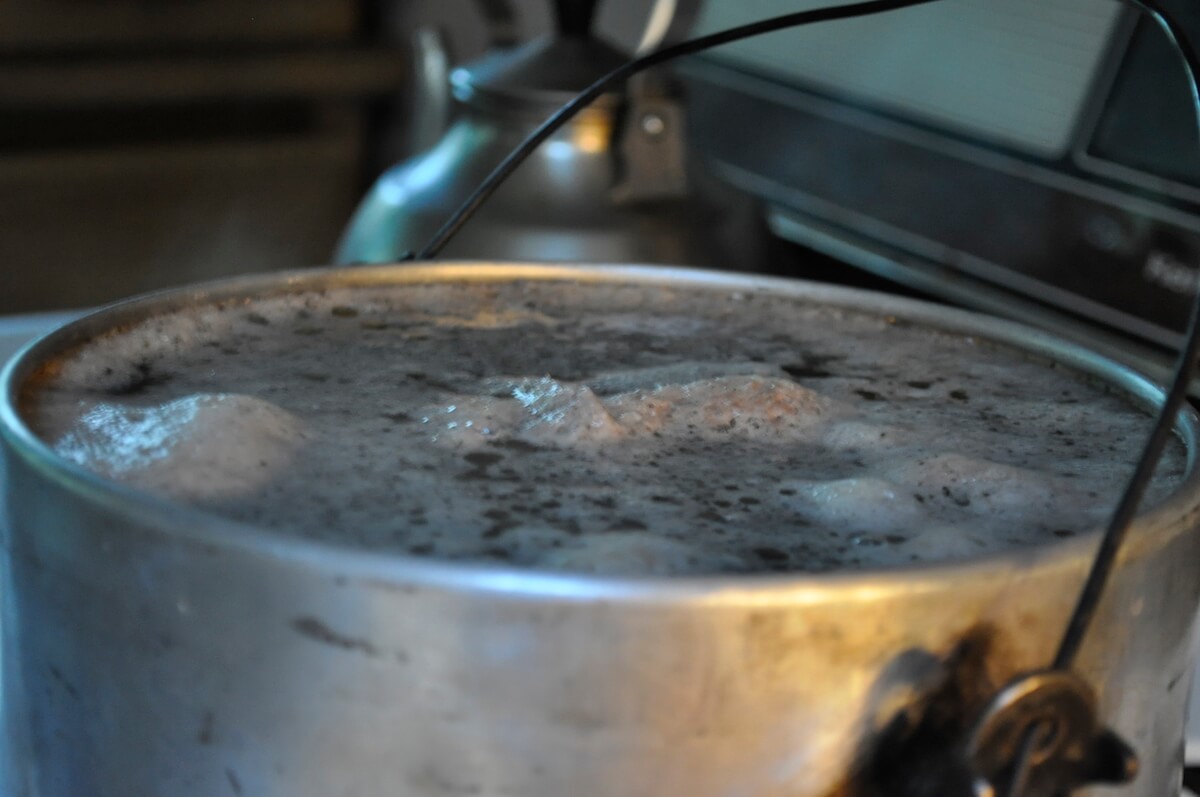
During the first twenty minutes of boiling, a foam will start to appear on the surface of the broth. This is completely normal, but it should be skimmed off or might cause an off flavor.
Simply skim off the foam with a spoon until you don’t see it anymore.
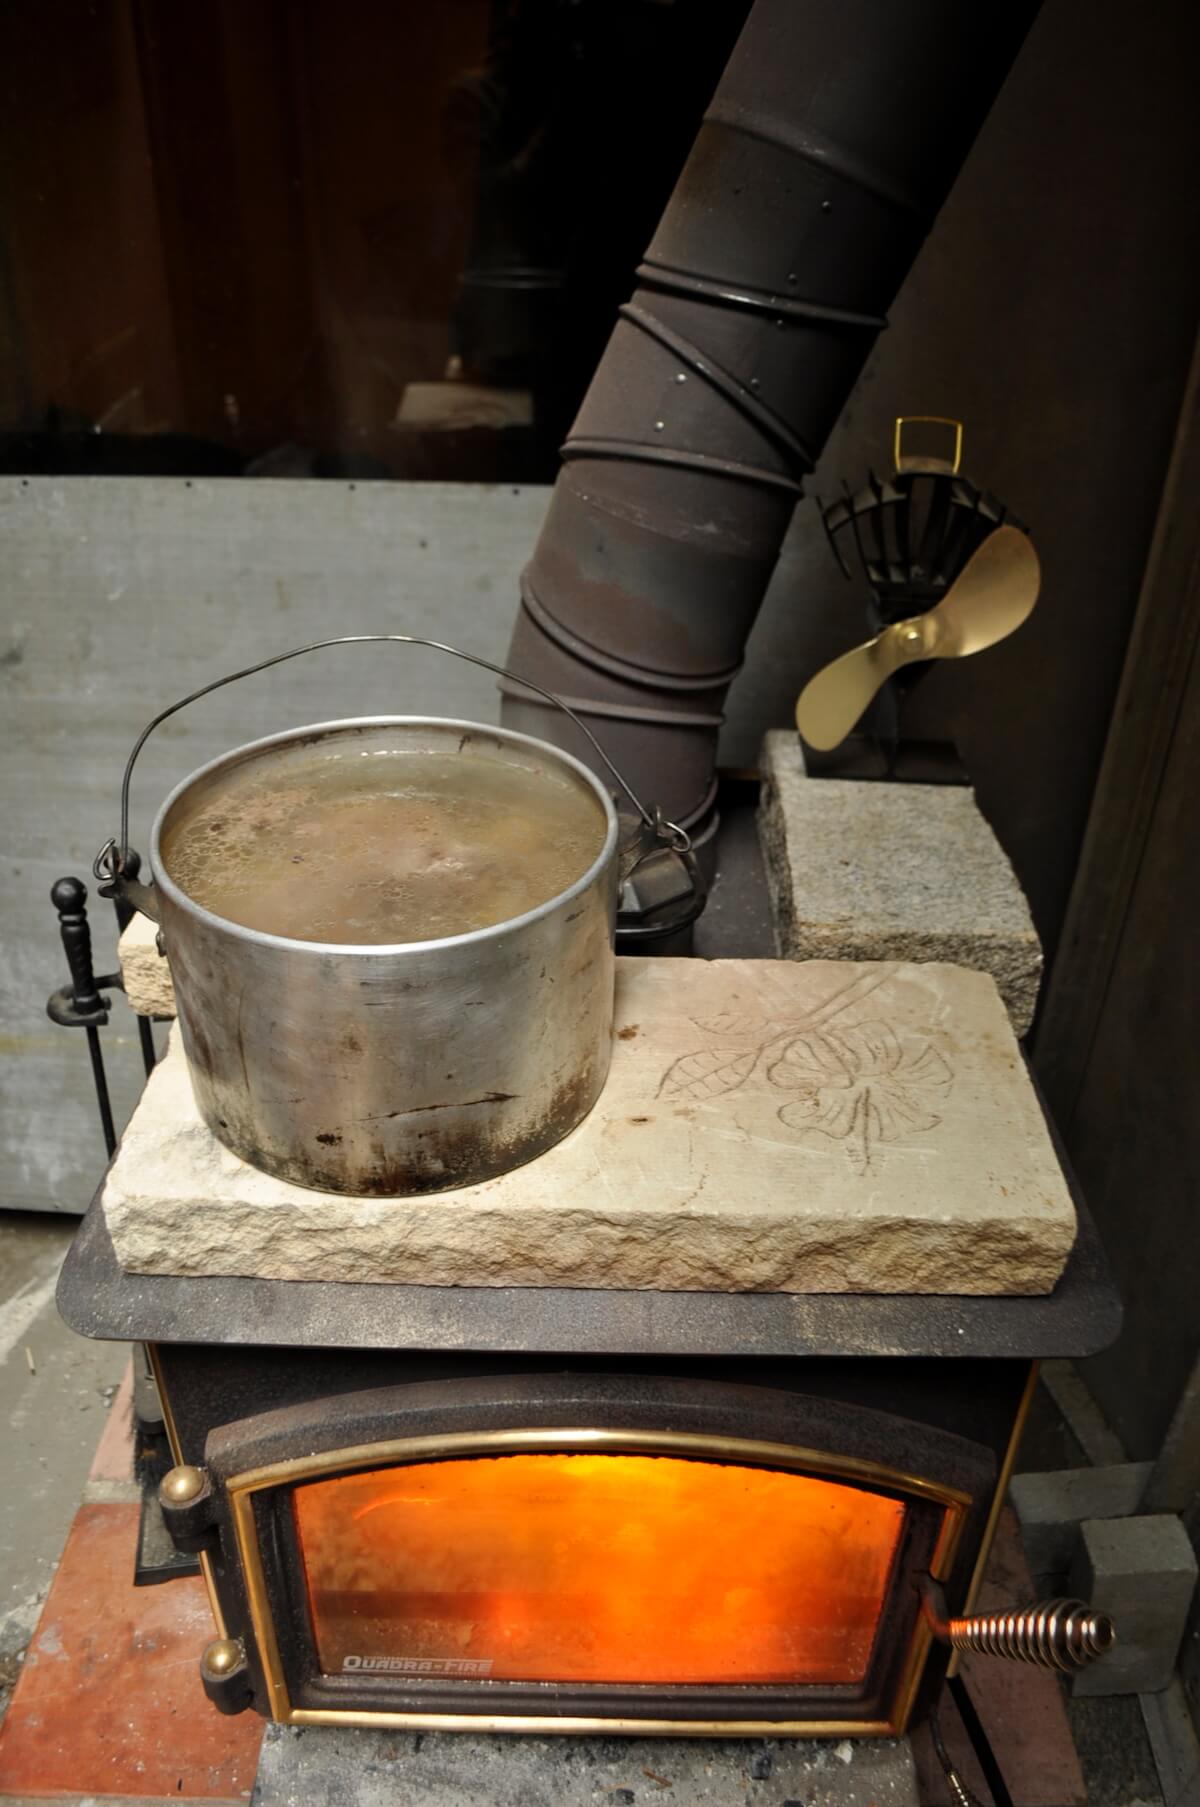
After the foam is gone, you should see golden bubbles of delicious fat starting to appear on the surface of your broth. This is a very powerful source of energy and very calming and relaxing.
Some people also choose to skim off the layer of fat, but my nutrition teacher, Betzy Bancroft, RH(AHG), advocates for the incredible health qualities of animal fat in our own bodies. Animal fats soothe wired and tired nervous systems, make for softer skin, and silkier hair. And on top of all that it tastes darn good—especially on a cold day. For more information on the health benefits of fat and bone broth, check out Sally Fallon’s classic book Nourishing Traditions.
Finishing Up And Eating
Once your bone broth has been simmering for eight to twelve hours, if there was any meat left on the bones, now is a great time to remove and enjoy that meat. It will be tender and delicious and make a nice addition to stir-fries or a sandwich.
While your broth is happily simmering, make sure it has enough water to keep the bones covered at all times so that the broth doesn’t burn. A burnt bone broth is a sad thing, considering how much time you’ve already invested!
When is bone broth done? Whenever you decide it is? The longer you simmer, the more it will reduce, and the richer the flavor will be. But, you’ll have less to use.
Bone broth makes a fabulous base for other soups or for adding to rice or beans in place of the water used. This will add a rich and earthy flavor to your foods and wow all your friends.
Of course you can drink it just as it is too. There’s nothing like a hot steaming mug of bone broth in the morning.
It is also traditionally used as a base for ramen dishes in Japan and pairs wonderfully with a dollop of miso paste and scallions. If you’re going to add spices or vegetables to your broth while it’s still simmering, I like to wait until the last 2 hours to preserve the fresh flavor of those plants.
Once you’ve come to your set amount of cook time, strain the broth and transfer it into glass jars. I tend to keep a quart in the fridge for cooking with and place the rest on the freezer for later use. If you’re going to freeze your broth, make sure to leave an inch of room at the top so that jar doesn’t explode when the liquid expands during freezing.
There you have my secret recipe for bone broth. I hope you enjoy and make lots of healthful soup!












Leave a Reply