If you are a gardener, chances are you’ve grown tomatoes. There are few plants more adored and widely grown across the gardener landscape from carefully watered patio pots, to the sprawling volunteer emerging from the compost pile, to the ruby-studded plants staked out in the back 40.

But I would guess that while the percentage of gardeners who have grown a tomato is close to 100%, the percentage of people who have saved tomato seeds is much smaller.
Let’s get to changing that. Saving your own tomato seeds is a great way to help the novice seed-saver “cut their teeth,” and it’s as rewarding as it is easy.
Here’s the process in 12 self-sufficient steps.
1. Grow a Tomato Plant (Optional)
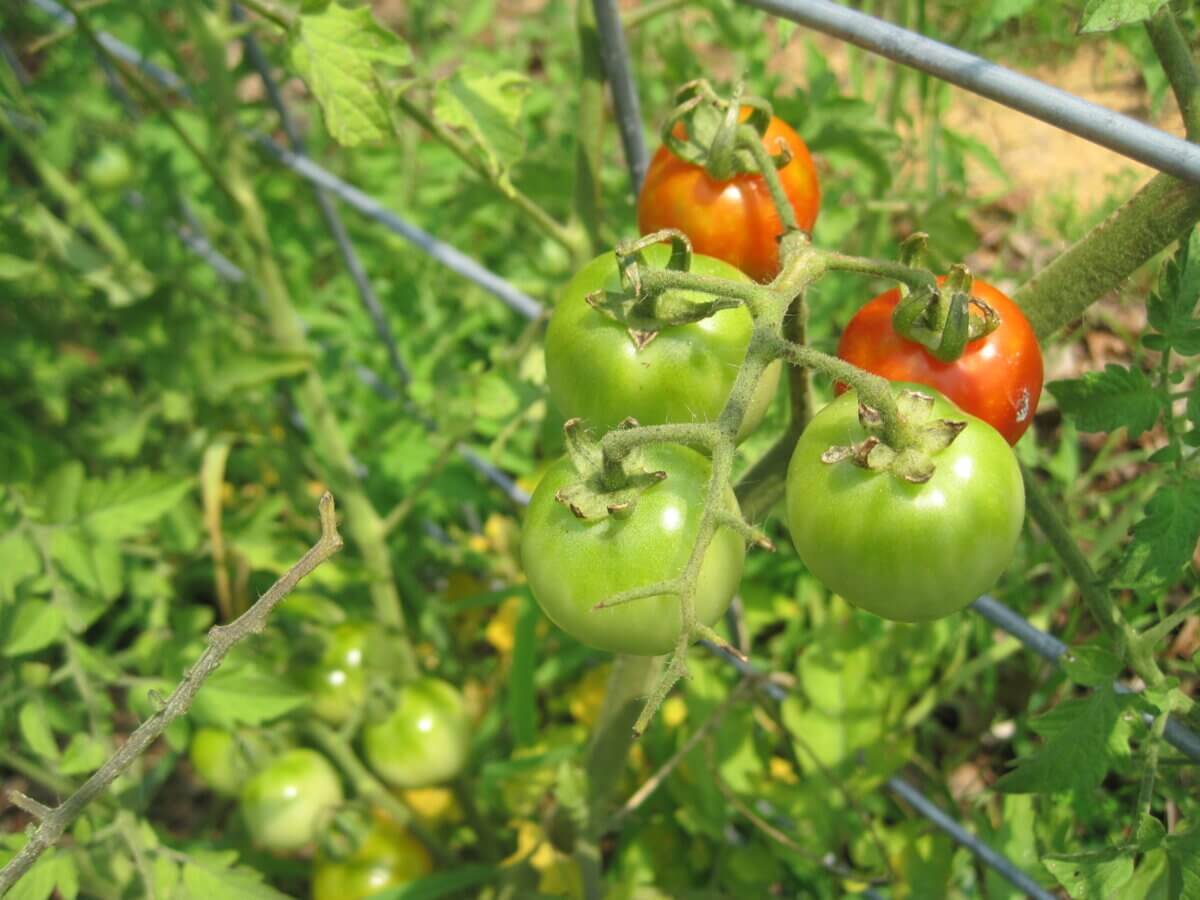
Seeds must be harvested from mature fruits. In the case of plants that we eat in their infancy such as eggplants, cucumbers, and zucchinis, you have to grow your own to reap seeds from the rather inedible, final form of the plant in question. But when it comes to tomatoes, the desirable fruit is the mature, ripe fruit (green tomatoes being a notable exception, of course). Viable seeds may be harvested from any ripe, final-color fruit.
If you’re growing your own and want pure seeds, you’ll have to make sure to only grow one variety of tomato. Otherwise, if you have the space, be sure to grow different varieties at least 35 feet apart. Take note: If you’re growing currant tomatoes, they need to be at least 150 feet from any other tomato.
2. Get Several Ripe Tomatoes
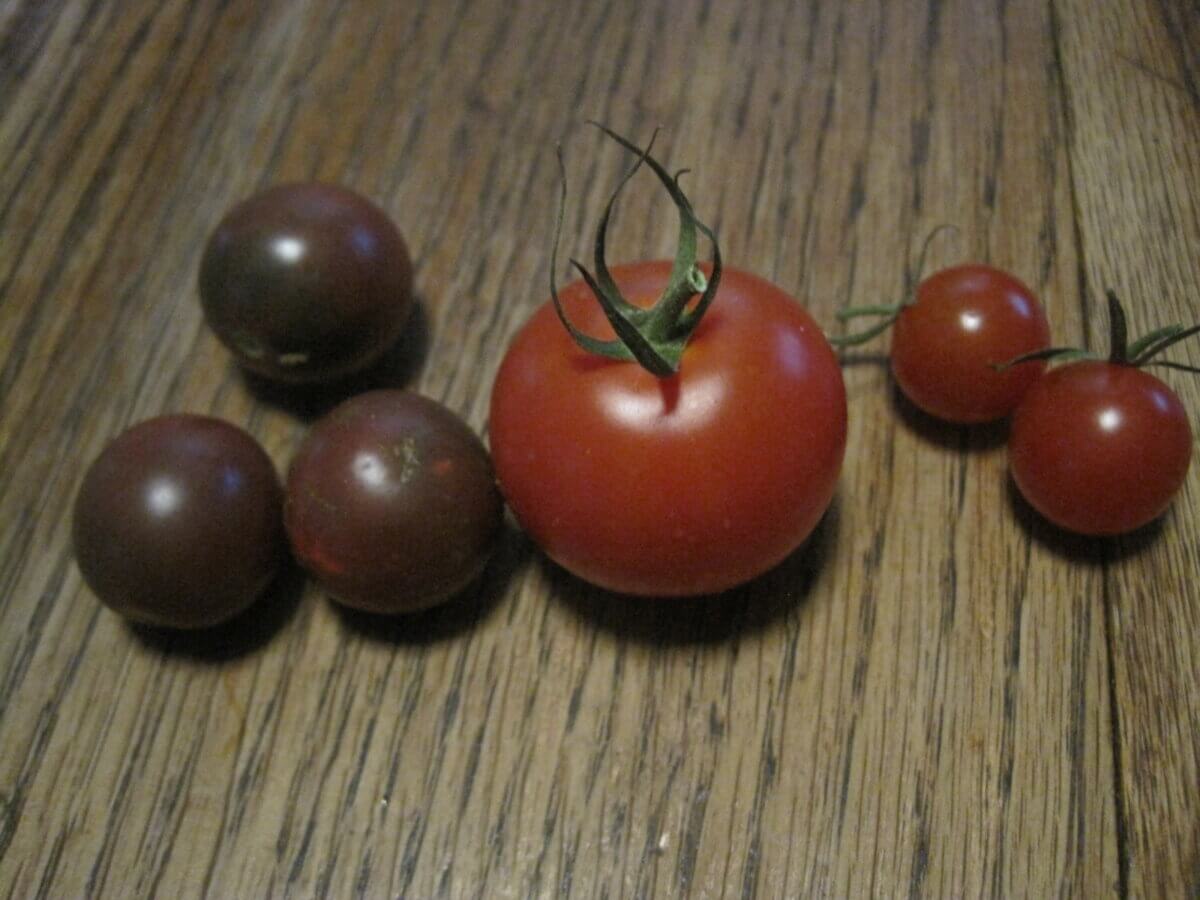
However you come by them, in order to have ripe tomato seeds, you need ripe tomatoes. If you’re growing your own, pick the best-looking fruits from the best-looking plants. Ideally, you’d want at least six different tomatoes from six different plants for a baseline of genetic diversity.
If you’re trying to save seeds from a supermarket tomato, I would caution against it. Many are hybrids that will give you unknown results, and some of the hybrids will have been tampered with genetically (some tomato seeds occasionally sprout within the fruit, which is something that natural tomatoes shouldn’t do). There are even GMO tomatoes being sold in stores. You’re much better off getting some from a gardener or growing your own.
If you’re saving seeds from an heirloom tomato either given to you by a friend or bought at the farmers market, it’s also possible that they’re hybridized, but they will likely have hybridized naturally. These will still be genetic wildcards that may just make an amazing tomato.
3. Slice in Half and Squeeze
Tomatoes have several parts beneath their thin skins — the meaty, delicious flesh, and the seed cavities full of translucent, gel-like sacks and seeds. The easiest way to access the seeds is to simply cut the tomato in half across the middle (with the blossom end on the bottom and the stem end on top). This method will expose the majority of the seed cavities.
Then, squeeze the tomato over a jar. The seeds will flood into the jar, leaving the meaty flesh behind. The nice thing about saving tomato seeds is the flesh is, obviously, still completely edible. It may not look pretty, but you can easily throw that now-seedless tomato into sauce, or in a slightly ugly and totally tasty salad.
Repeat the process with the rest of your selected tomatoes.
4. Add a Bit of Water, Stir, and Cover
You now have a jar full of tomato seeds — but there’s a problem. As is, they’re all trapped within a jelly-like sack full of germination-inhibitor. This material is important, as it keeps the seeds from sprouting when they’re still within the watery innards of the tomato. To get these seeds dry and shelf-stable, we need to set them free from their translucent prisons.
There’s a natural method for this, thankfully, and one that tomatoes use themselves in the wild. When a tomato fruit drops to the ground, it rots. That bacterial activity destroys the sprout-inhibitor, and allows the seeds to do their thing in the soil. We’re going to do a controlled version of that as we ferment the pulp to set the seeds free.
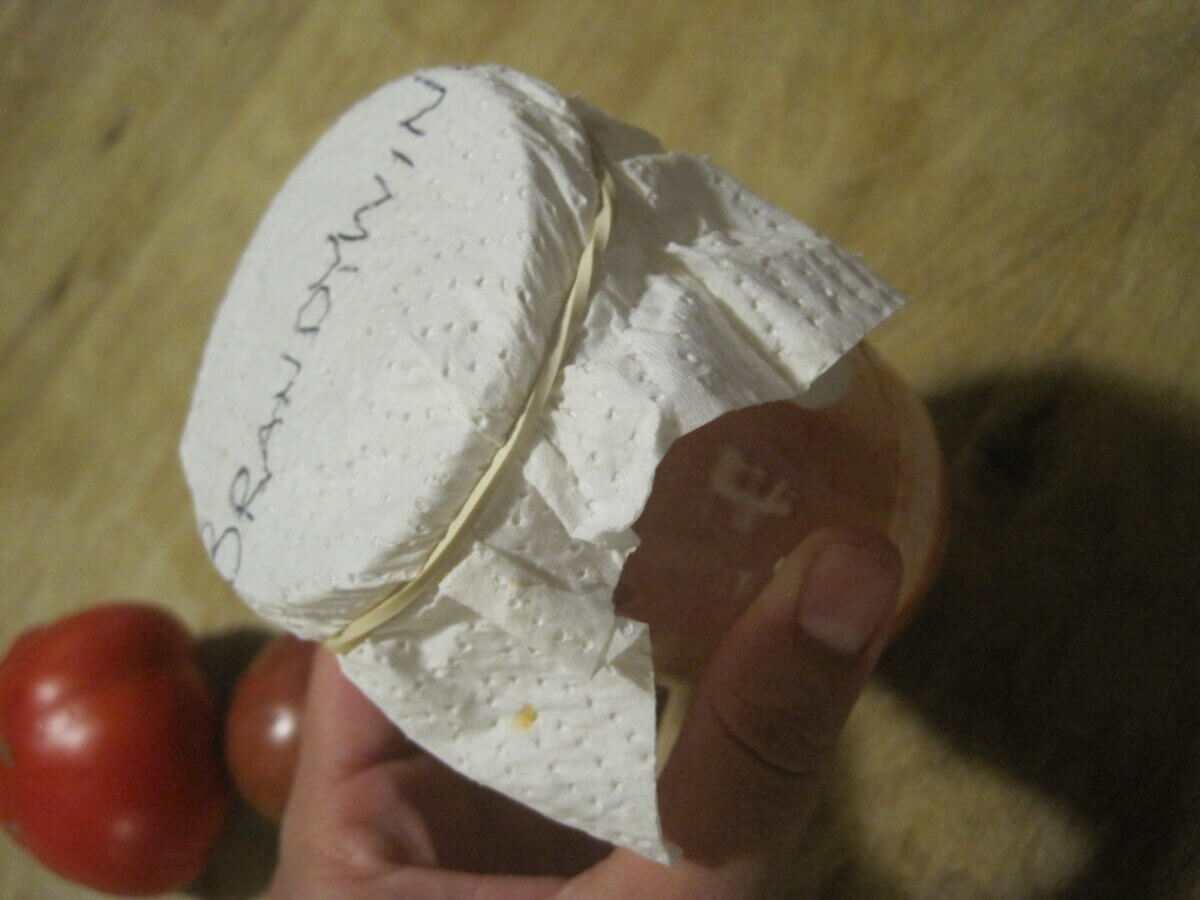
Add about a quarter cup of water to your jar and stir. Then, cover the jar with two layers of paper towel secured with a rubber band (this keeps out fruit flies, who absolutely adore fermenting tomato seeds), and put it someplace you’re not going to forget about it — the kitchen counter is ideal.
If you’re growing and processing the seeds of more than one variety of tomato, be sure to label each jar with the variety name — tomato seeds look pretty much the same once they’re free from the fruit.
5. Let the Seeds Sit and Ferment
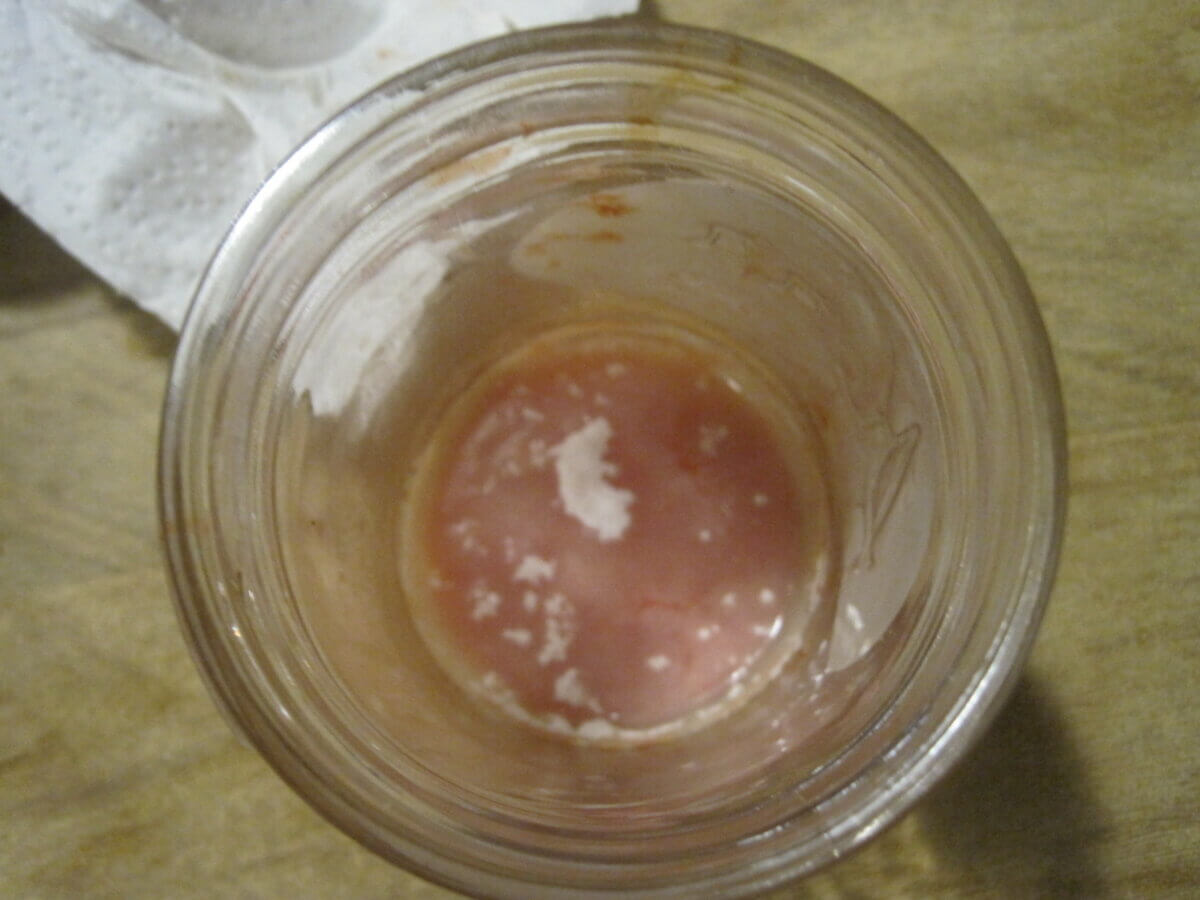
I should warn you, fermenting tomato seeds don’t smell good. In fact, they smell downright repulsive. But even though your nose may be offended over the next few days, count it as stinky, smelly success. You’ll know your tomato seeds have fermented long enough when white, fuzzy mold appears on the top of the jar. This usually takes about three days in the warm, humidity of summer (when tomatoes are ripe), though it may take a bit longer if you are in an overly air-conditioned house.
It is important to stop fermentation as soon as the mold appears. Let the jar sit too long, and the seeds (now free of their inhibitors) may very well start sprouting.
6. Add Lots More Water and Stir
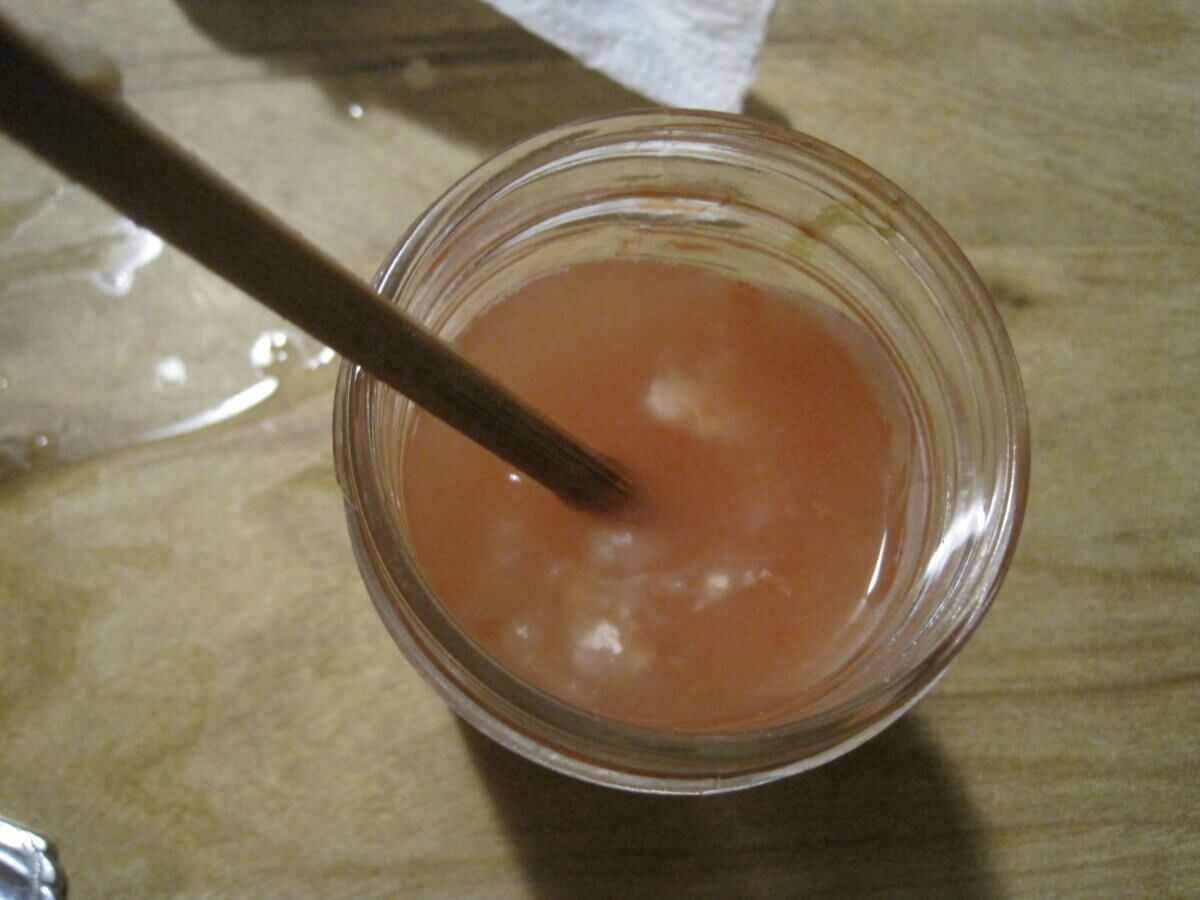
You have a rotten-smelling jar full of mold, fermented tomato pulp, and seeds. Now, you’re going to want to add a lot more water and stir the mushy mess. The good seeds will sink to the bottom, and the rest of the nastiness will float to the top.
7. Carefully Pour off Scum, Mold, and Pulp
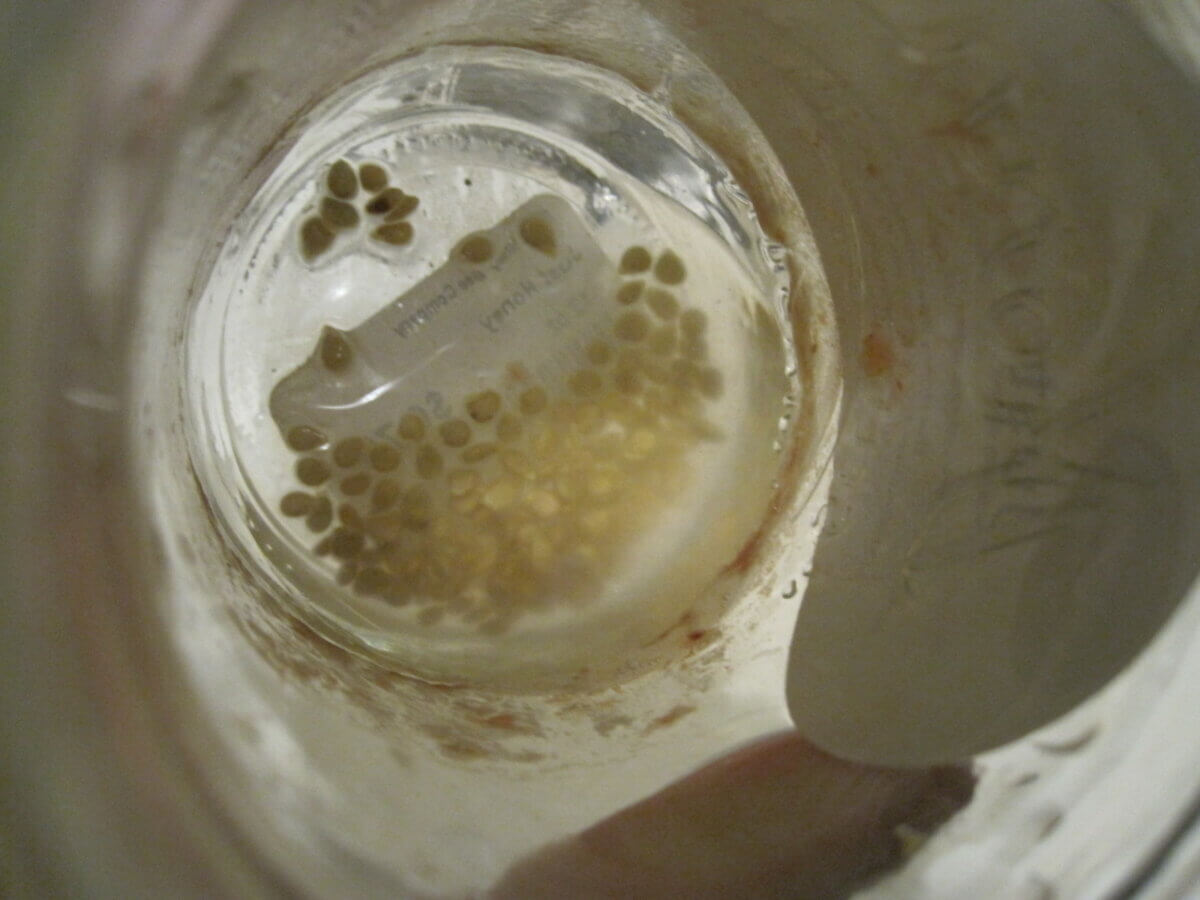
With a careful hand, slowly pour off all the offending liquid at the top of your jar. If you pour too quickly, the precious seeds at the bottom will escape, so take your time.
If a lot of tomato pulp was in the jar, so you may have to add more water and rinse again. The end goal is a soggy cluster of clean seeds at the bottom of the jar.
8. Lay Tomato Seeds to Dry on a Paper Towel
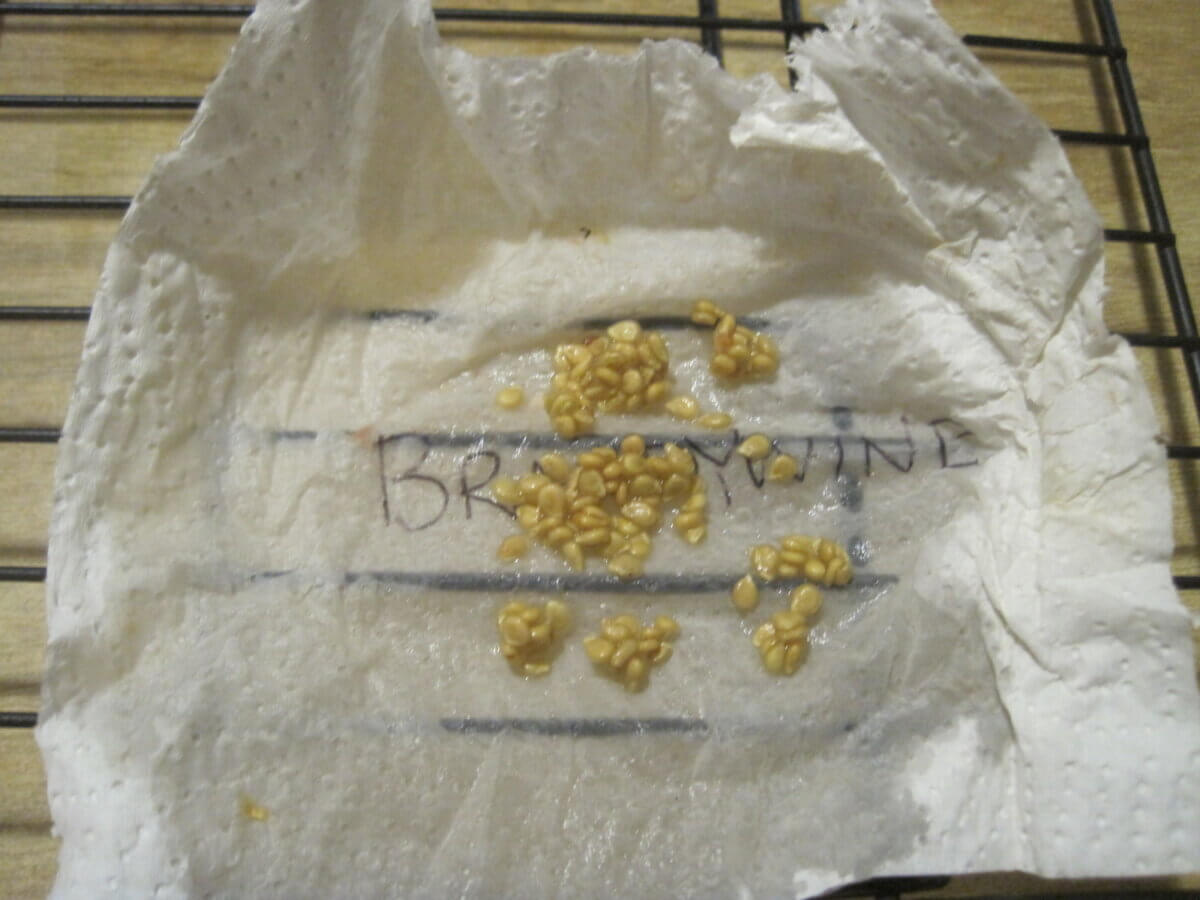
Now, the seeds need to be dried before they sprout. Spread the seeds on a paper towel that is labeled with their variety name (I typically reuse the paper towel that served as the fruit-fly barrier.
9. Allow to Dry Completely
There’s no rush when it comes to drying your fuzzy little tomato seeds. It’s better to err on the side of caution and let them dry for at least a week or two before you put them in storage. As someone who has experienced it, I can absolutely confirm that finding your stored seeds weren’t dried long enough (and ended up molding in storage) is not an enjoyable experience.
10. Crumble Apart and Place in a Labeled Plastic Bag
The dried tomato seeds should resemble clumps of granola once dried. Simply crumble and place them in an envelope or plastic bag for storage. Be sure, as always, to clearly label the envelope with the variety name and date they were grown.
11. Share Any Extras
If you listened to my advice and saved at least six fruits from six different plants (or more), then you’ll probably end up with more tomato seeds than you can use in the next gardening season. This is my favorite sort of problem. Whenever I find myself with a surplus of seeds (which is a near constant state, as plants are generous), I set about finding someone else who might want them.
Sharing seeds — and sharing seeds freely — is one of the quiet joys of being a self-sufficient gardener. Whether you pass your seeds along in a seed swap, a donate to your local seed library, or trade with a neighbor, the secret fun of growing too many seeds is making friends.
12. Grow Again Next Year
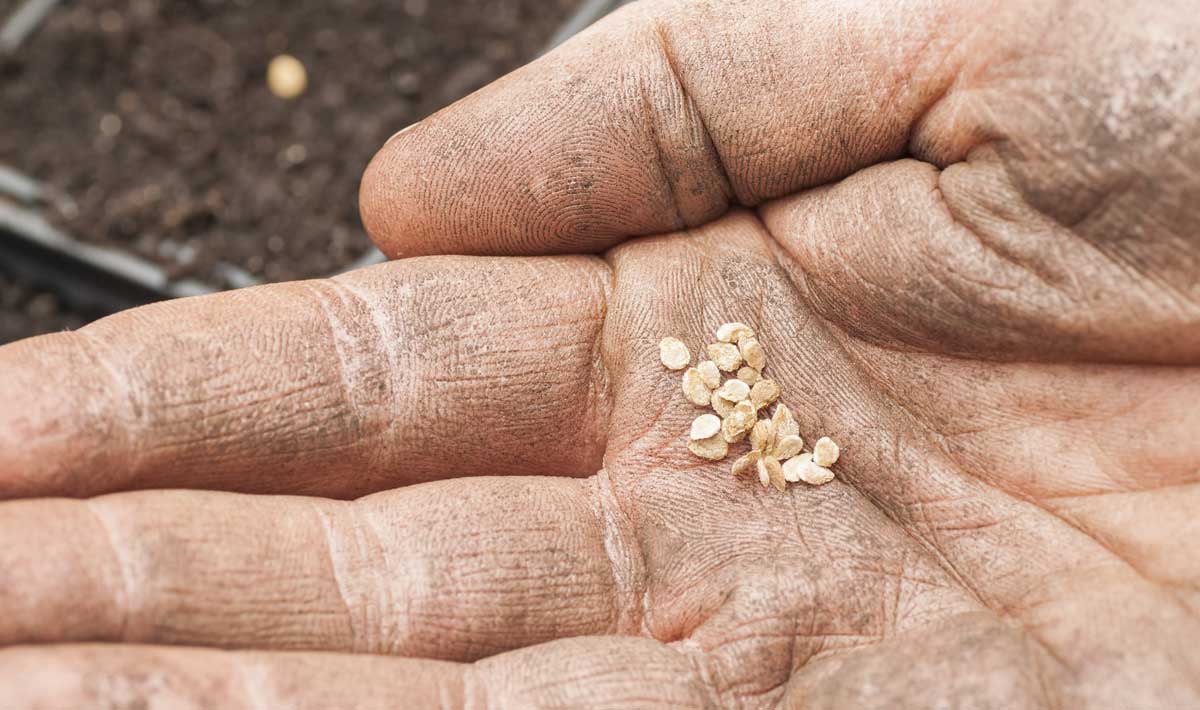
Of course, the whole point of saving tomato seeds is to grow them again next year! Though tomato seeds have a shelf life of several years, they’ll do you no good sitting in an envelope. When you put seeds to soil the following spring, you’ll have the deep satisfaction of knowing that they are your tomatoes. And that’s a feeling anyone can relish when they know how to save their own seeds.






















Leave a Reply